User management
In the Settings section, users can be created, edited, deleted and activated under User Management.
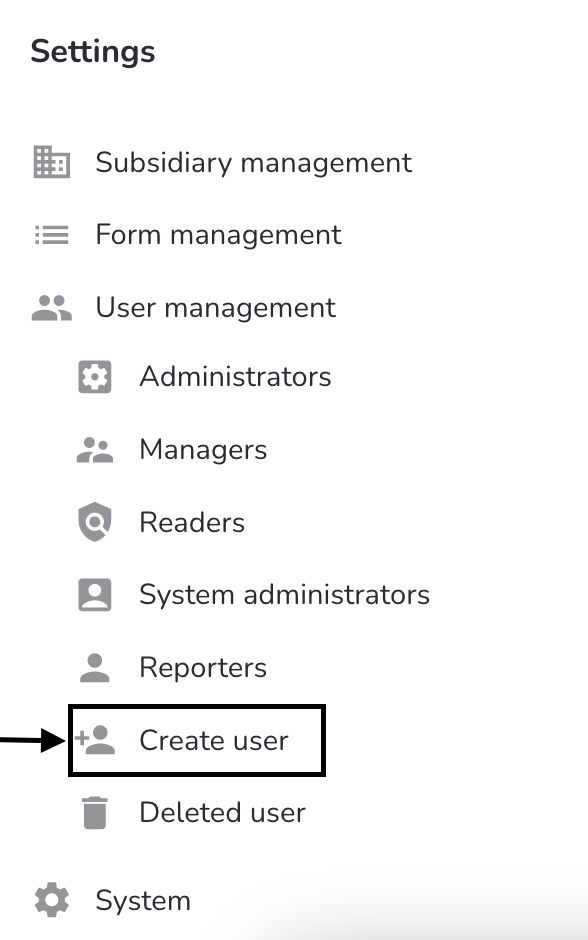
Create user
A new user can be created by clicking on New user.
A form opens in which various information must be entered (mandatory fields marked with an asterisk).
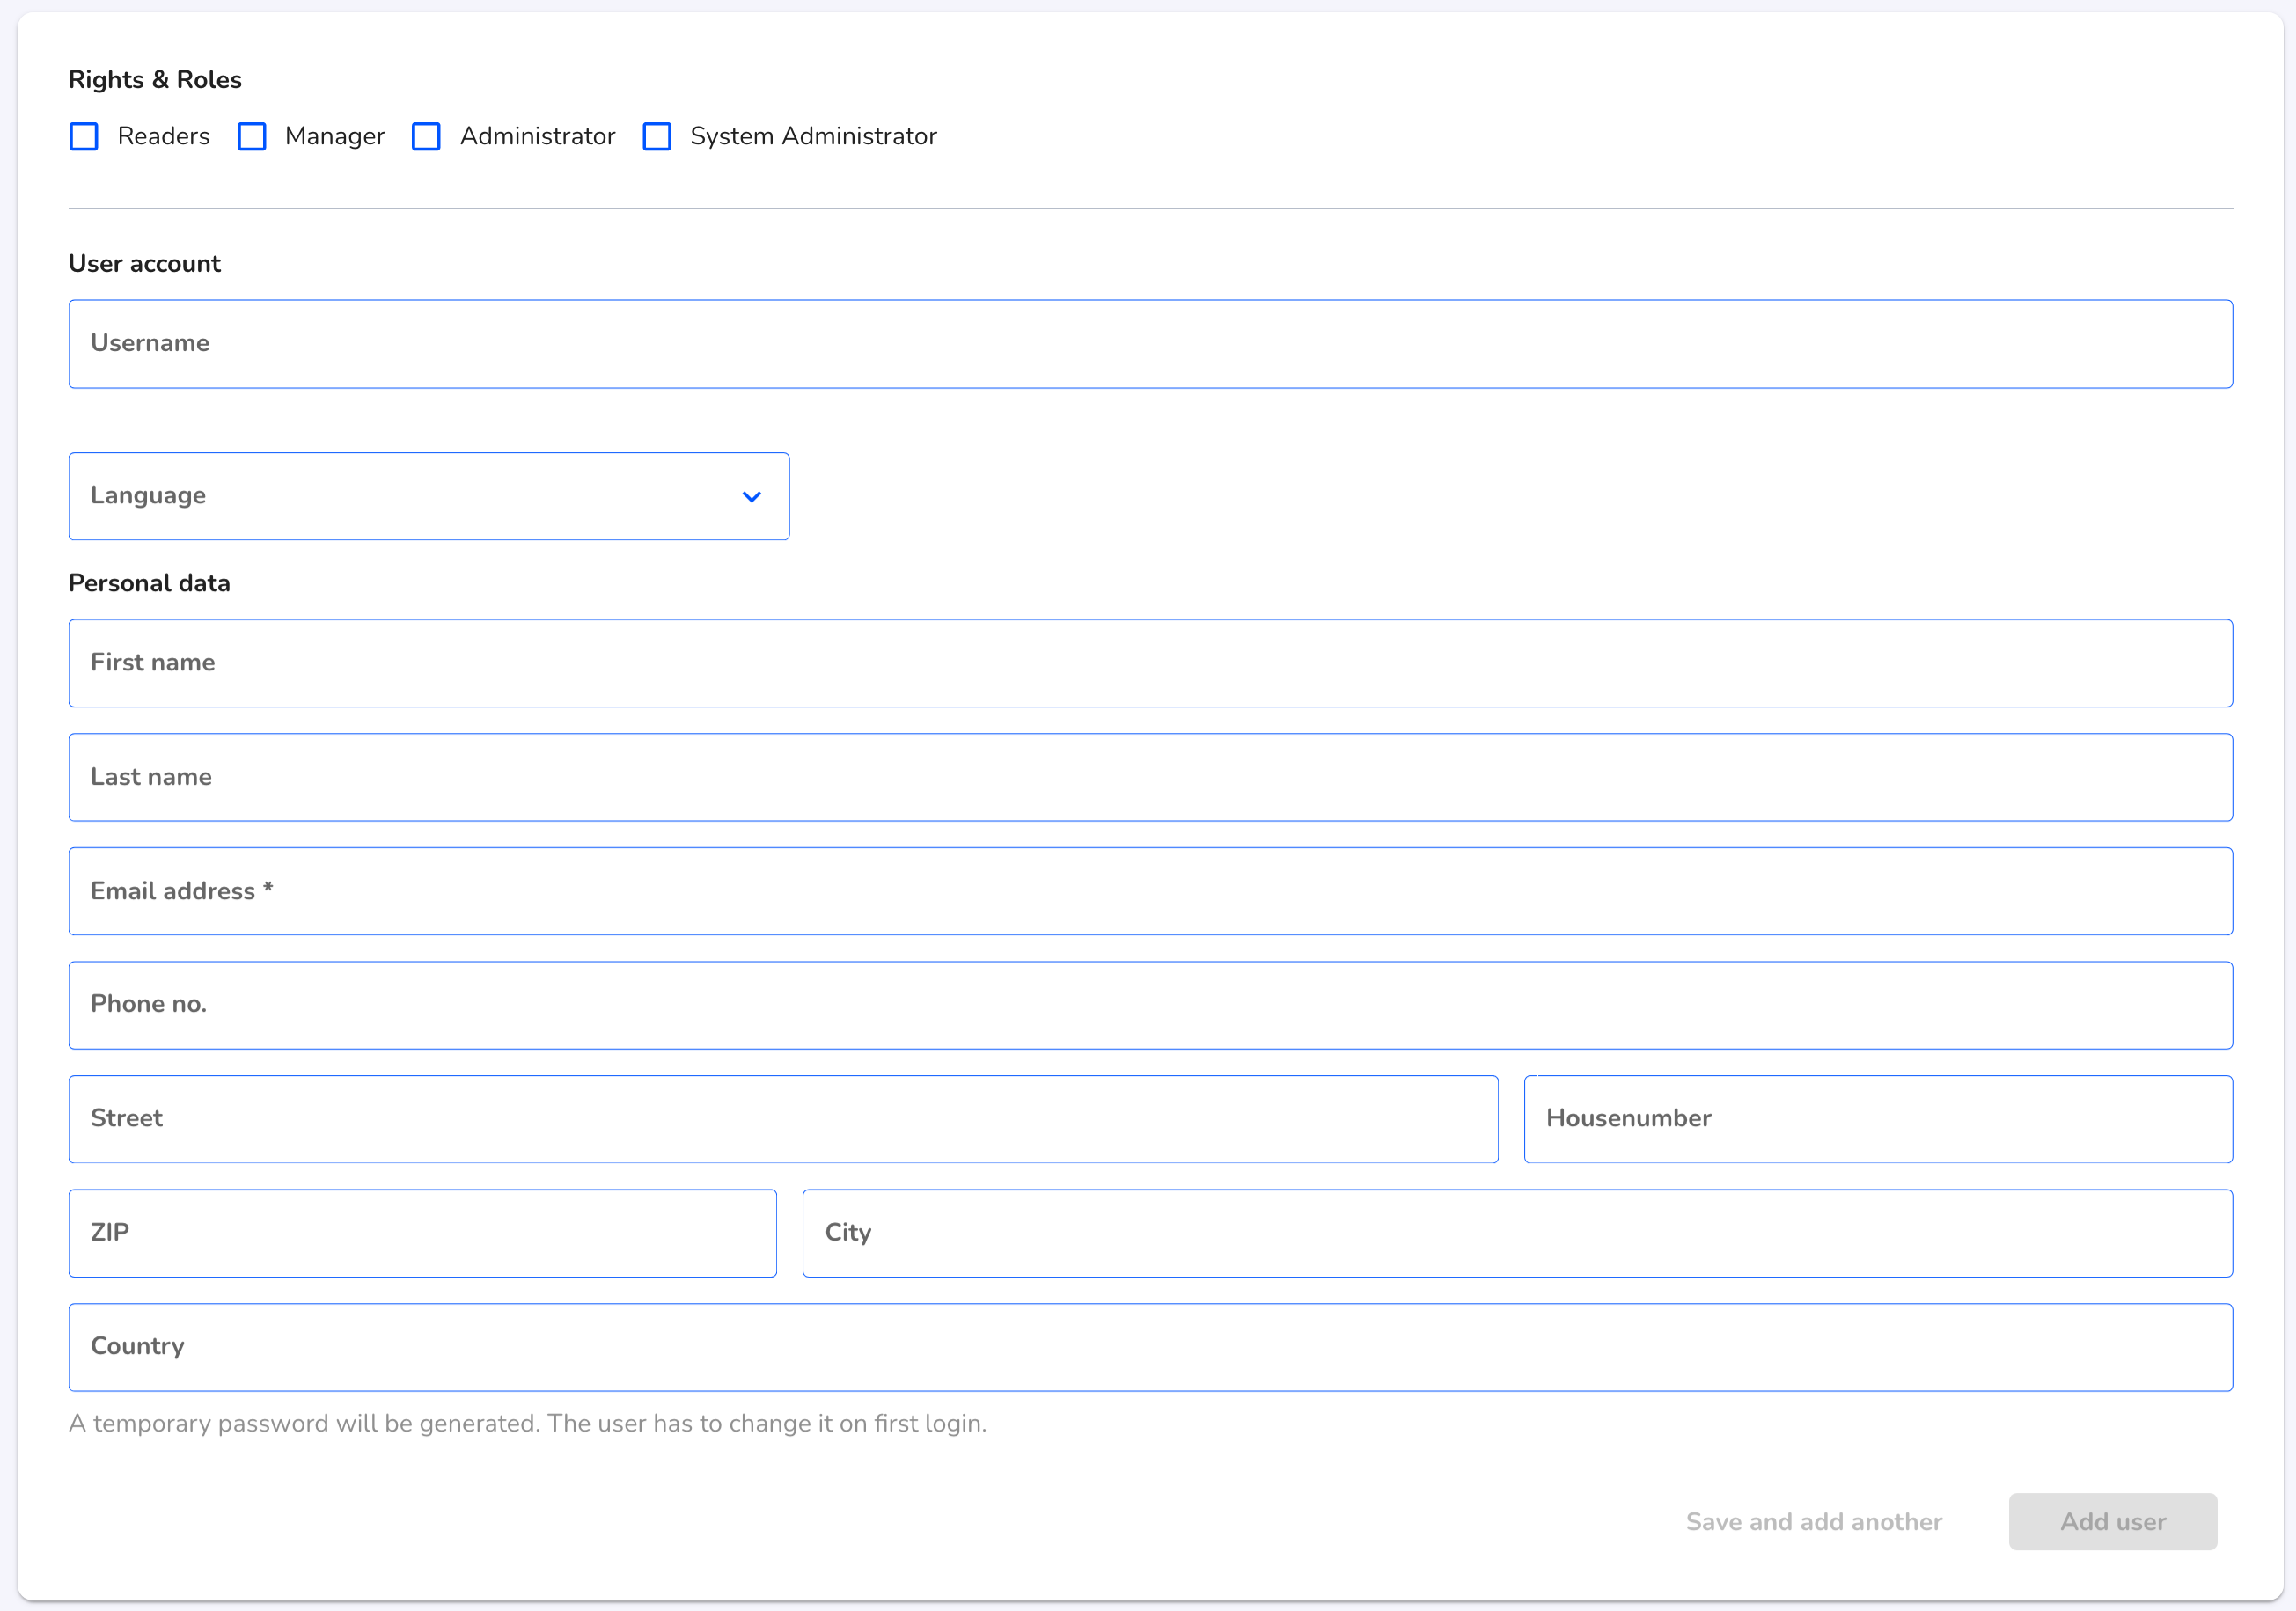
Rights & Roles - First, the role must be selected. You can find more about the individual roles under Rights and Roles.
Access rights area - for the roles of reader and manager it is possible to select the areas to whose reports the user should have access.
Subsidiary access rights - In the case of the Reader and Manager roles, it is possible to select the subsidiaries to whose reports the user should have access.
Access rights matters - in the roles of reader and manager, it is possible to select the matter to whose reports the user should have access.
Responsibility subsidiaries - With the responsibility the new user can be selected as responsible agent for any number of subsidiaries. IMPORTANT: There can be only one responsible agent per subsidiary. The responsible agent has nothing to do with the assignment of rights.
User name - The user name can either be assigned or is automatically generated from the e-mail address after the user is created.
Language - setting the language profile ensures that the invitation e-mail to the system is sent in the selected language on the one hand, and that the hintbox for the user is displayed in this language on the other hand.
E-mail address - The invitation e-mail and all other system e-mails are sent to the specified e-mail address and the user logs in to the system with it.
Personal data - only the first and last name is visible to the whistleblower in the message history (if not specified, the username is displayed).
The following describes how to create a user.
By clicking on the respective checkbox on the roles, you can add a role.

For readers and managers, the following three fields must be selected.
By clicking in the Select areas field you can select the areas to which the user should have access.

Clicking on the corresponding areas will add them to the user.

By clicking in the Select subsidiary field, the subsidiaries to which the user should have access can be selected.

By clicking on the appropriate subsidiaries, they are added to the user.

By clicking in the Select issues field you can select the issues to which the user should have access.

Clicking on the appropriate categories will add them to the user.

The following field can be selected for all three roles. In this field, the new user can be selected as the responsible agent for any number of subsidiaries.
By clicking in the Select subsidiaries field, the subsidiaries for which the user is to be the responsible agent can be selected.

By clicking on the corresponding subsidiaries, the new user becomes the responsible agent.

The email address must be entered in the following fields, the rest of the information can be added.
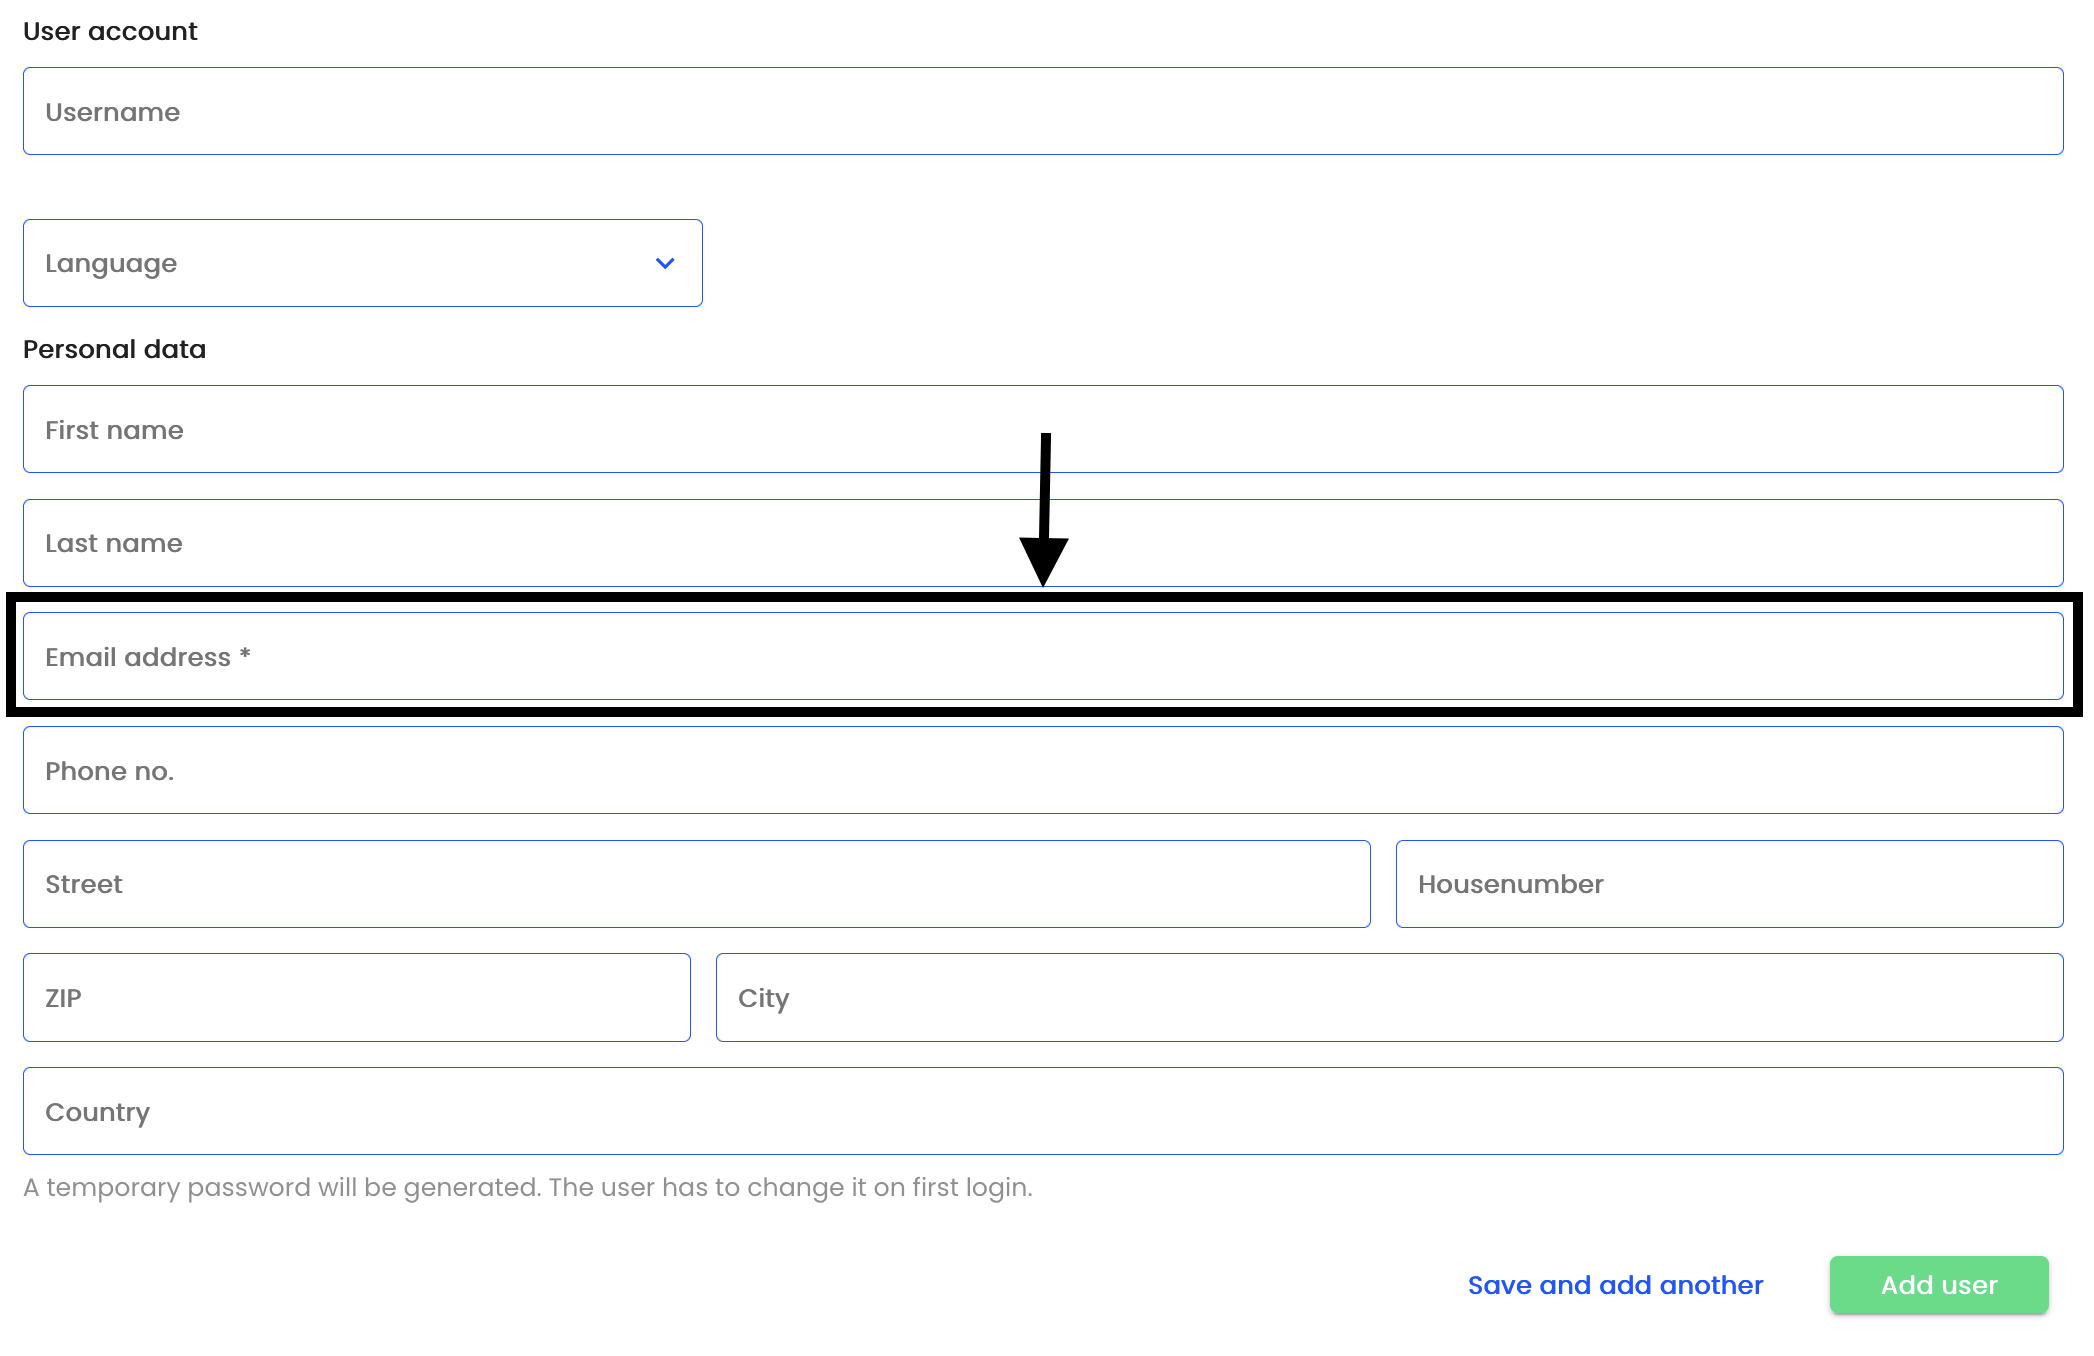
If you do not want to create another user, click Create User.
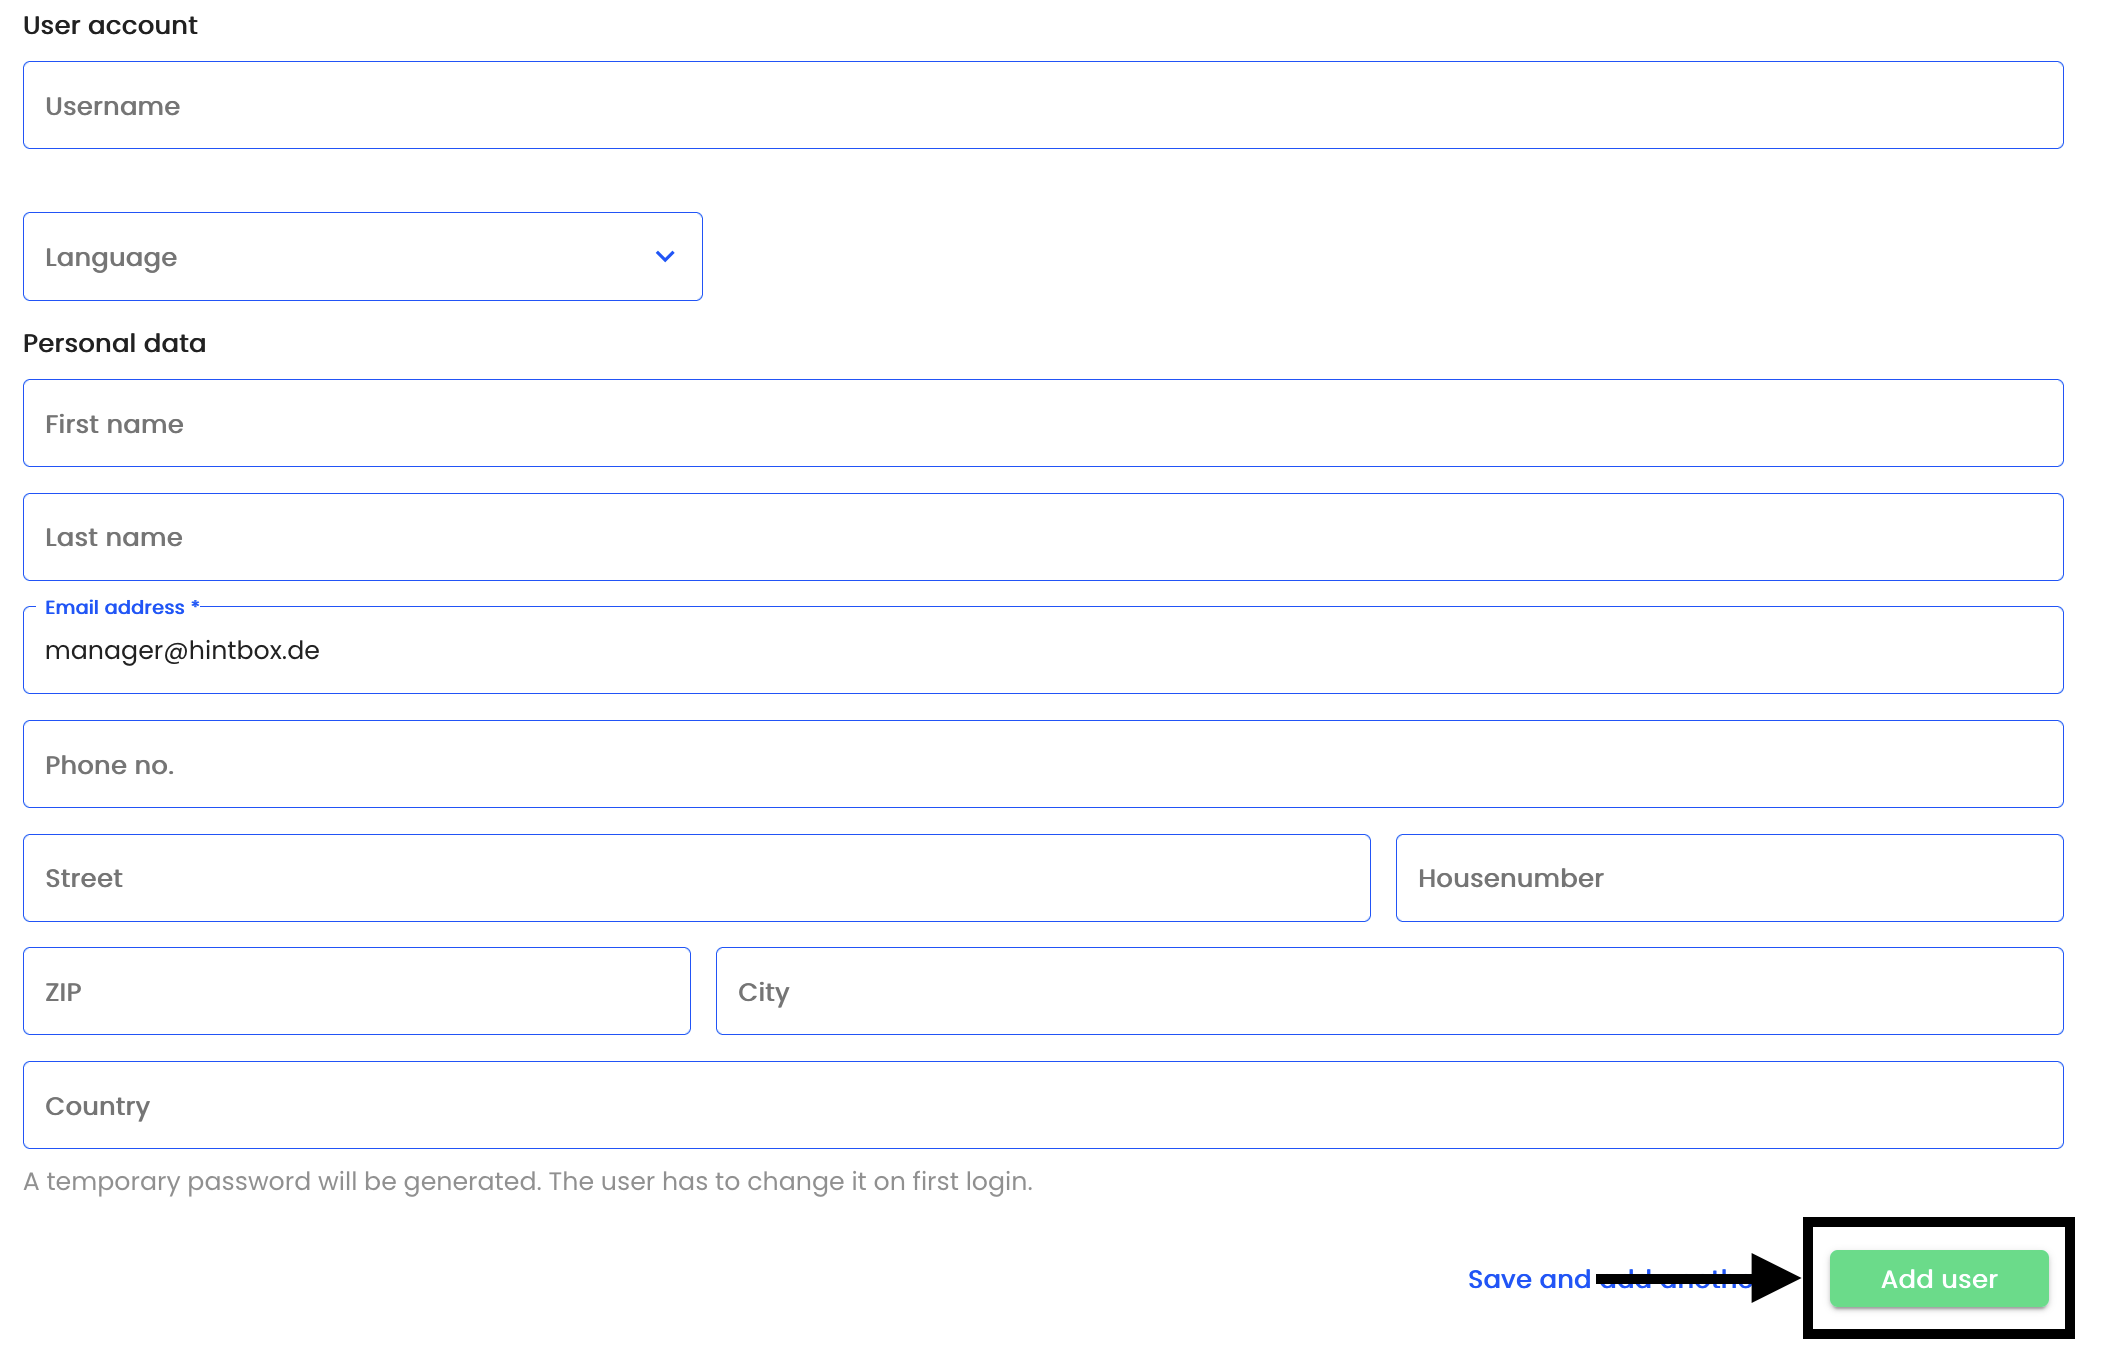
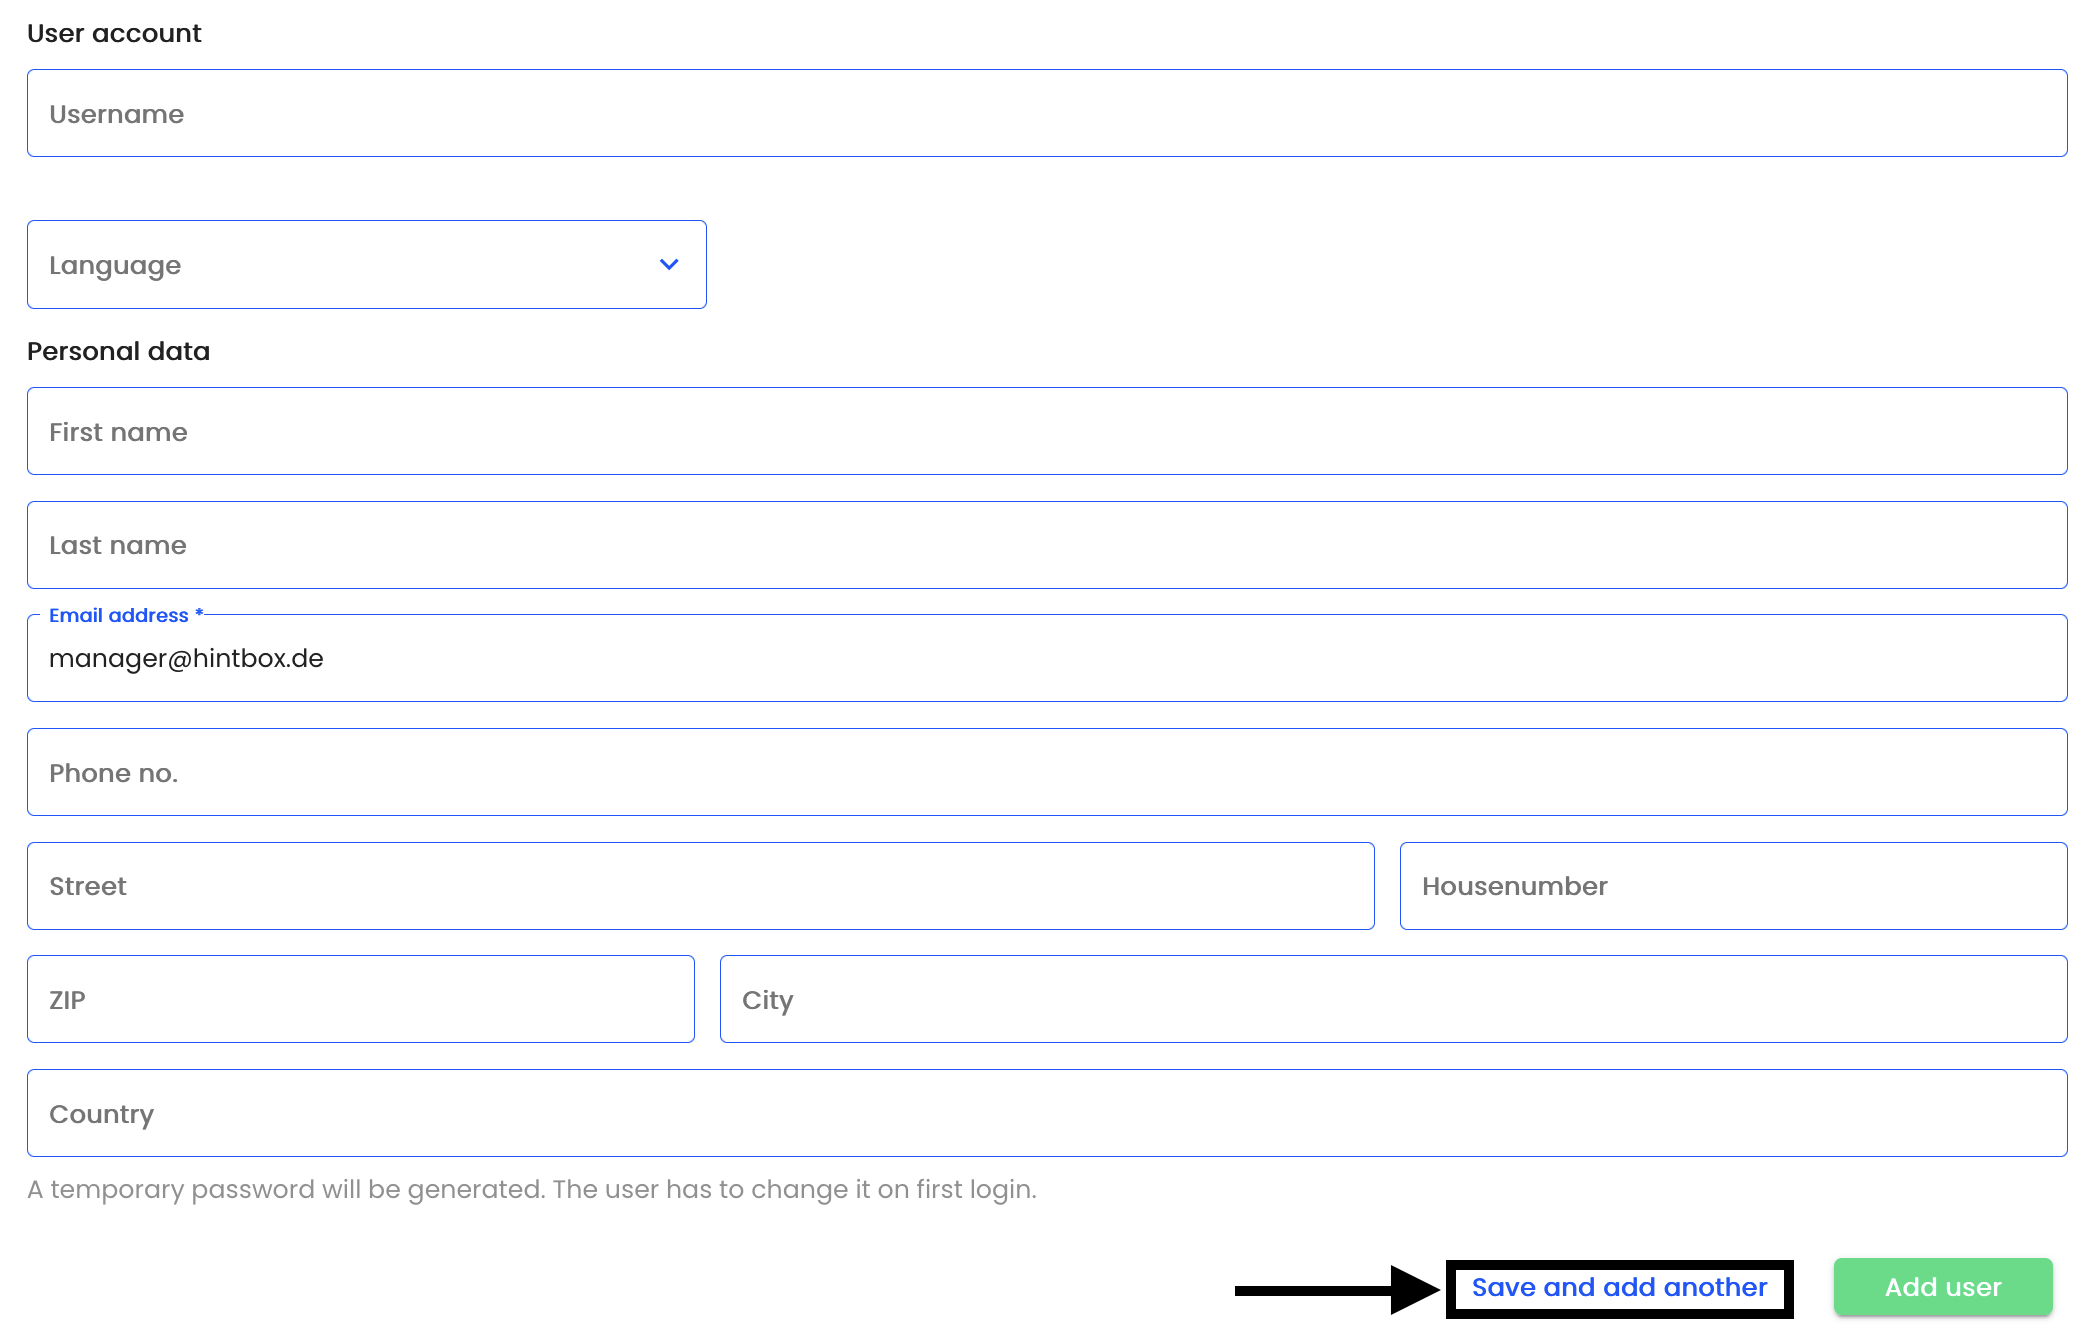
If you want to create another user click Save and create another user.
Edit user
To edit a user you need to know under User Management which role the user to be edited has (Administrator, Manager or Reader).
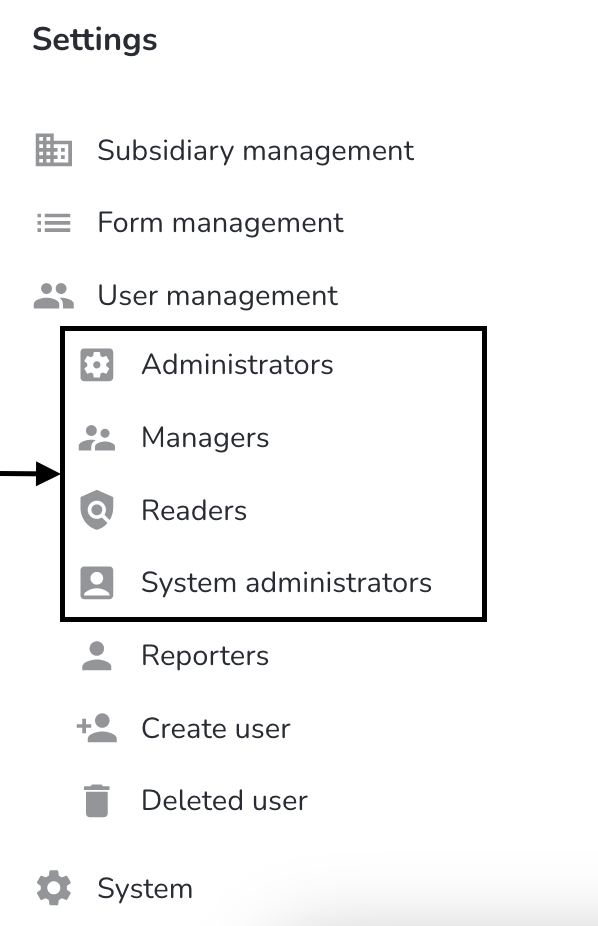
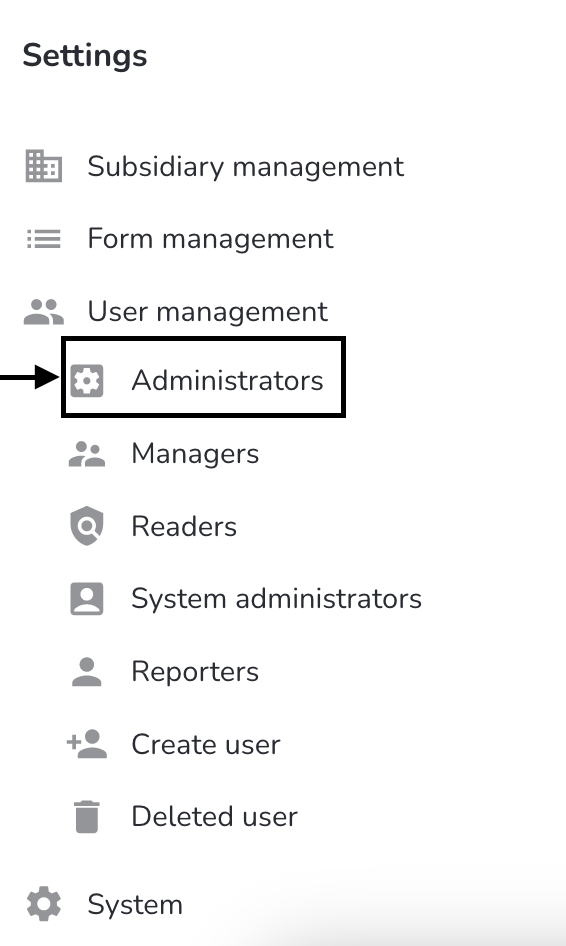
If the user is an administrator, click Administrator.
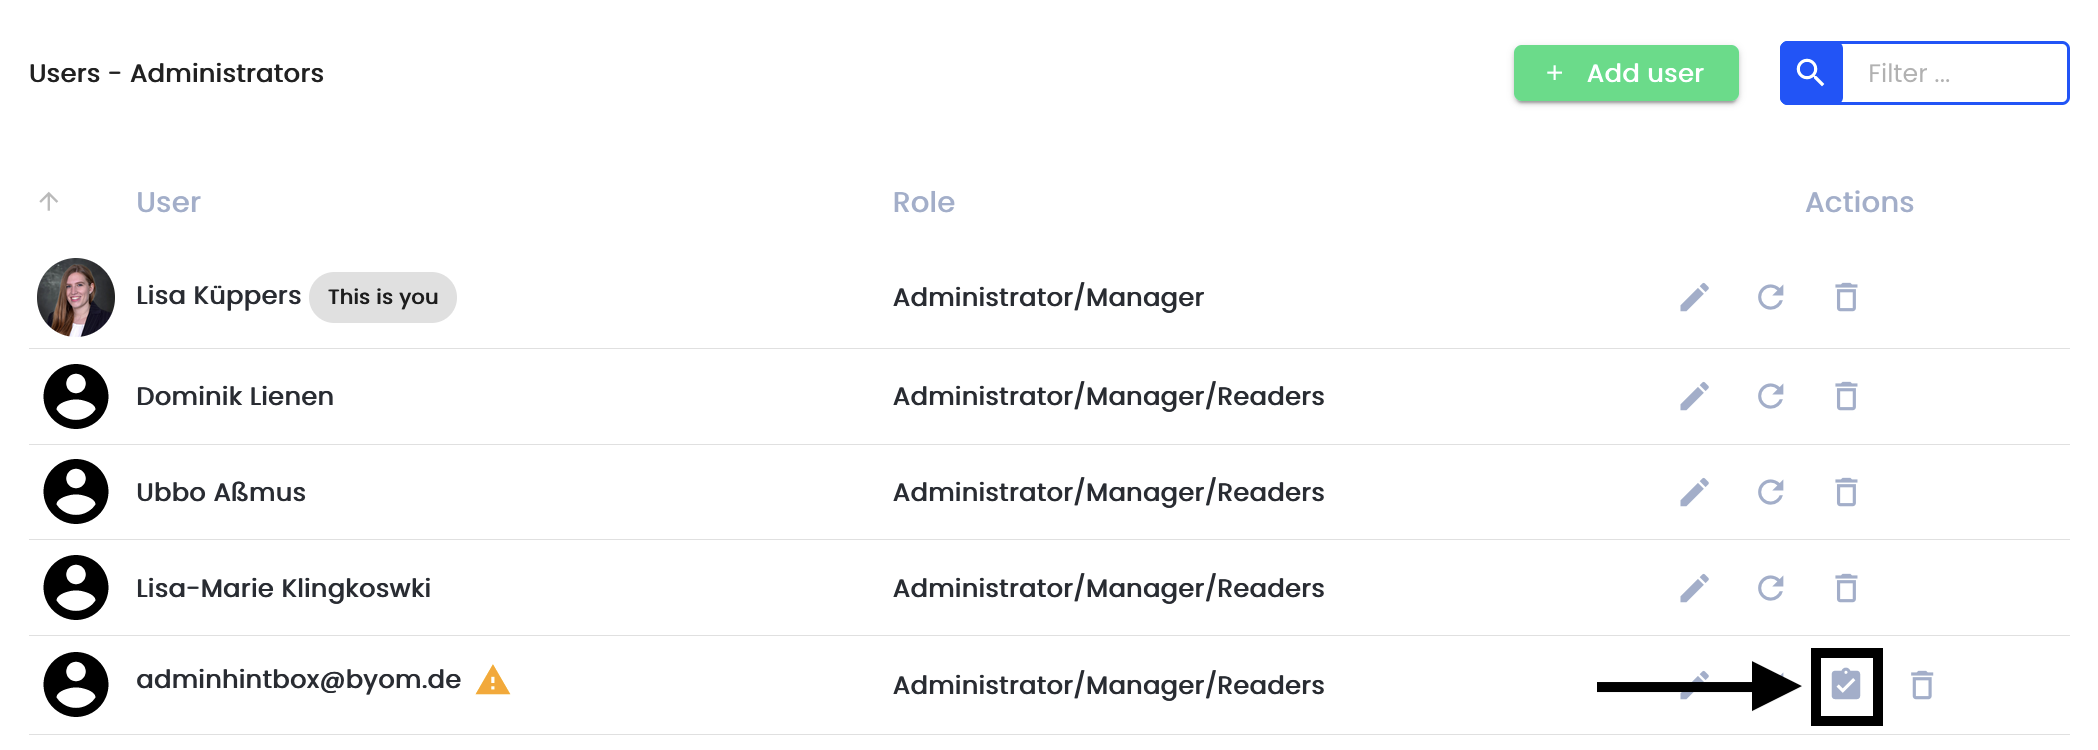
An overview of all administrators of the system opens. By clicking on the arrow the password can be reset.

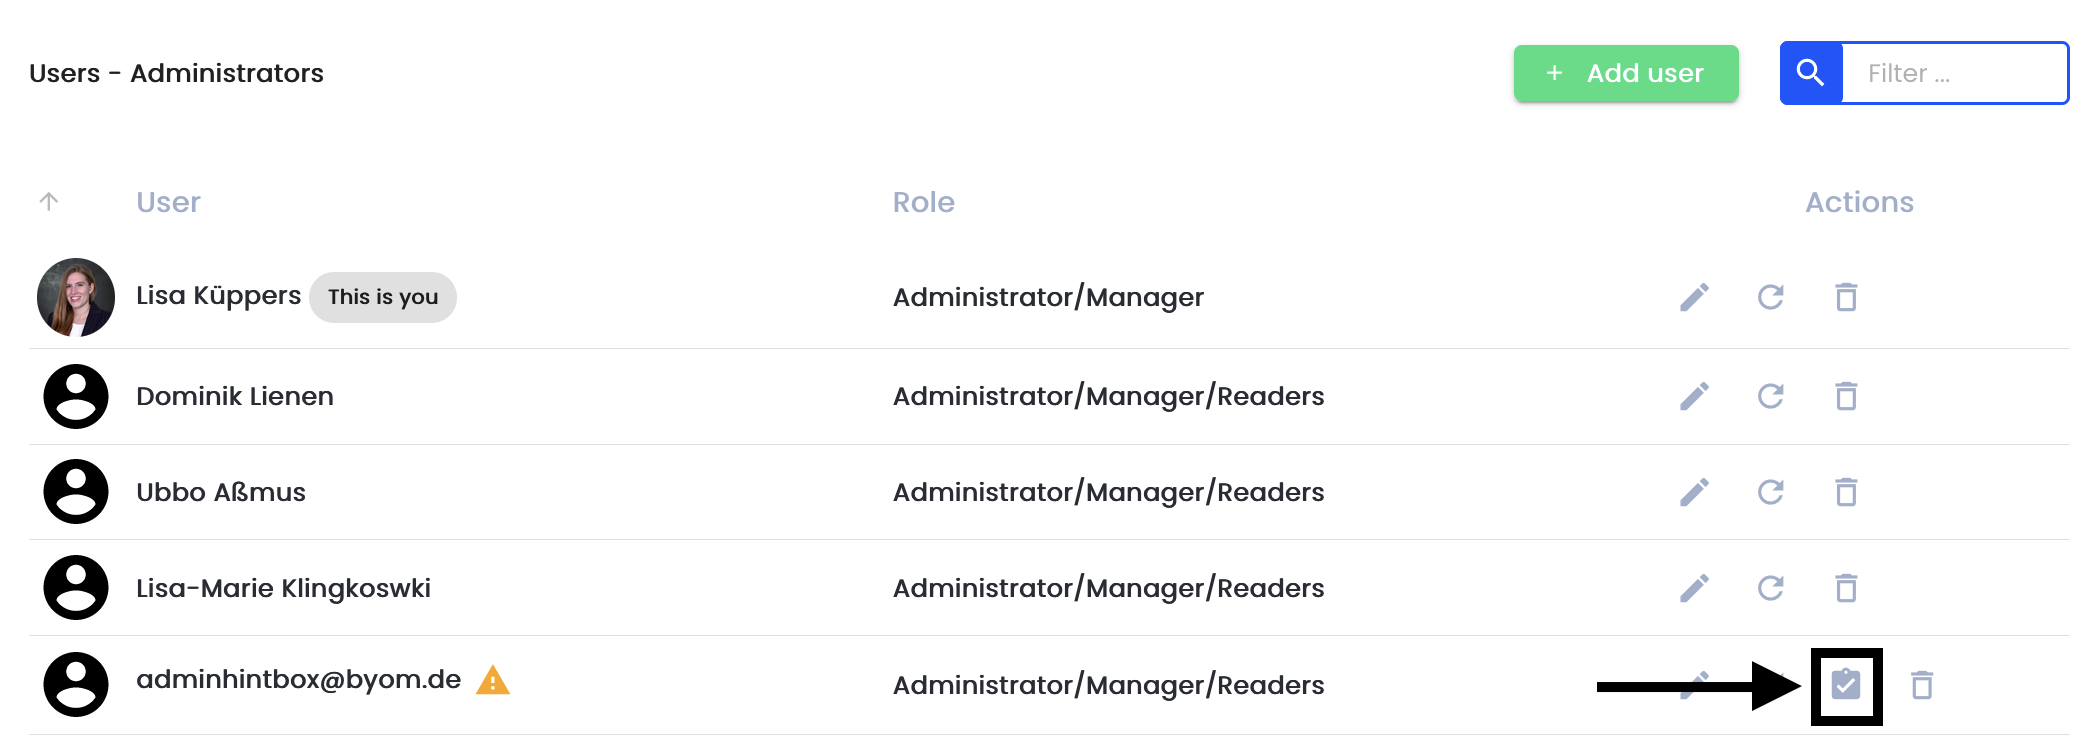
There are two other editing options. To give a newly added user access to older reports, the checkbox must be clicked.
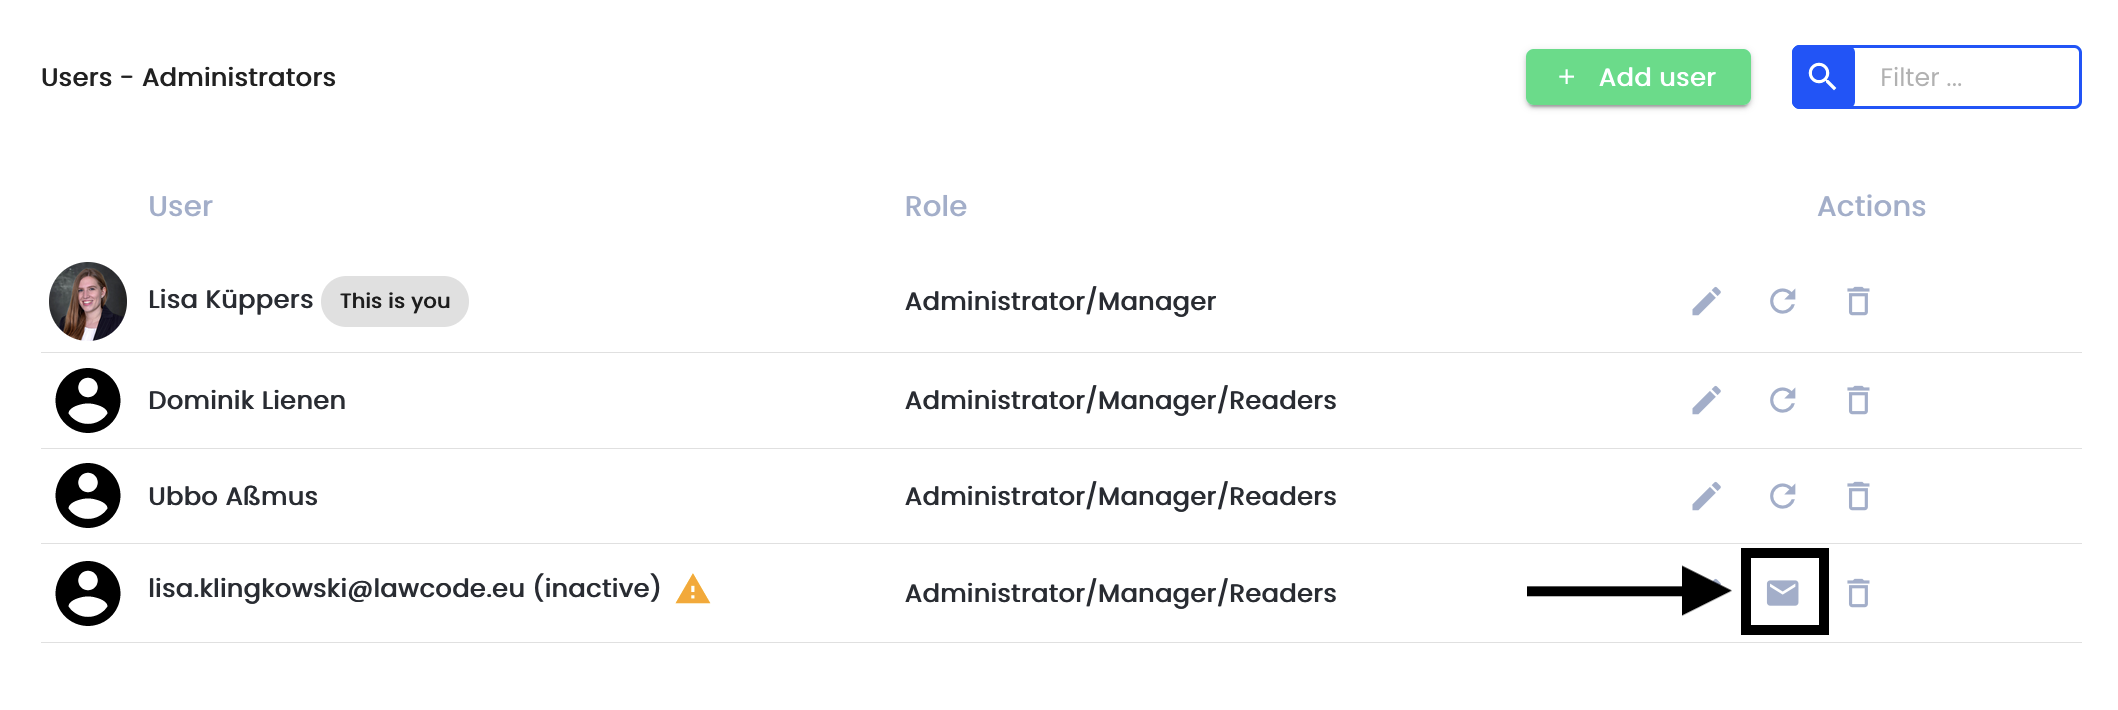
If a user is still inactive, an invitation email can be sent to him. With a click on the email icon, the email will be resent.
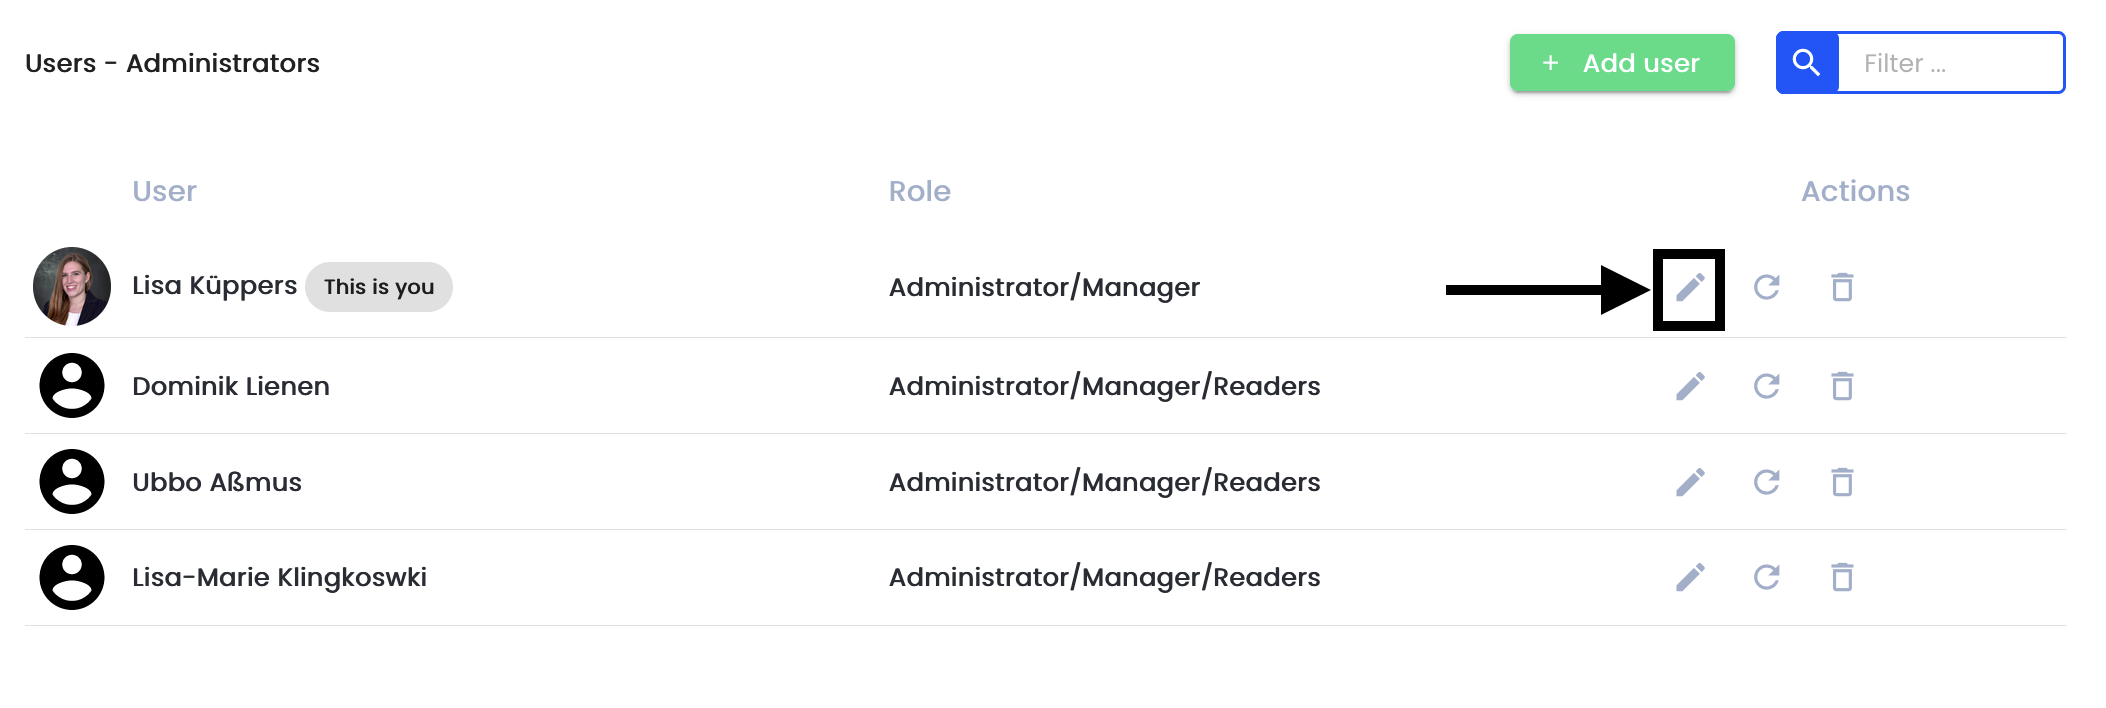
Click on the edit pencil to edit the user.
A form opens in which the user information can be edited.
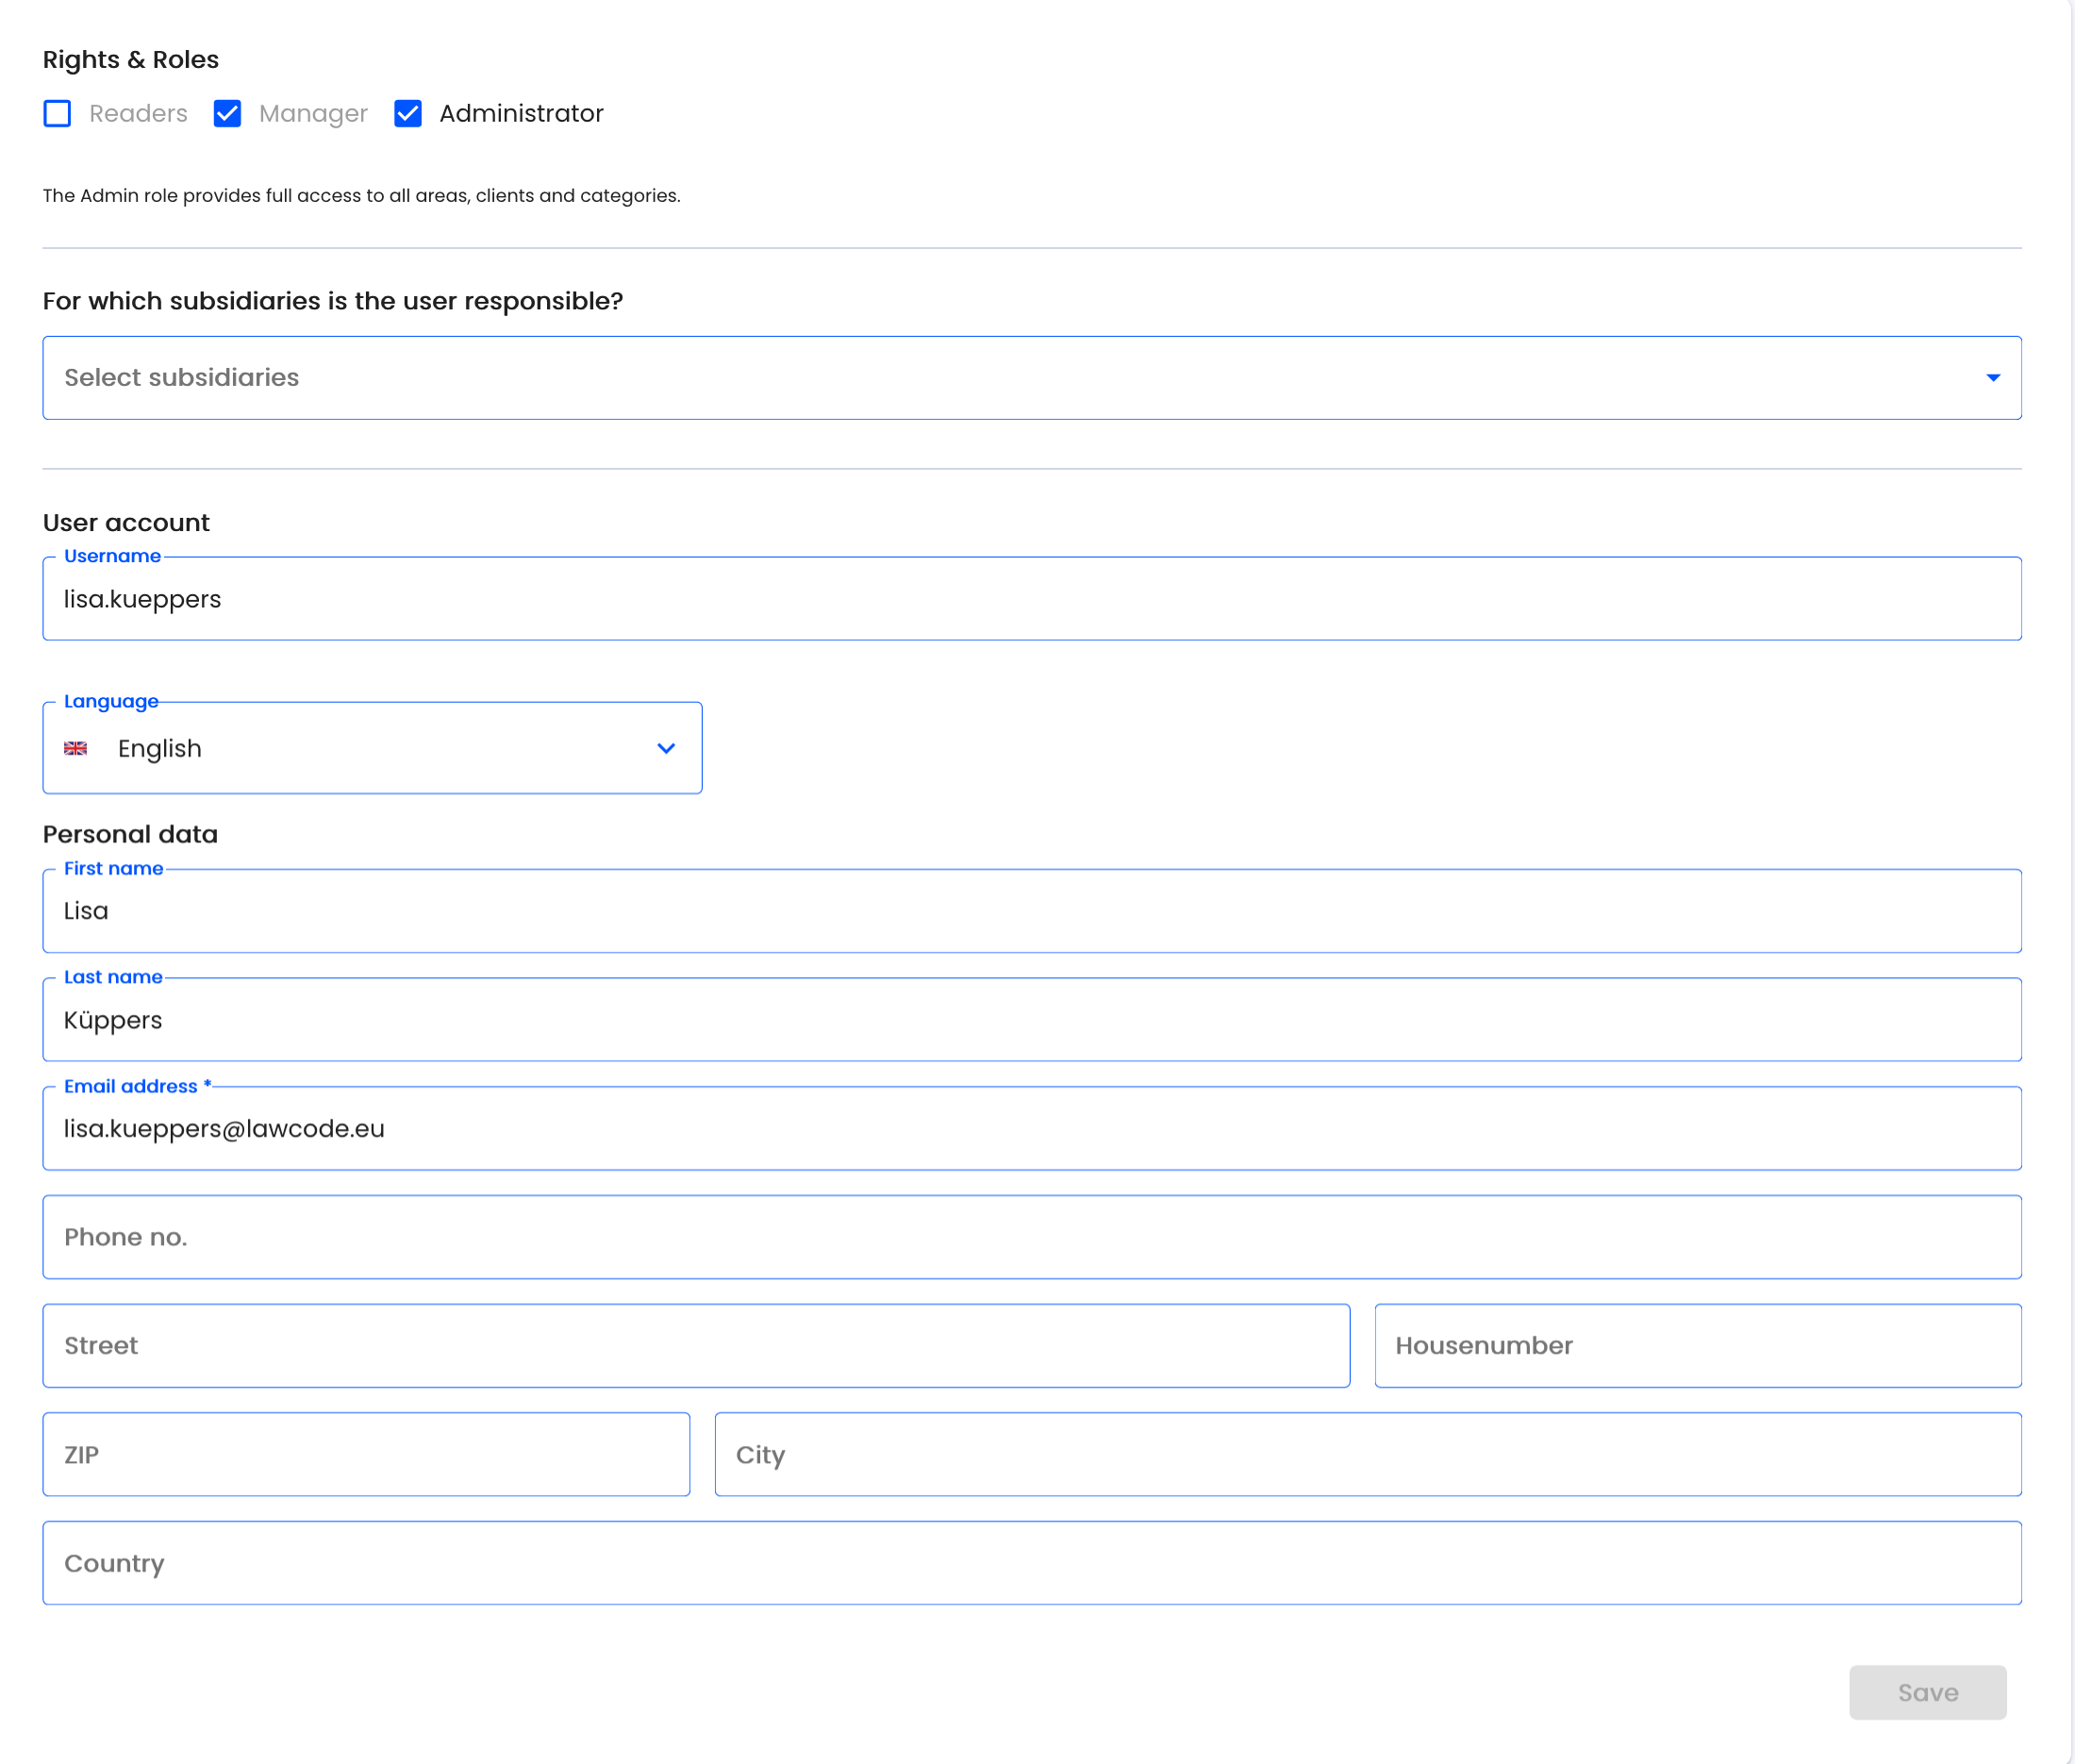
Rights & Roles - There are three different roles in the Hintbox. For more on each role, see Rights and Roles.
Access rights area - With the Administrator role, the user has full access to all areas.
Subsidiaries access rights - With the Administrator role, the user has full access to all subsidiaries.
Access rights Matters - With the Administrator role, the user has full access to all matters.
Responsibility subsidiaries - With the responsibility the new user can be selected as responsible agent for any number of subsidiaries. IMPORTANT: There can be only one responsible agent per subsidiary. The responsible agent has nothing to do with the assignment of rights.
User name - The user name can either be assigned or is automatically generated from the e-mail address after the user is created.
Language - setting the language profile ensures that the invitation e-mail to the system is sent in the selected language on the one hand, and that the hintbox for the user is displayed in this language on the other hand.
E-mail address - The invitation e-mail and all other system e-mails are sent to the specified e-mail address and the user logs in to the system with it.
Personal data - only the first and last name is visible to the whistleblower in the message history (if not specified, the username is displayed).
The following describes how to edit a user.
By clicking on the respective checkbox on the roles, you can deselect or add a role.

For readers and managers, the following three fields must be selected.
By clicking in the Select areas field you can select the areas to which the user should have access.

Clicking on the corresponding areas will add them to the user.

Clicking the X on the corresponding areas removes them from the user.

By clicking in the Select subsidiary field, you can select or remove the subsidiaries to which the user should or should not have access.

By clicking on the appropriate subsidiaries, they are added to the user.

Clicking the X on the corresponding subsidiaries removes them from the user.

By clicking in the Select matters field, the matters to which the user should have access can be selected or removed.

Clicking on the appropriate categories will add them to the user.

Clicking the X on the corresponding subsidiaries removes them from the user.

By clicking on the corresponding subsidiaries, the new user becomes the responsible agent.

By clicking on the X at the corresponding subsidiaries, the user is no longer the responsible agent.

In the following fields the user account information can be edited. A change of email address must be confirmed on the email account of the newly deposited email address.

If you do not want to make any further changes to the user, click Save.

Delete user
To delete a user you need to know under User Management what role the user to be edited has (Administrator, Manager or Reader).

For example, if the user is an administrator, click Administrator.

An overview of all administrators of the system opens. By clicking on the recycle bin, the user can be deleted.

A query appears asking whether the user should really be deleted.

The user is then located in the Deleted Users folder. To permanently remove or restore a user from the system, click on the deleted user folder.
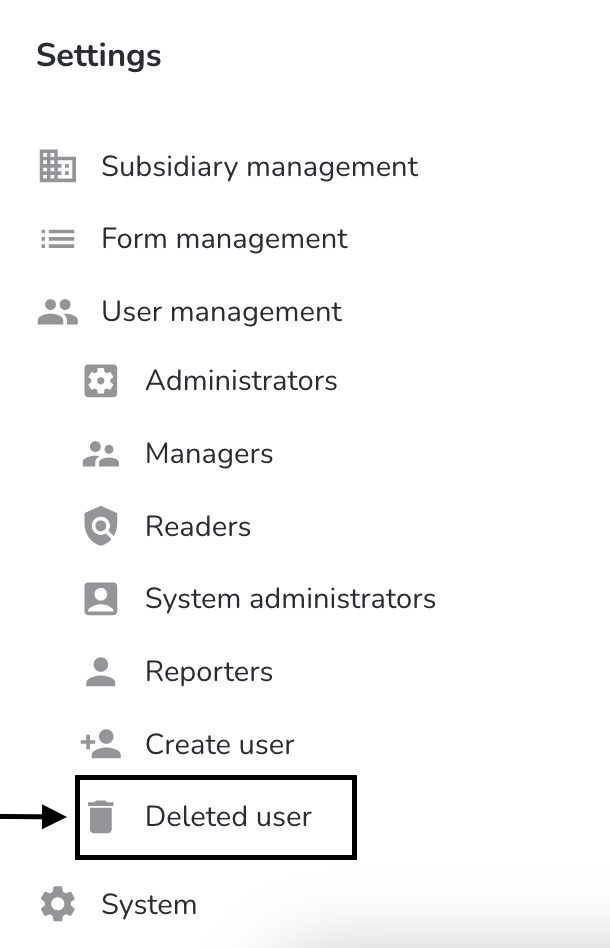
After clicking on Deleted user, an overview of all deleted users opens.

Username - This is the username of the person who was deleted.
Deleted by - This is the name of the person who deleted the user.
Deletion date - the date and time of the deletion.
Actions - a user can be restored or permanently removed from the system.
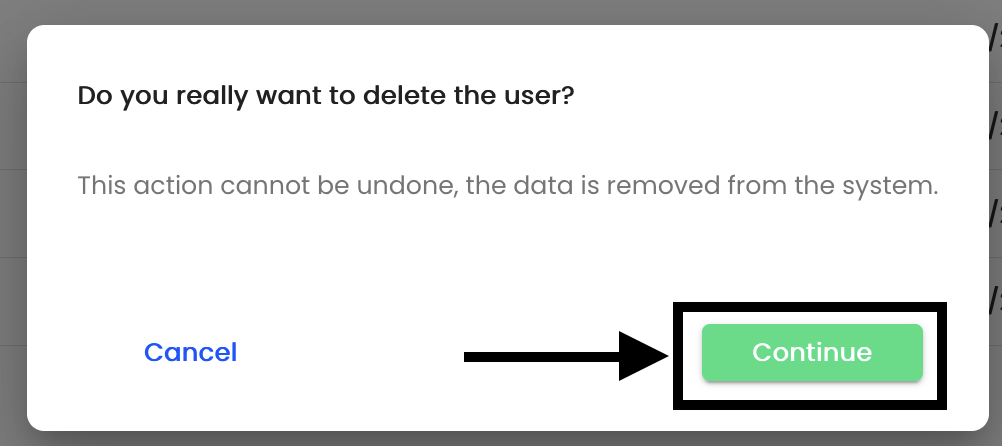
By clicking on the recycle bin, a user can be permanently removed from the system. IMPORTANT: An administrator other than the one who deleted the user must permanently remove the user from the system.

A query opens asking whether the user should really be deleted. After clicking Continue, the user is finally removed from the system.
A user can also be restored in the recycle bin. A user can be restored by clicking on the arrow.

Share user
To share a user you need to know under User Management which role the user to be edited has (Administrator, Manager or Reader).

For example, if the user is an administrator, click Administrator.

An overview of all administrators opens. To enable a user click on the checkbox. Users who do not have access to the reports are marked with an error message.
