Forms management
Forms can be created and managed and global fields can be created and managed in the form management of the Supply Chain module.
Click here to find out more about global fields.
Forms
Forms are used in the supply chain module to give suppliers the opportunity to answer questions about their practices. The suppliers' master data is also recorded. You can use various forms to ask your suppliers specific questions on topics such as child labor or environmental protection within your supply chain. Many forms are stored in the supply chain module as standard, and others can be created.
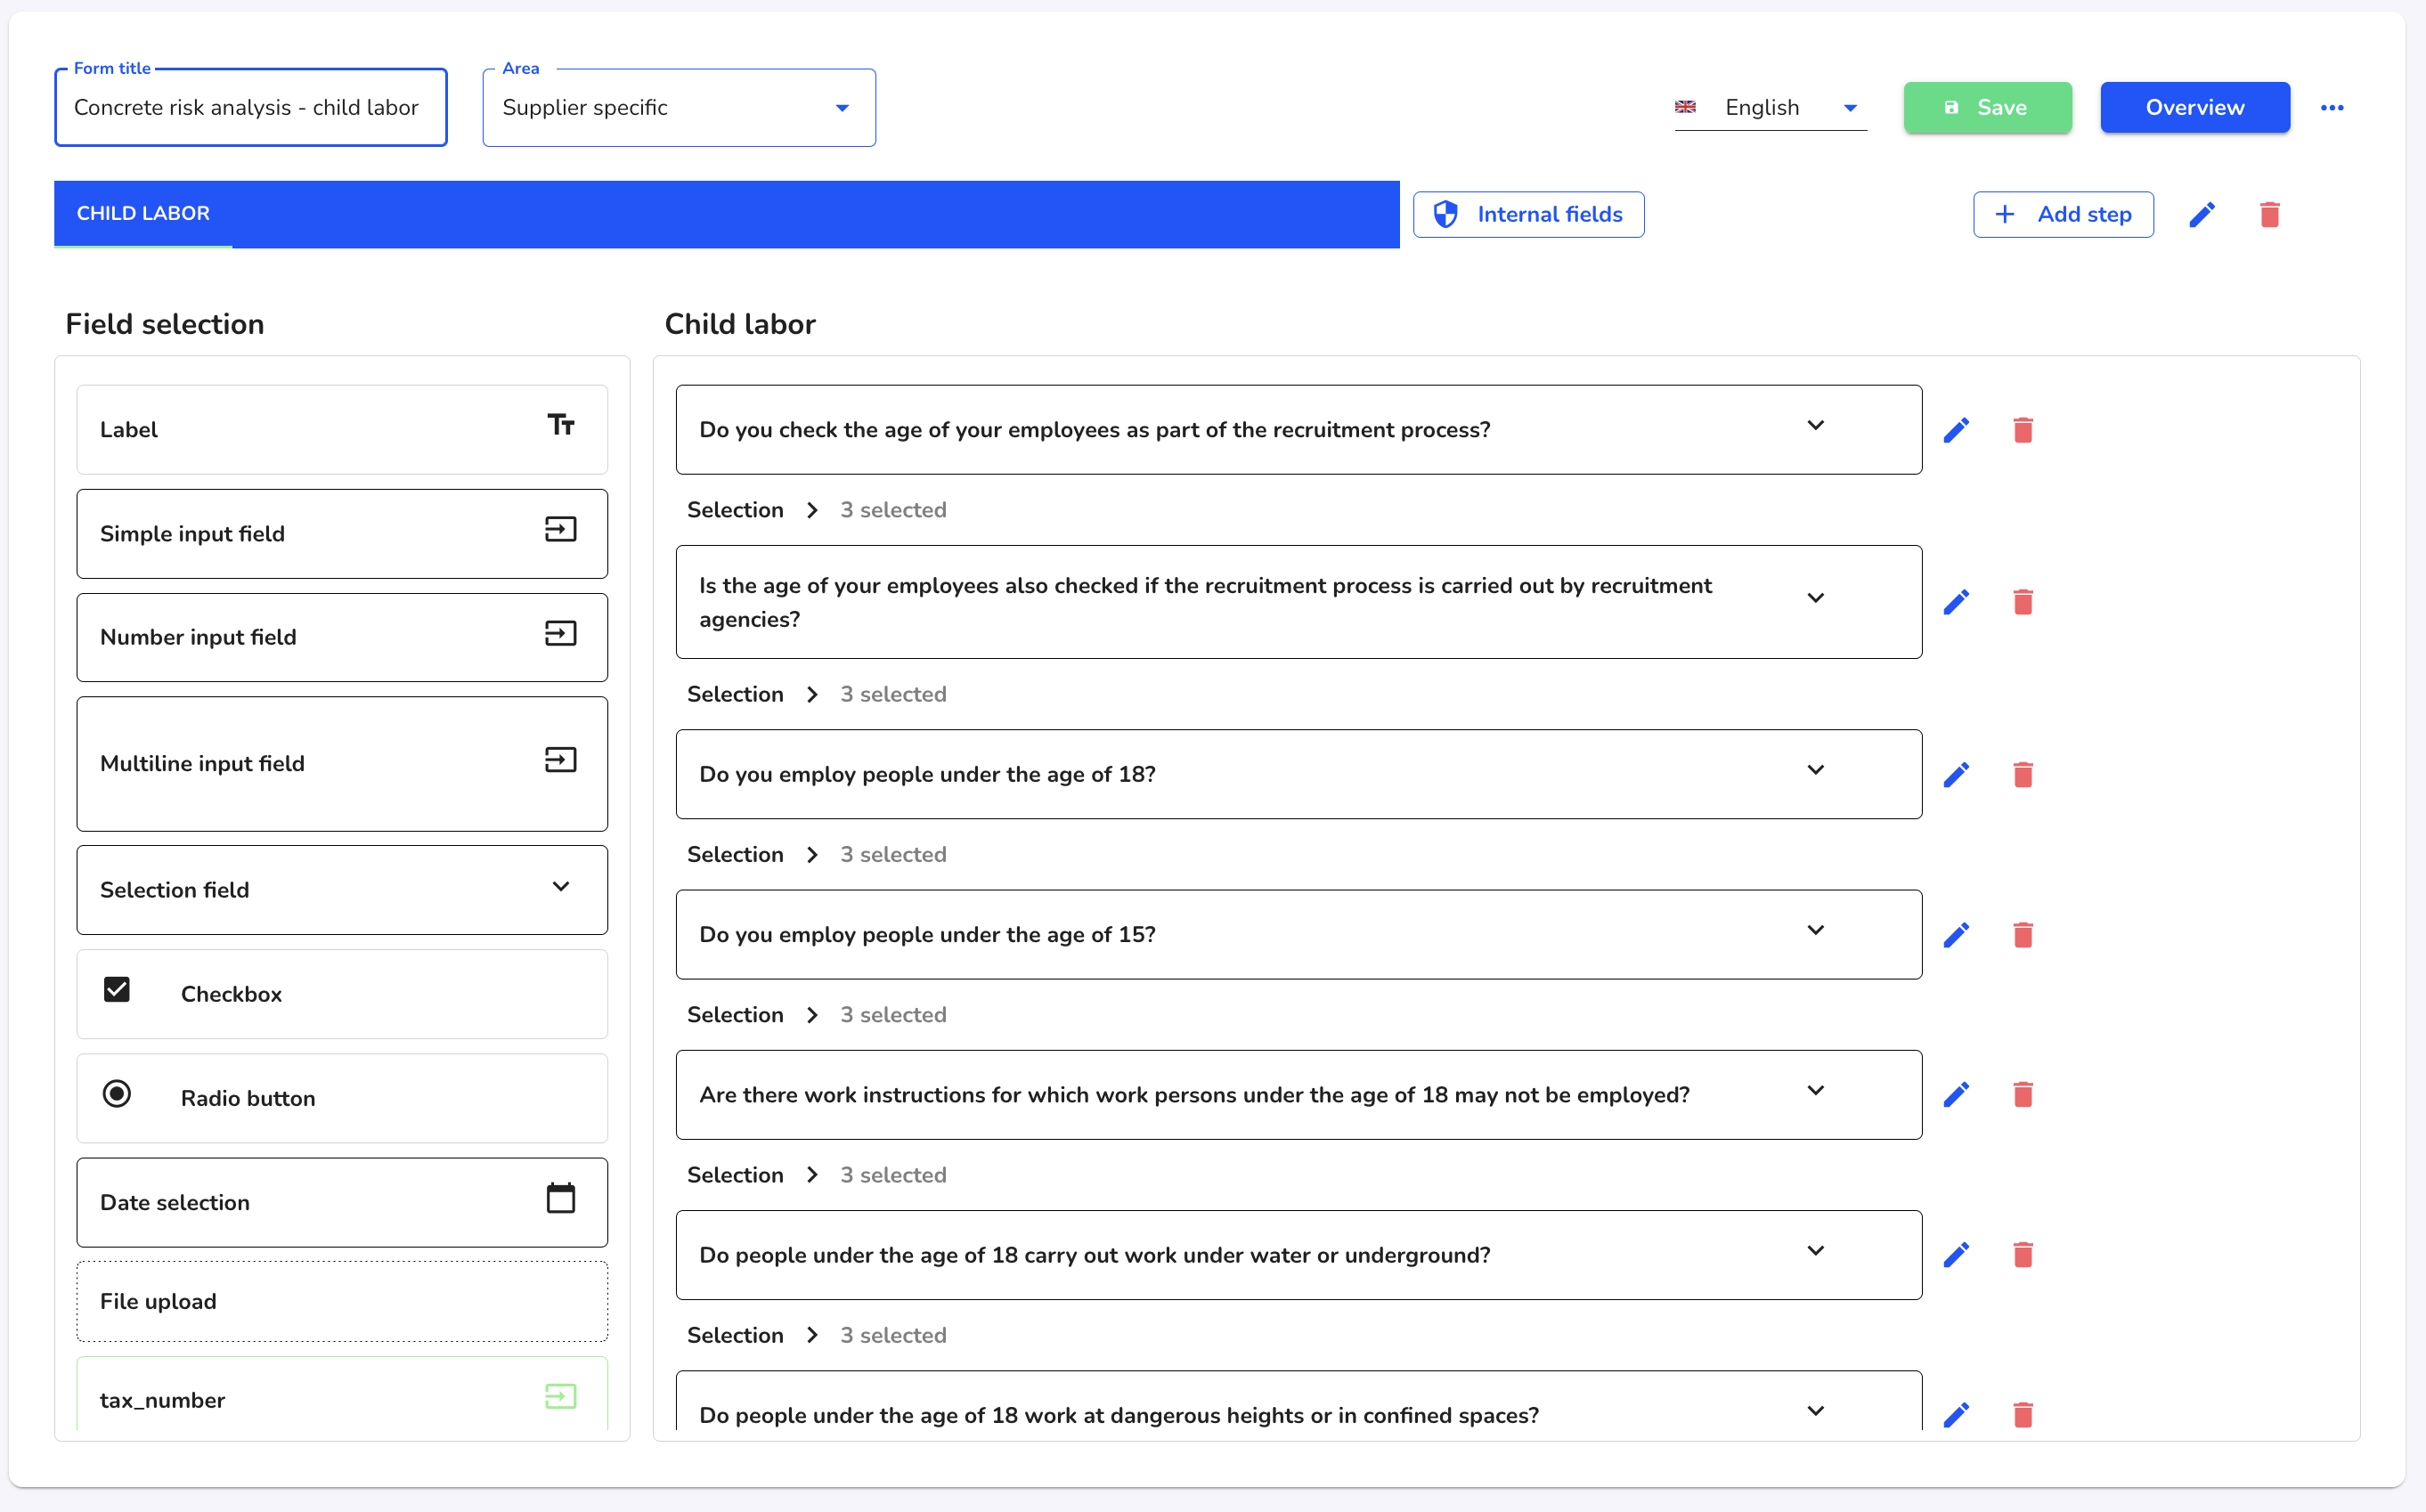
A form on child labor could look like this, for example:
Standard supplier form
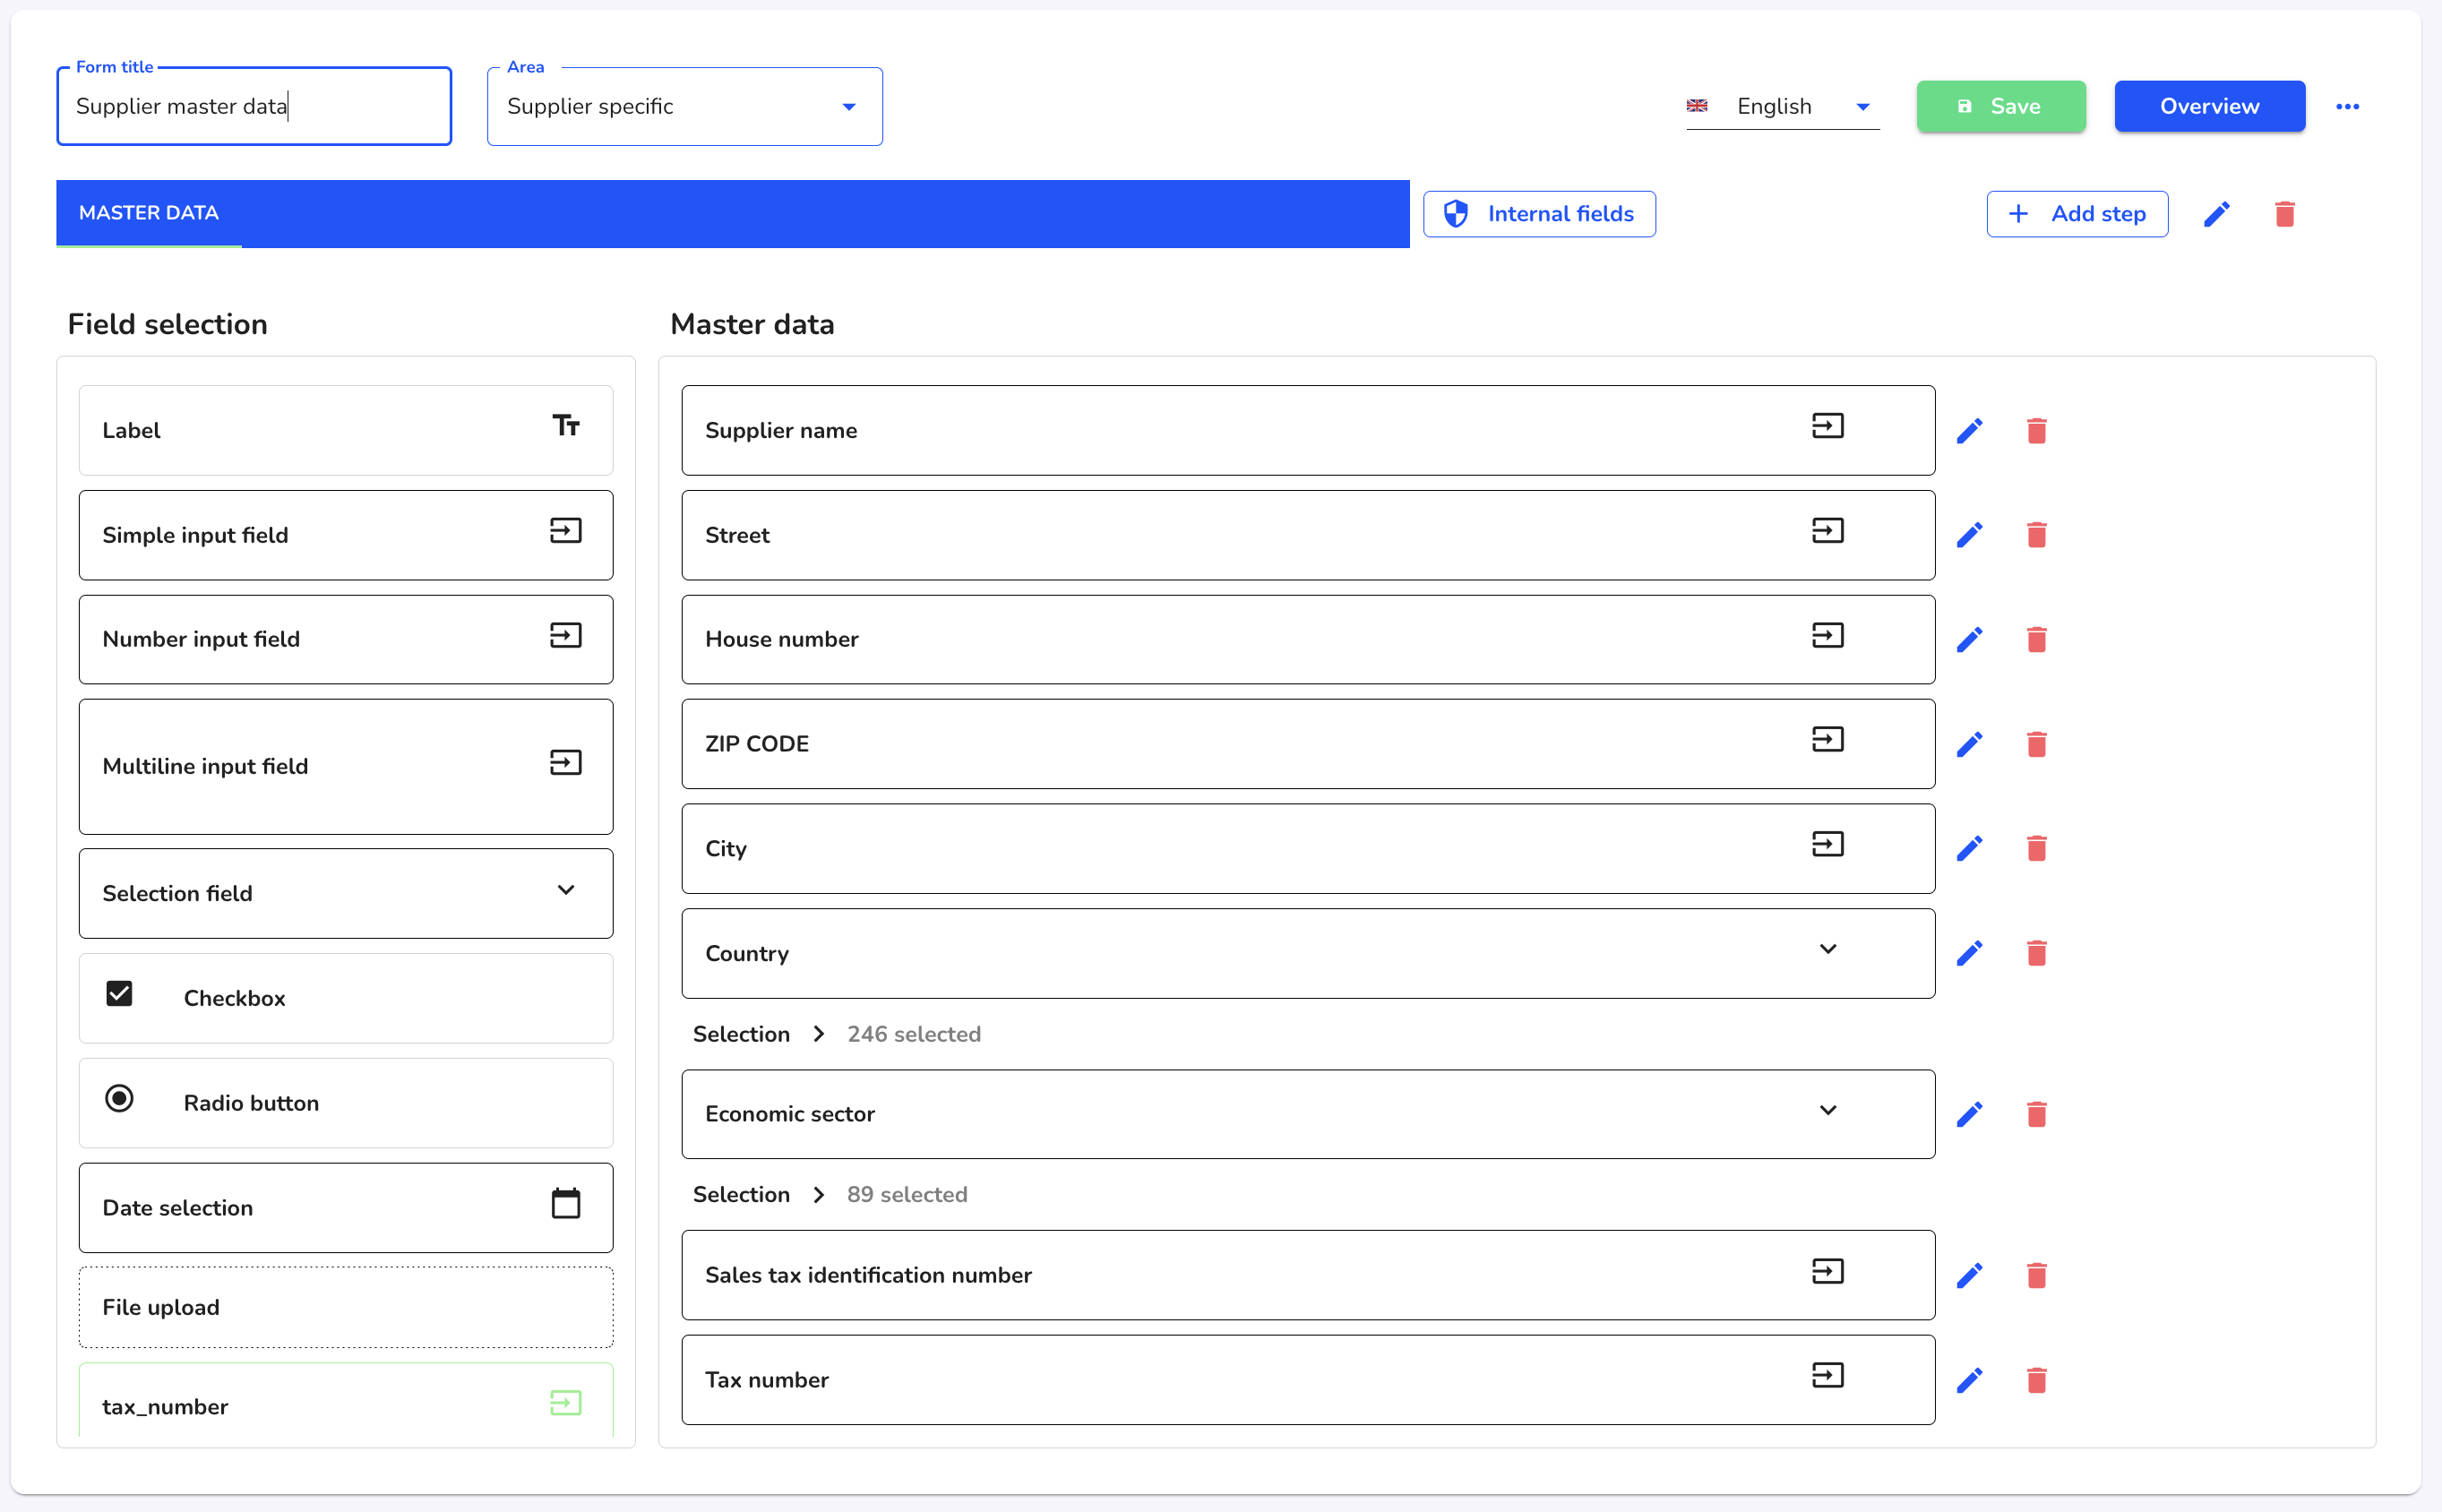
The "Standard supplier form" is used to enter supplier master data. All information that you wish to store as supplier information in the supply chain module must be entered here. Additional fields can be added using the global fields.
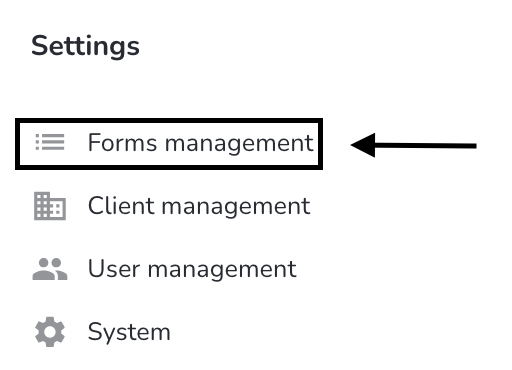
Under Settings, click on Form management.
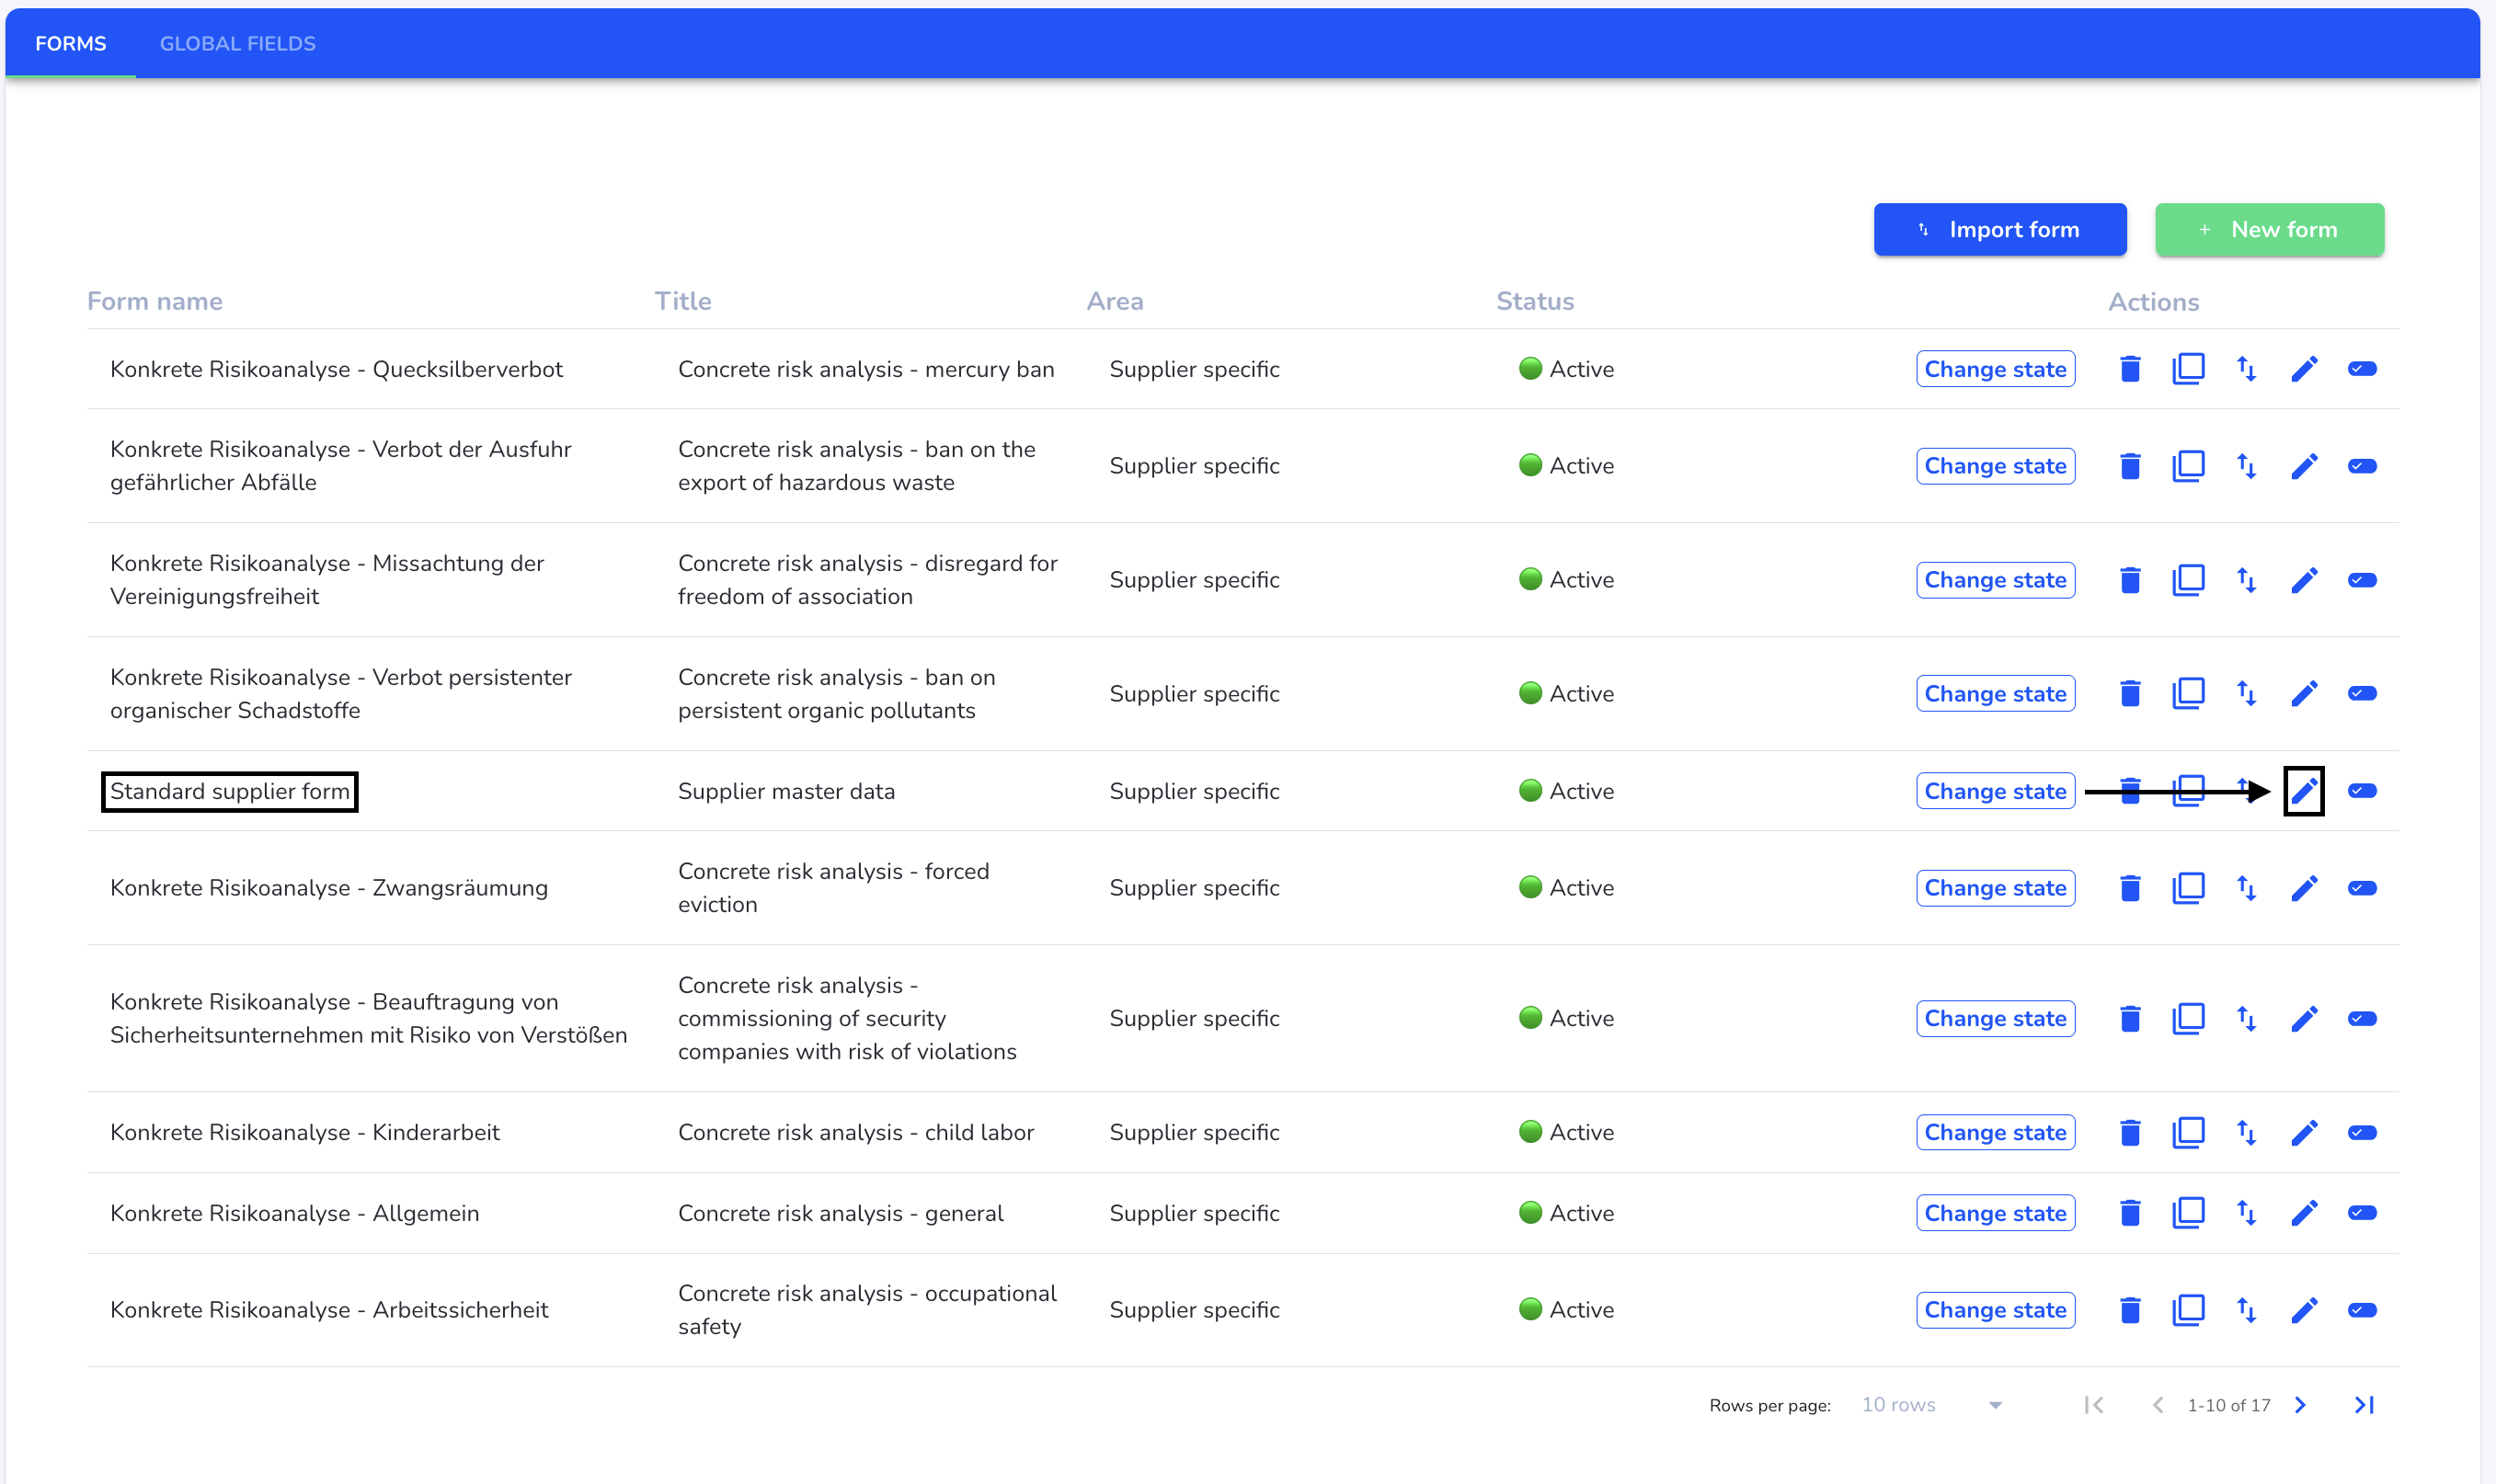
Select the "Standard supplier form" and open it using the editing pencil under Actions.
You can view the content of the master data there. This master data is automatically recorded and filled in when importing an Excel spreadsheet or manually adding suppliers.
If additional master data is to be stored, it must first be created as a global field and then integrated into the form. Click here to view this process.
Create form
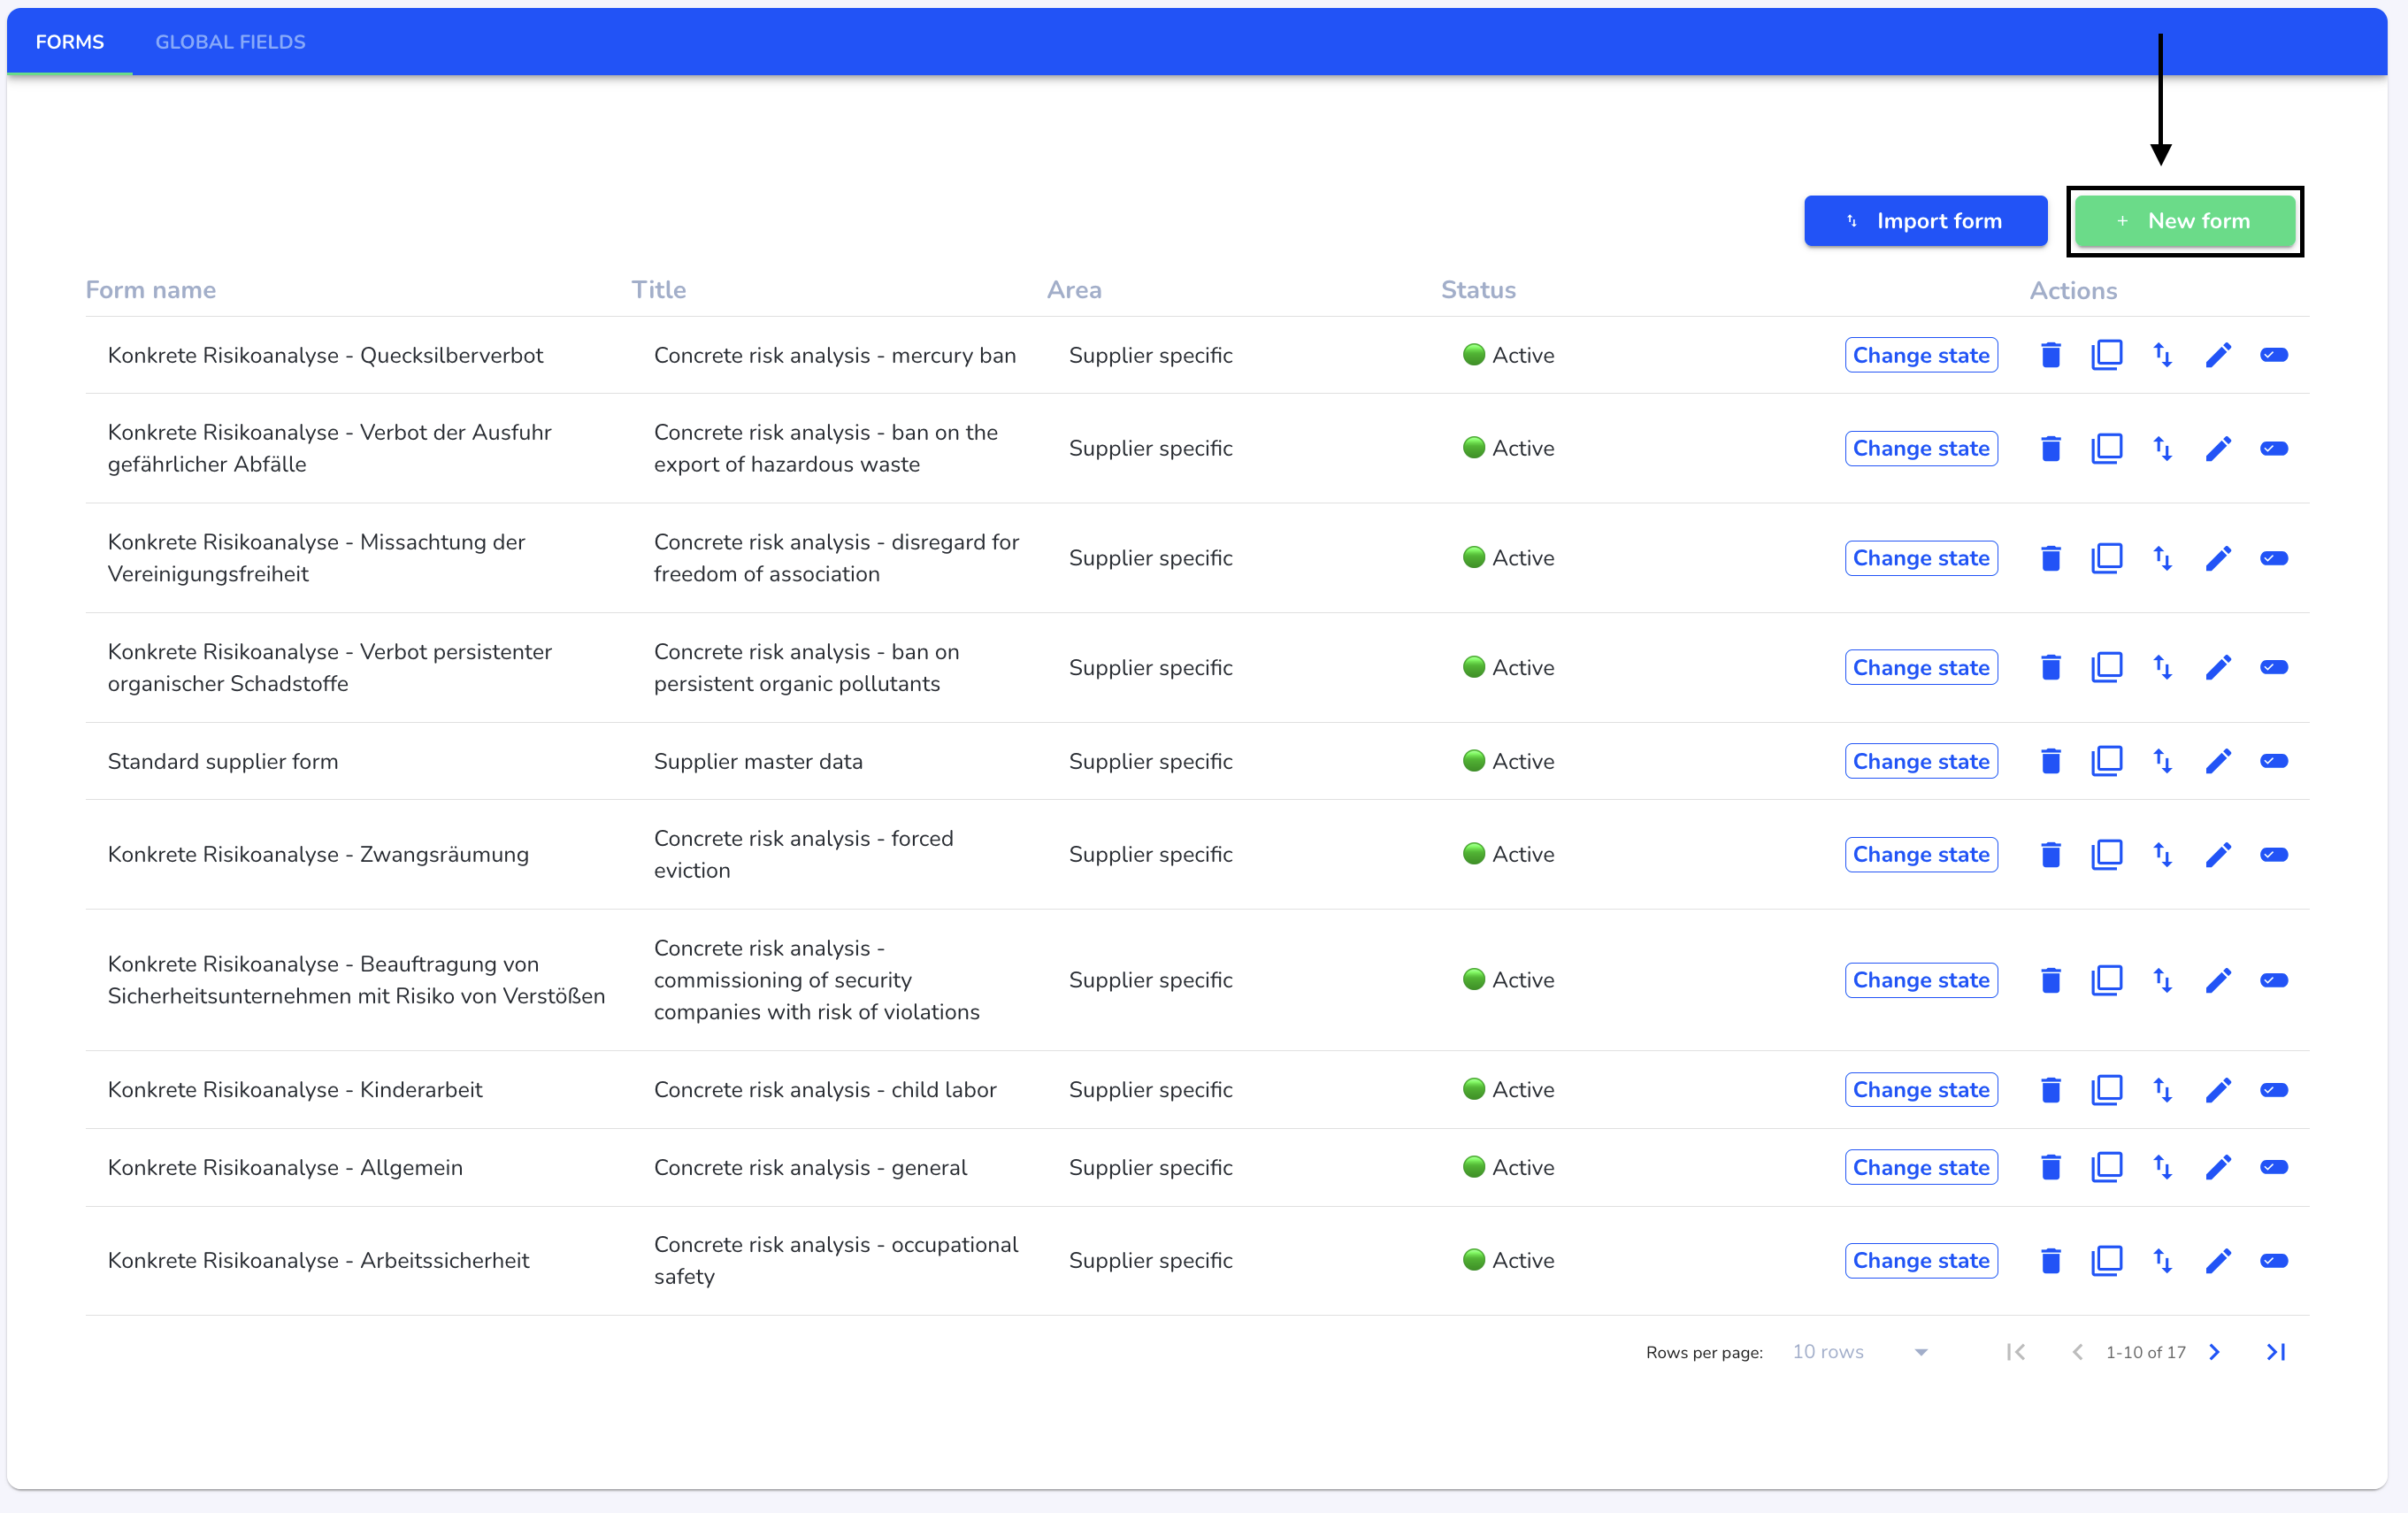
To create a new form, click on Form management under Settings.

Click on the New form button.
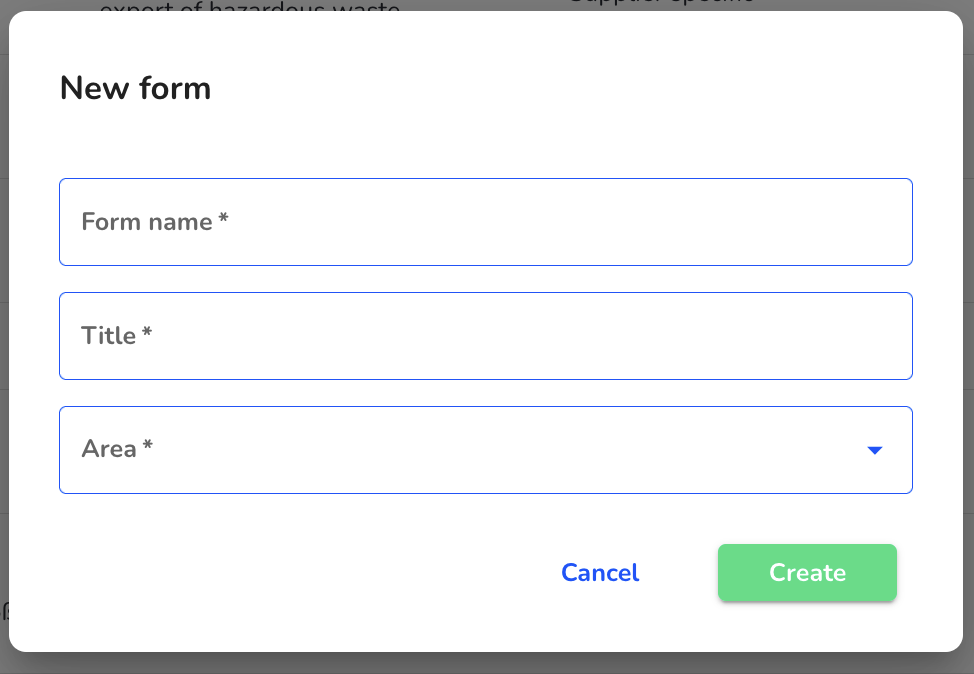
You can now fill in the information on your new form.
Form name - This name is intended for internal recognition of the form
Title - The title is broadcast to all external persons who can access the form.
Area - The area determines the benefit that the form should fulfill. A distinction is made here between supplier specific and self-assessment.
The Supplier specific section is intended for forms that are sent to suppliers to obtain information about their practices and to collect data about suppliers.
The self-assessment area is intended for internal analysis, for example of your own business area.
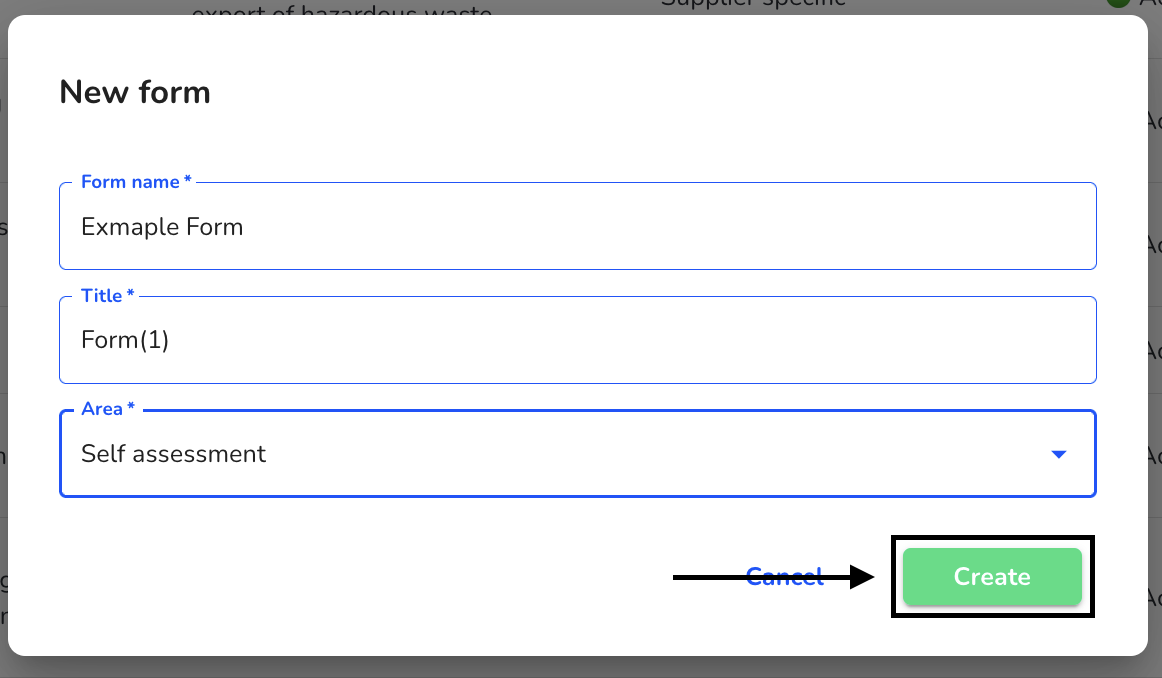
When all the information is filled in, click Create to add the form.
The form has now been created. First, a step must be added.
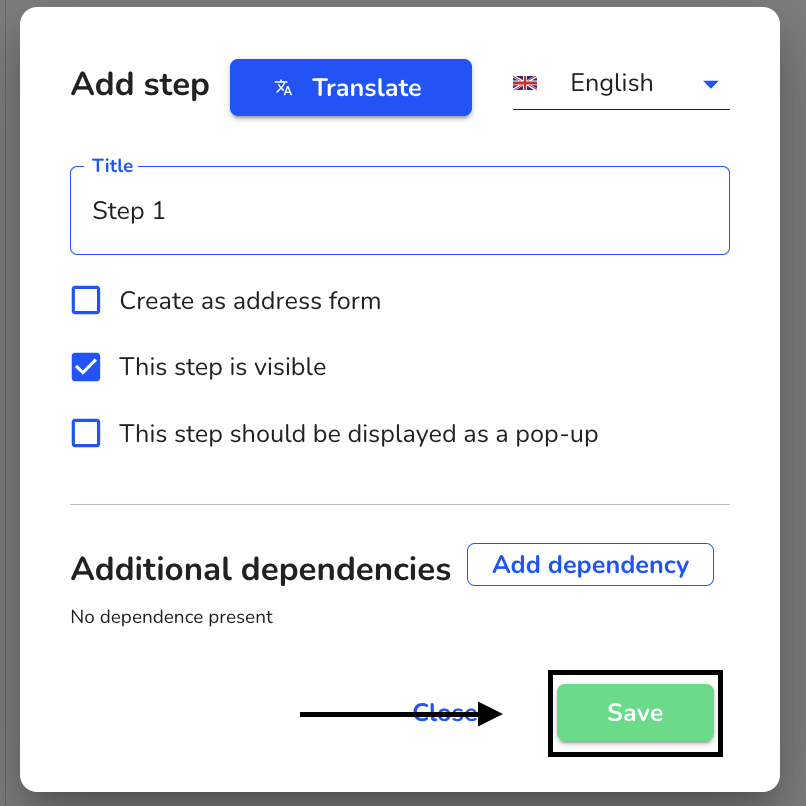
Give the first step a title and select the shape of the step.
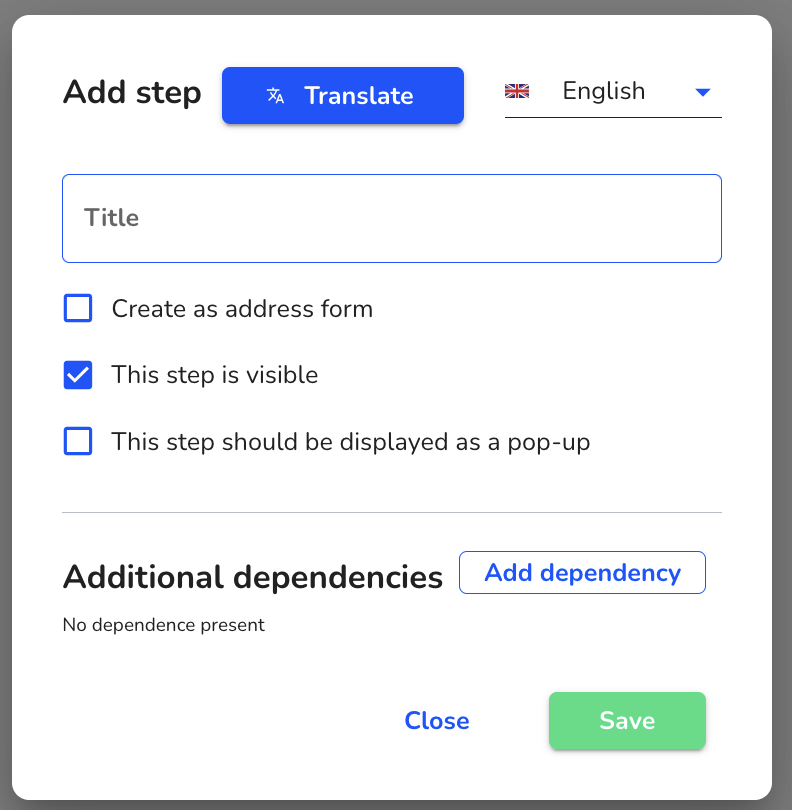
Click on Save to create the step.
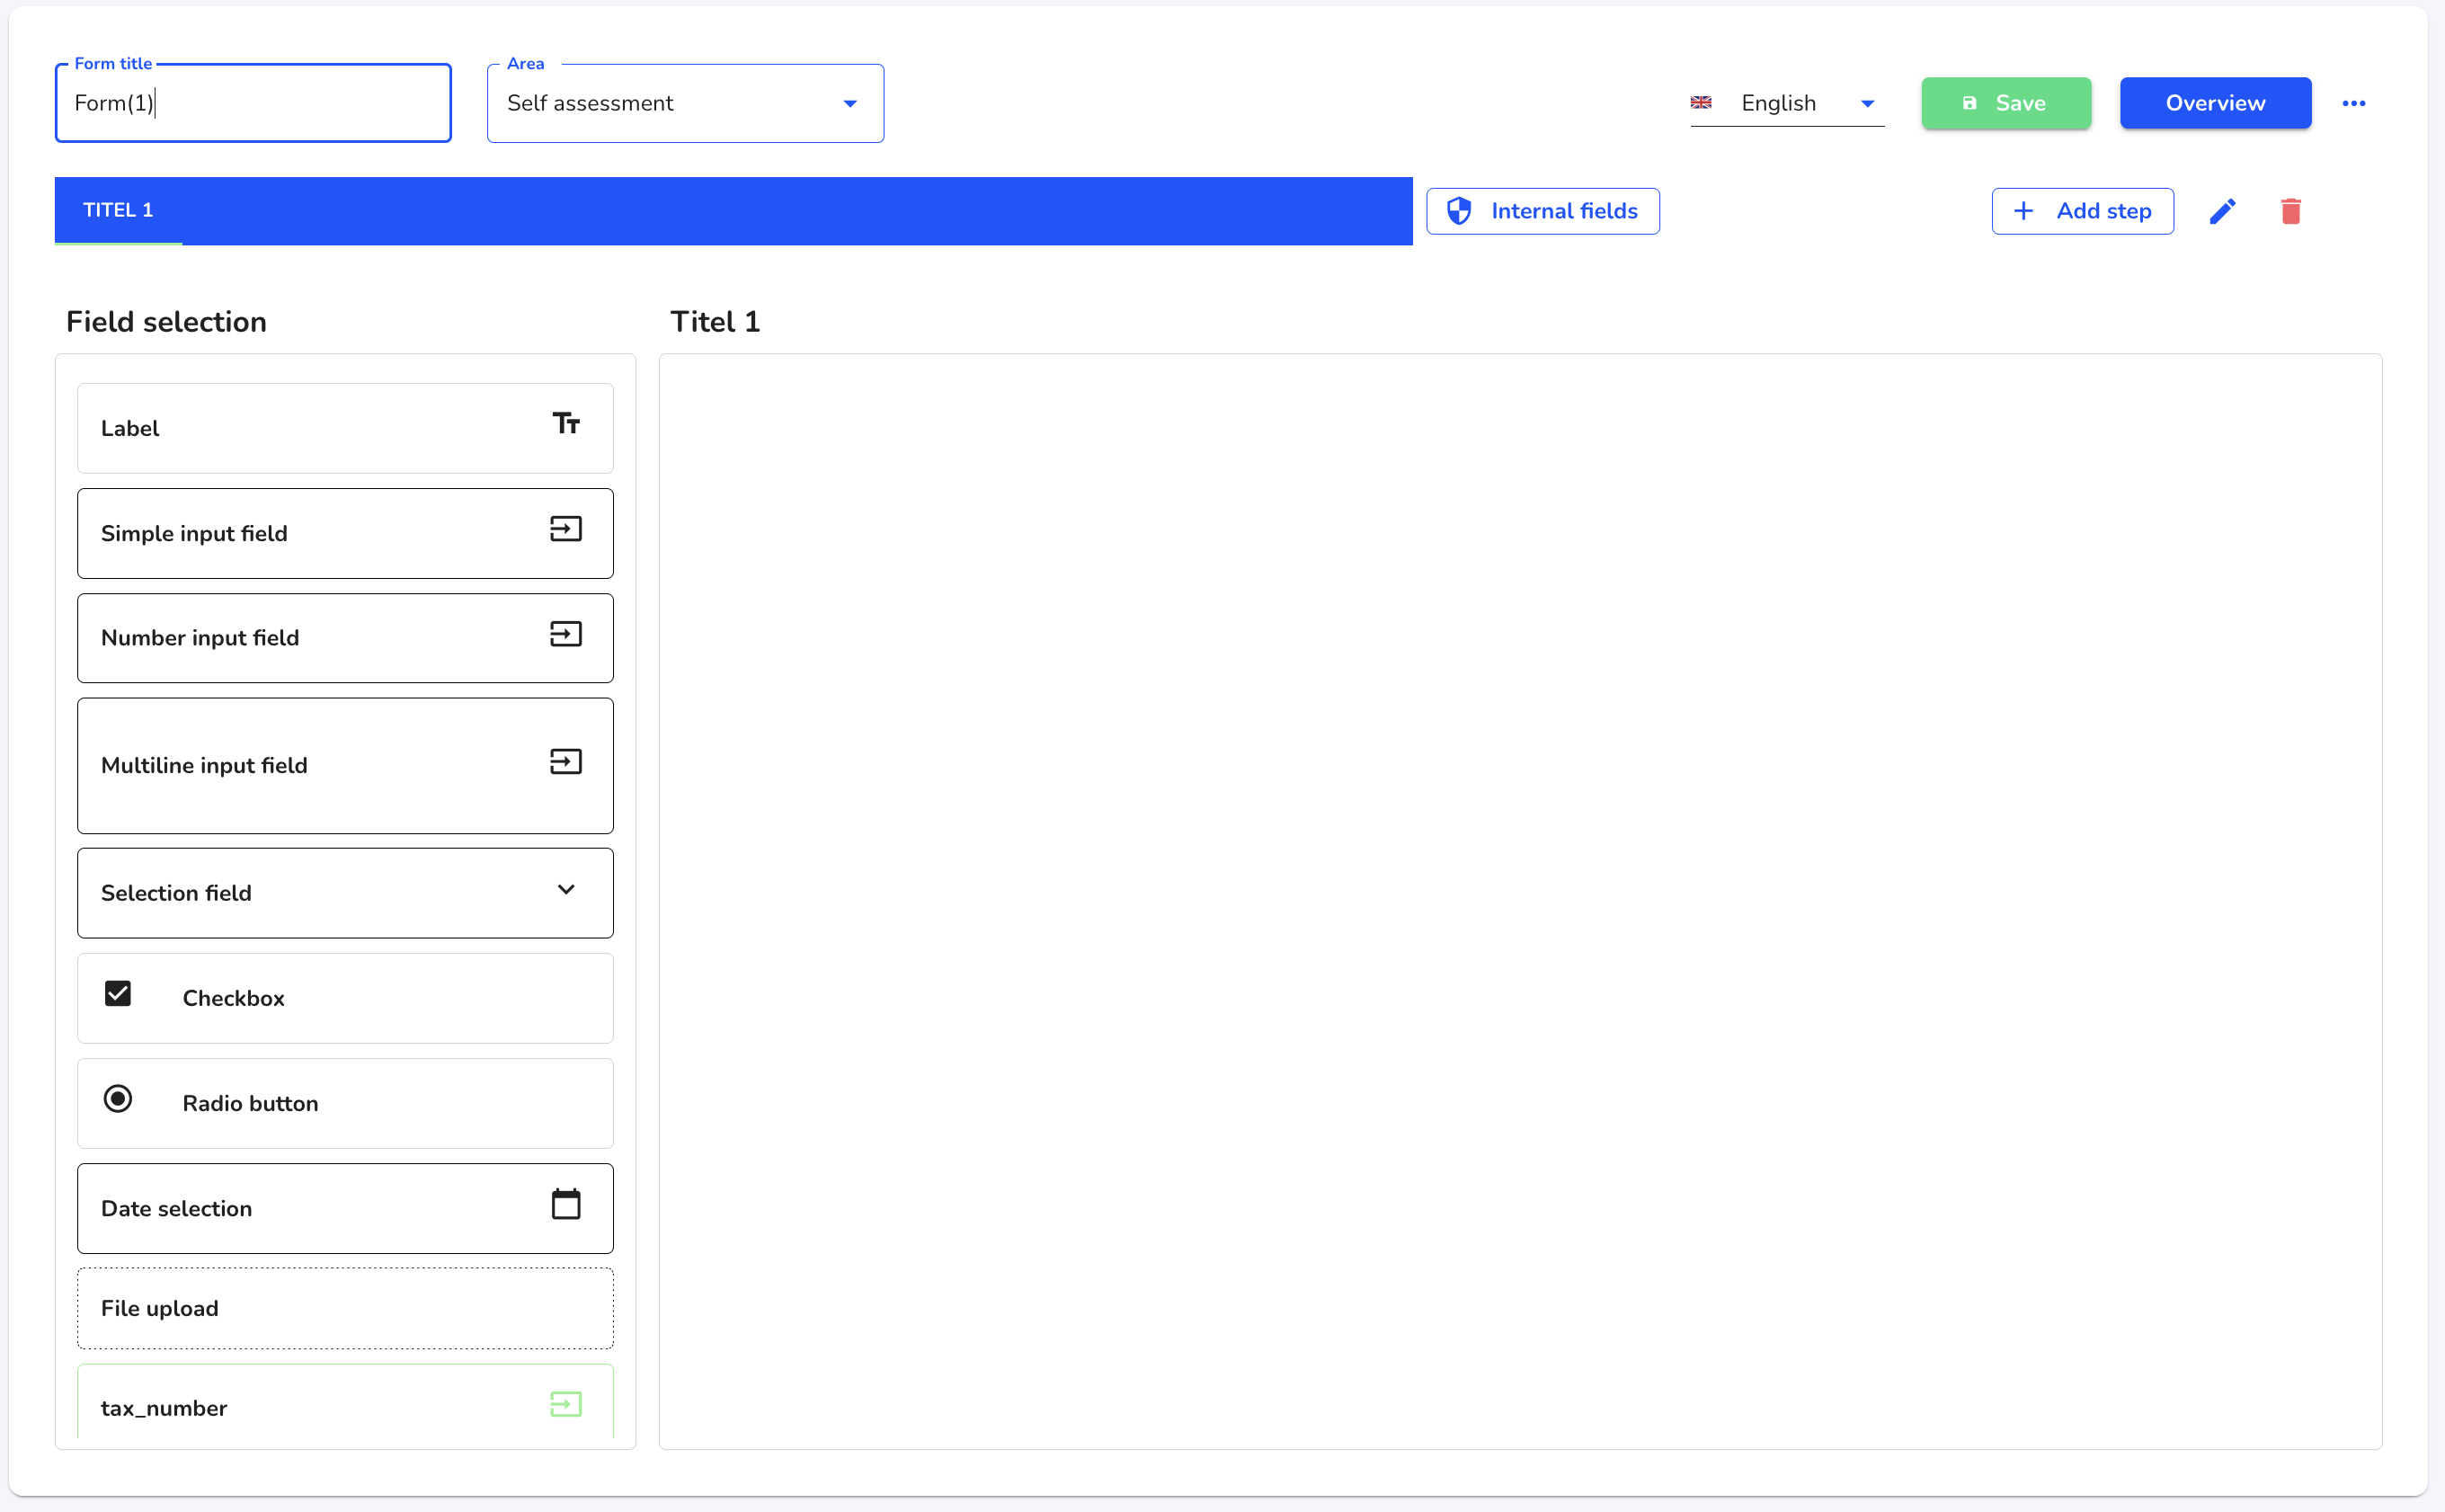
You can now start editing and designing the form.
Import form
To import a new form, click on Form management under Settings.

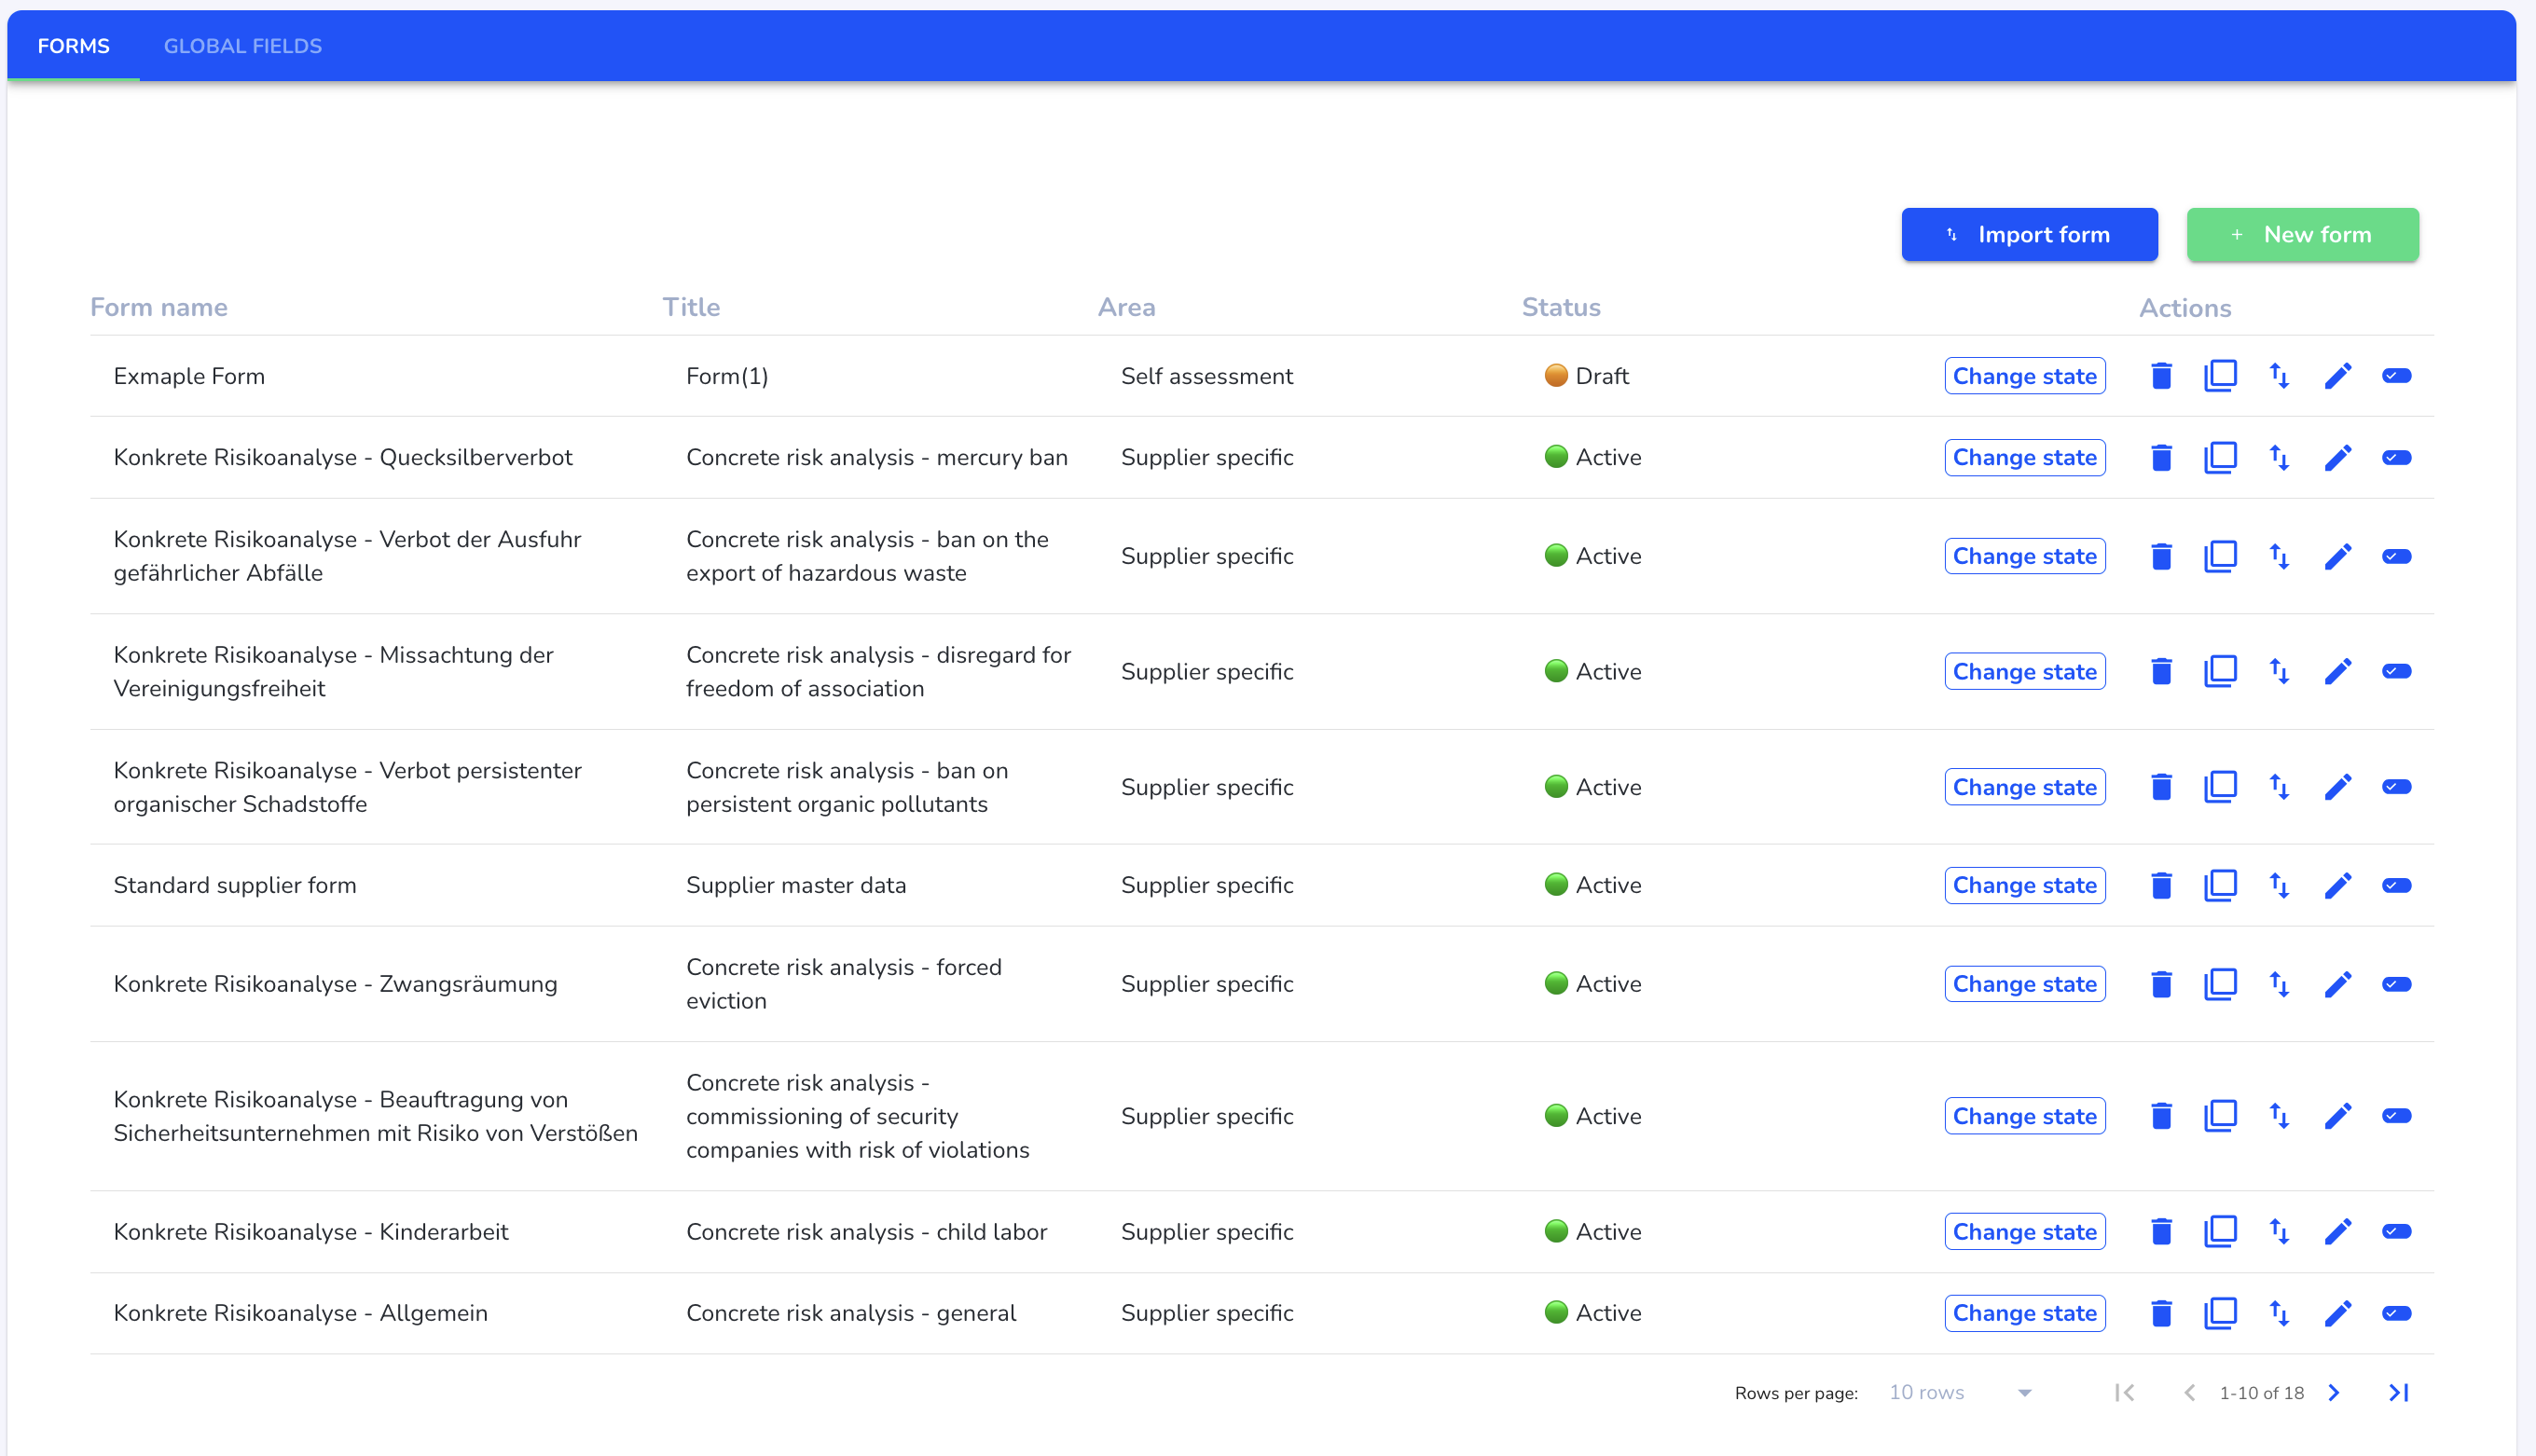
Click on the Import form button.
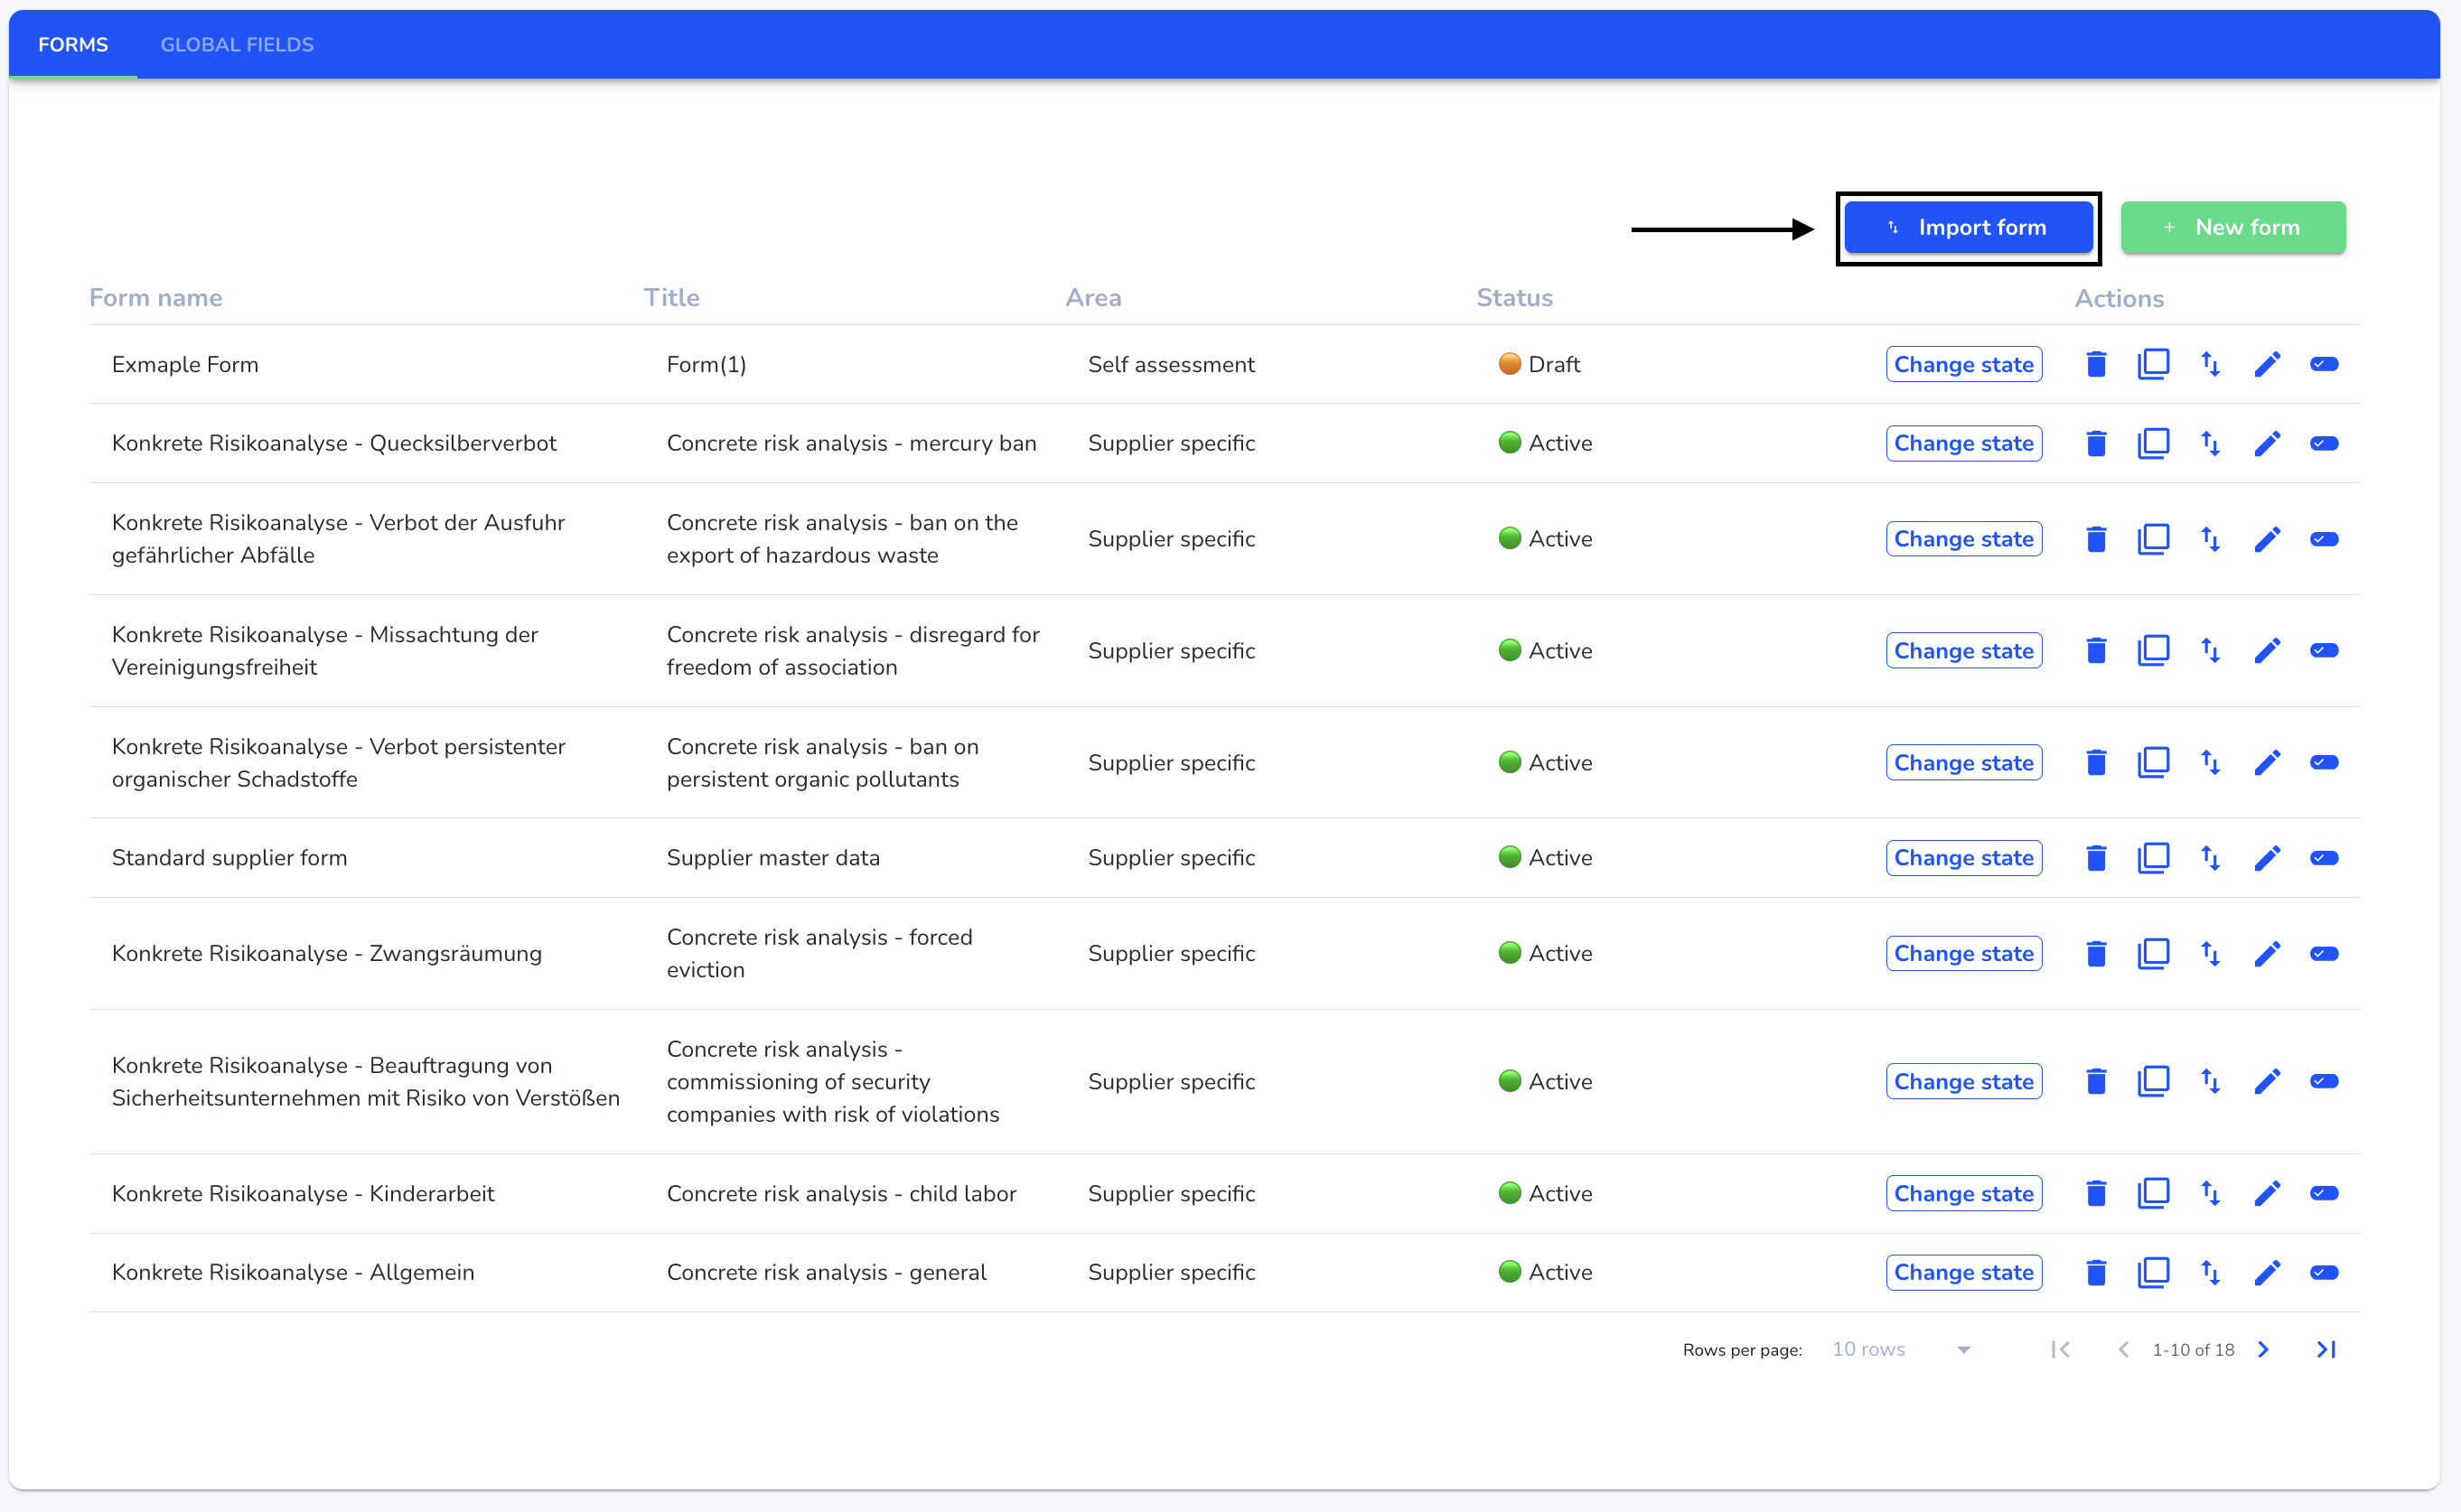
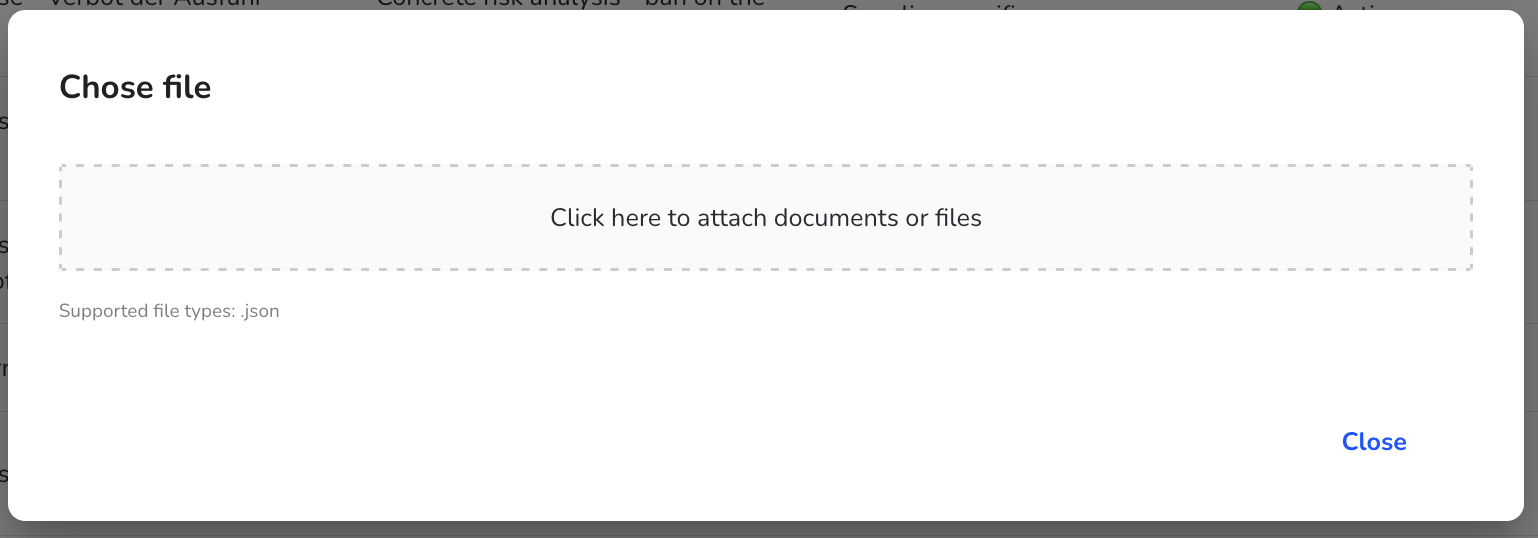
Select the form that you want to import. The file must be a json file.
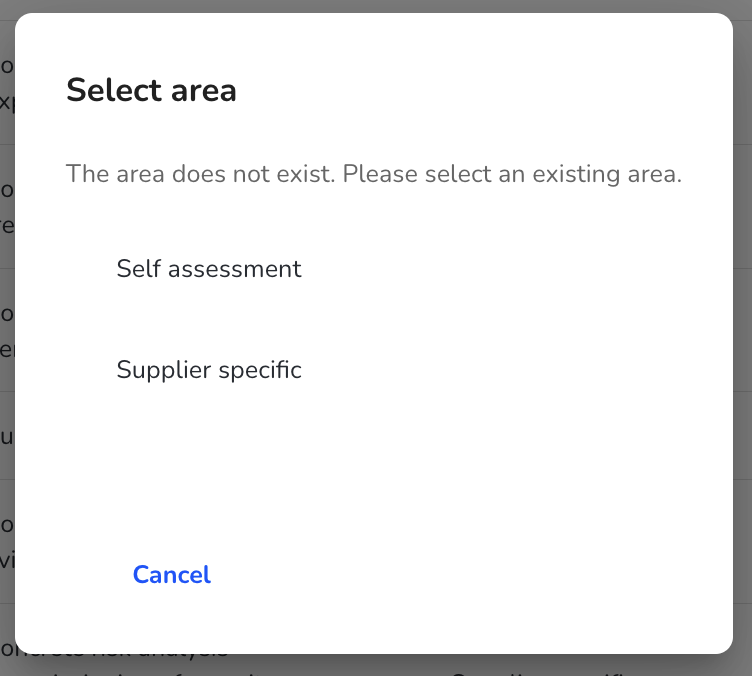
Select the area in which the form is to be placed.
The form has been imported. You can now start editing and designing the form.
Edit form
To edit a new form, click on Form management under Settings.

Under Actions, click on the editing pen of the form you want to edit.
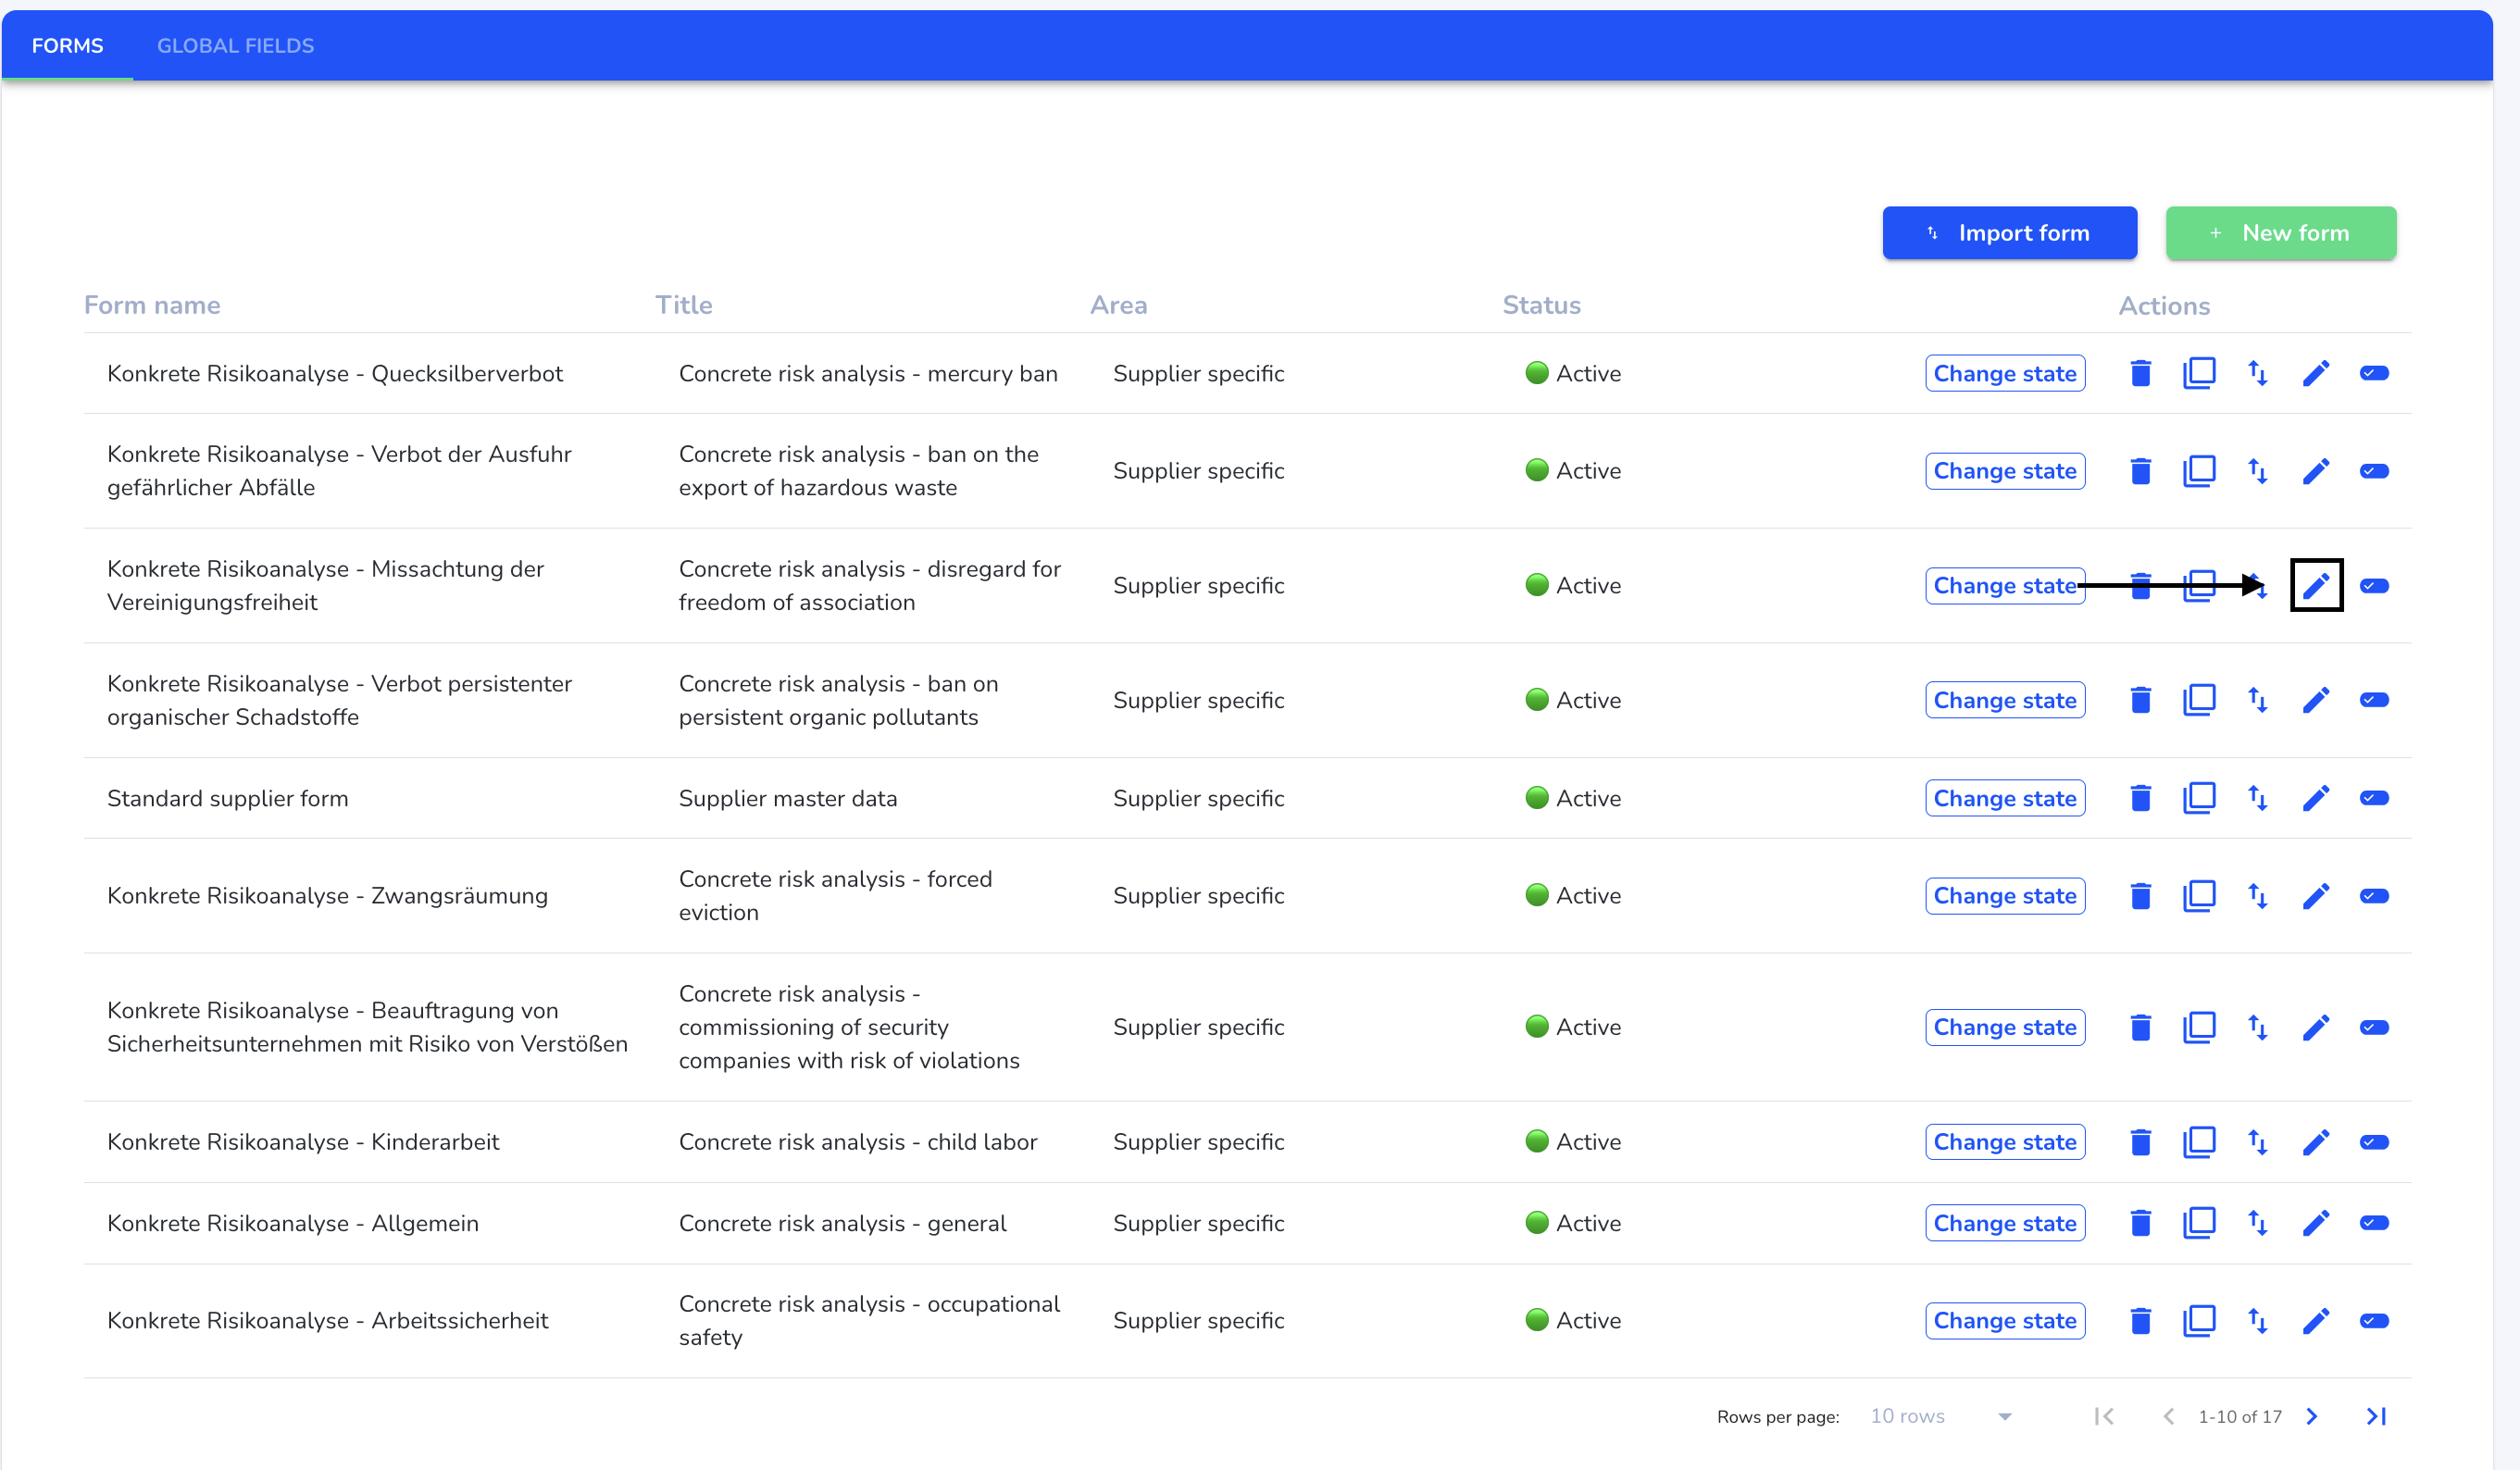
You can now start editing.
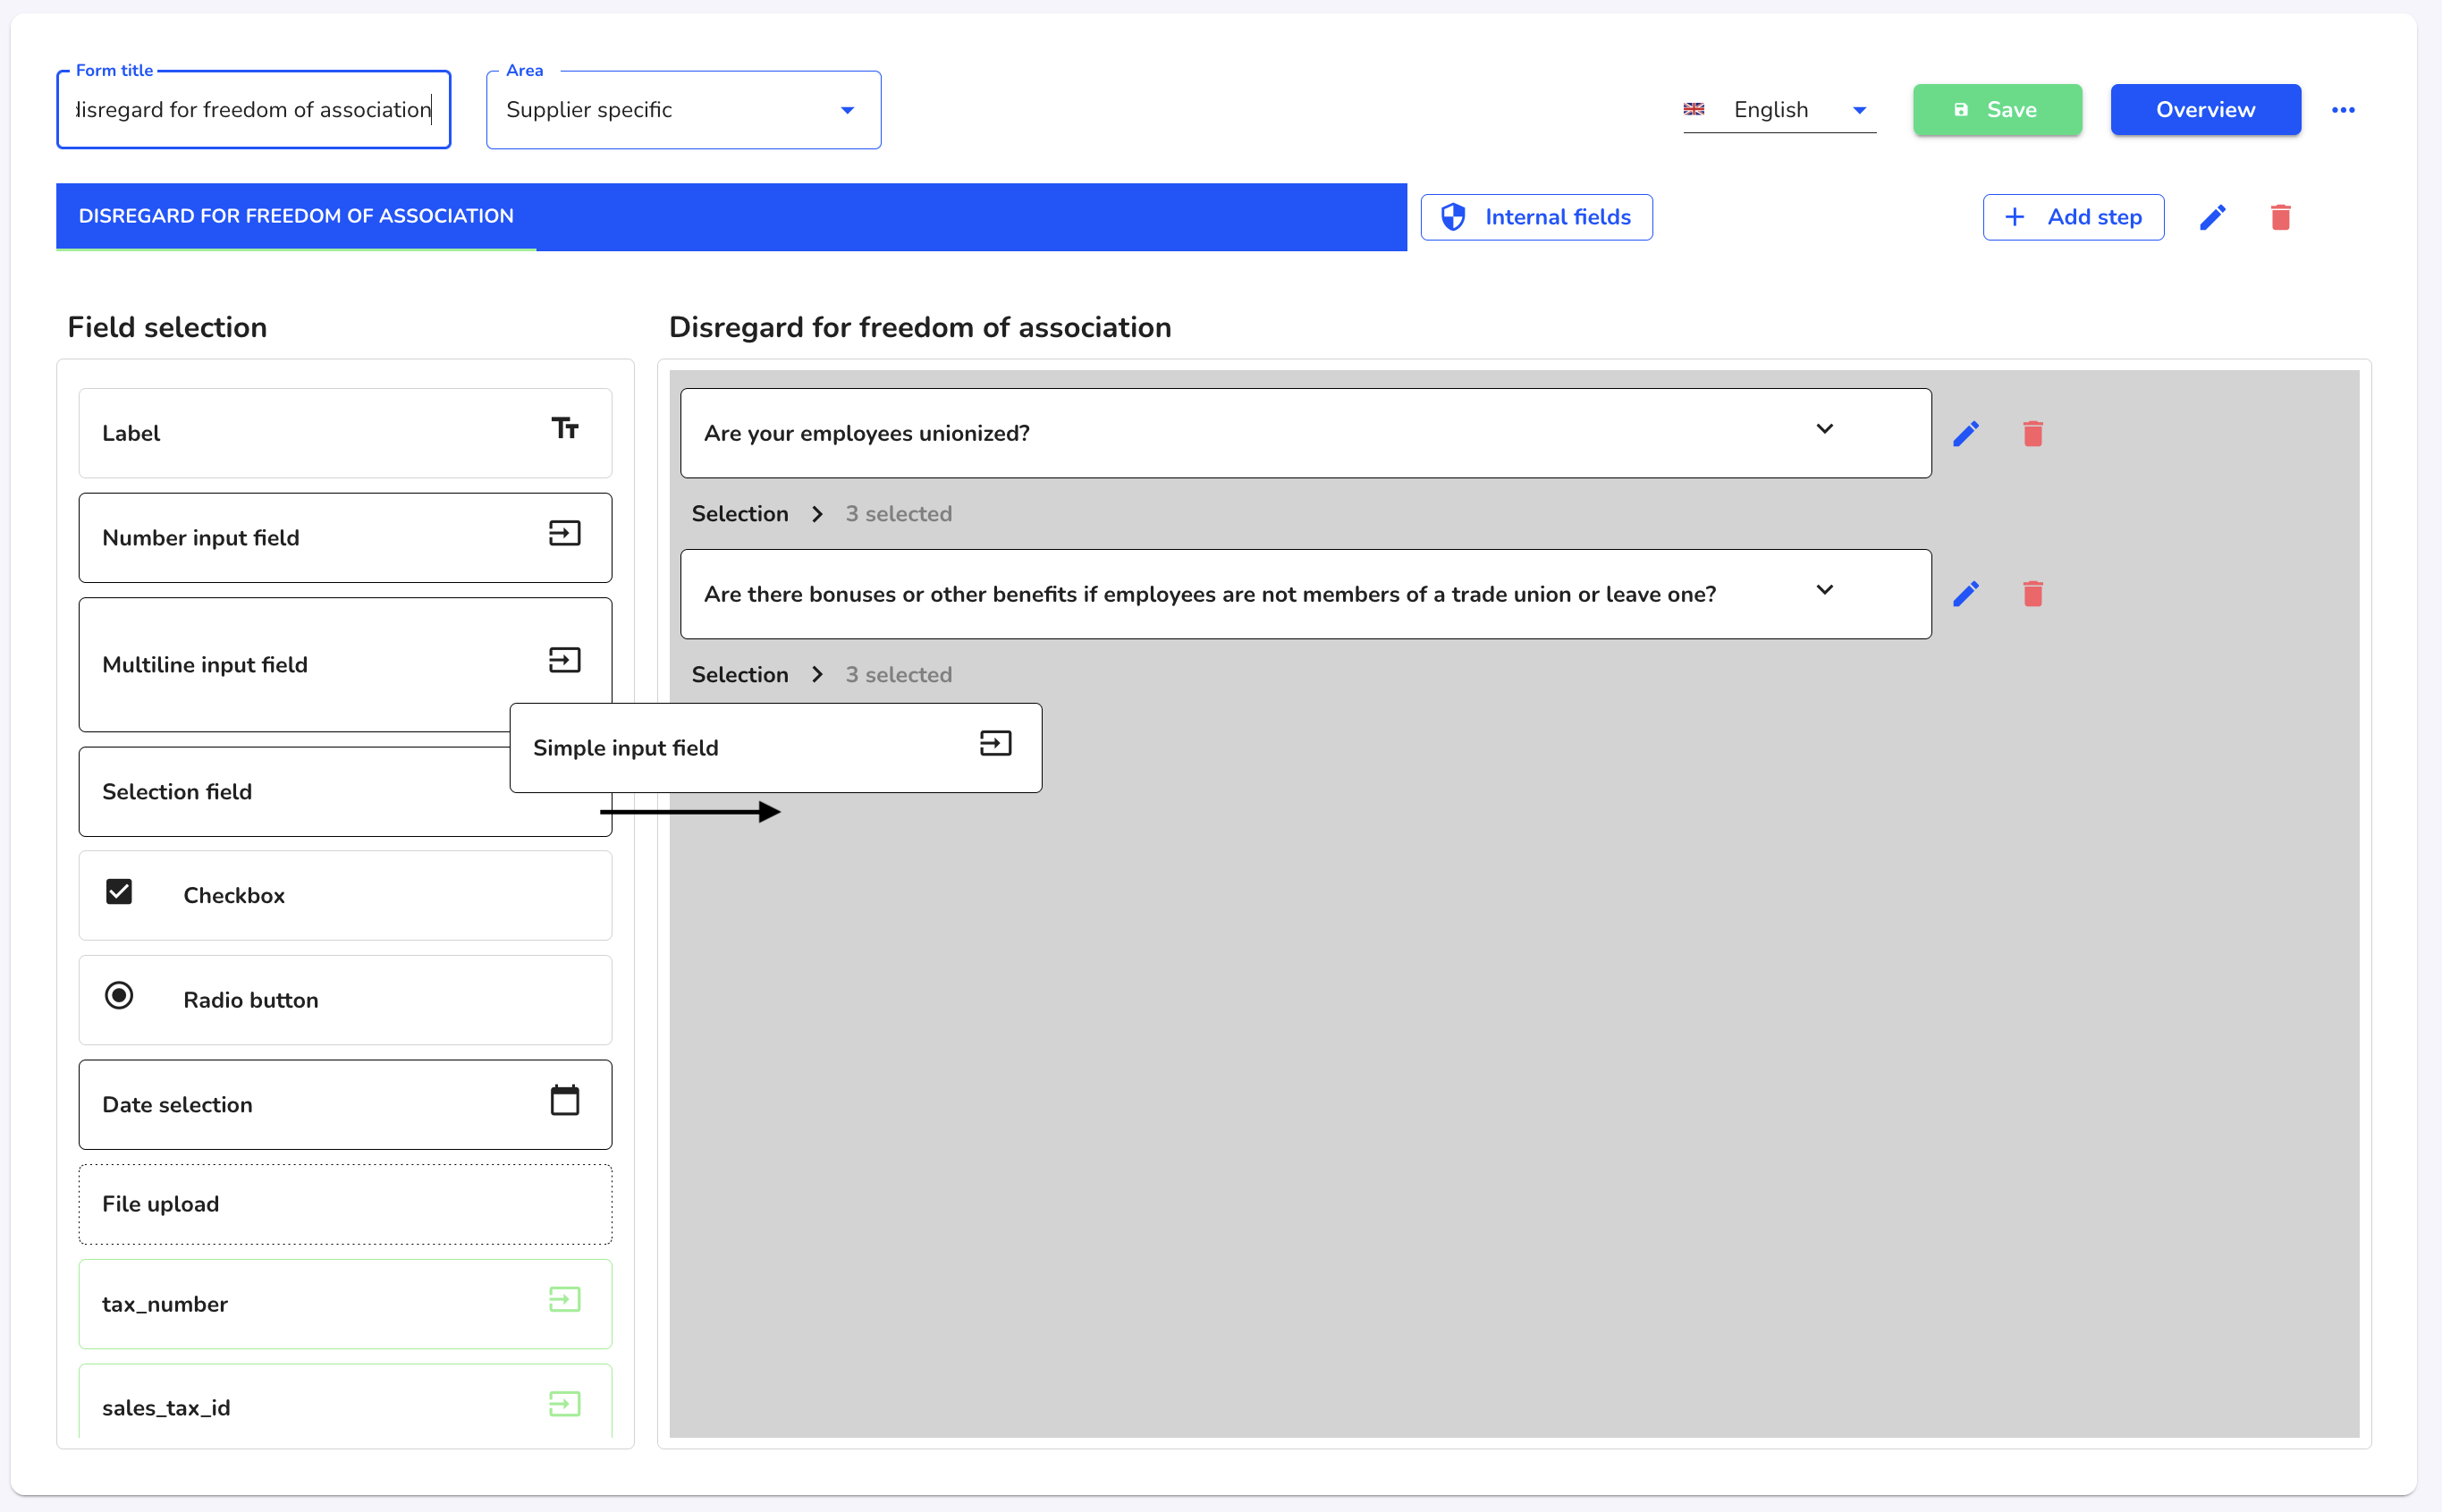
If you want to add new fields, select them in the field selection and drag them into the form using the mouse.
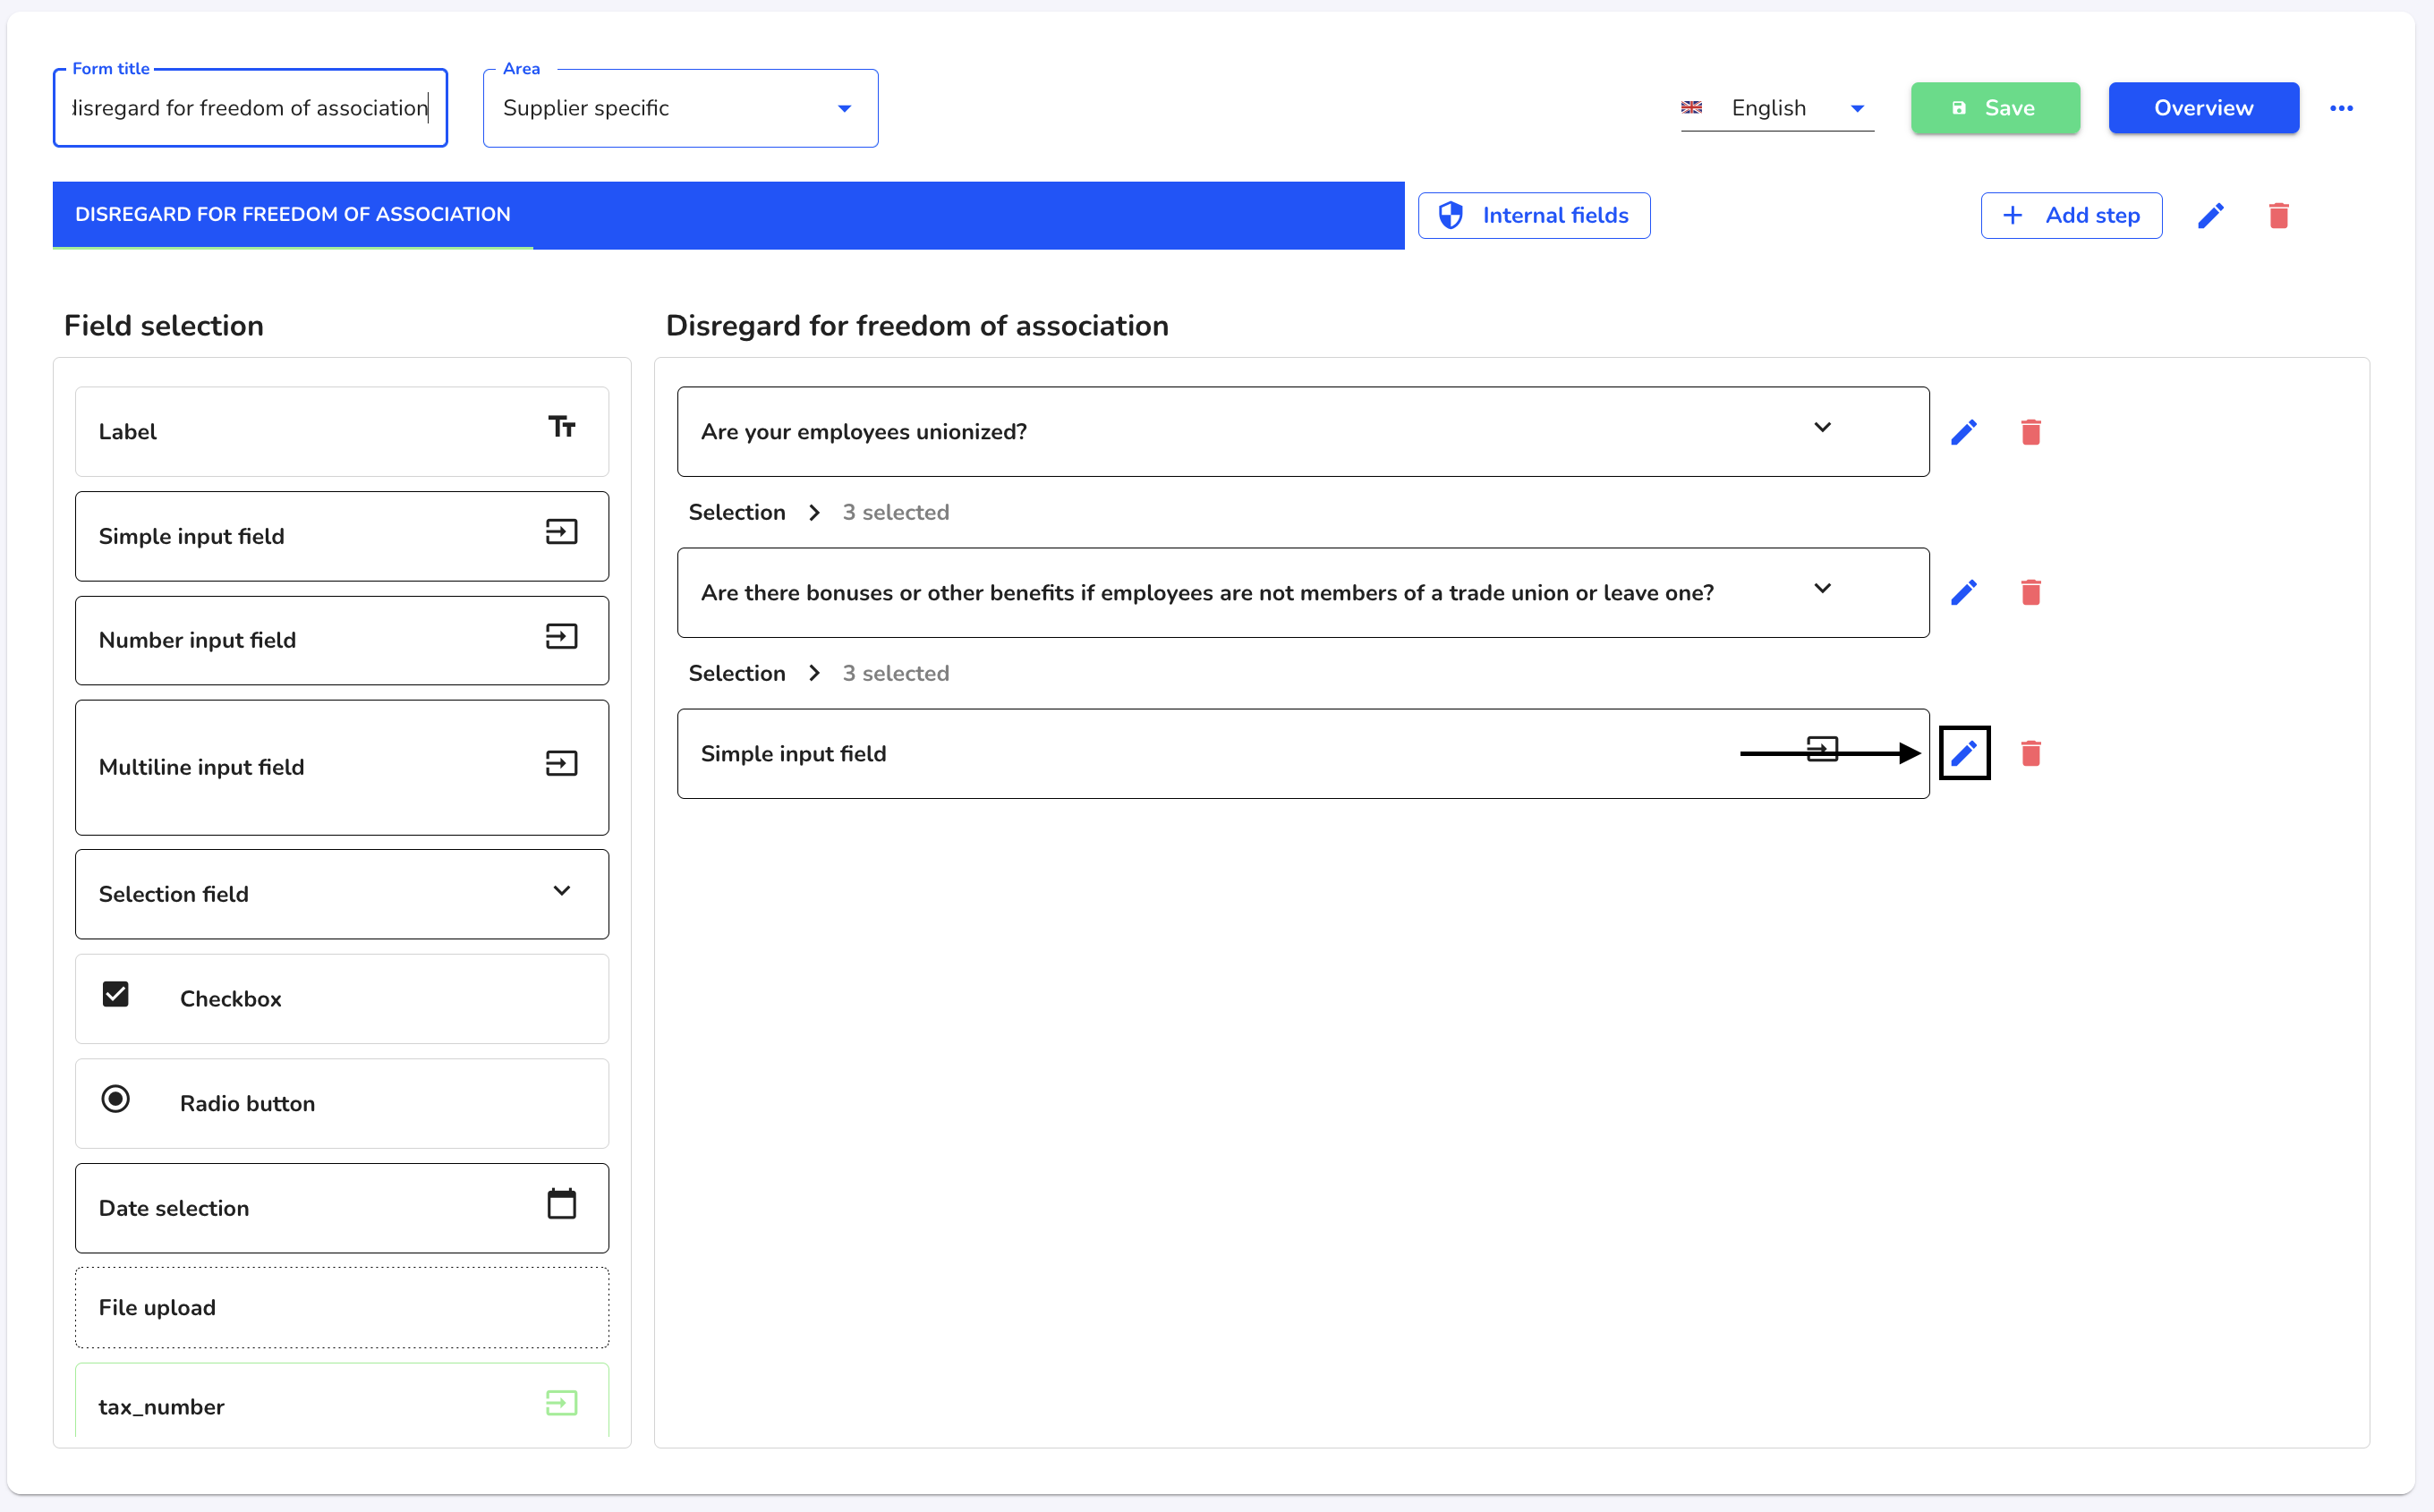
If you want to edit existing fields, click on the editing pen of the desired field.
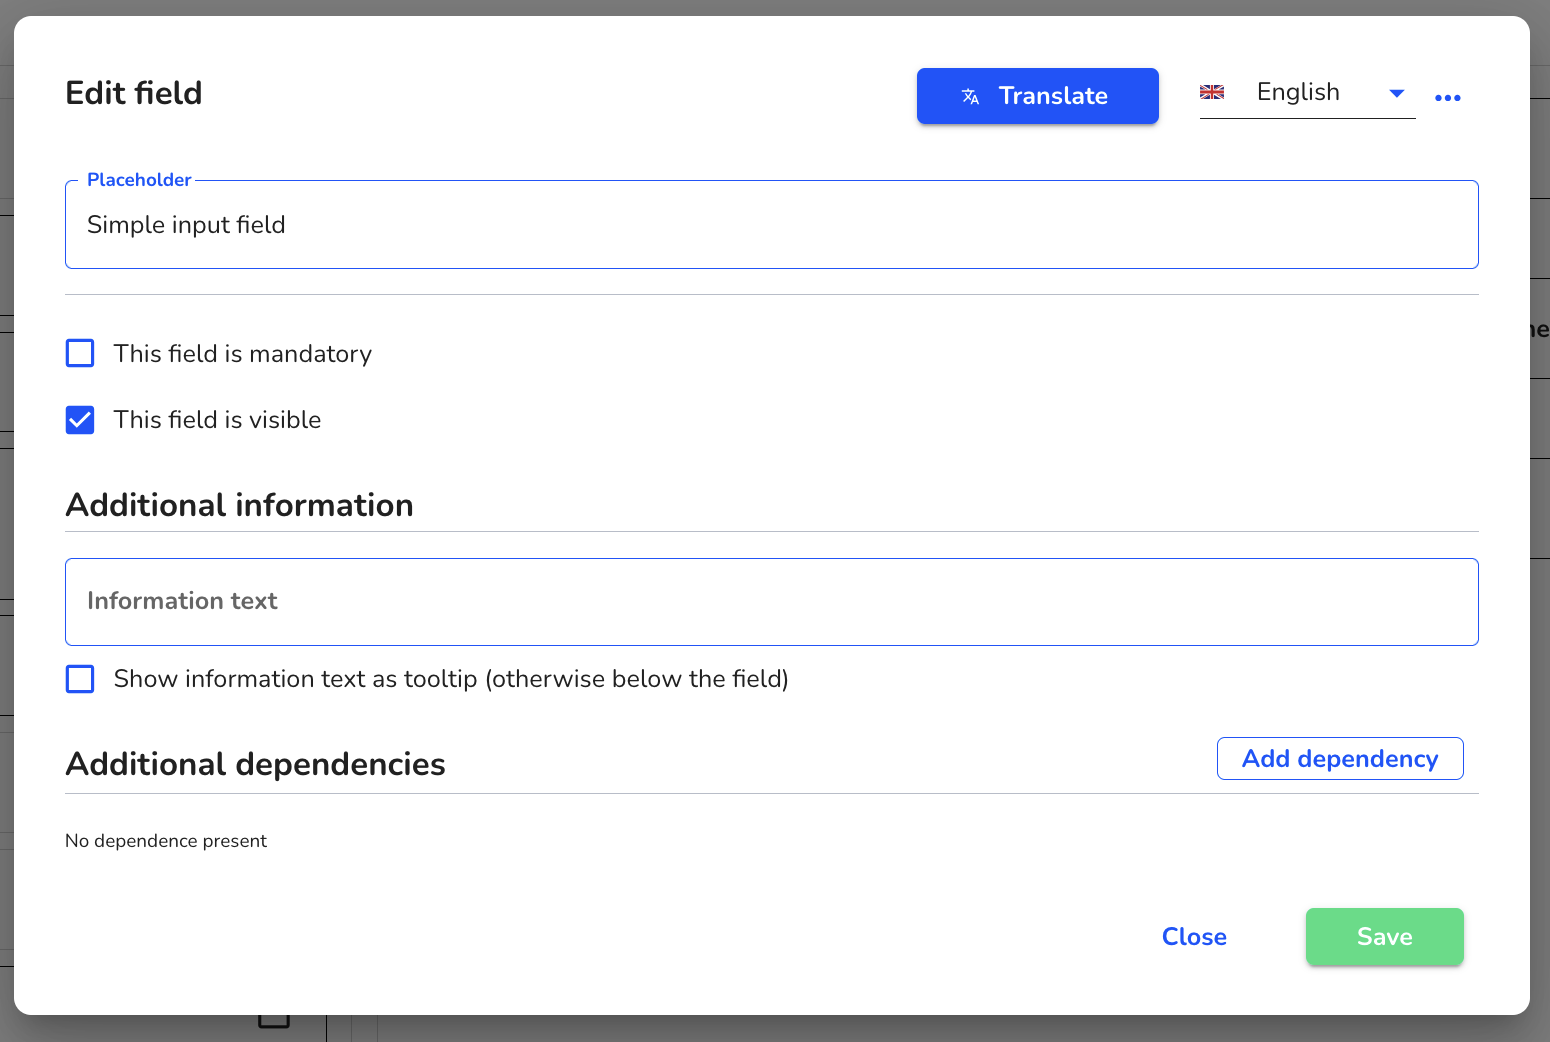
You can edit the content of the field there.
Placeholder - Fill in the name or question of the field here.
The field is mandatory - If the checkbox is filled in, this field must be answered in order to complete the form.
The field is visible - If the checkbox is filled in, this field is automatically displayed in the form. In the case of dependencies, the field can first be set as not visible.
Information text - This text serves to further clarify the field. It can be displayed below the field or as a tooltip.
Dependencies - Dependencies can be created between different fields. Click here to view the instructions for creating dependencies.
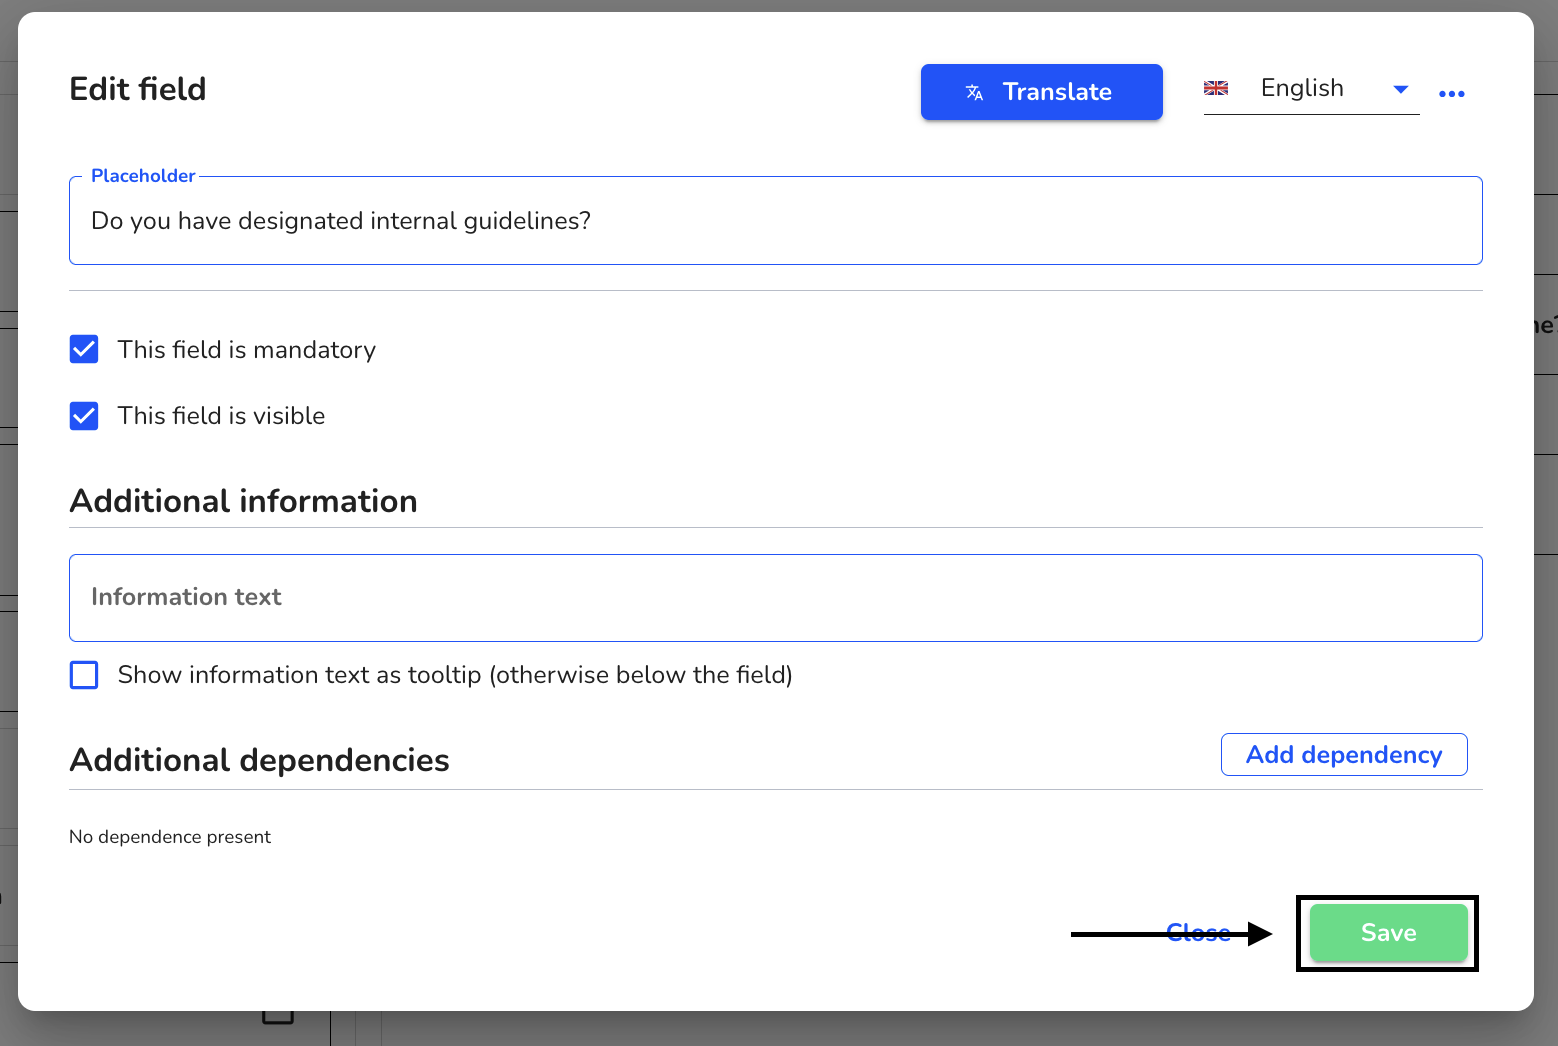
When all changes have been made, click on Save to apply the edits.
Click on the Save button to save the changes to the entire form.
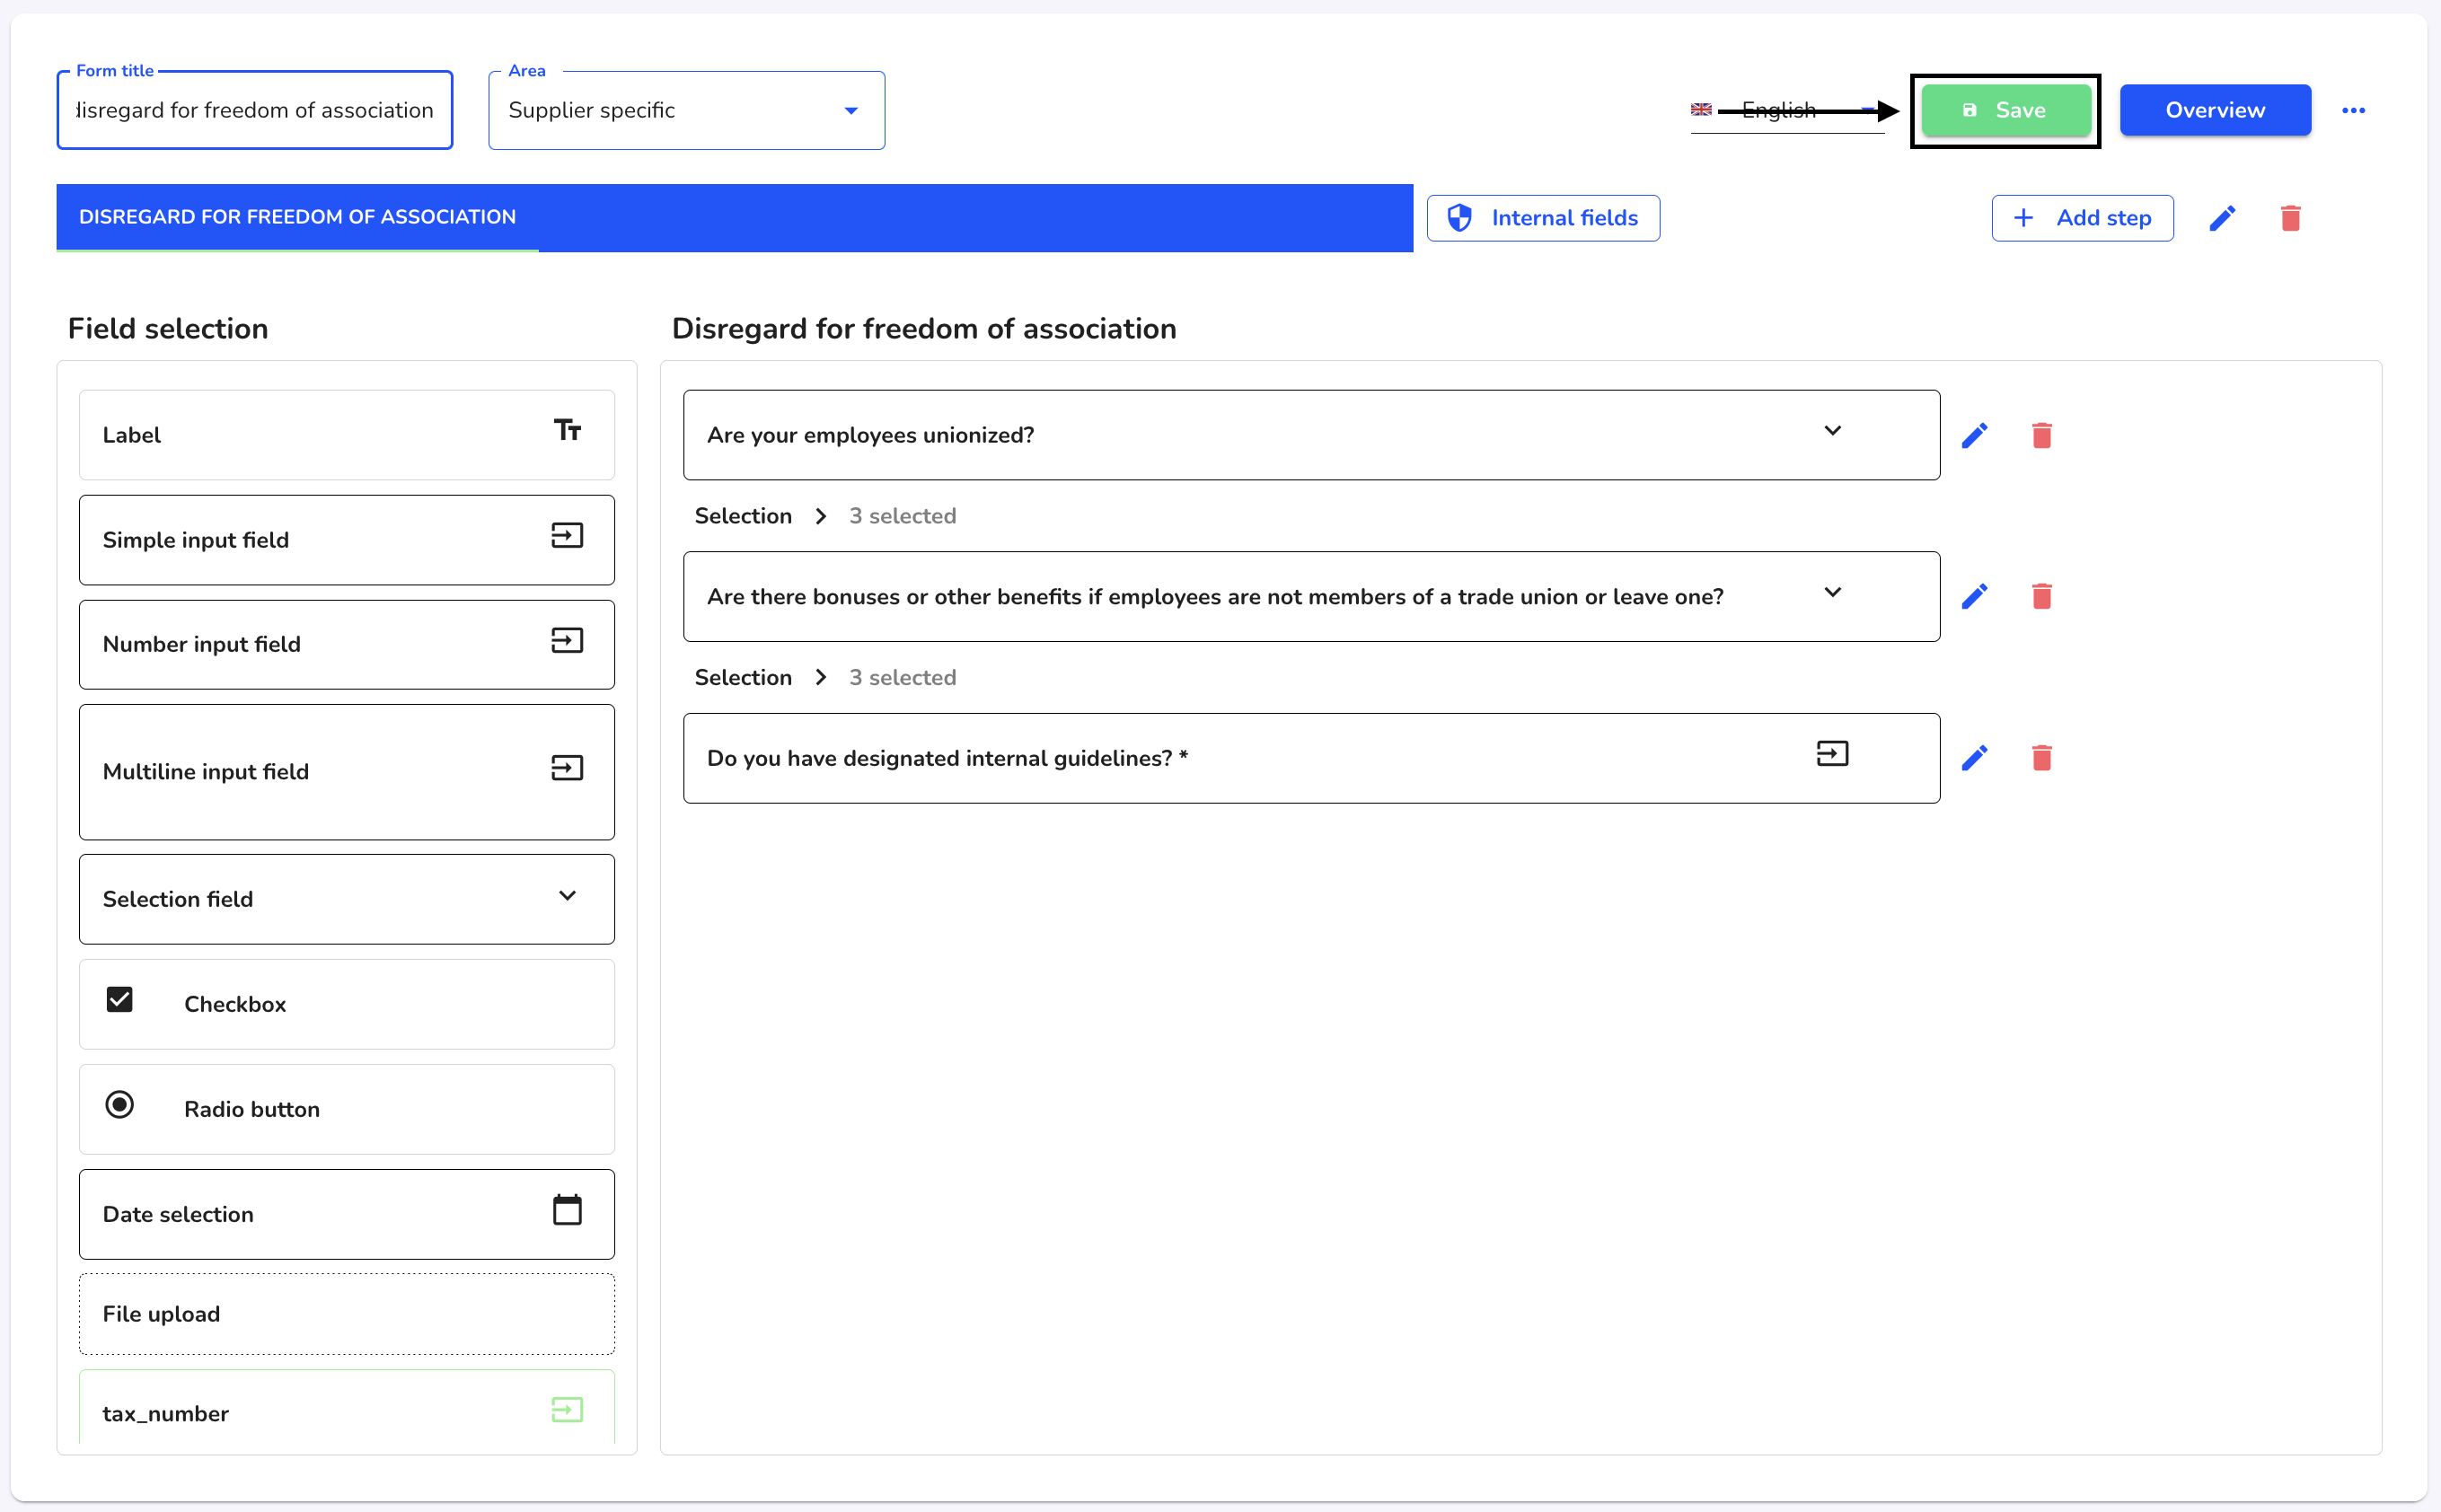
Translate form
To translate a form, click on Form management under Settings.

Under Actions, click on the editing pen of the form you want to edit.

The translation can be carried out for the entire form or for individual fields.
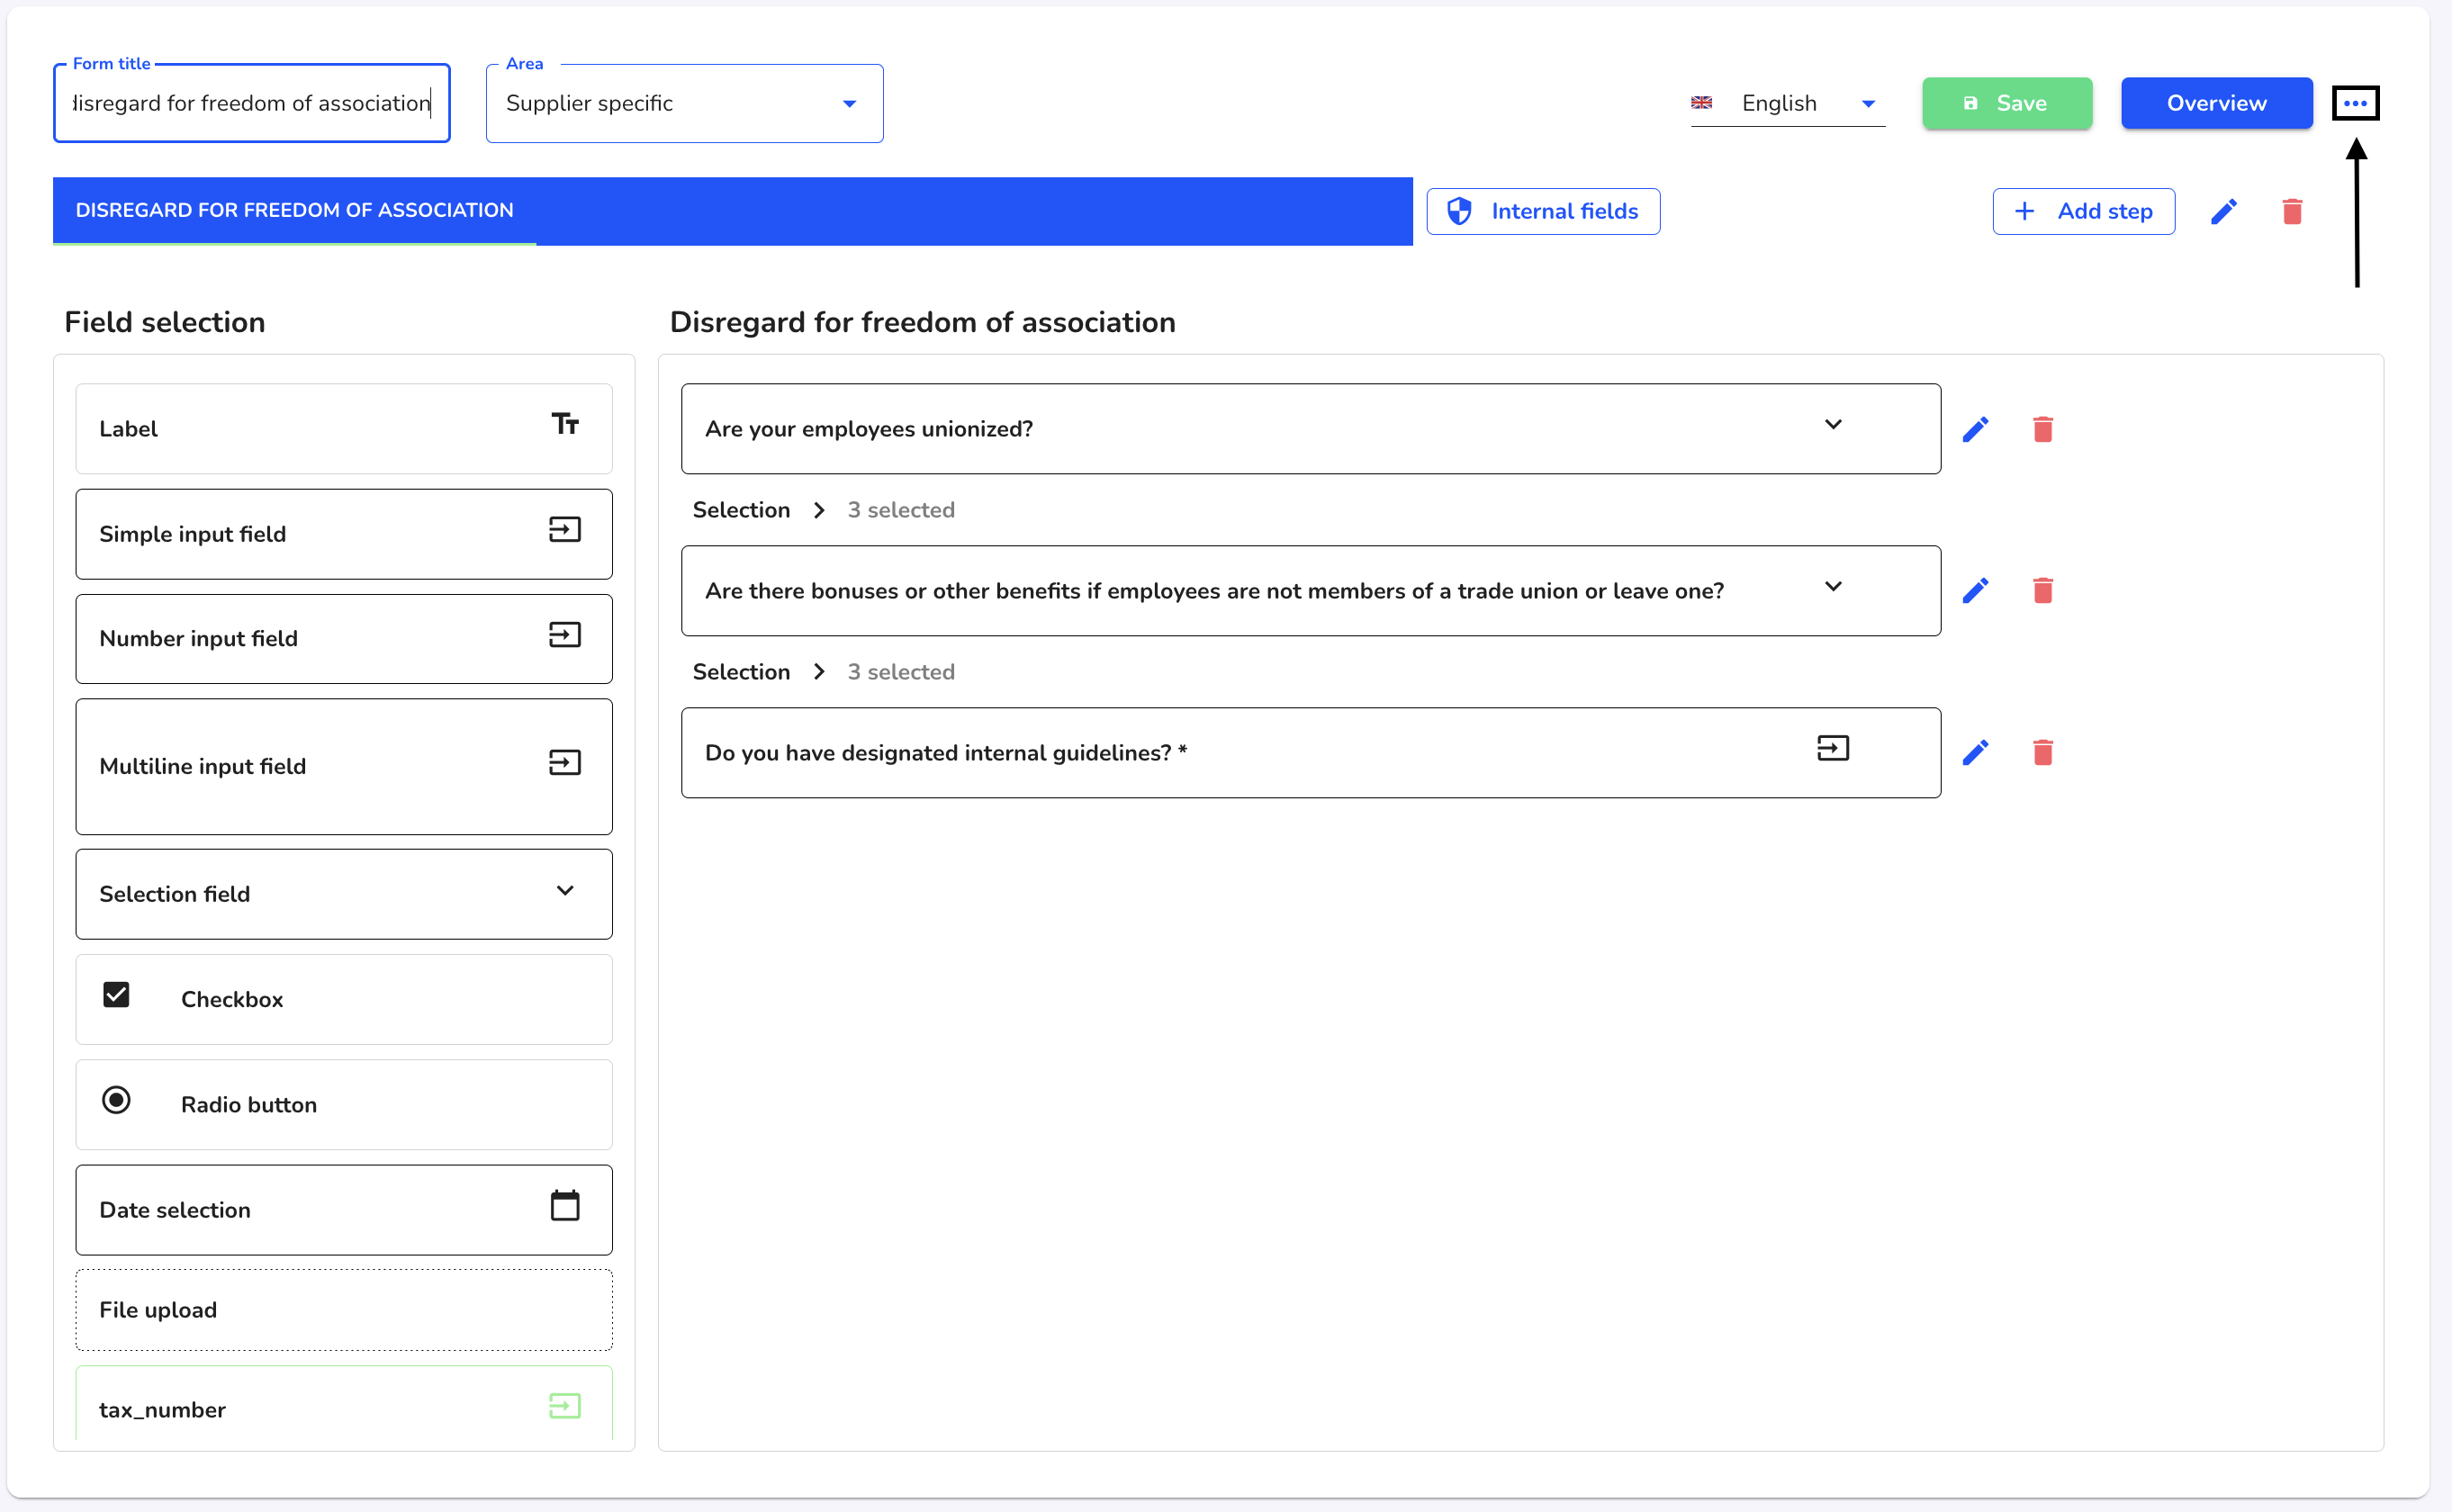
To translate the entire form, click on the three blue dots.
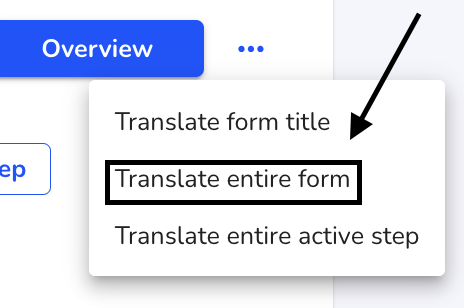
Select Translate entire form from the list.
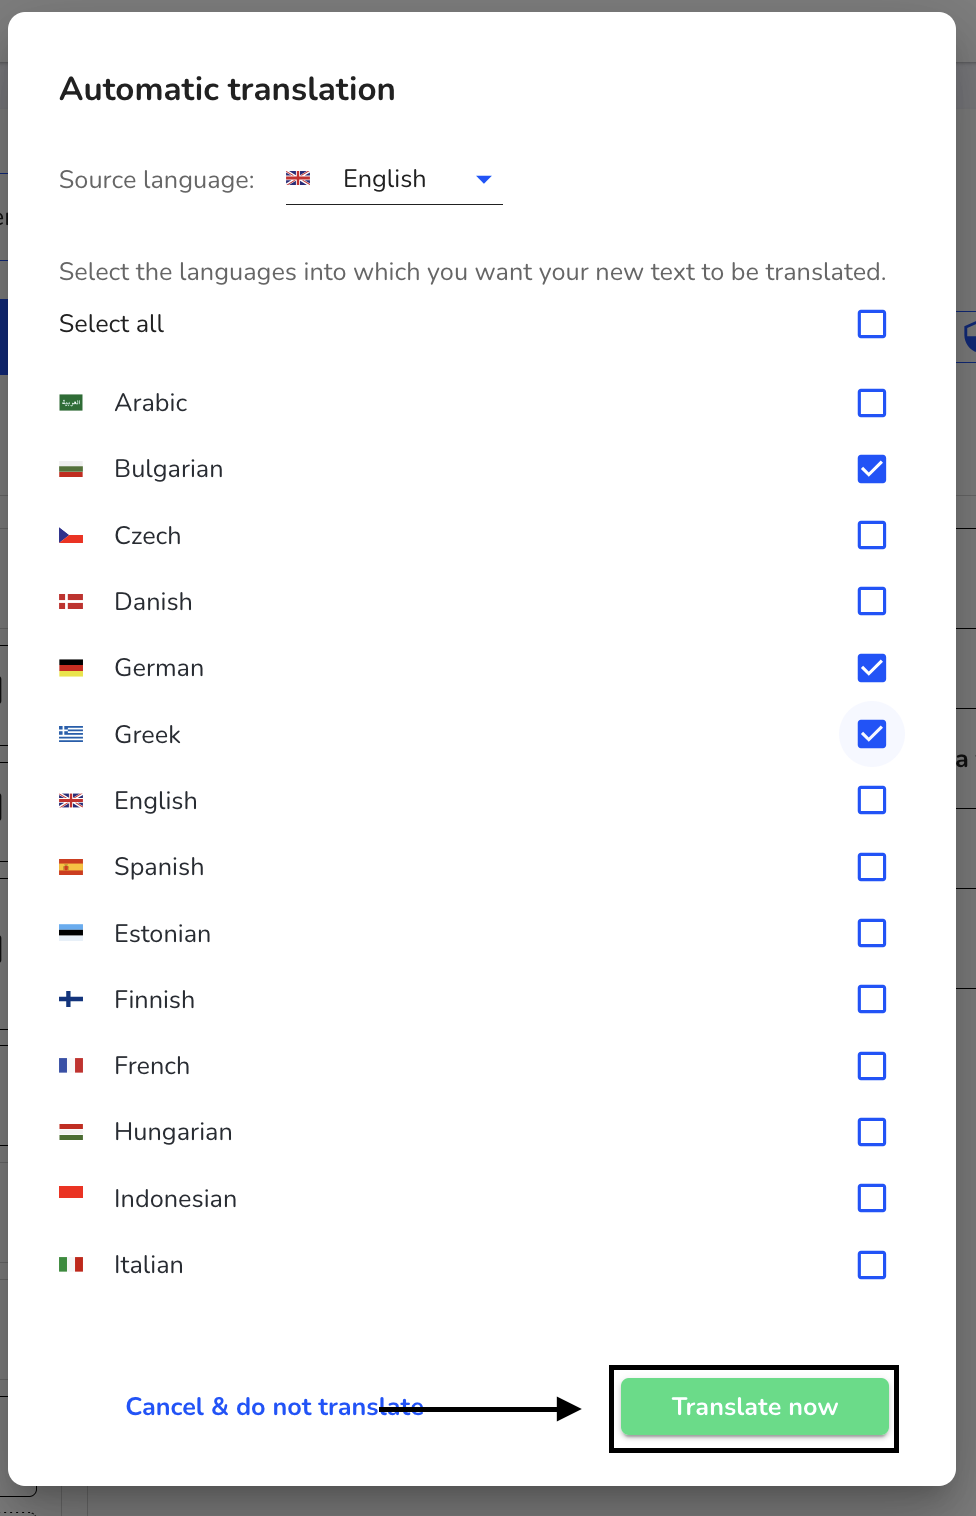
Use the checkbox to select the desired languages. Then click on Translate now to carry out the translation.
The entire form is now translated in the background. This process can take a few seconds.
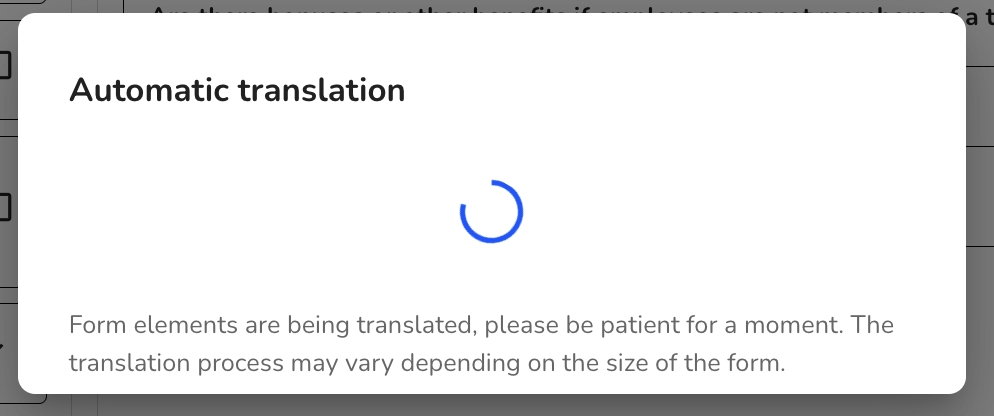
To save the translation, click on Save.

To translate individual fields, click on the editing pen of the desired field.
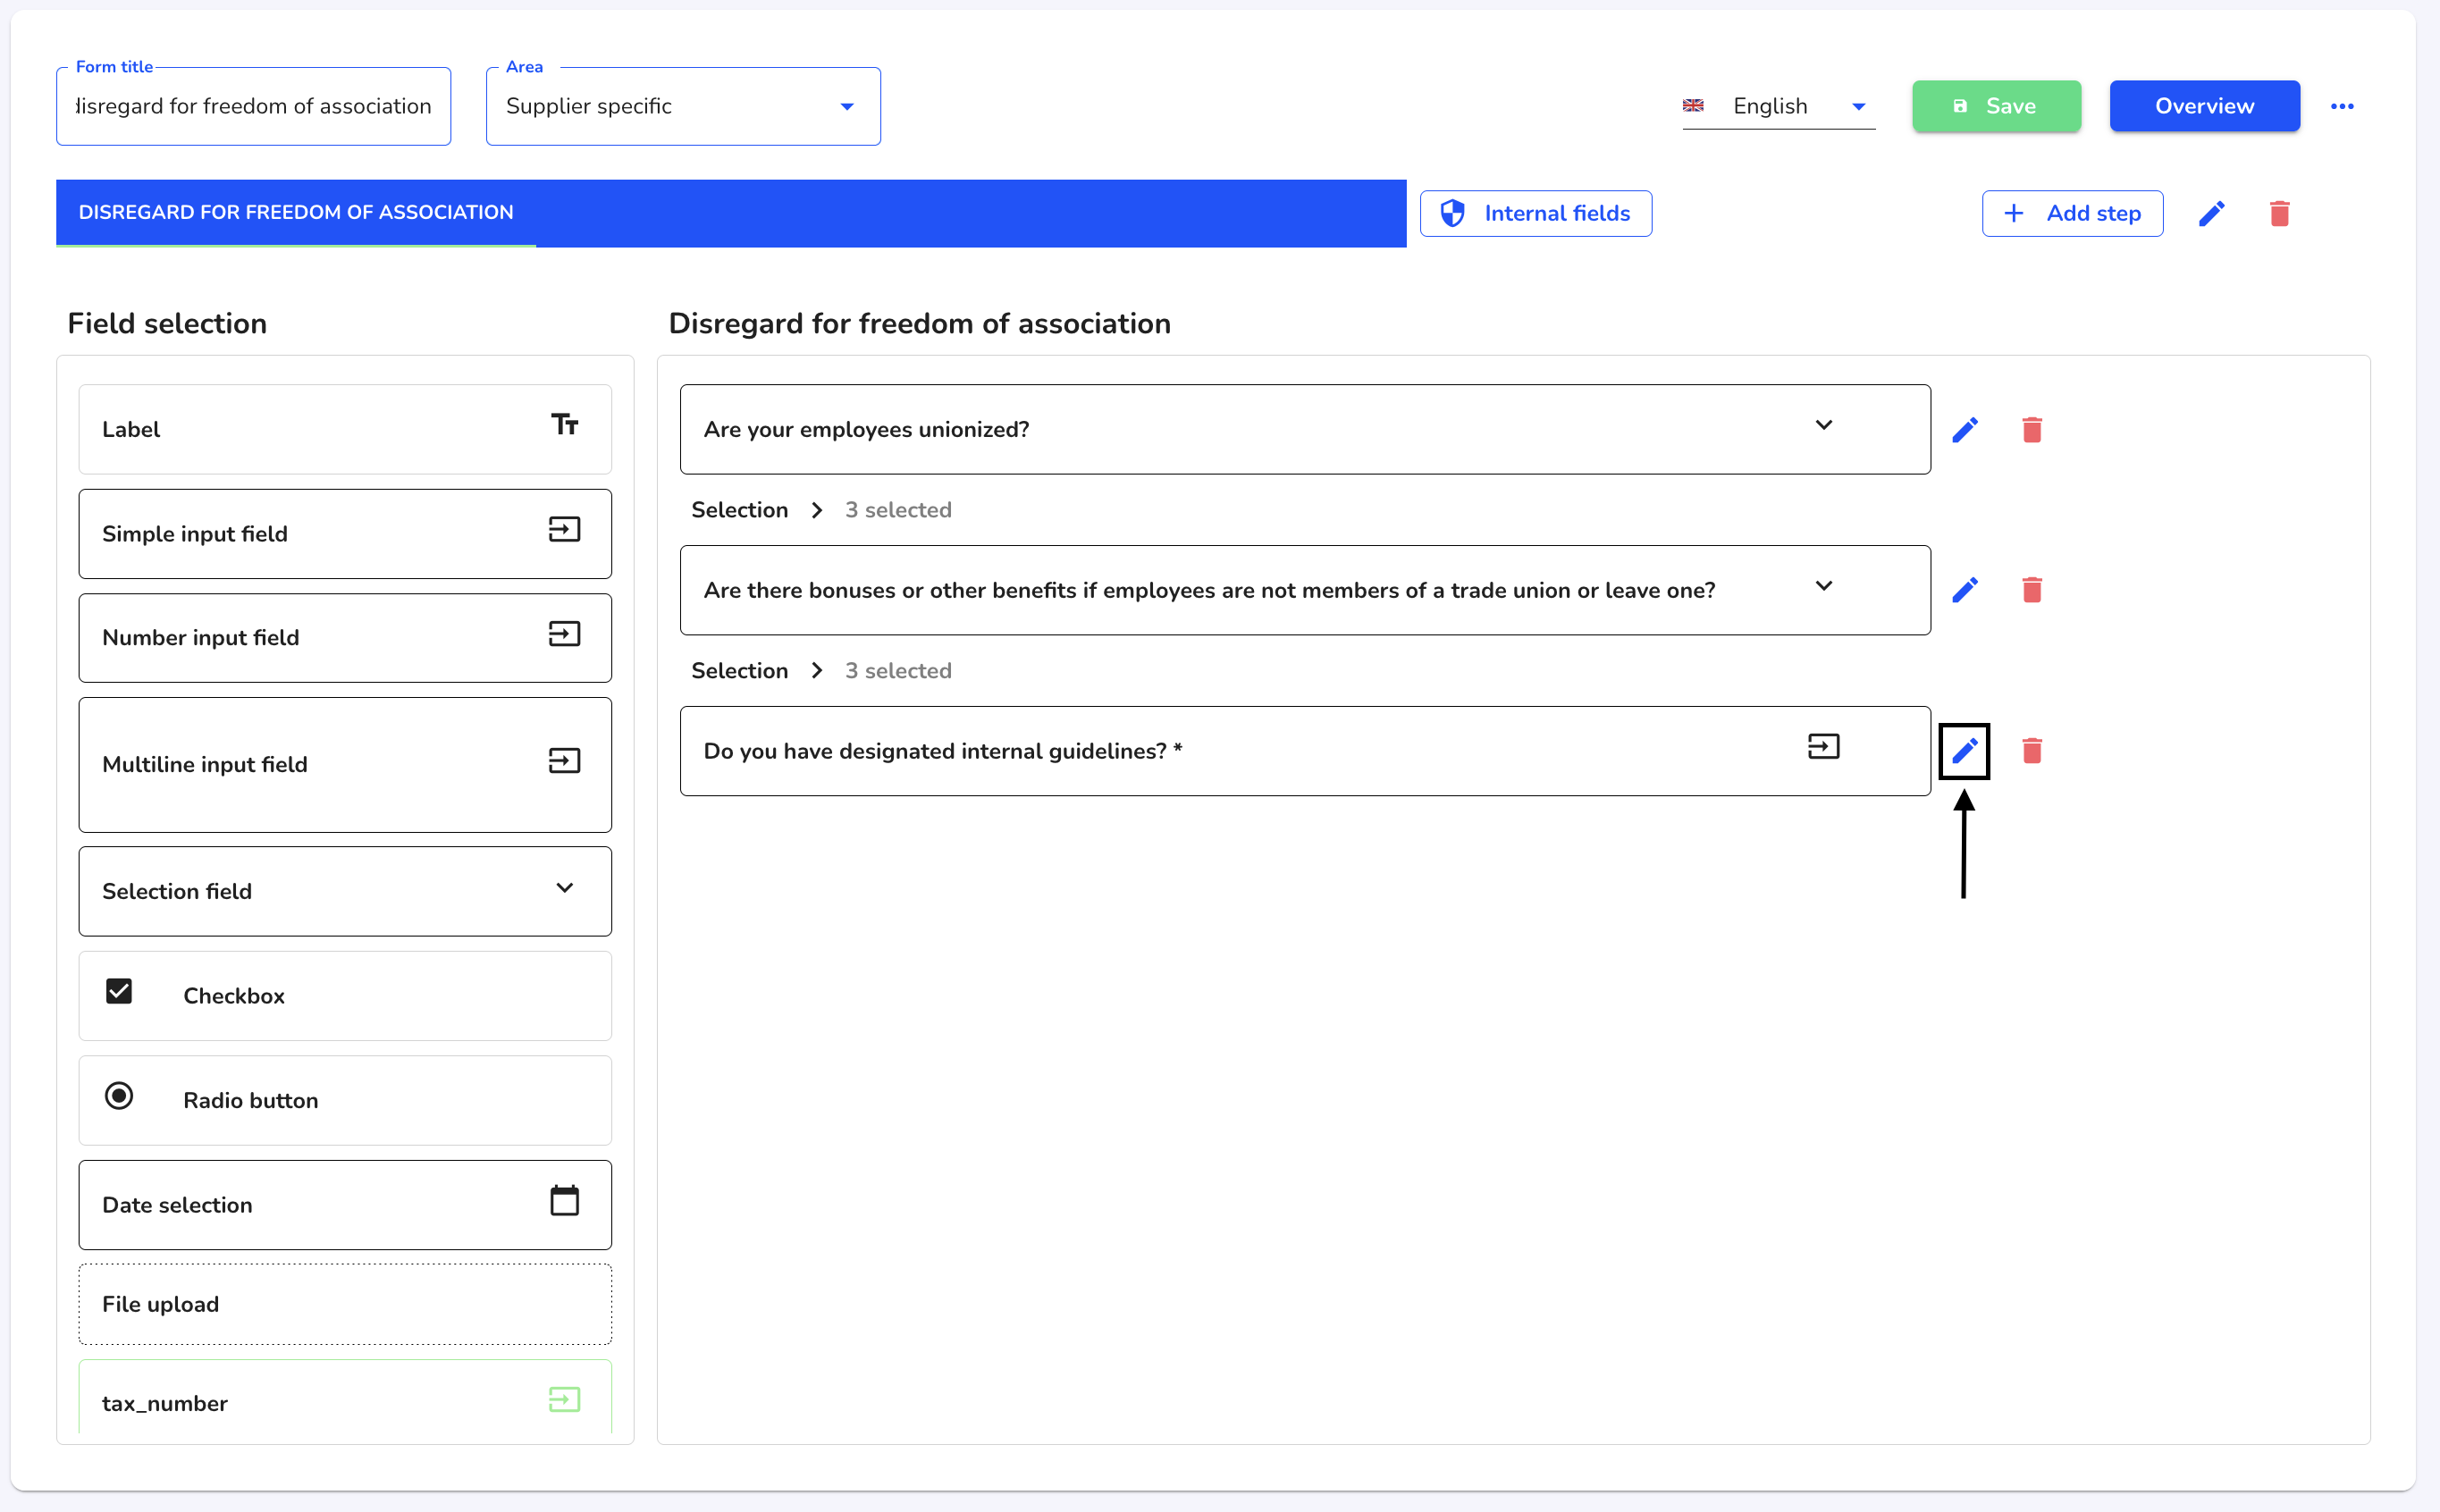
Click on Translate.
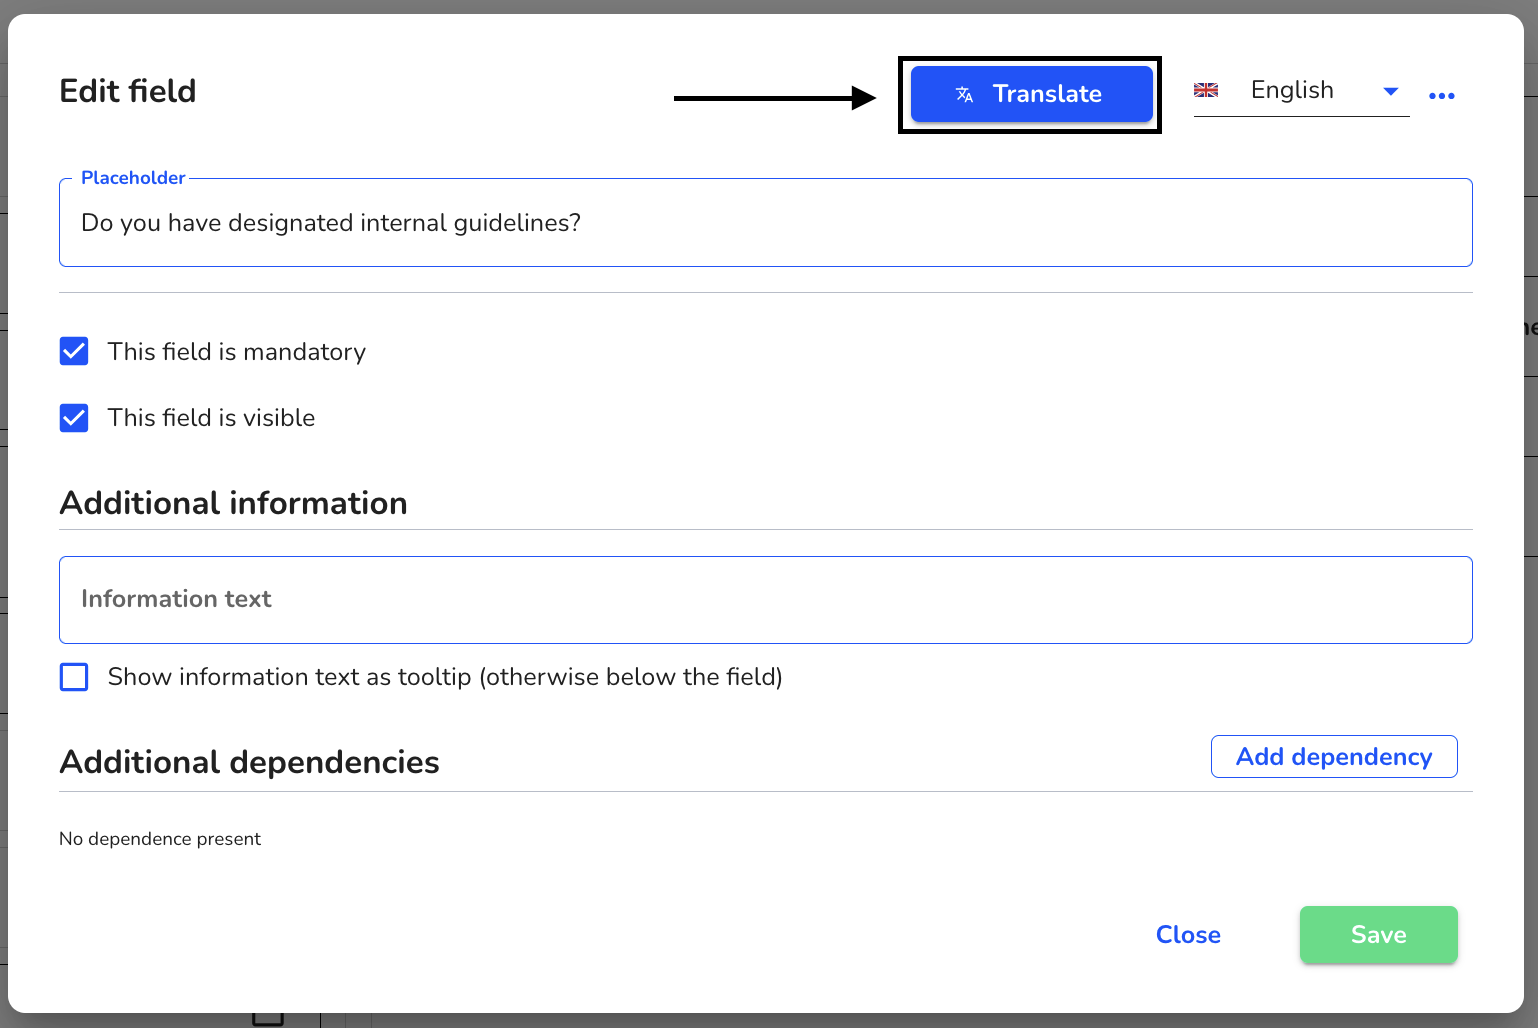
Use the checkbox to select the desired languages. Then click on Translate now to carry out the translation.

The field has been translated in the background. Click on Save to accept the translated field.

To save the translation, click on Save.

Rename form
To rename a form, click on Form management under Settings.

Under Actions, click on the editing pen of the form you want to edit.

Click on the Form title field and customize it with the new name.
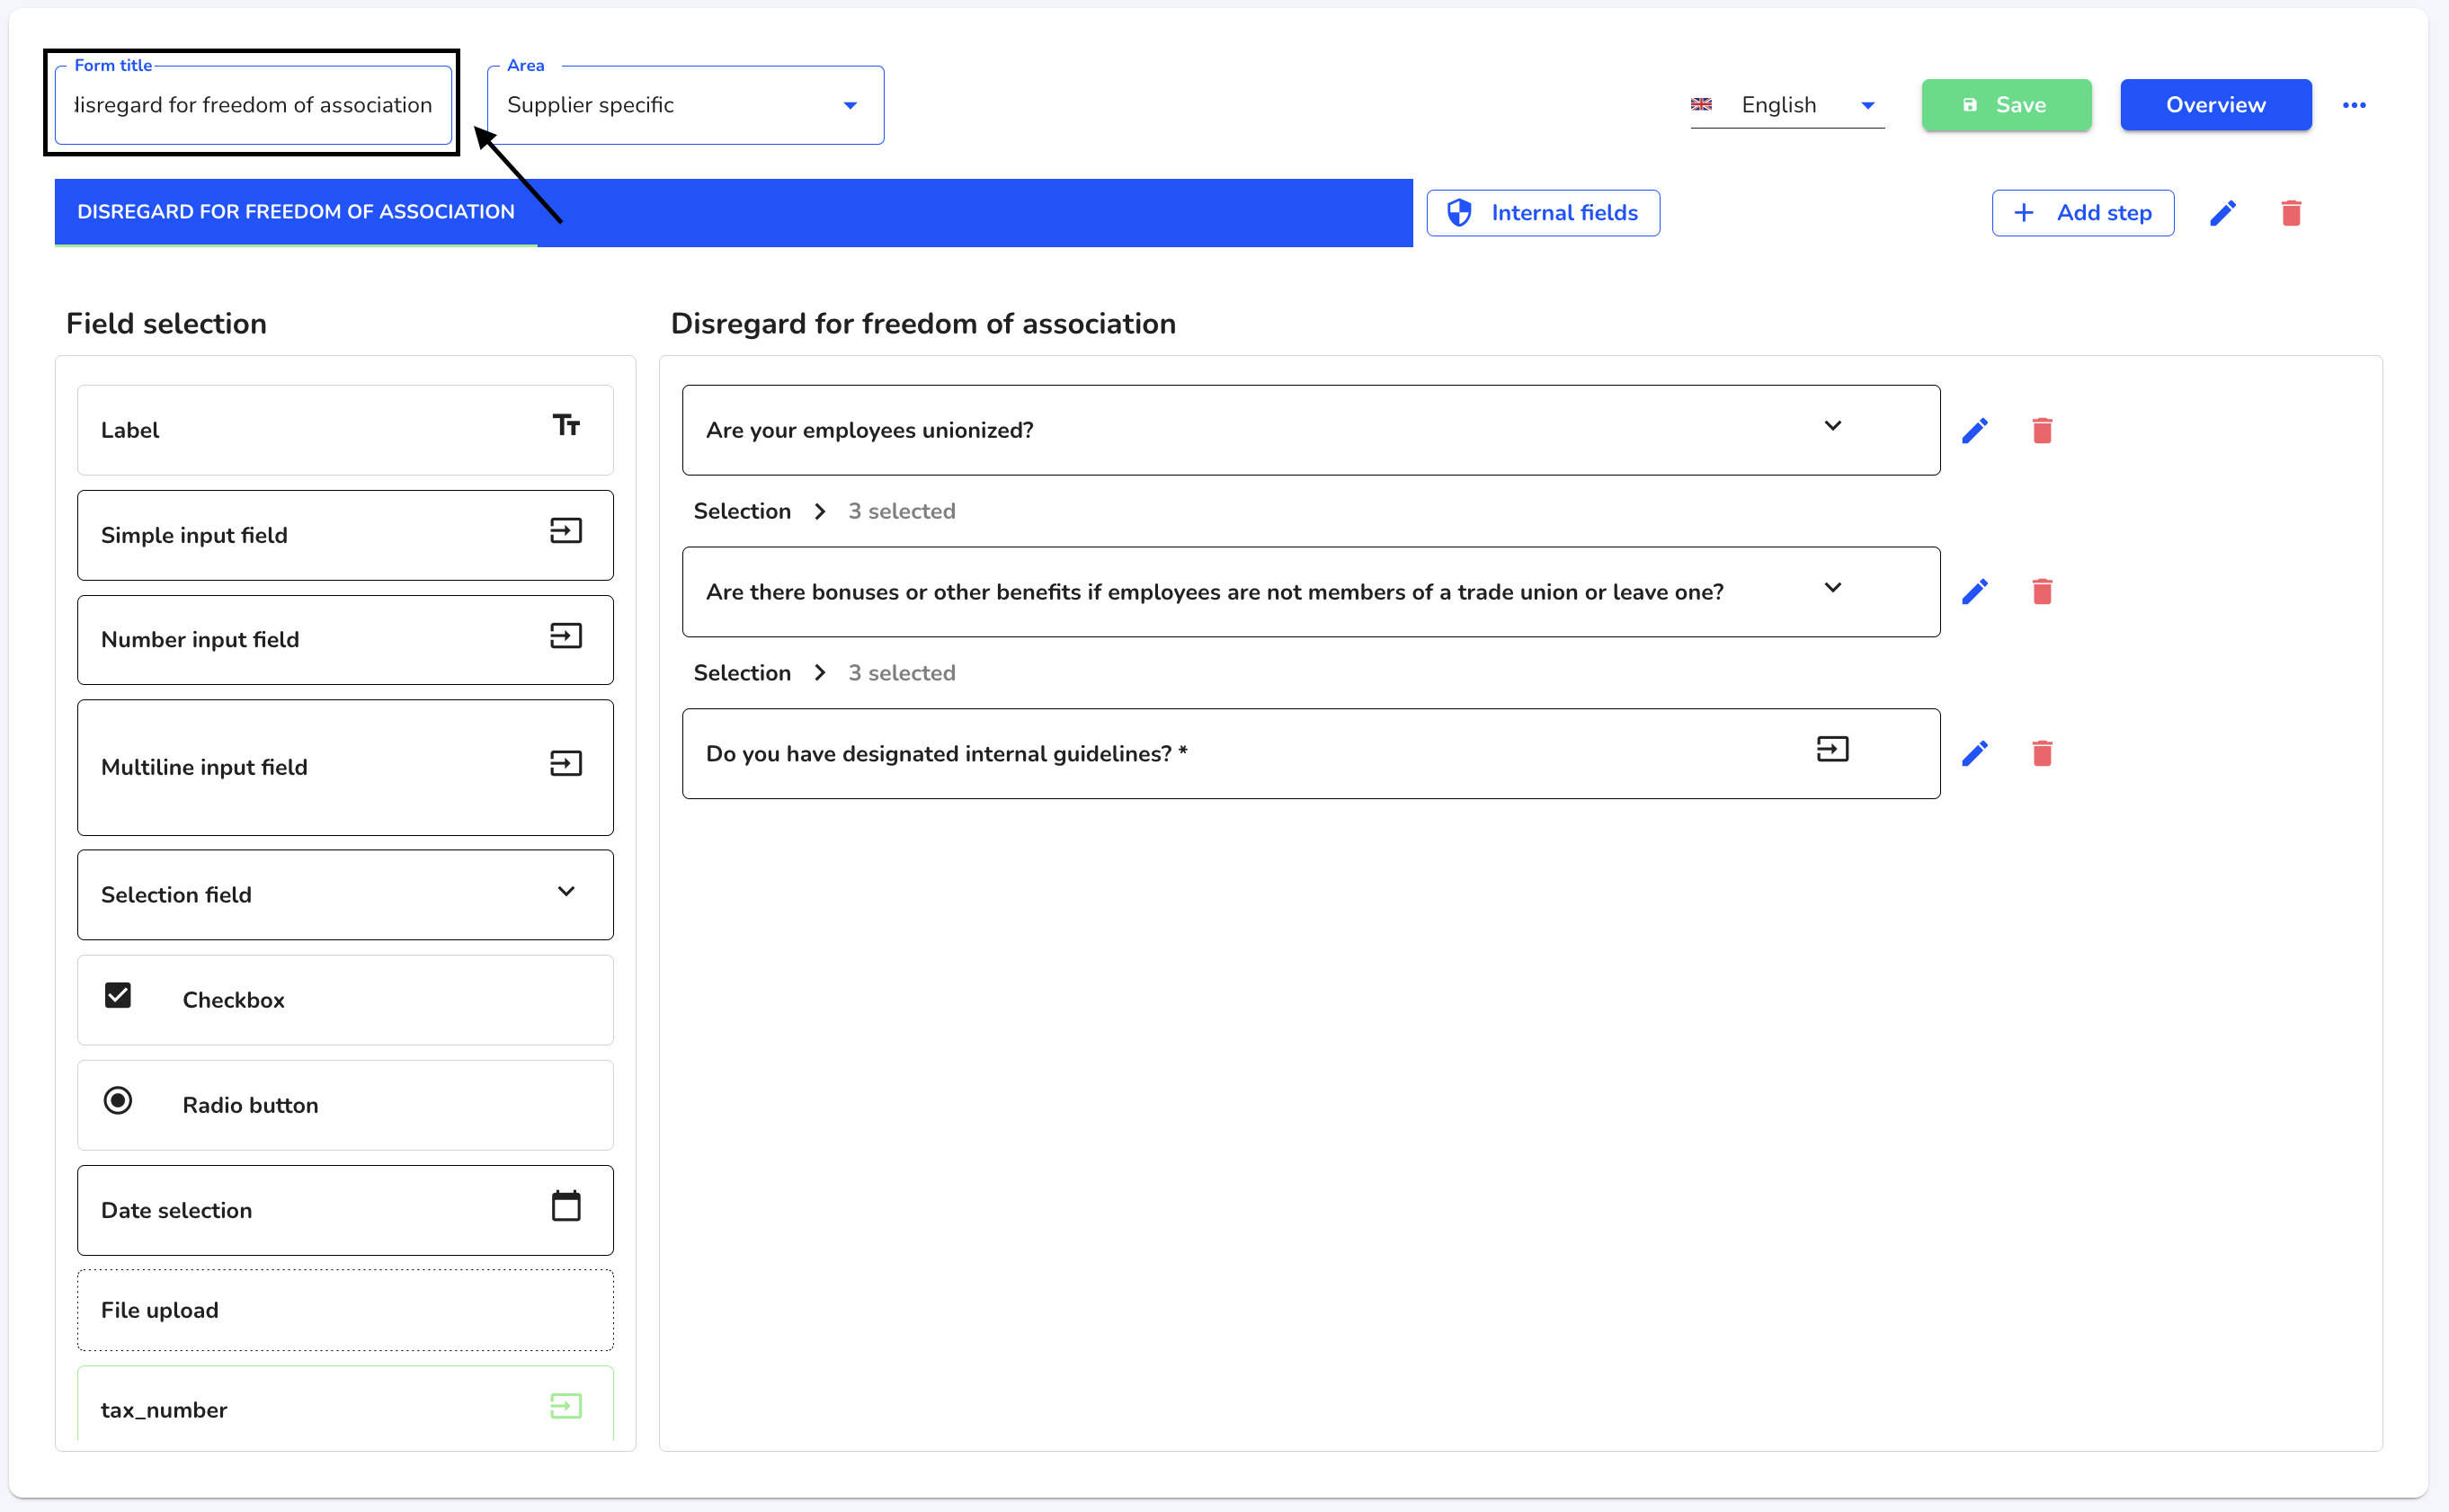
To apply the change, click on Save.

Export form
To export a form, click on Form management under Settings.

Under Actions, click on the two blue arrows of the form you want to export.
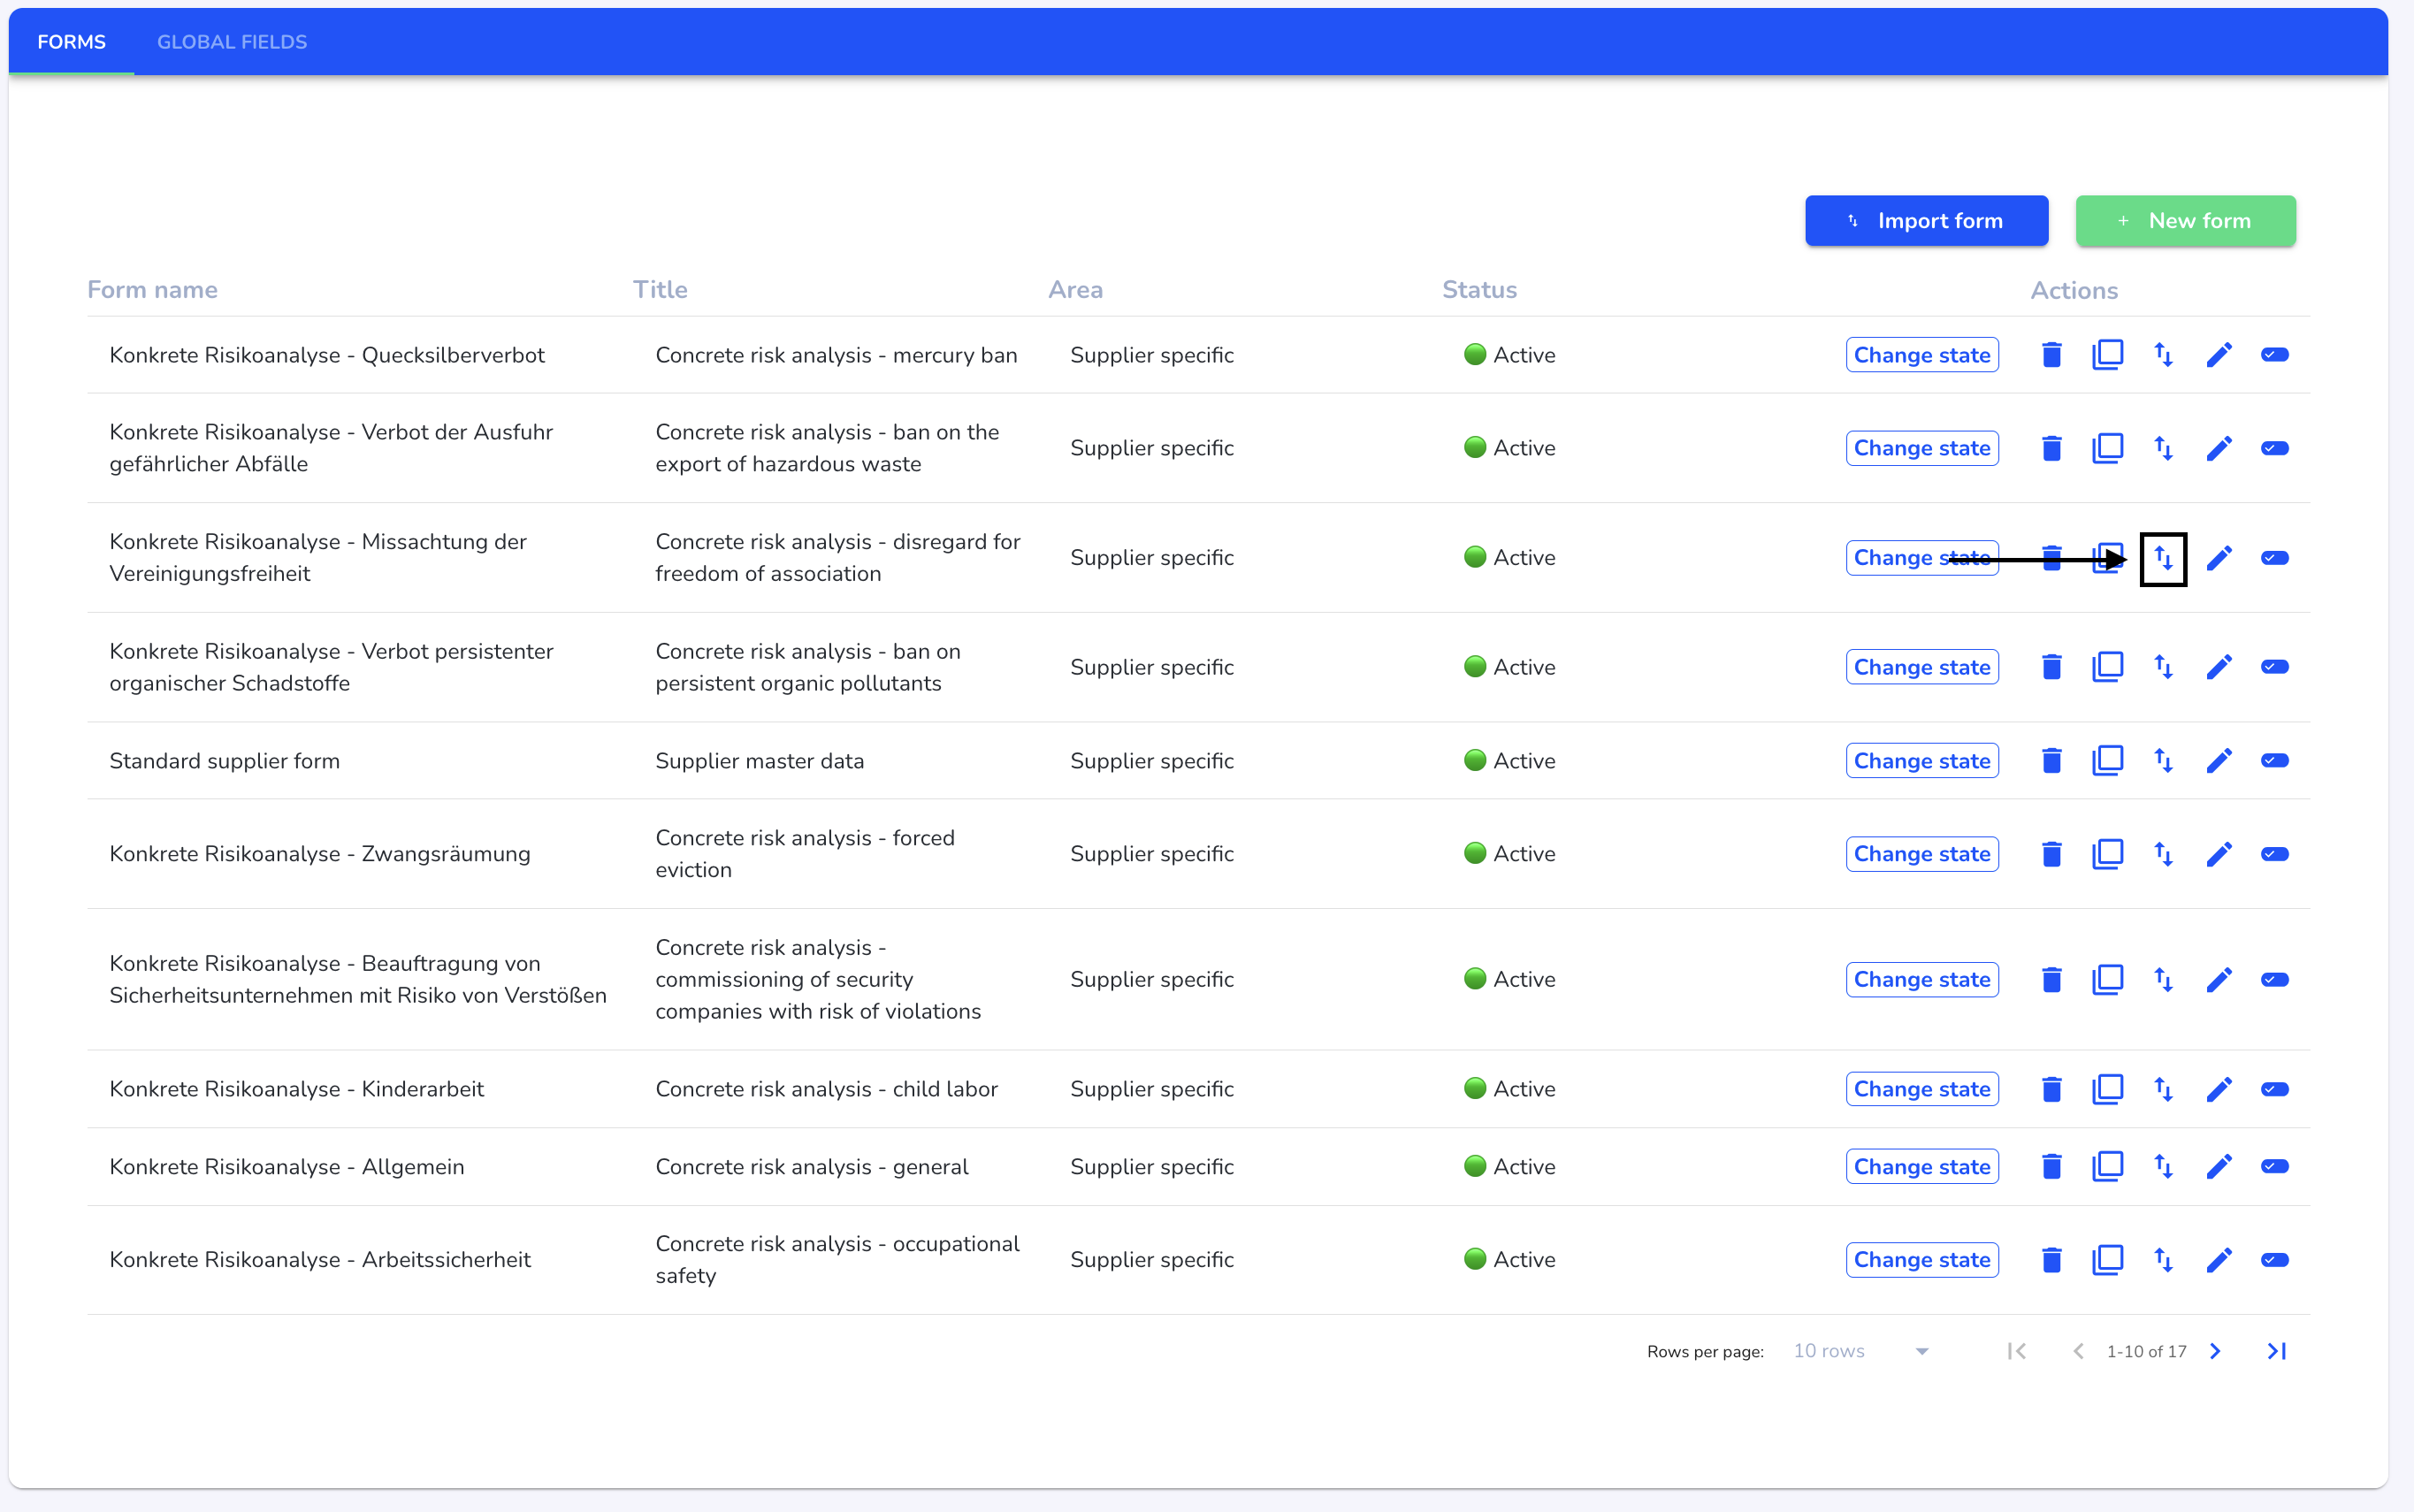
The form has now been downloaded. You can view it in your Finder.

Activate form-Change state
To activate a form, click on Form management under Settings.

Click on the Change state button of the desired form that you want to activate.
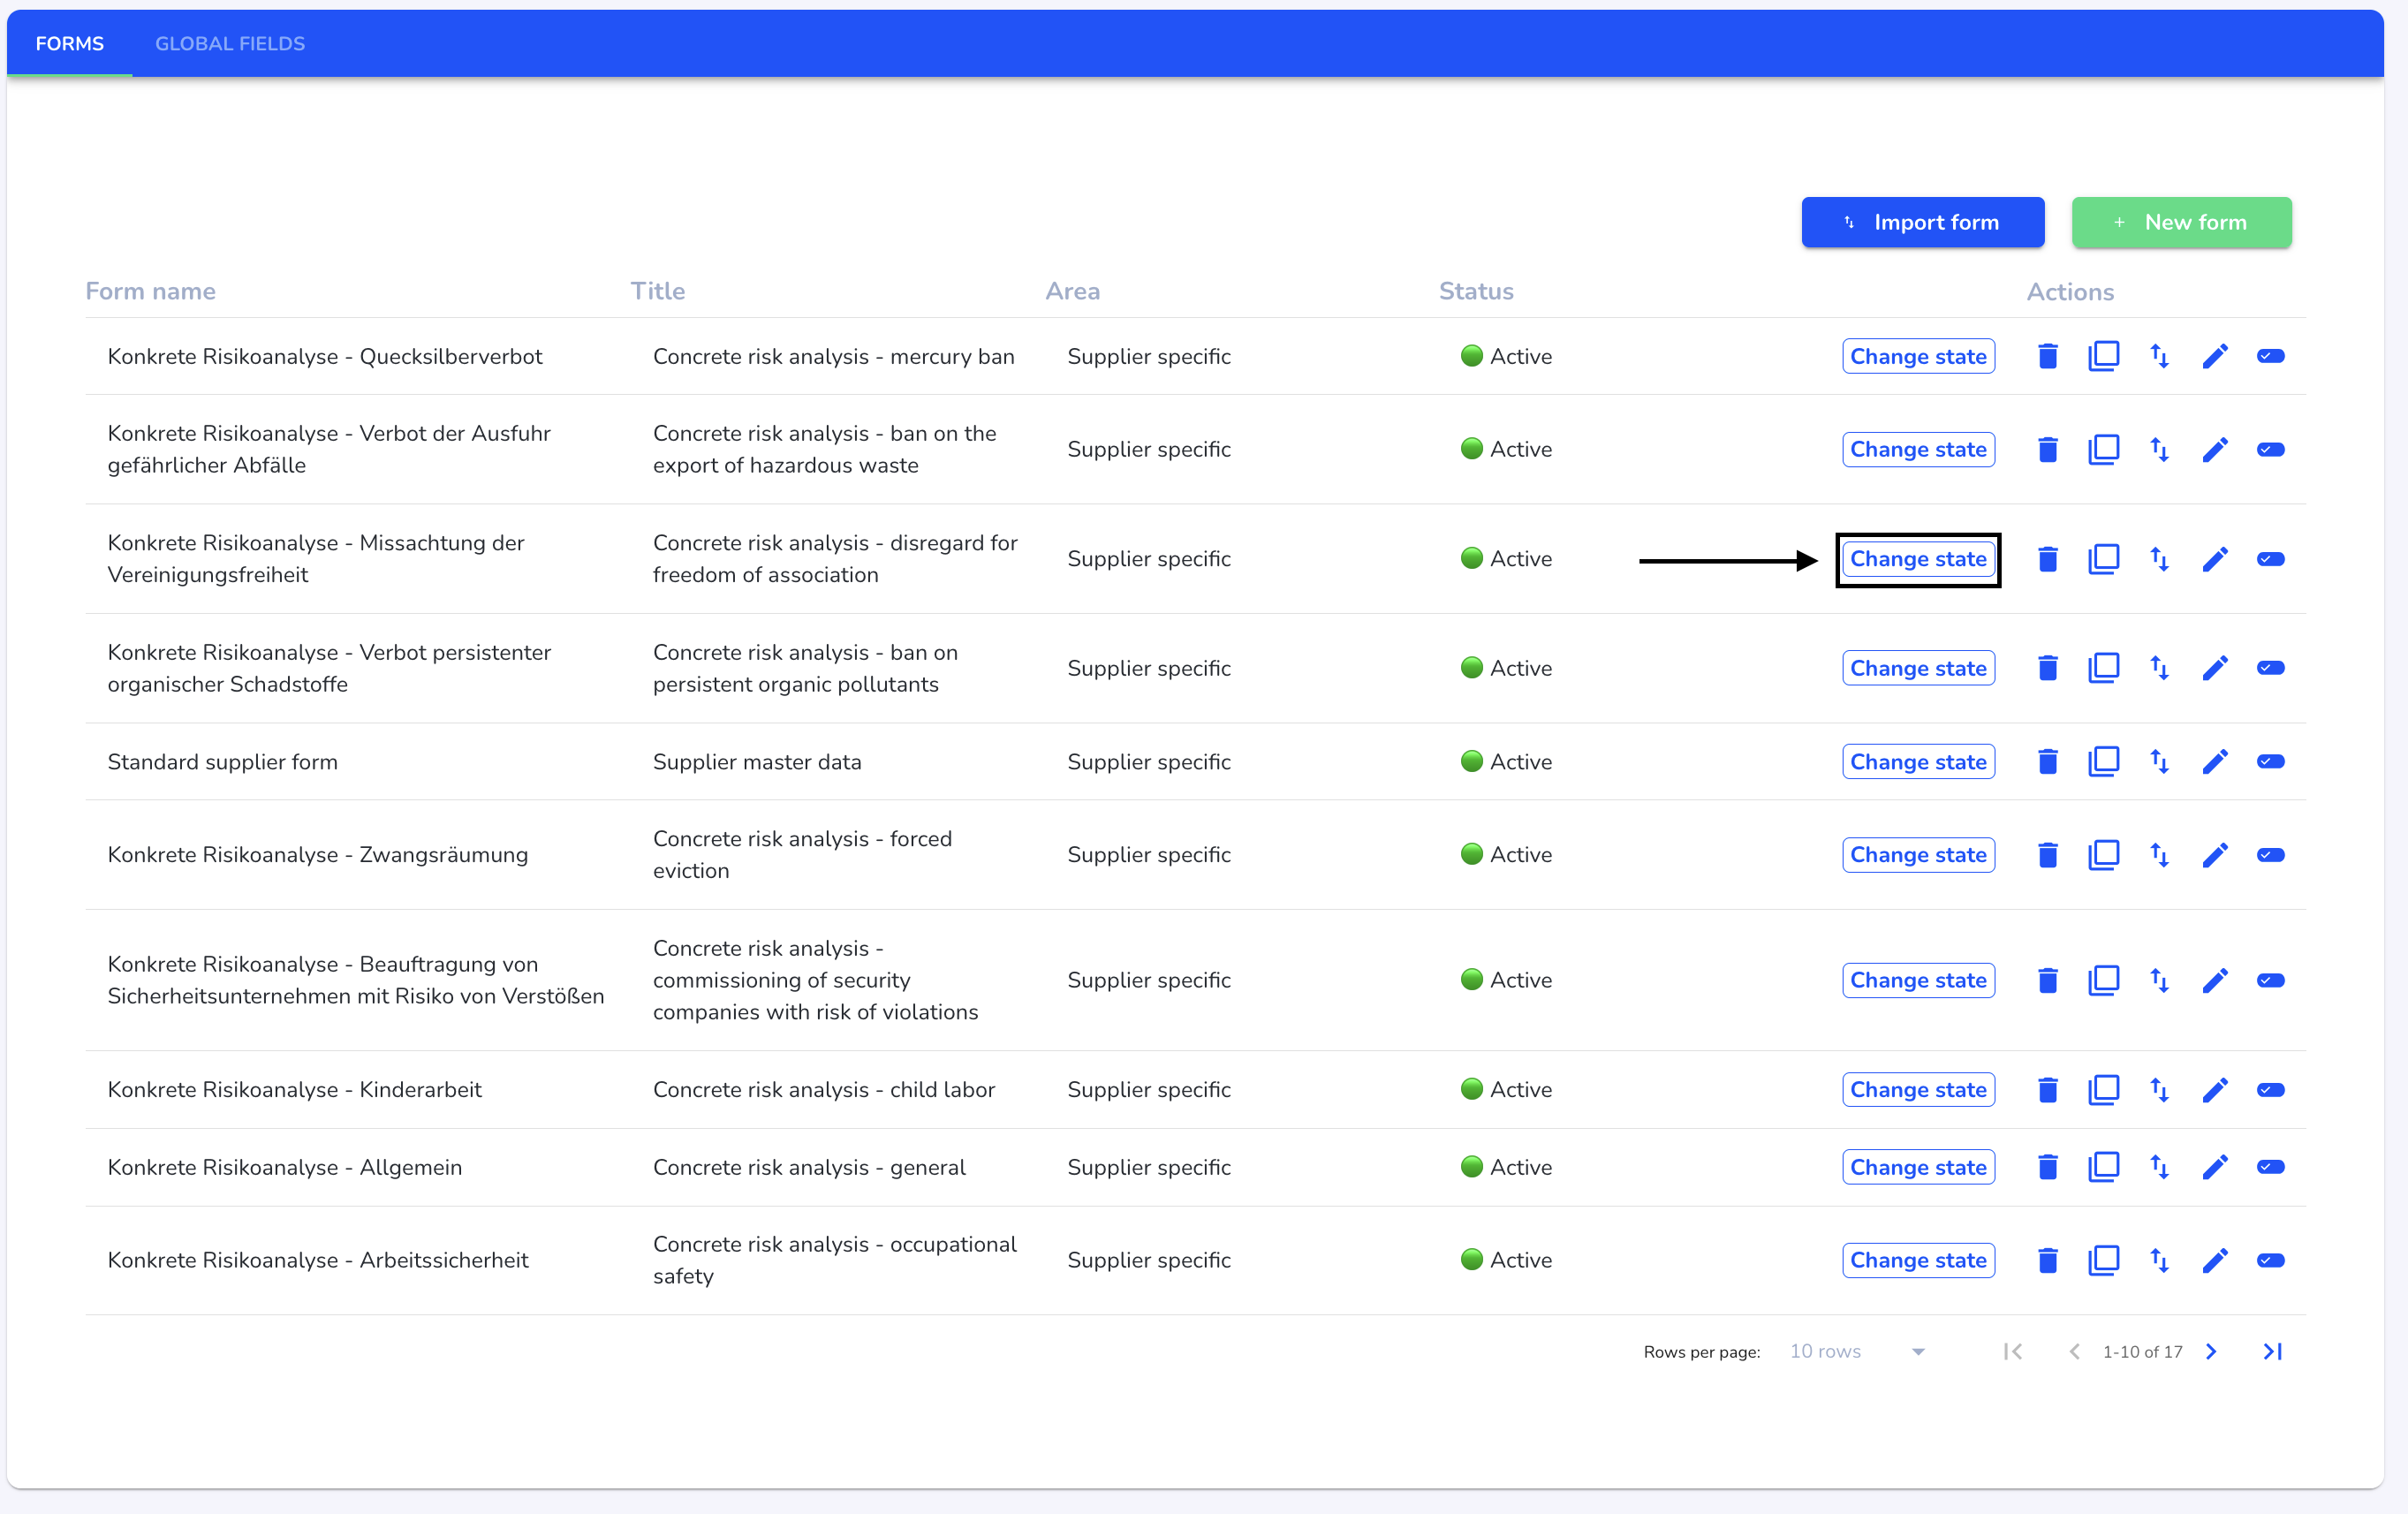
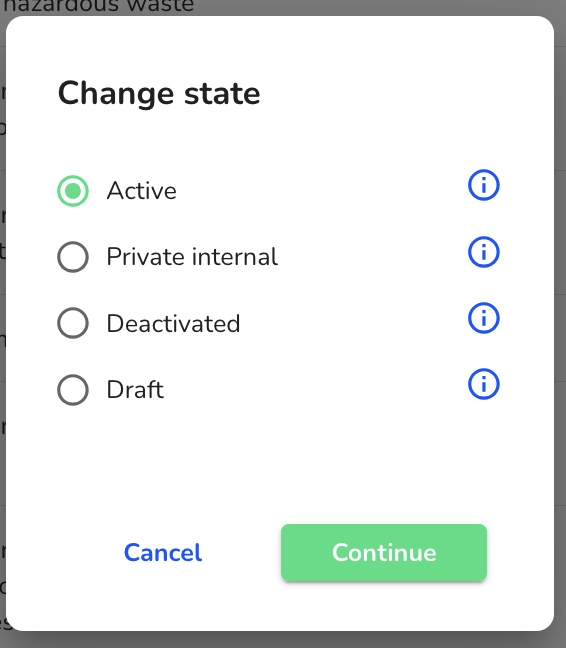
Select which status the form should have.
Active - The form can be assigned to suppliers.
Private internal - The form can only be used by internal persons and is not available for suppliers.
Deactivated - The form is deactivated and can no longer be used.
Draft - The form cannot be used and is in draft mode.
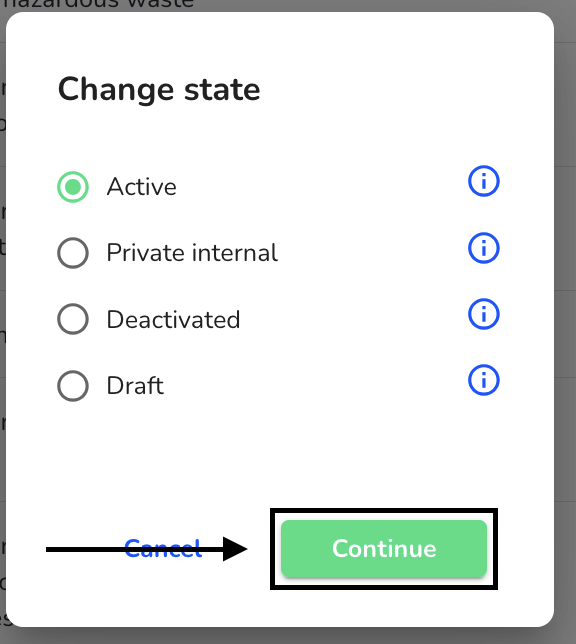
Click Continue to confirm the selection.
Delete form
To delete a form, click on Form management under Settings.

Under Actions, click on the recycle bin of the form you want to delete.
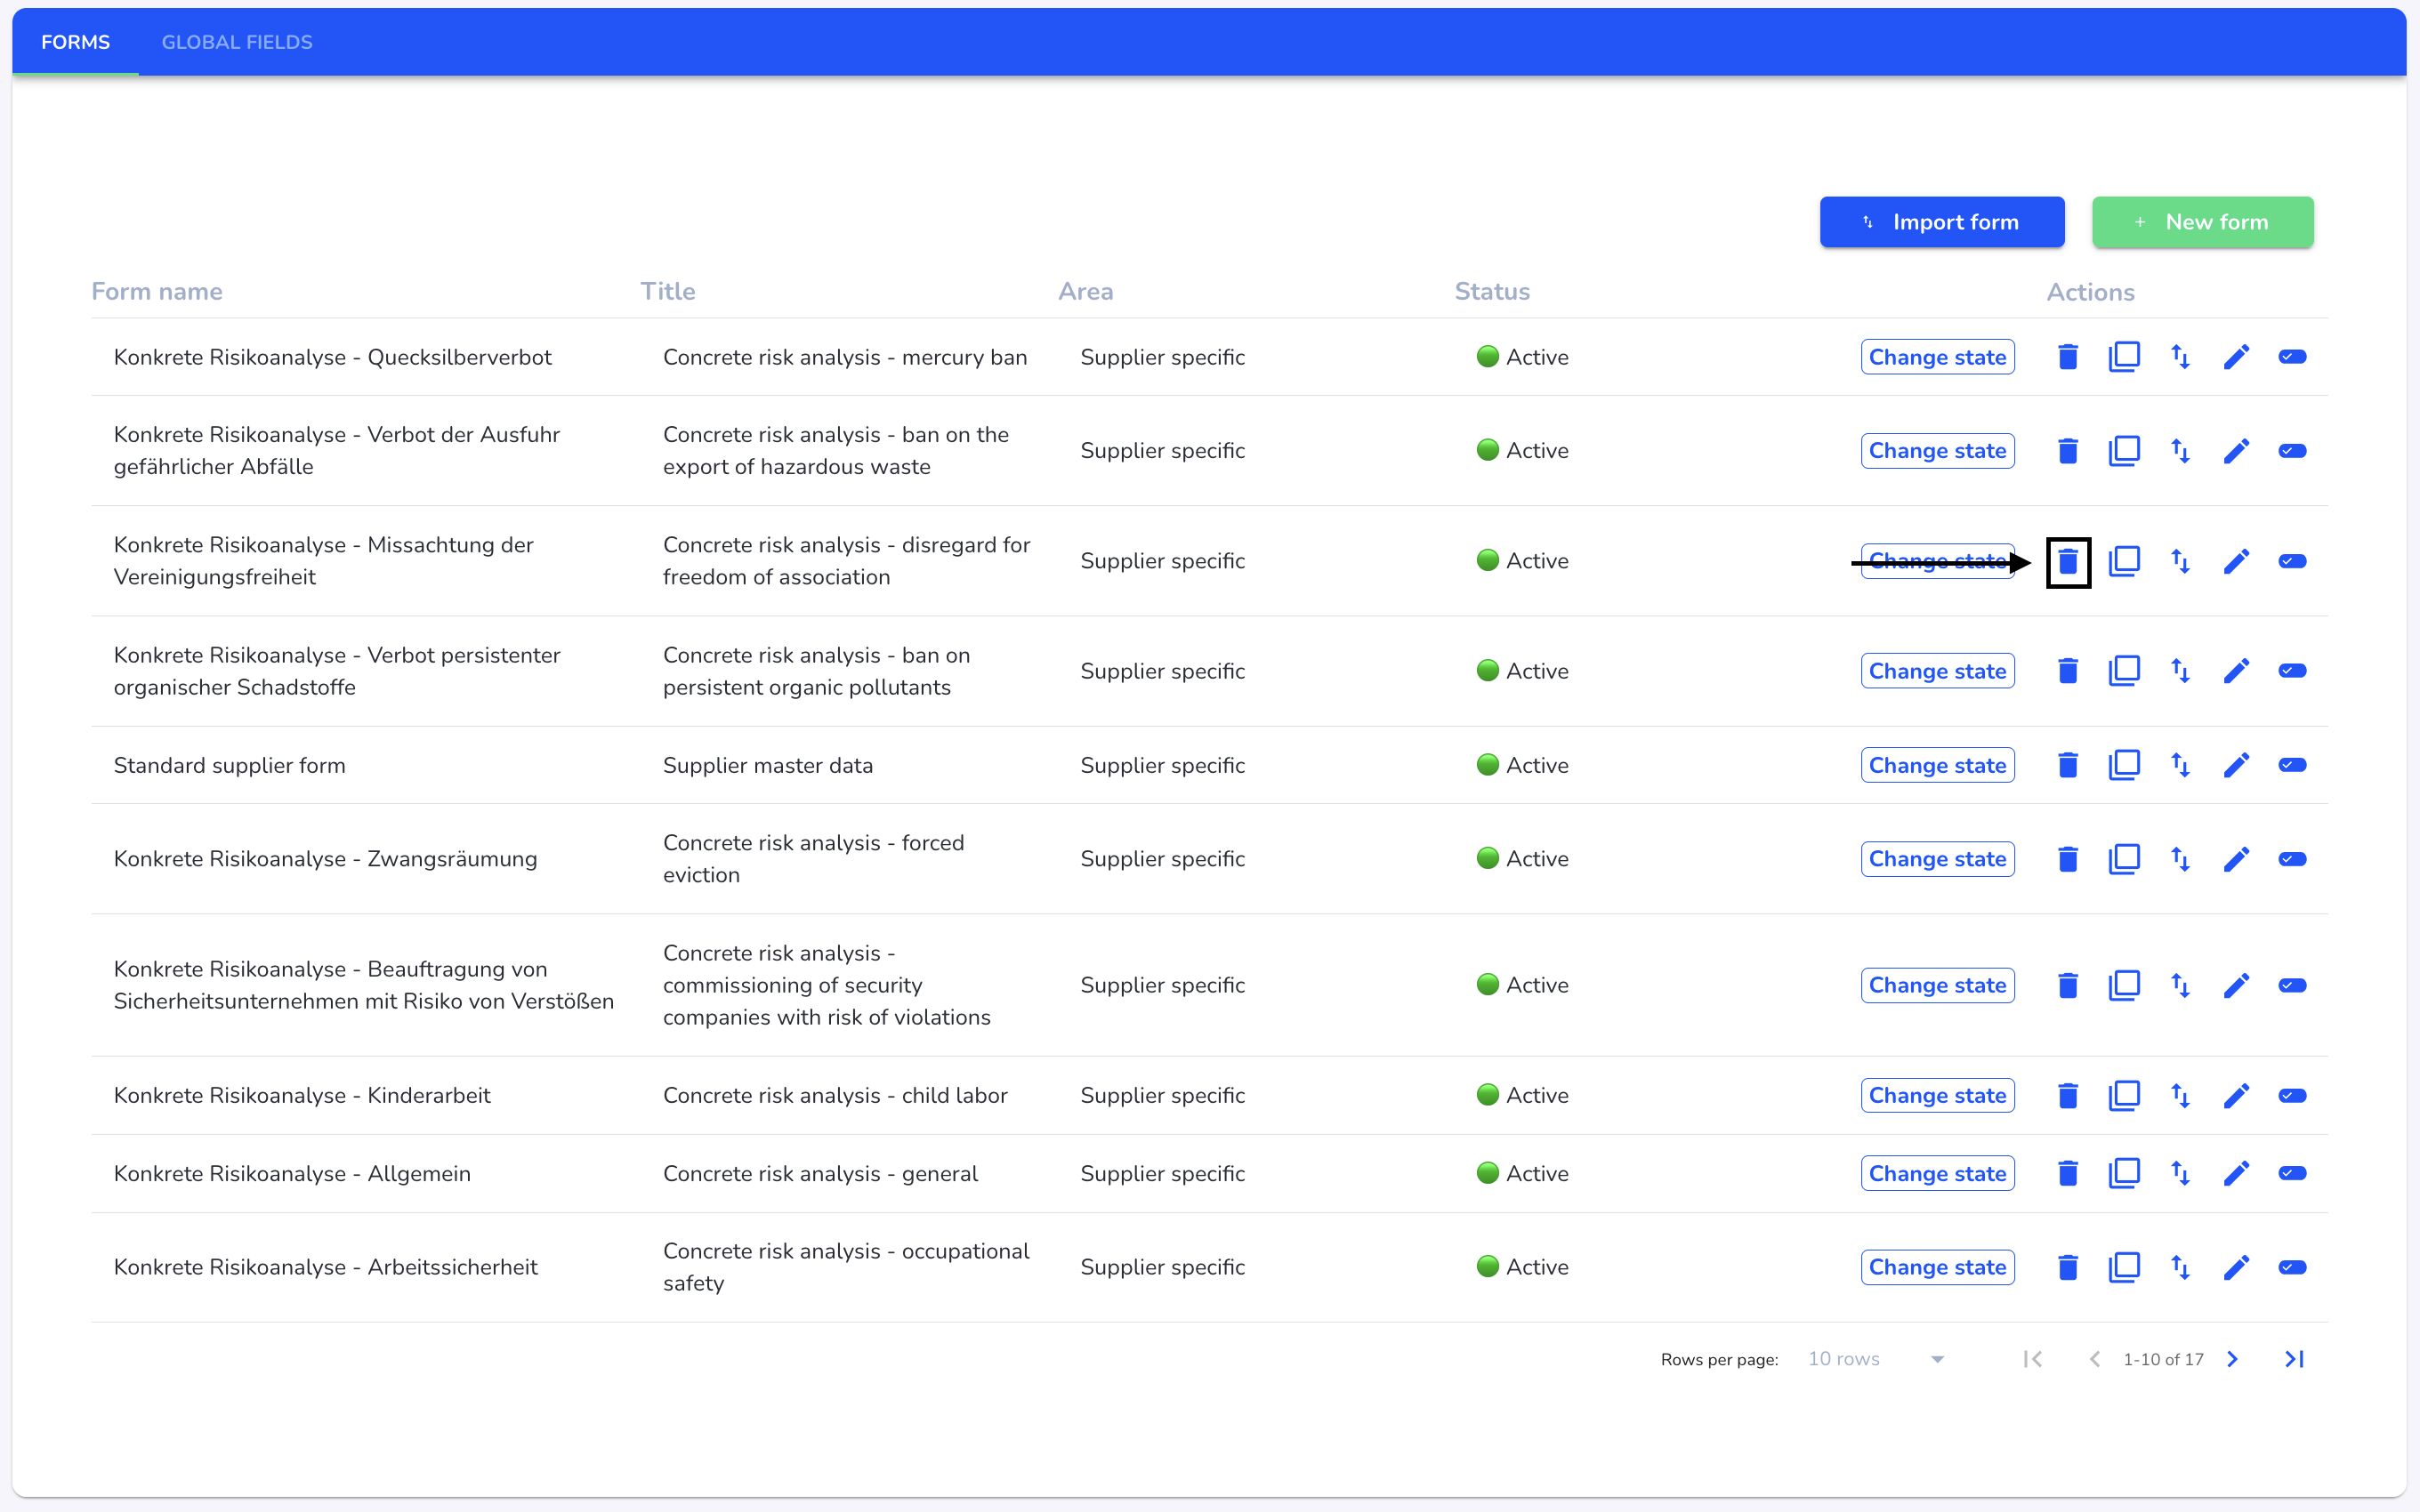
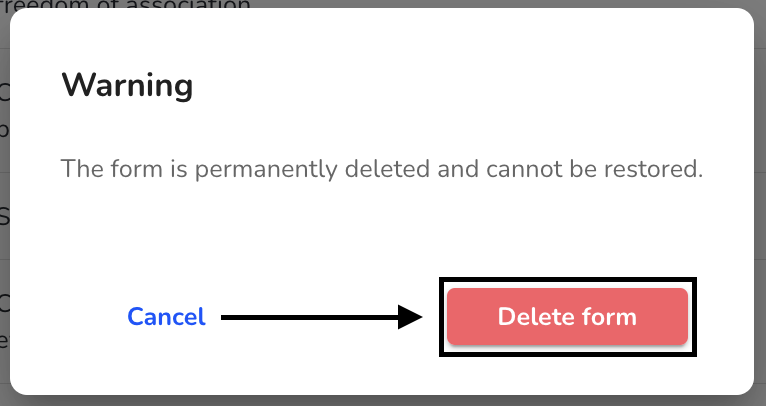
To confirm the deletion process, click on Delete form.
