Legal texts
Introduction
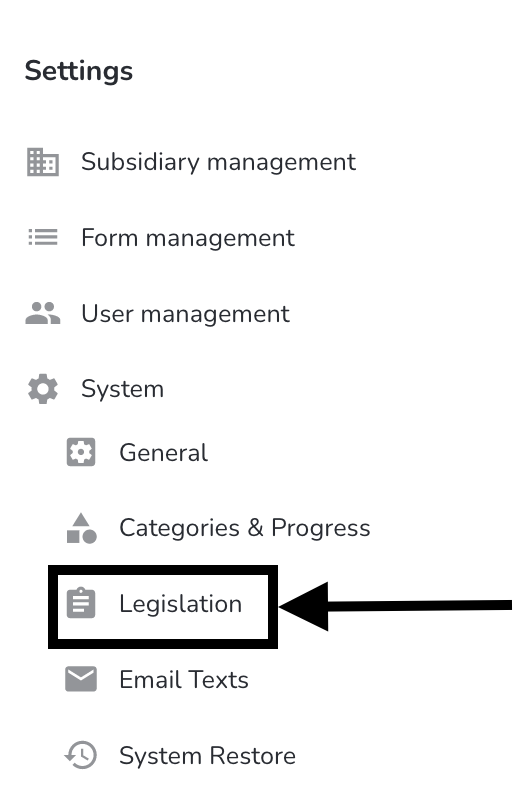
To edit the legal texts click Settings → System → Legal texts.
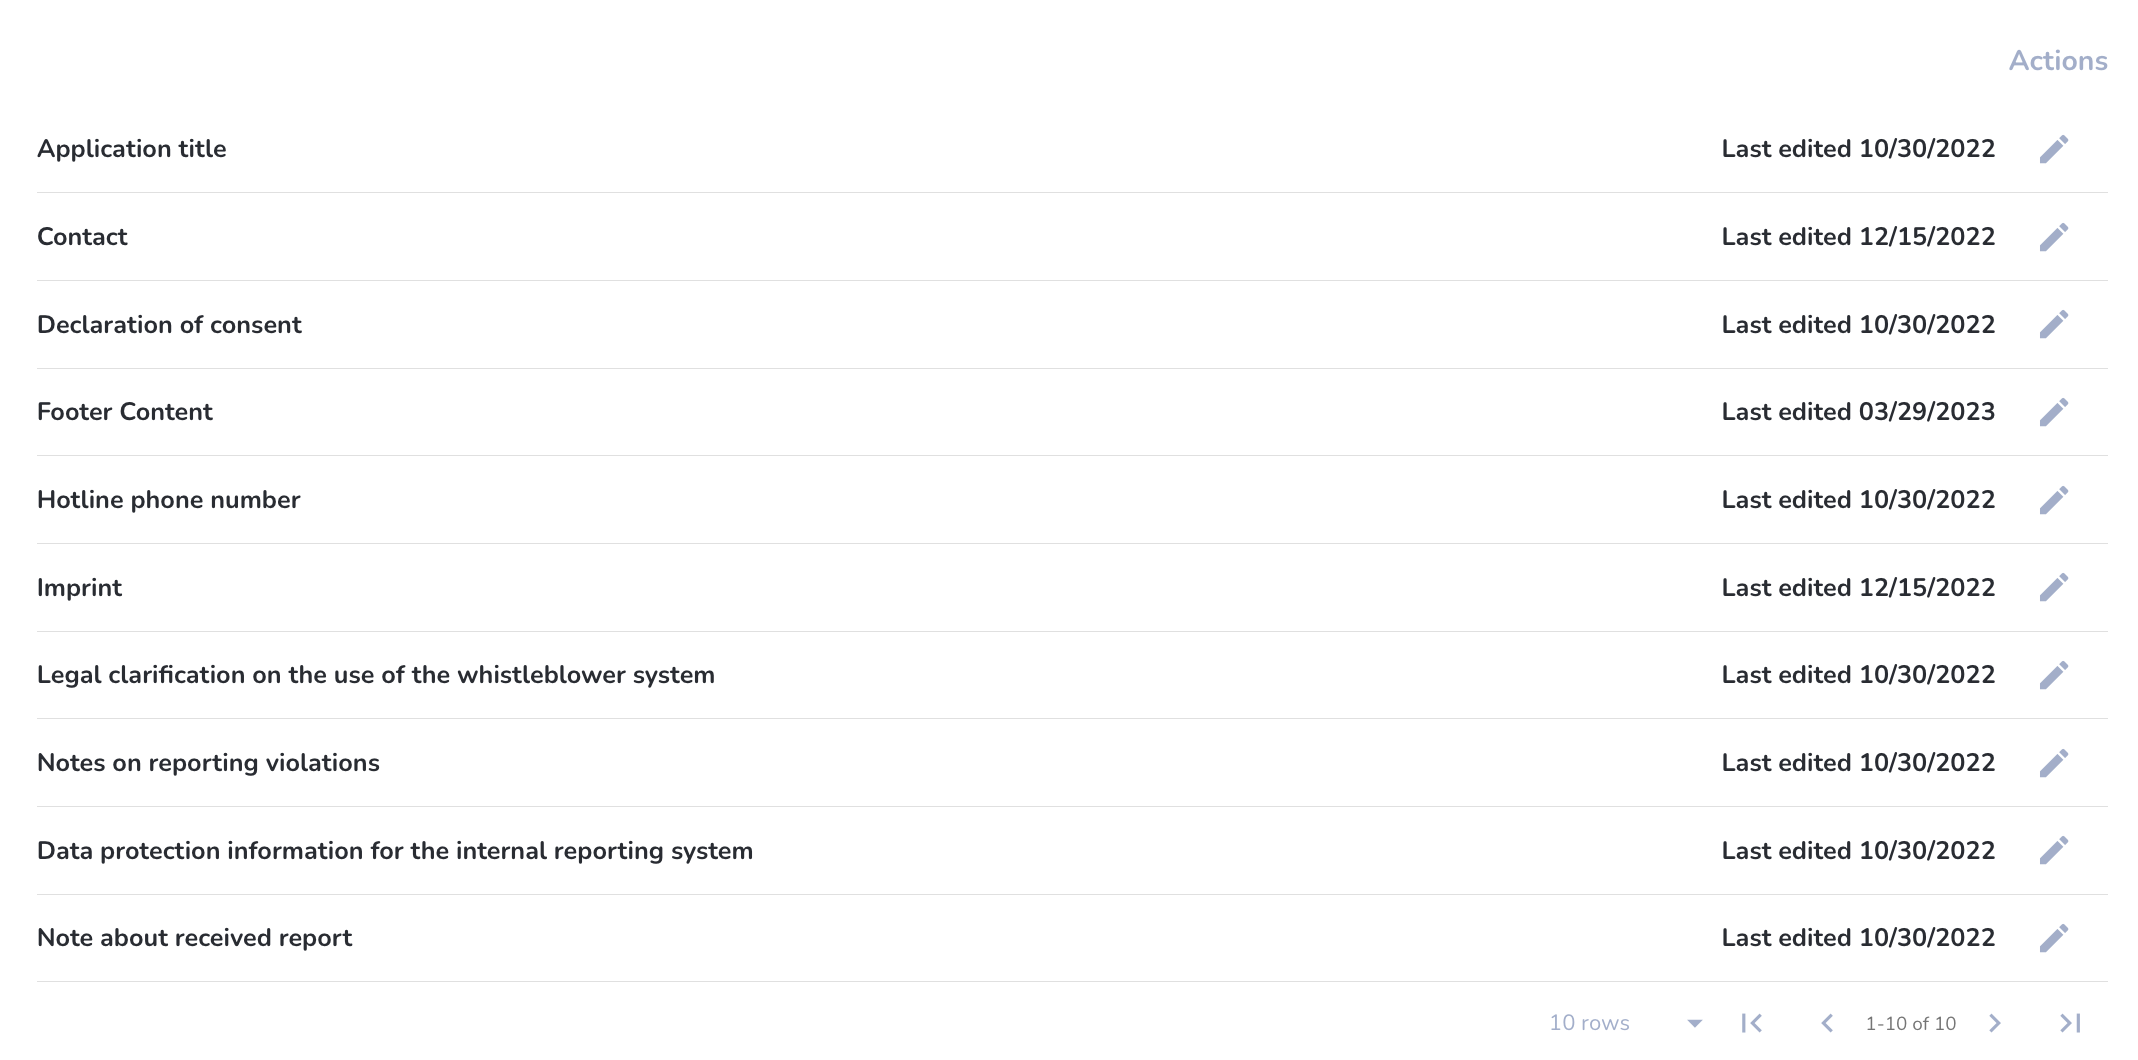
The following overview of all legal texts opens.
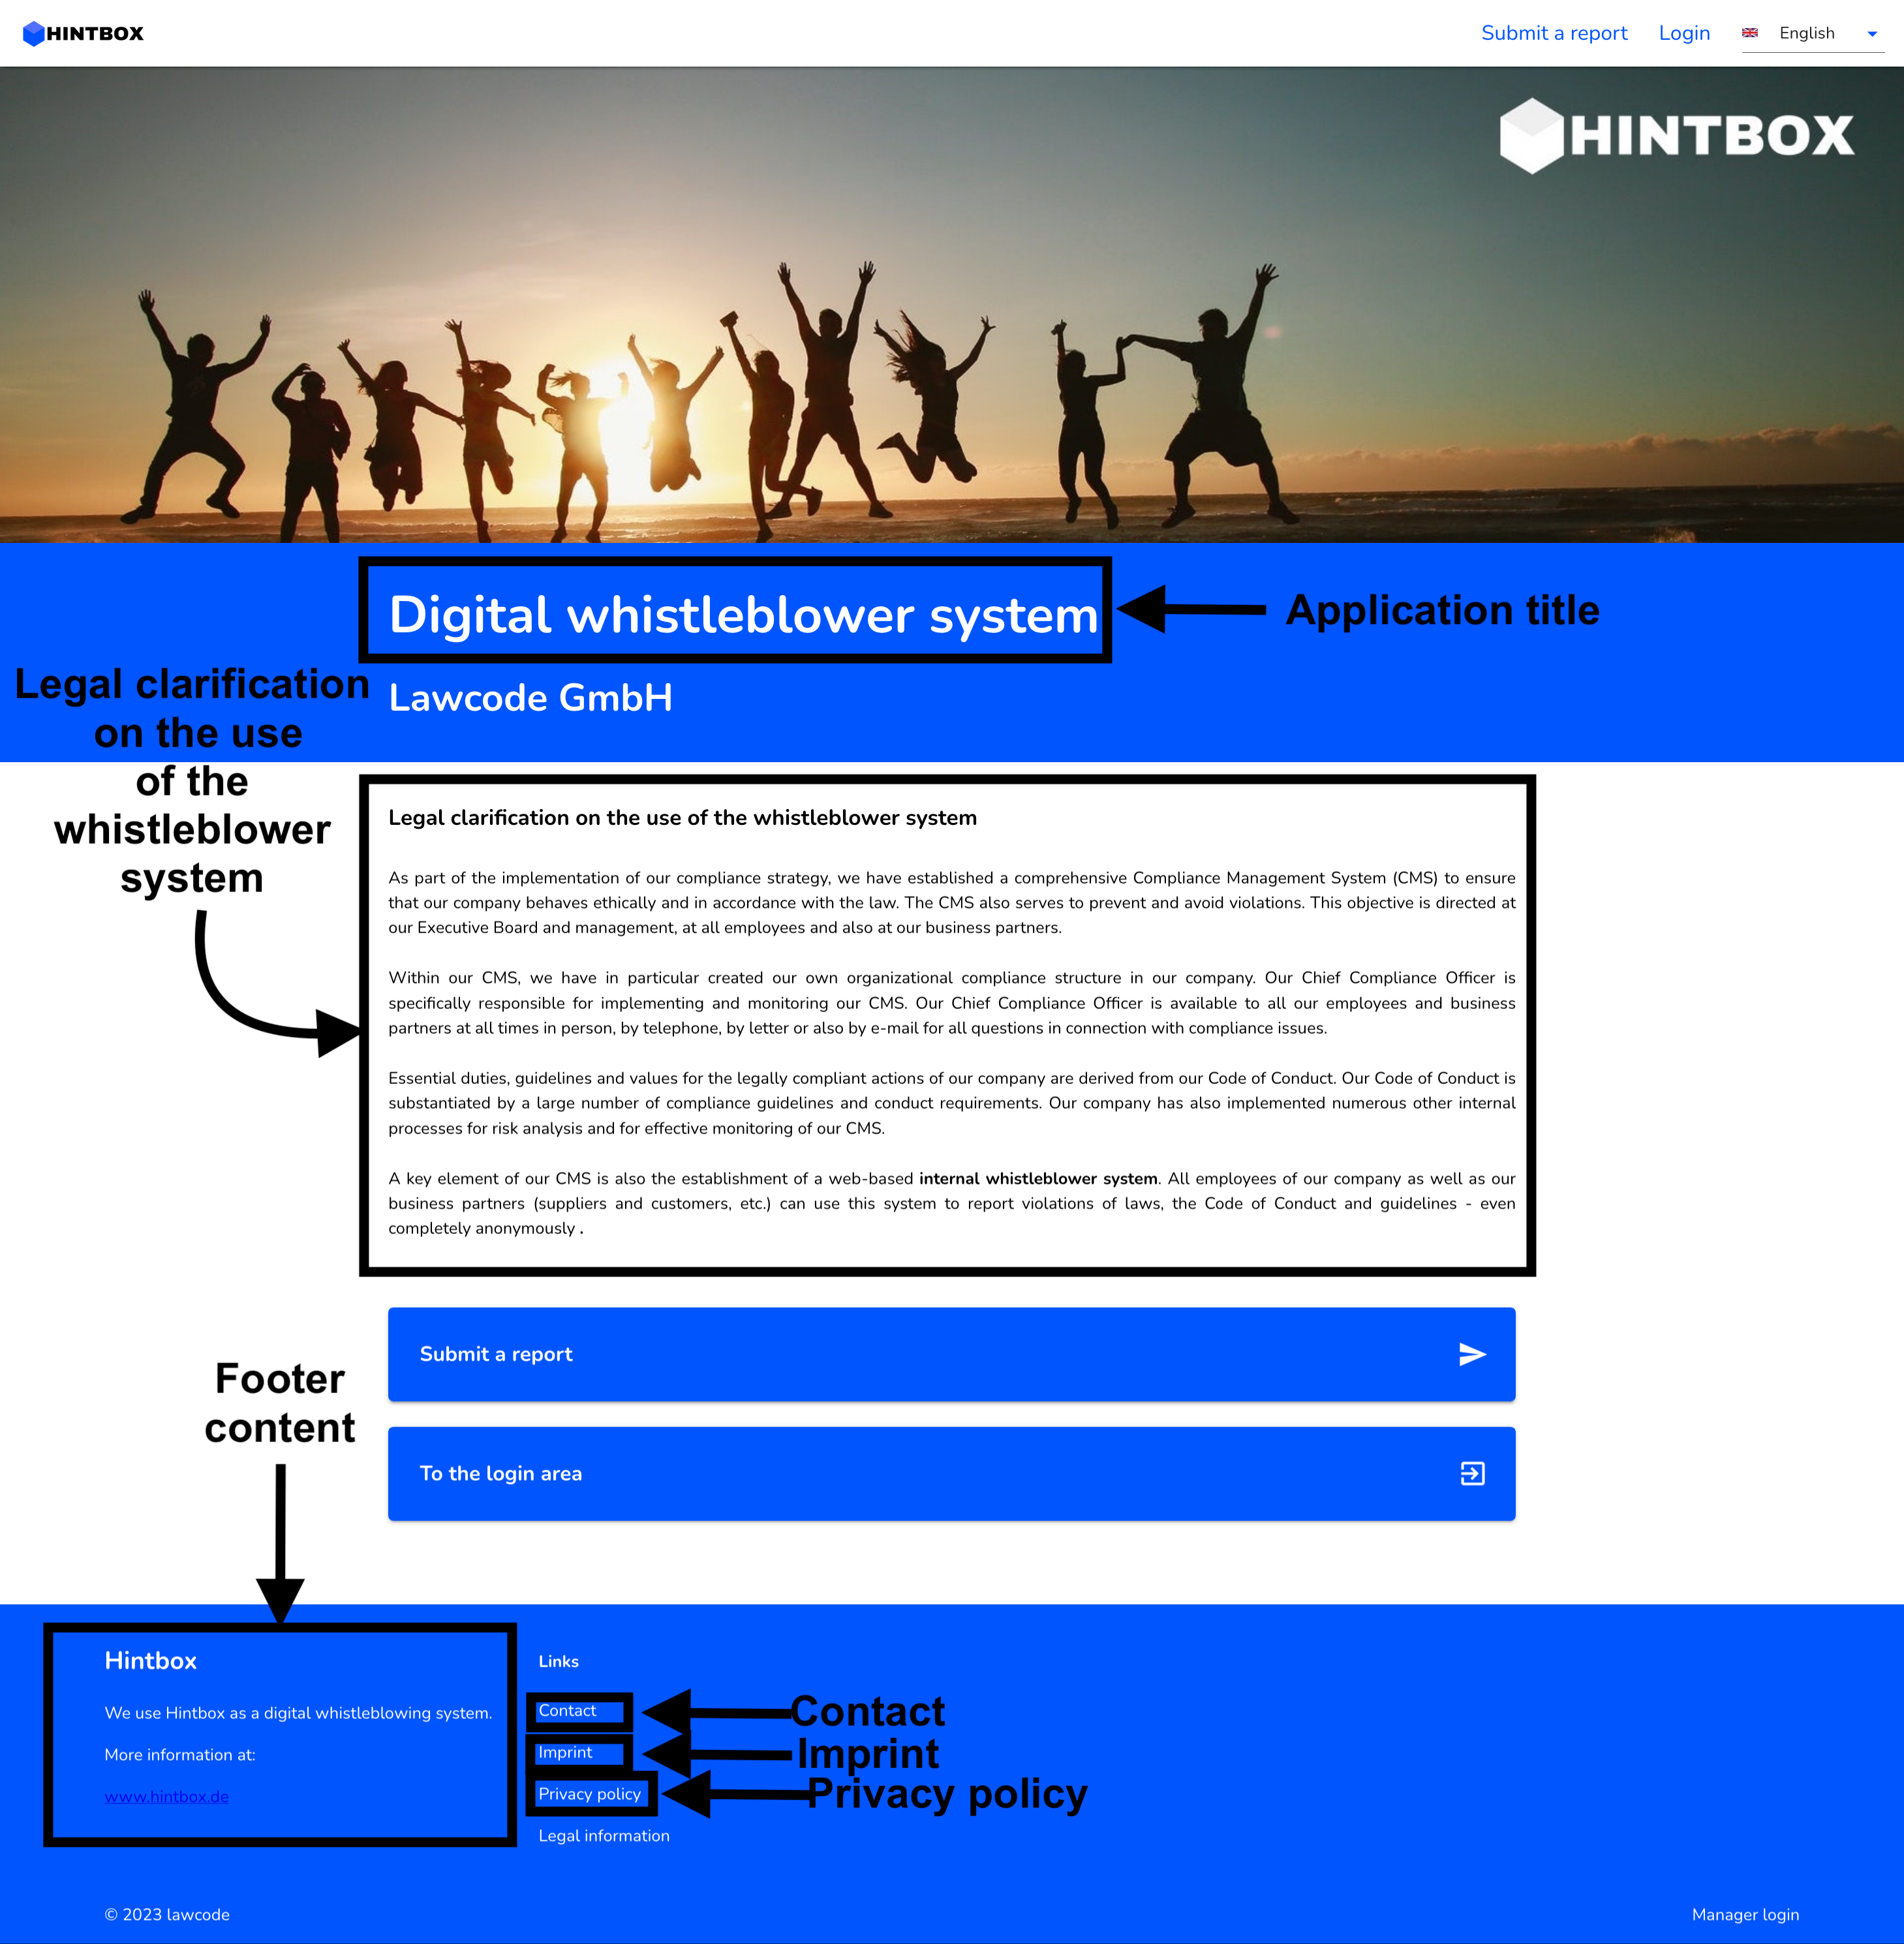
Title of the application - The title of the application (by default: Digital whistleblower system) appears on the home page above the company name.
Contact - In the contact you can enter your address and other contact details. Alternatively, you can link this to your website. More about this under Routes.
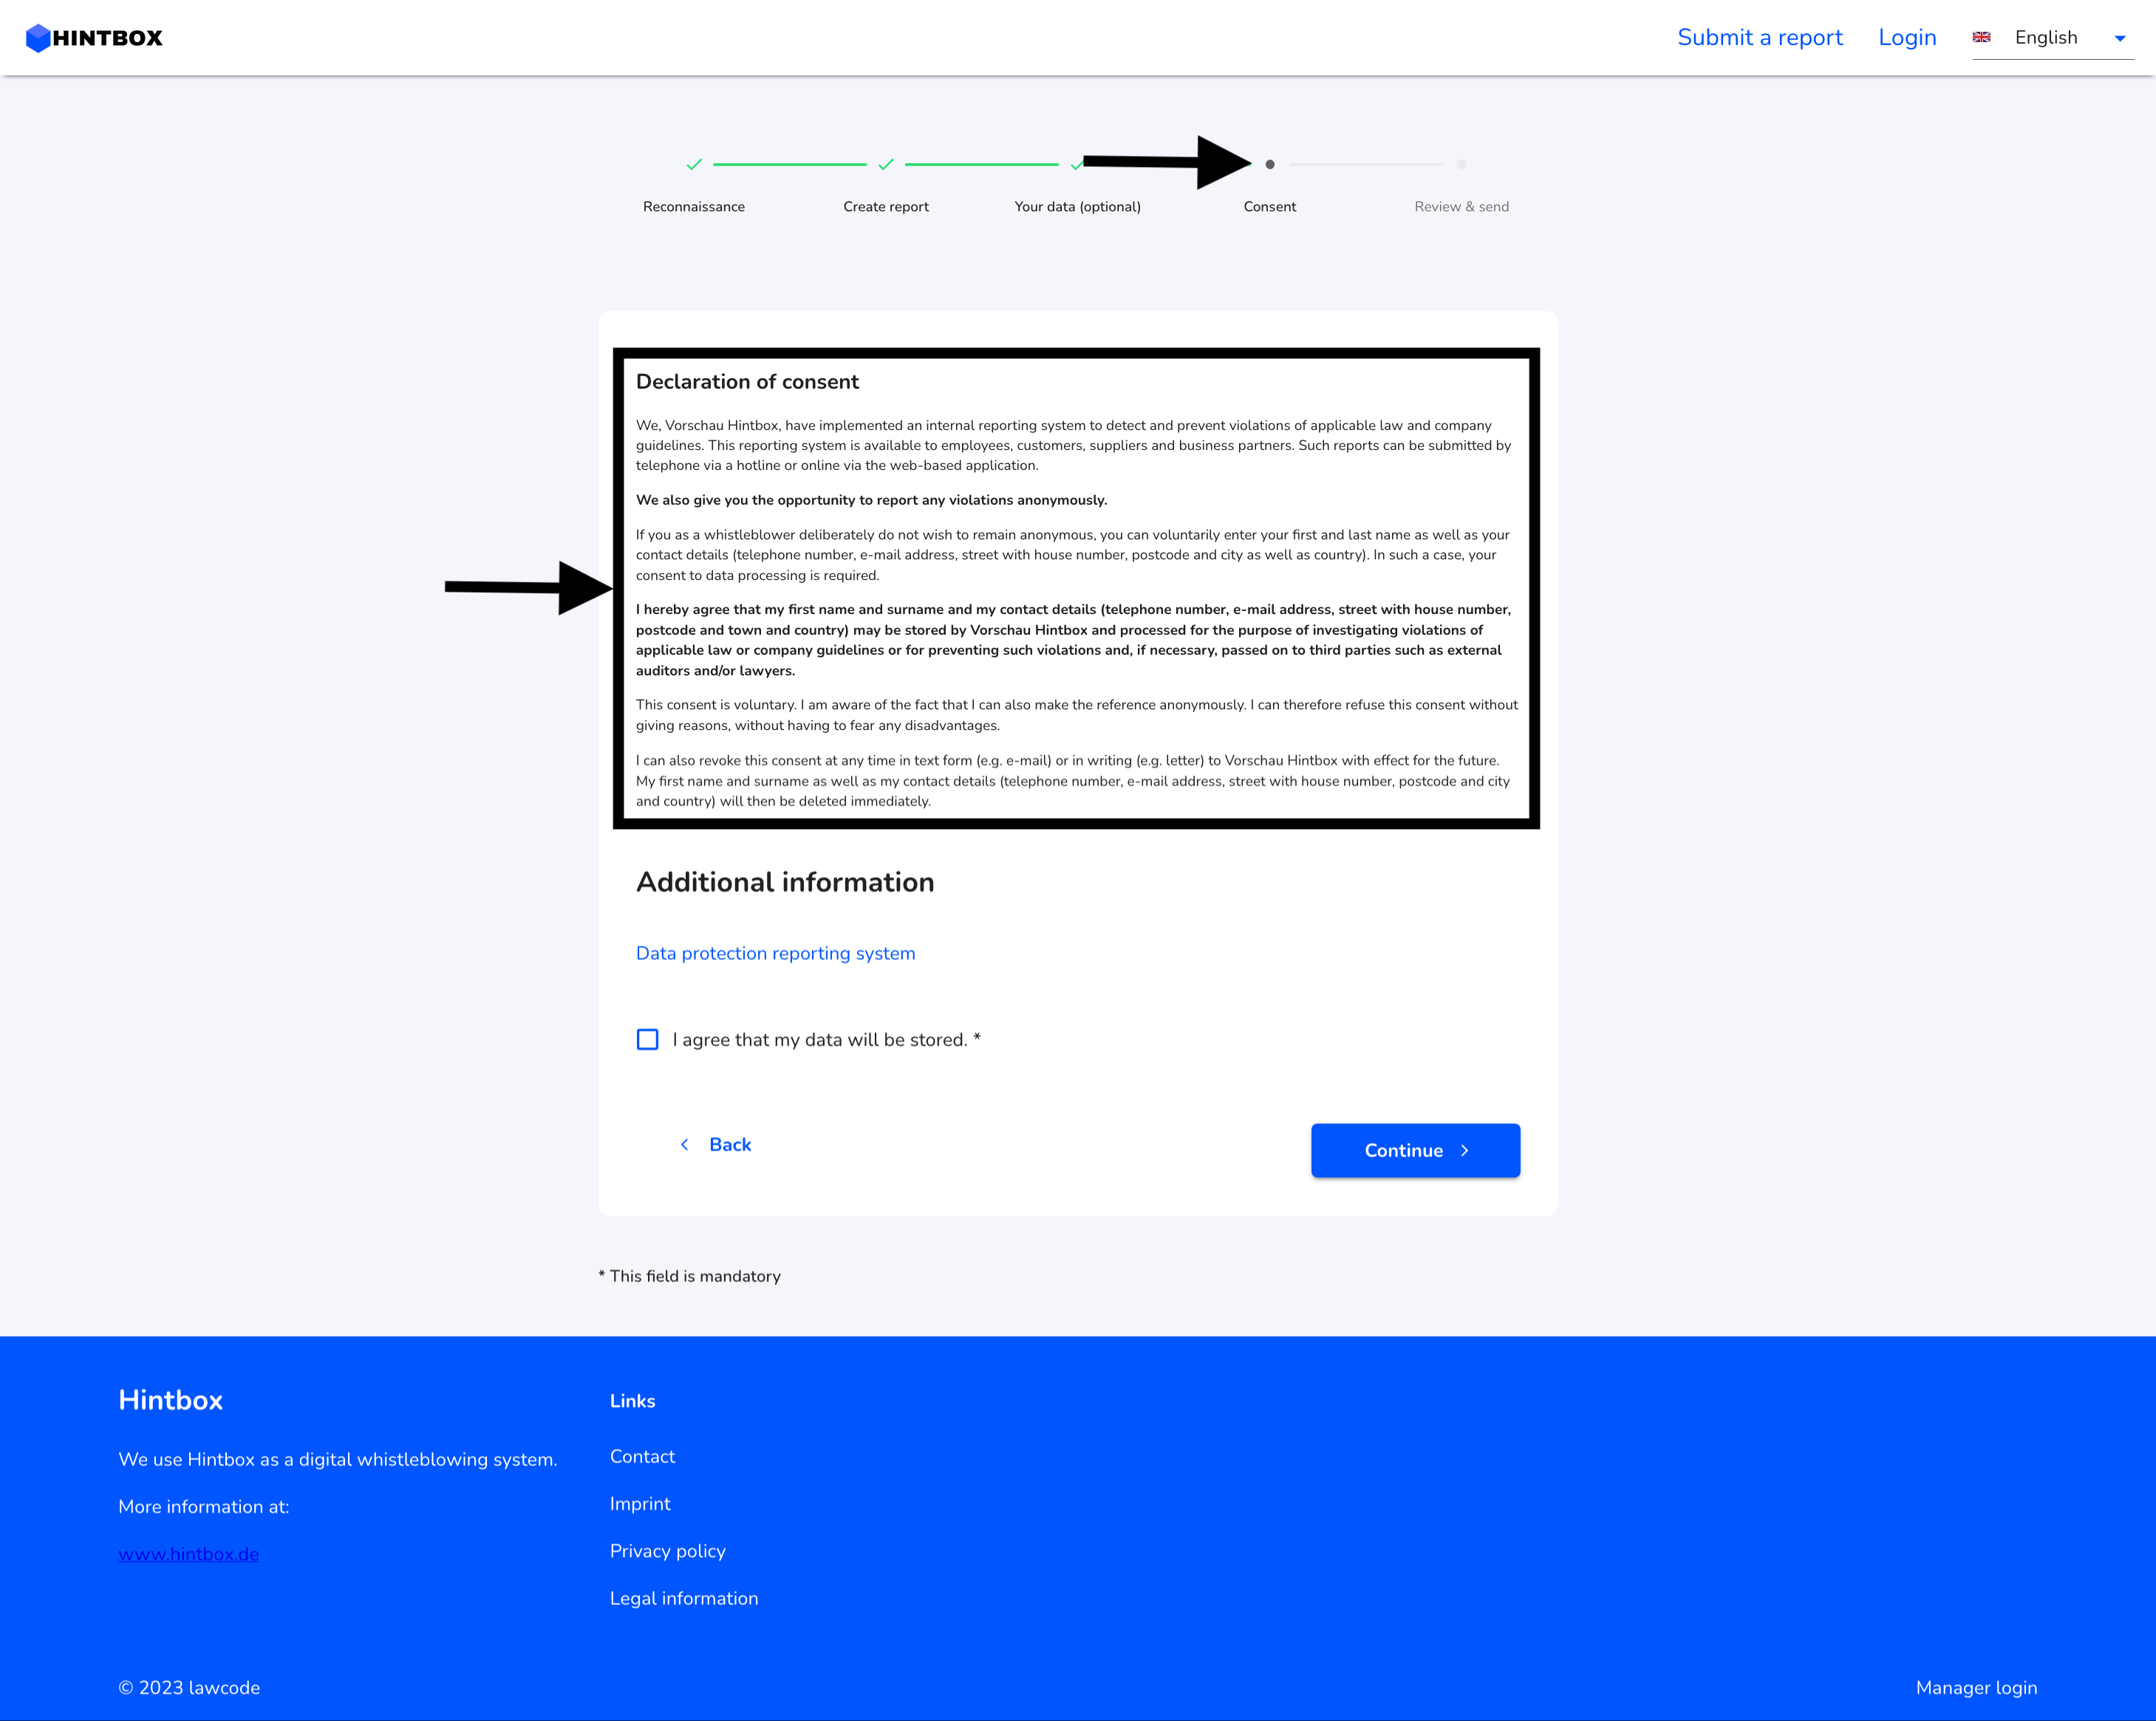
Consent Form - The consent form must be accepted by the whistleblower before he or she can file a report.
Footer Content - The footer content is the left area at the bottom of the home page.
Hotline phone number - If you have purchased our VoiceBot, you can enter your phone number here.
Imprint - Here you can enter your imprint. Alternatively, you can link this to your website. More about this under Routes.
Legal clarification on the use of the whistleblower system - This is the text of the on the home page.
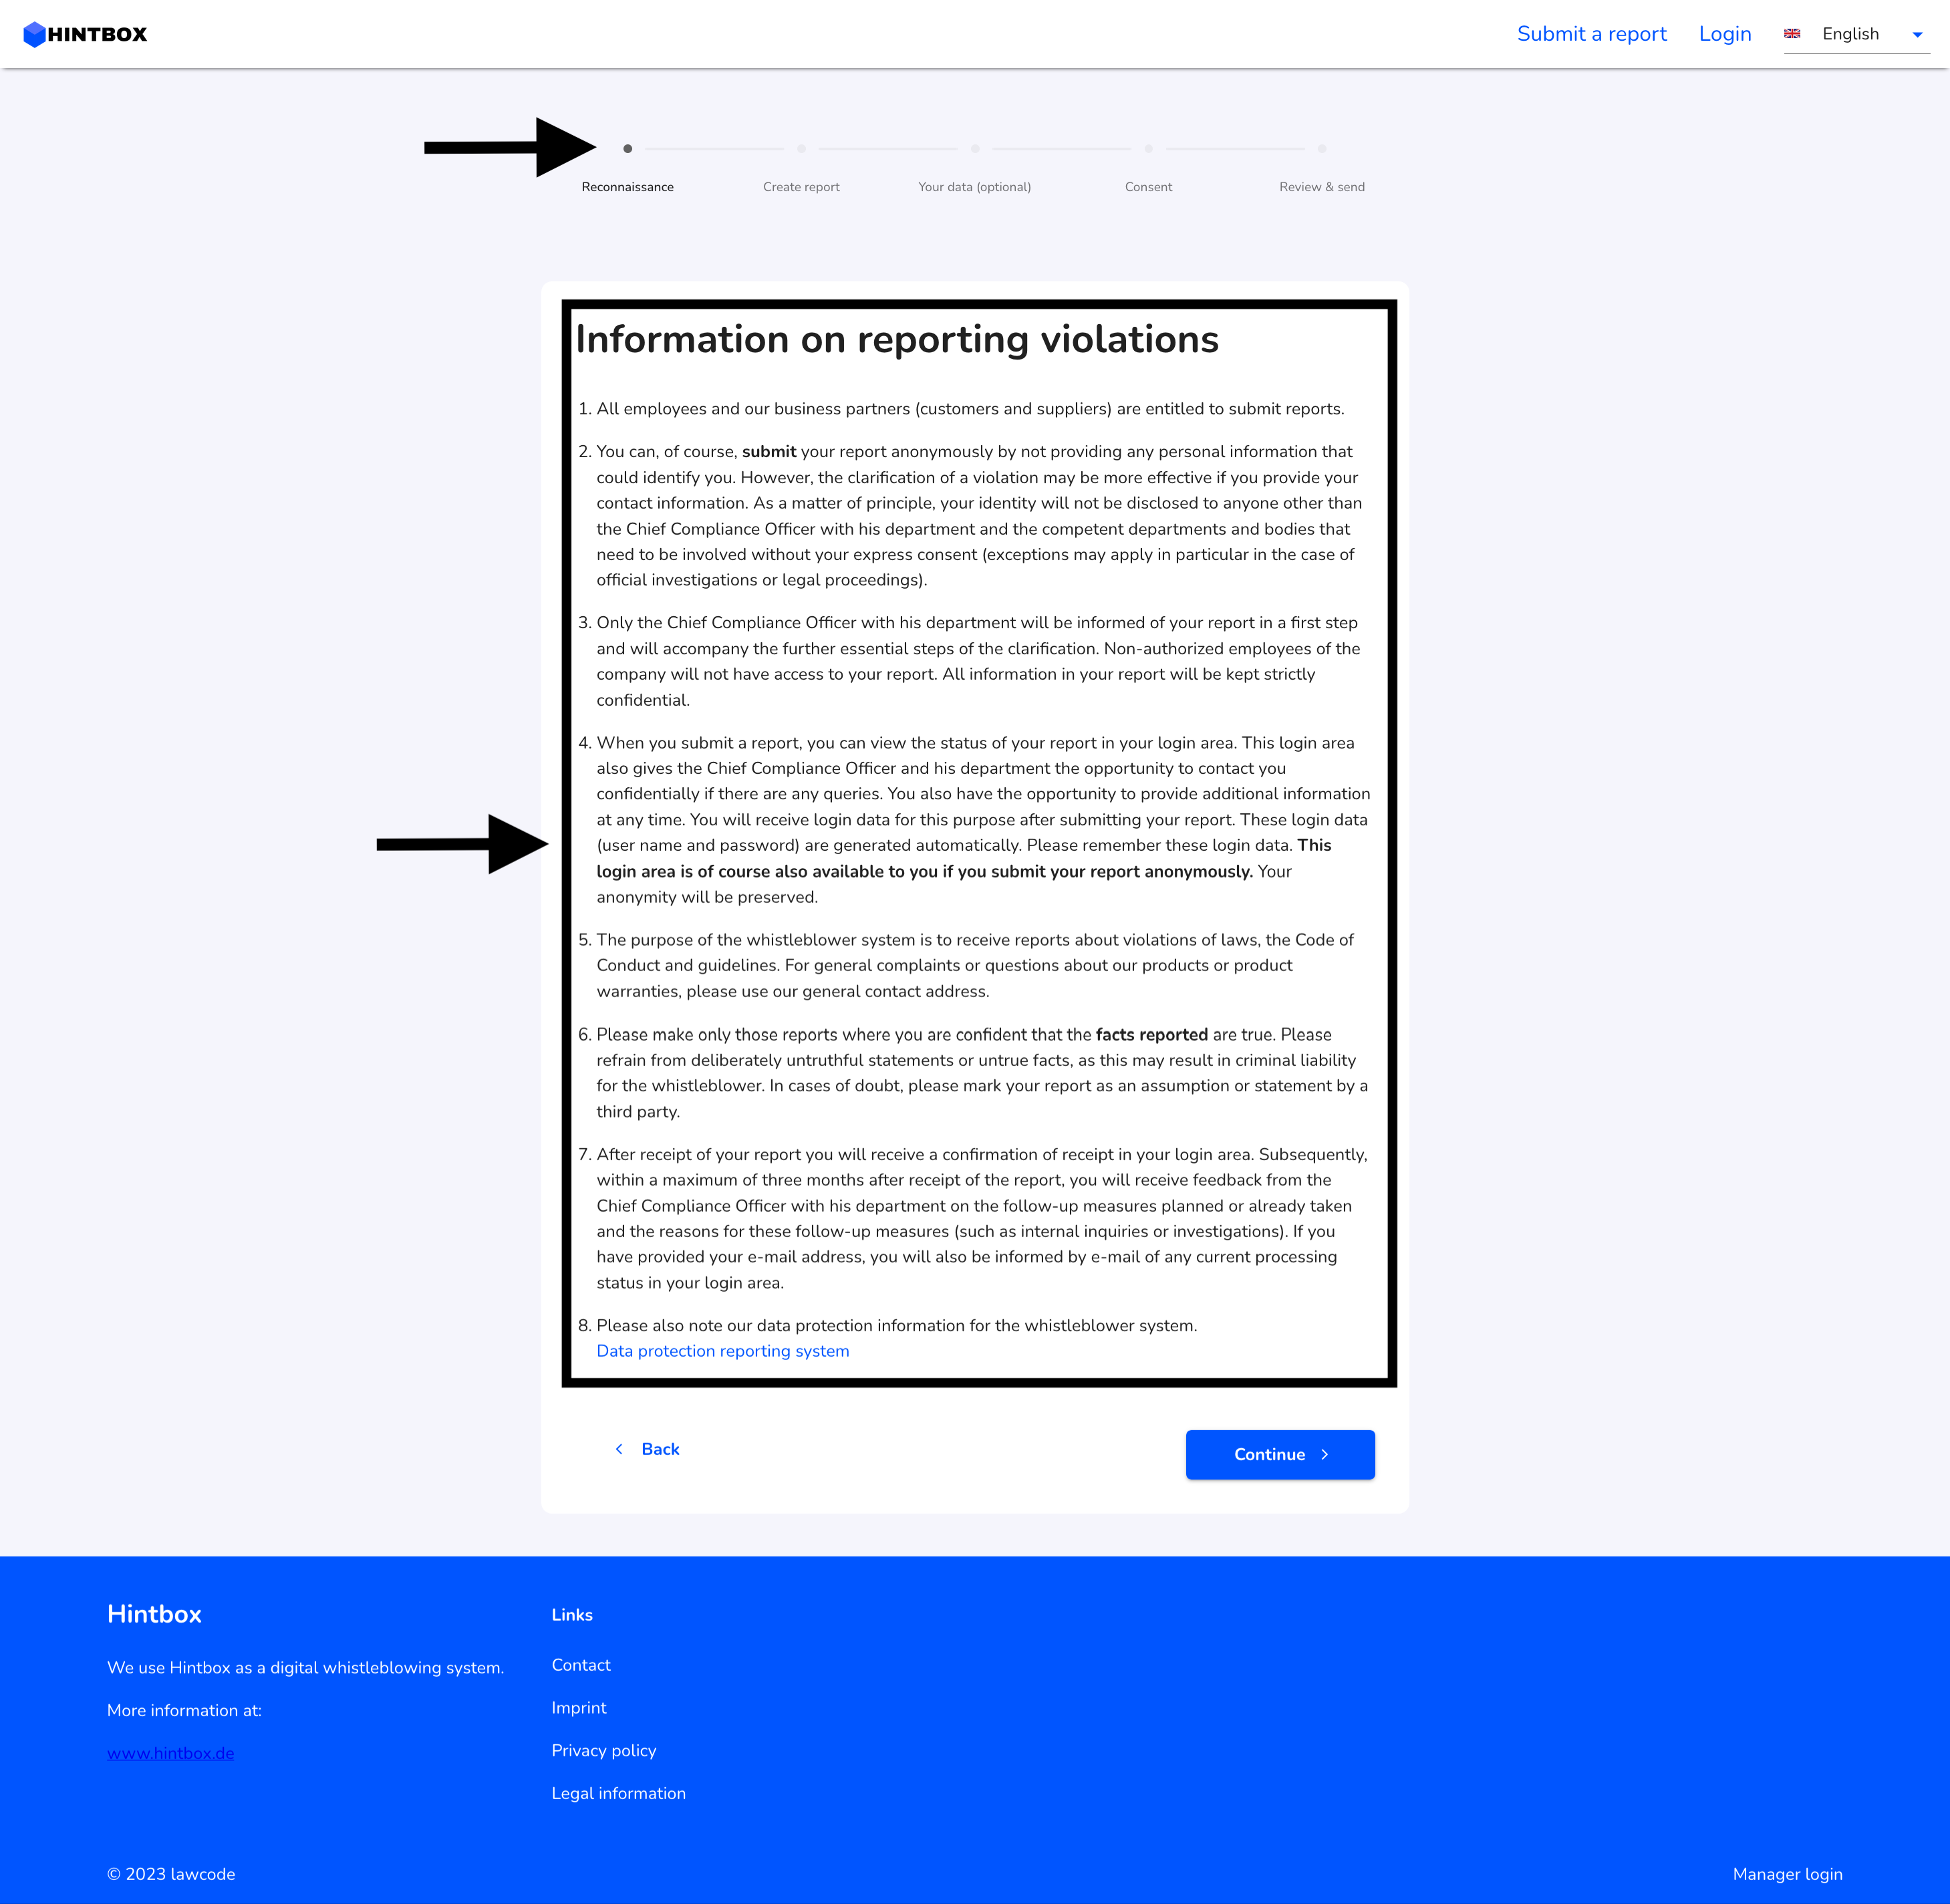
Violation Reporting Instructions - If the whistleblower chooses to file a report, these instructions will educate the whistleblower on what to look for.
Privacy policy for the reporting system - Here you can enter your privacy policy. Alternatively you can link this to your website. More about this under Routes.
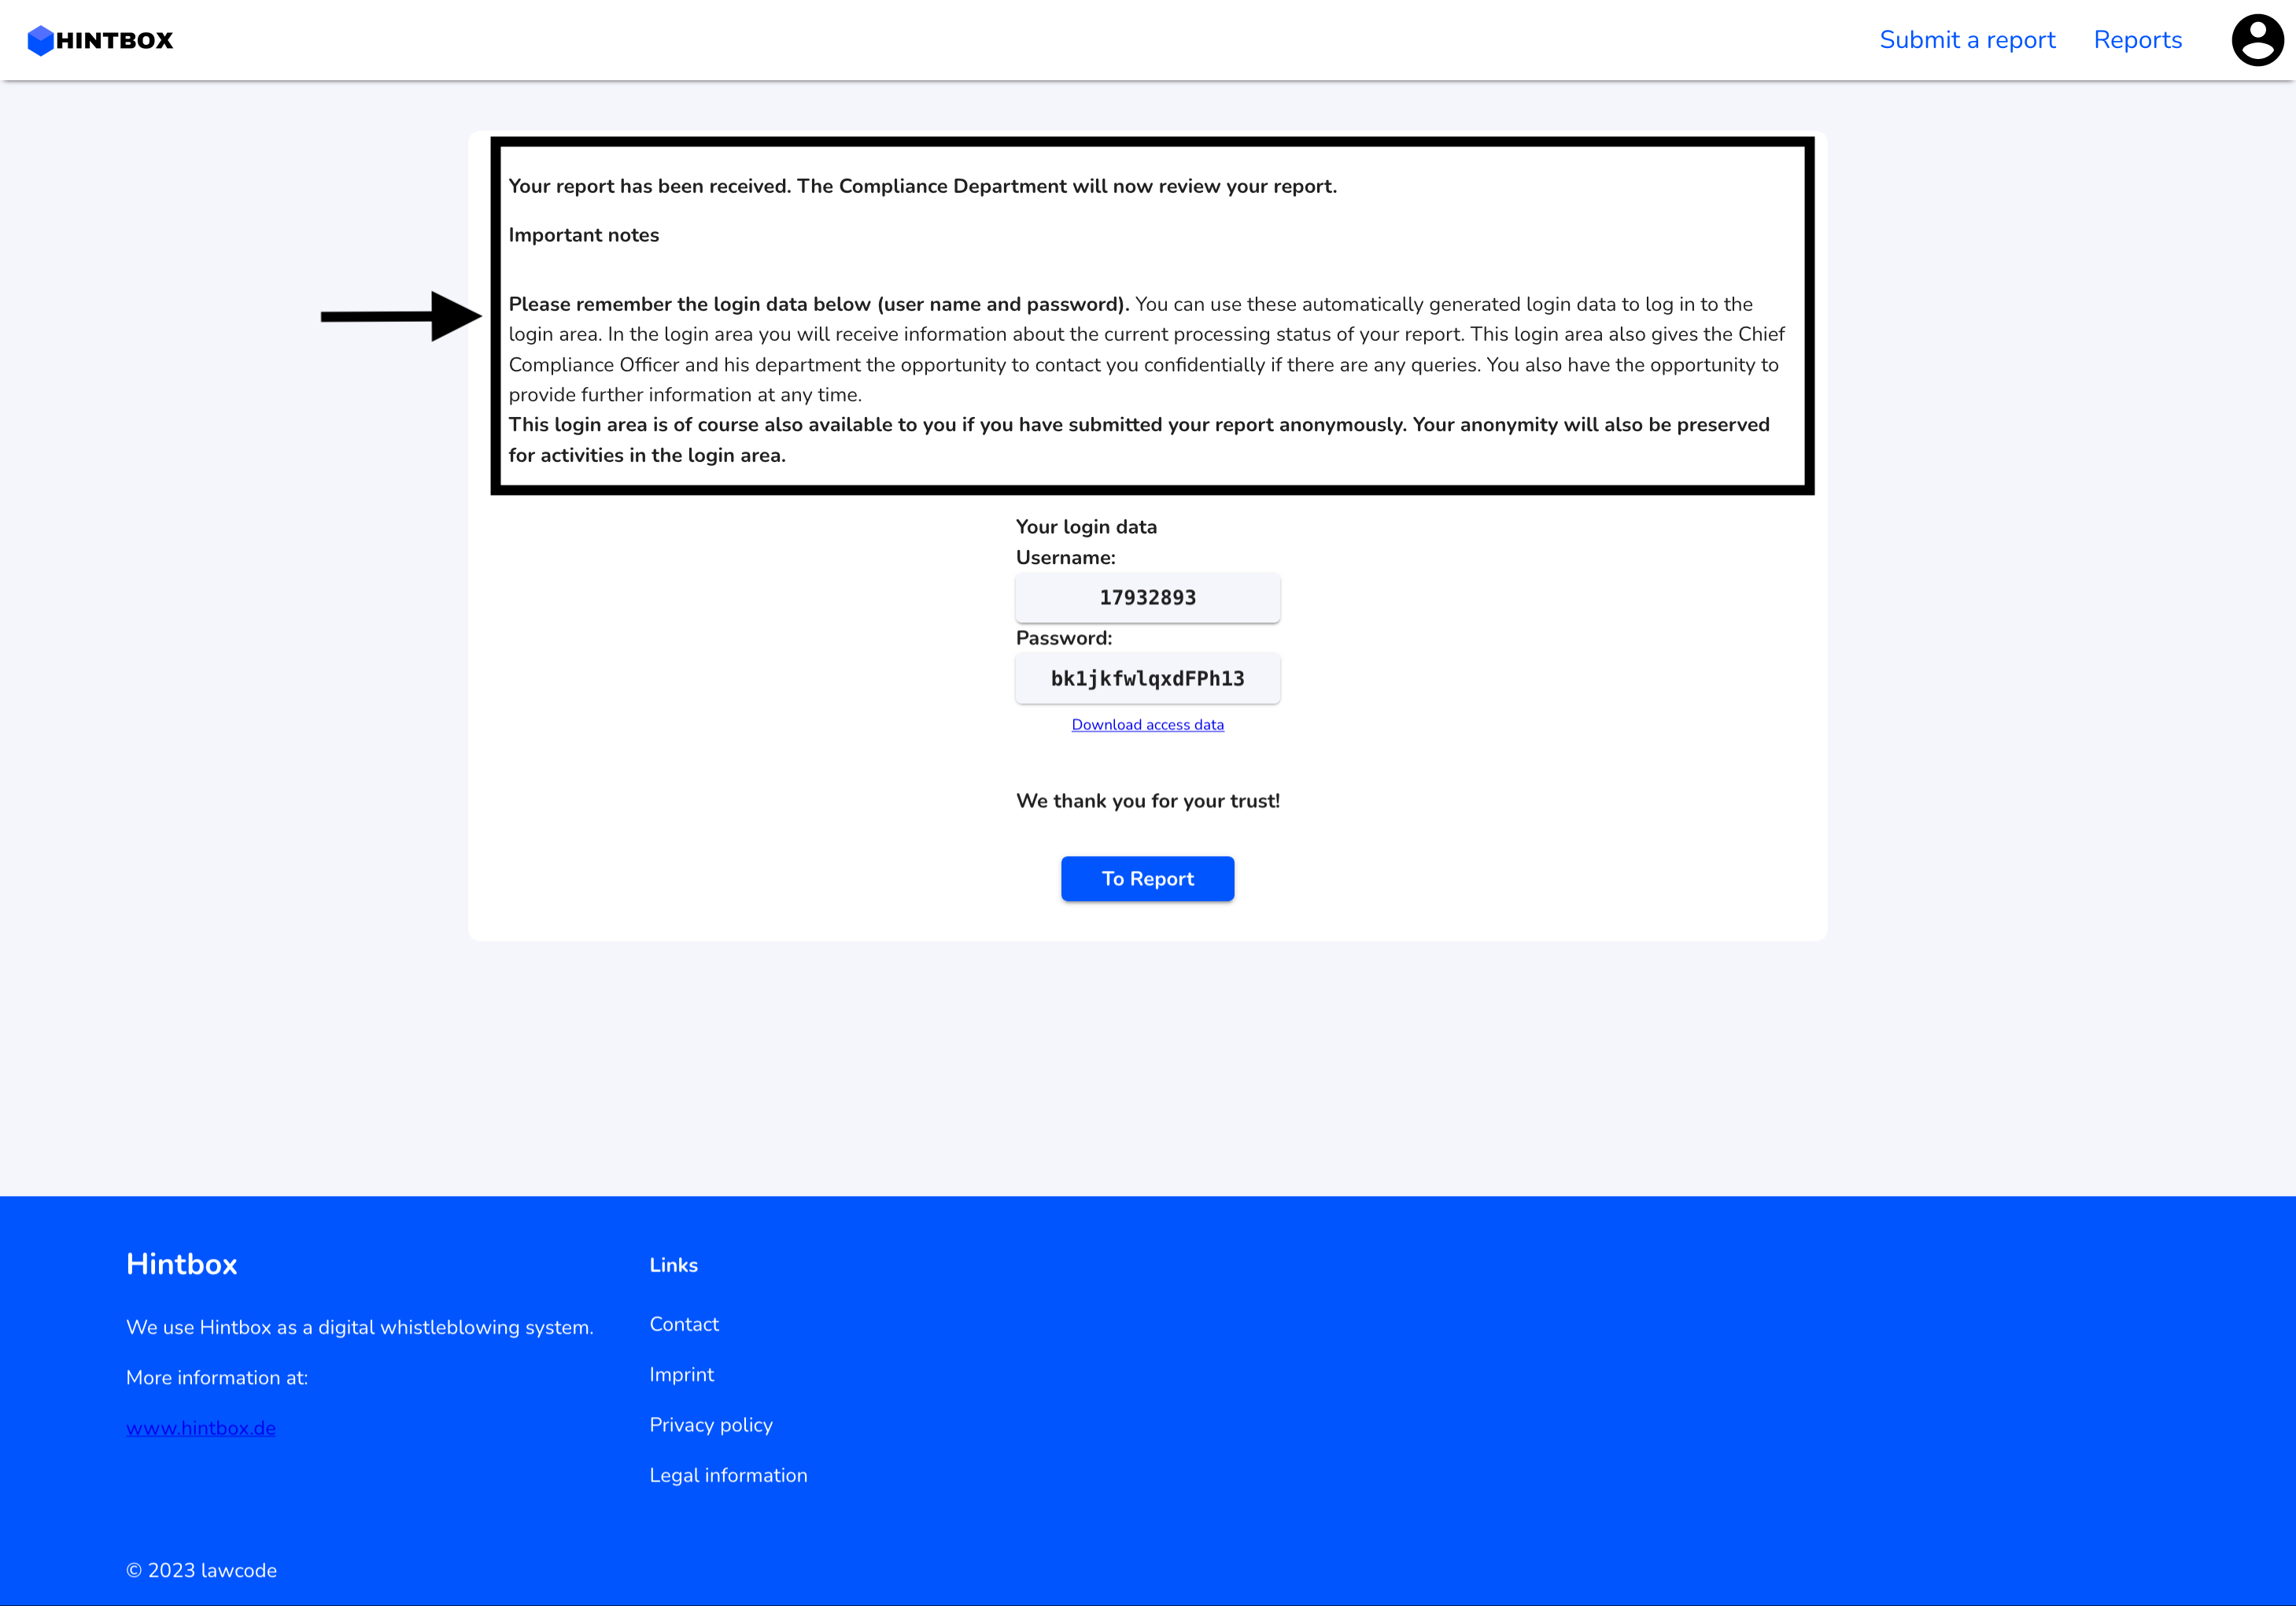
Report Received Notice - This is information that the whistleblower receives after submitting their report.
The legal texts can be found in the following locations.
Customize legal texts
To edit the legal texts click Settings → System → Legal texts.

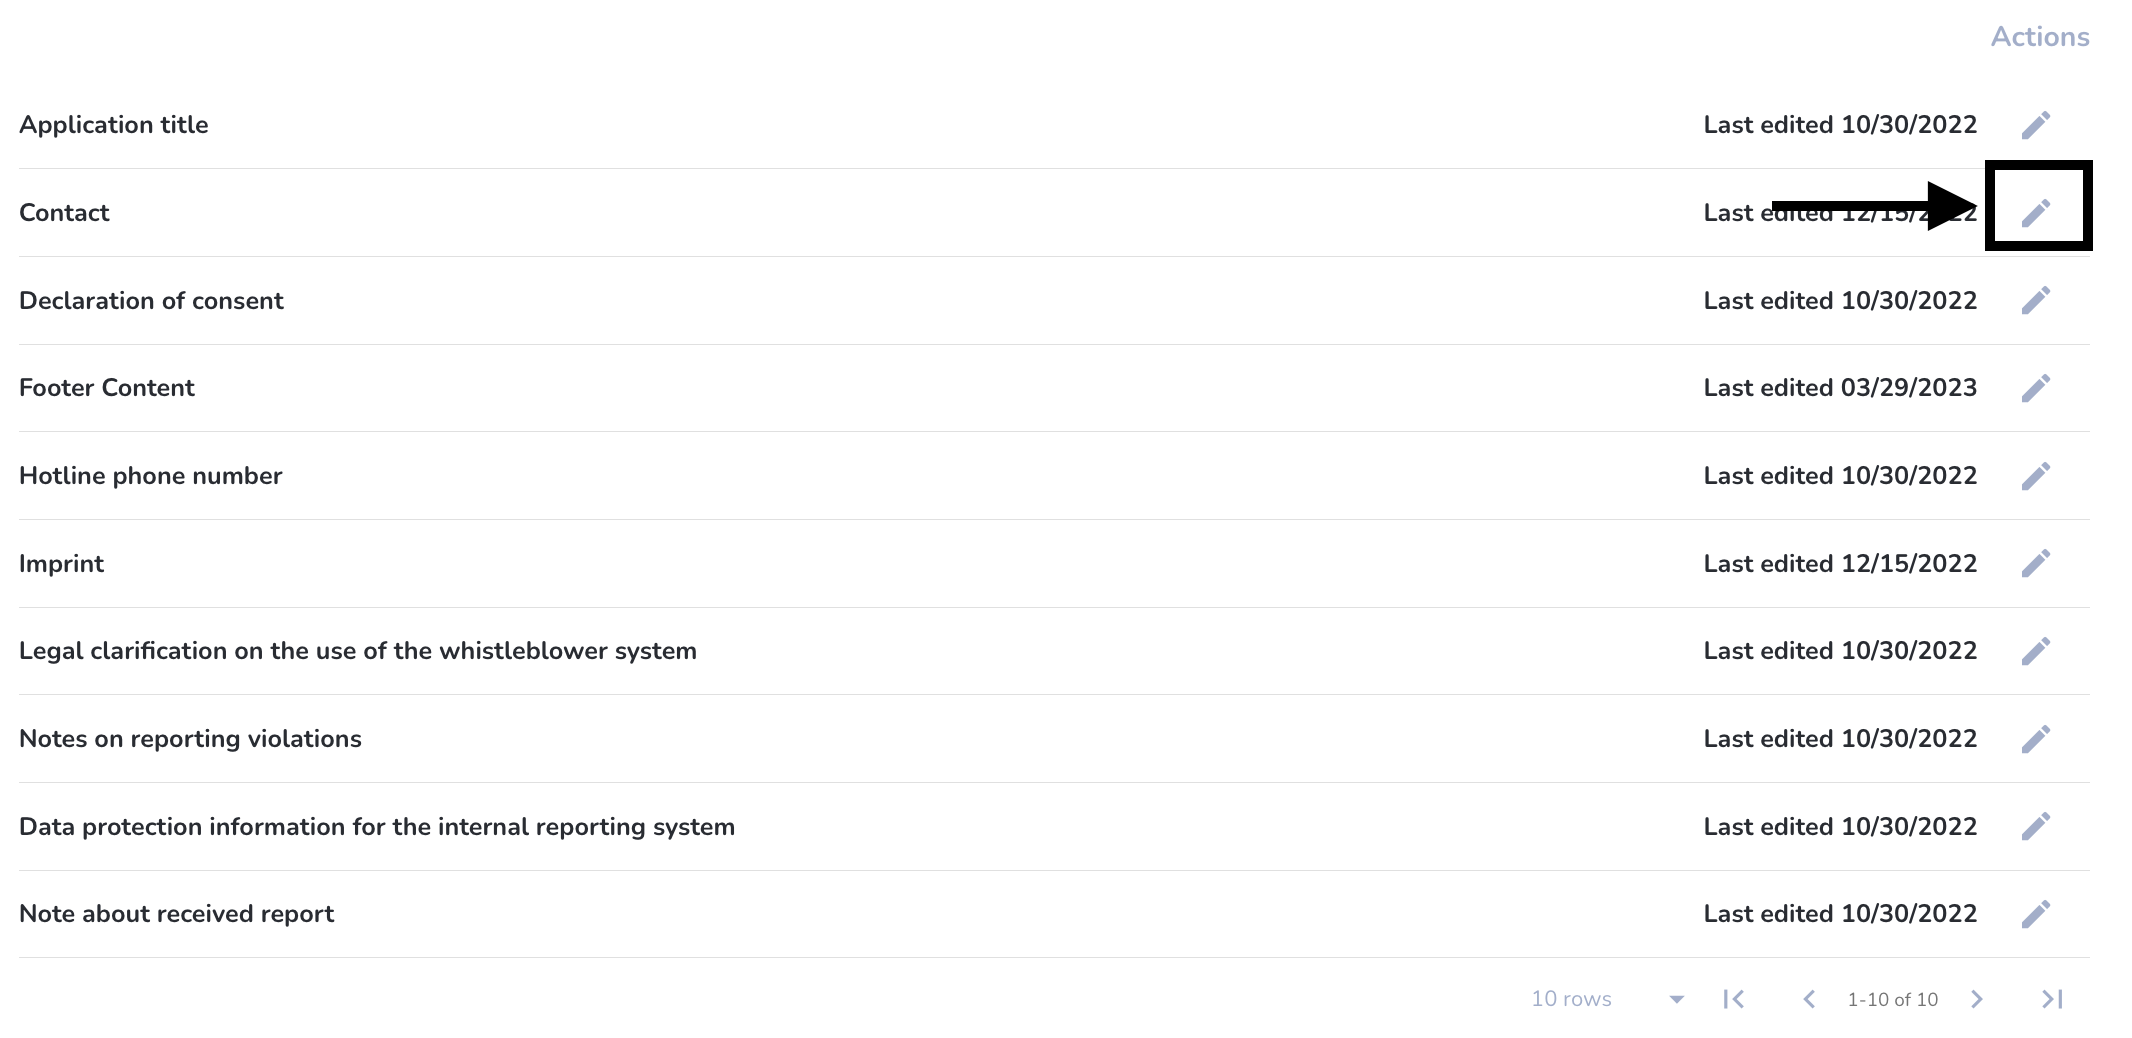
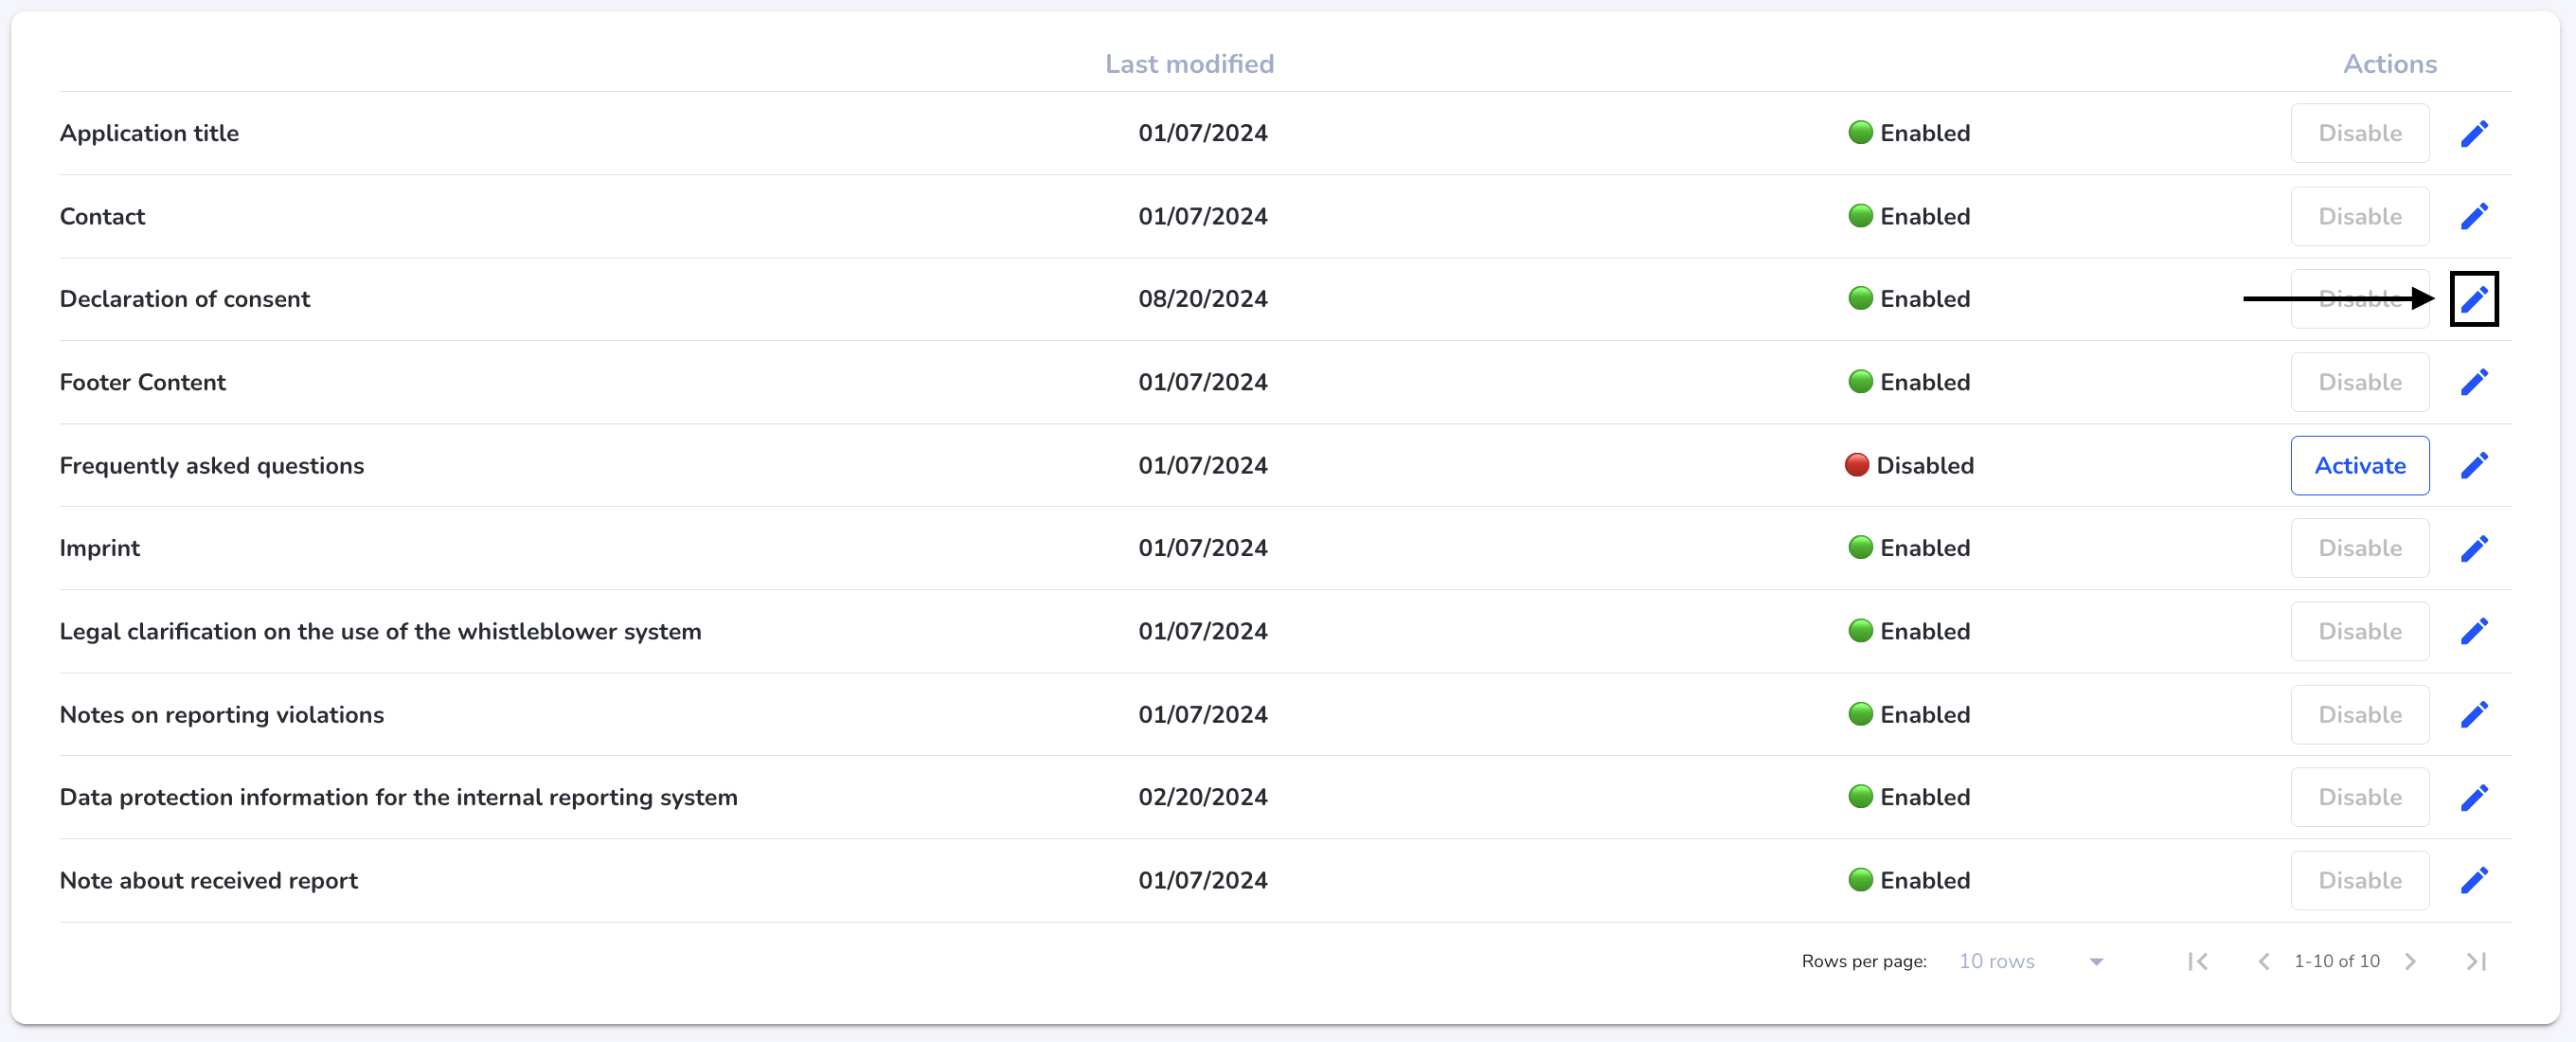
To customize a legal text, click the edit pen of the respective legal text.
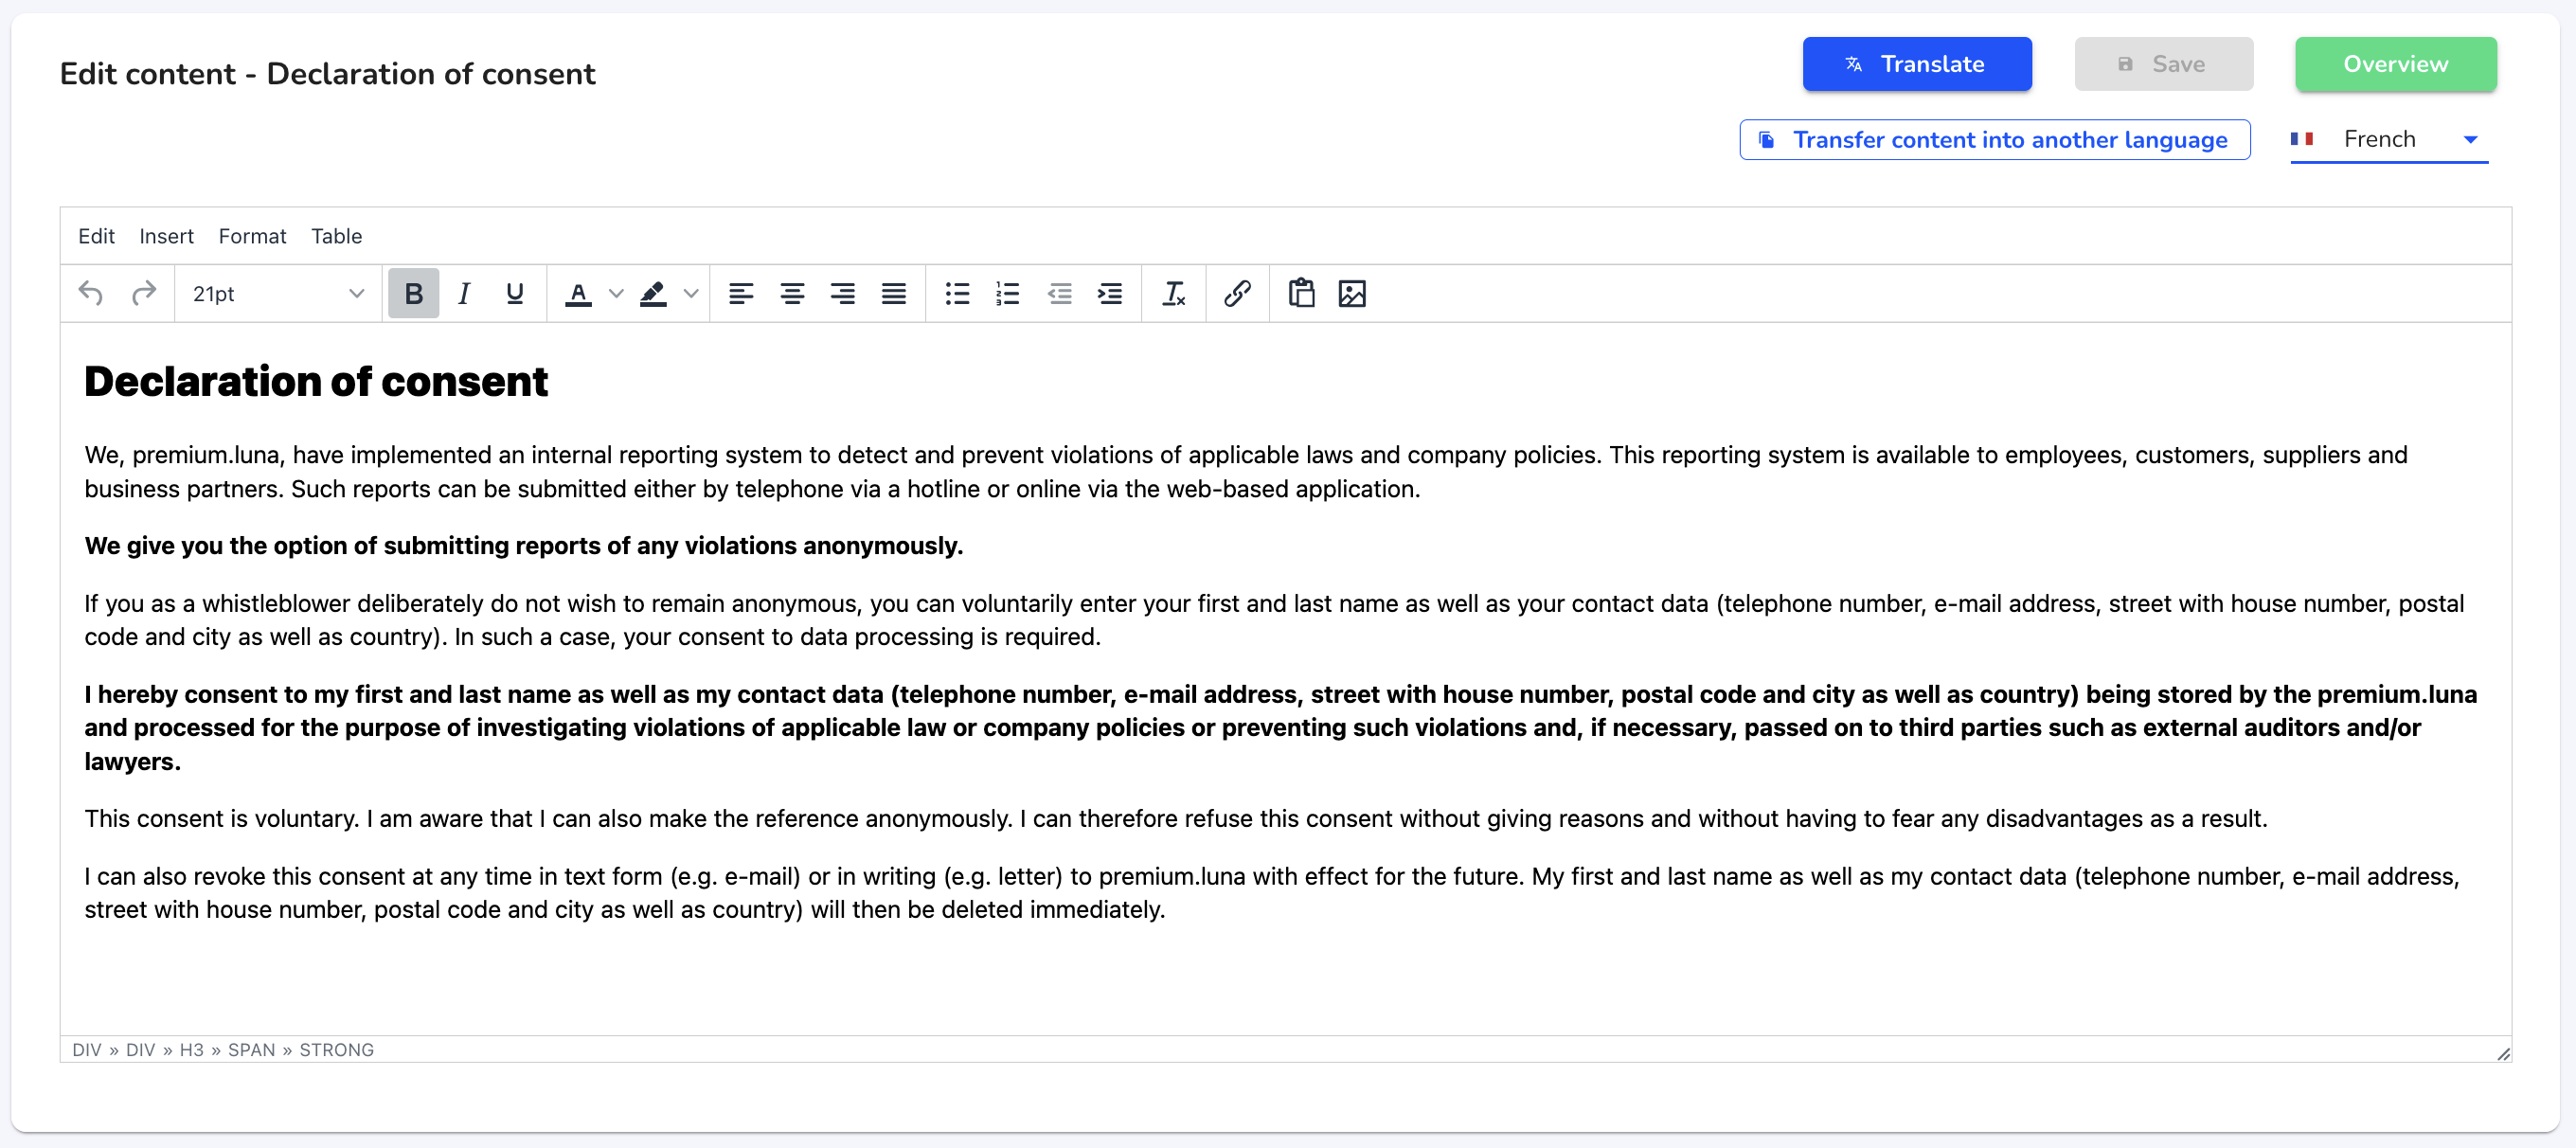
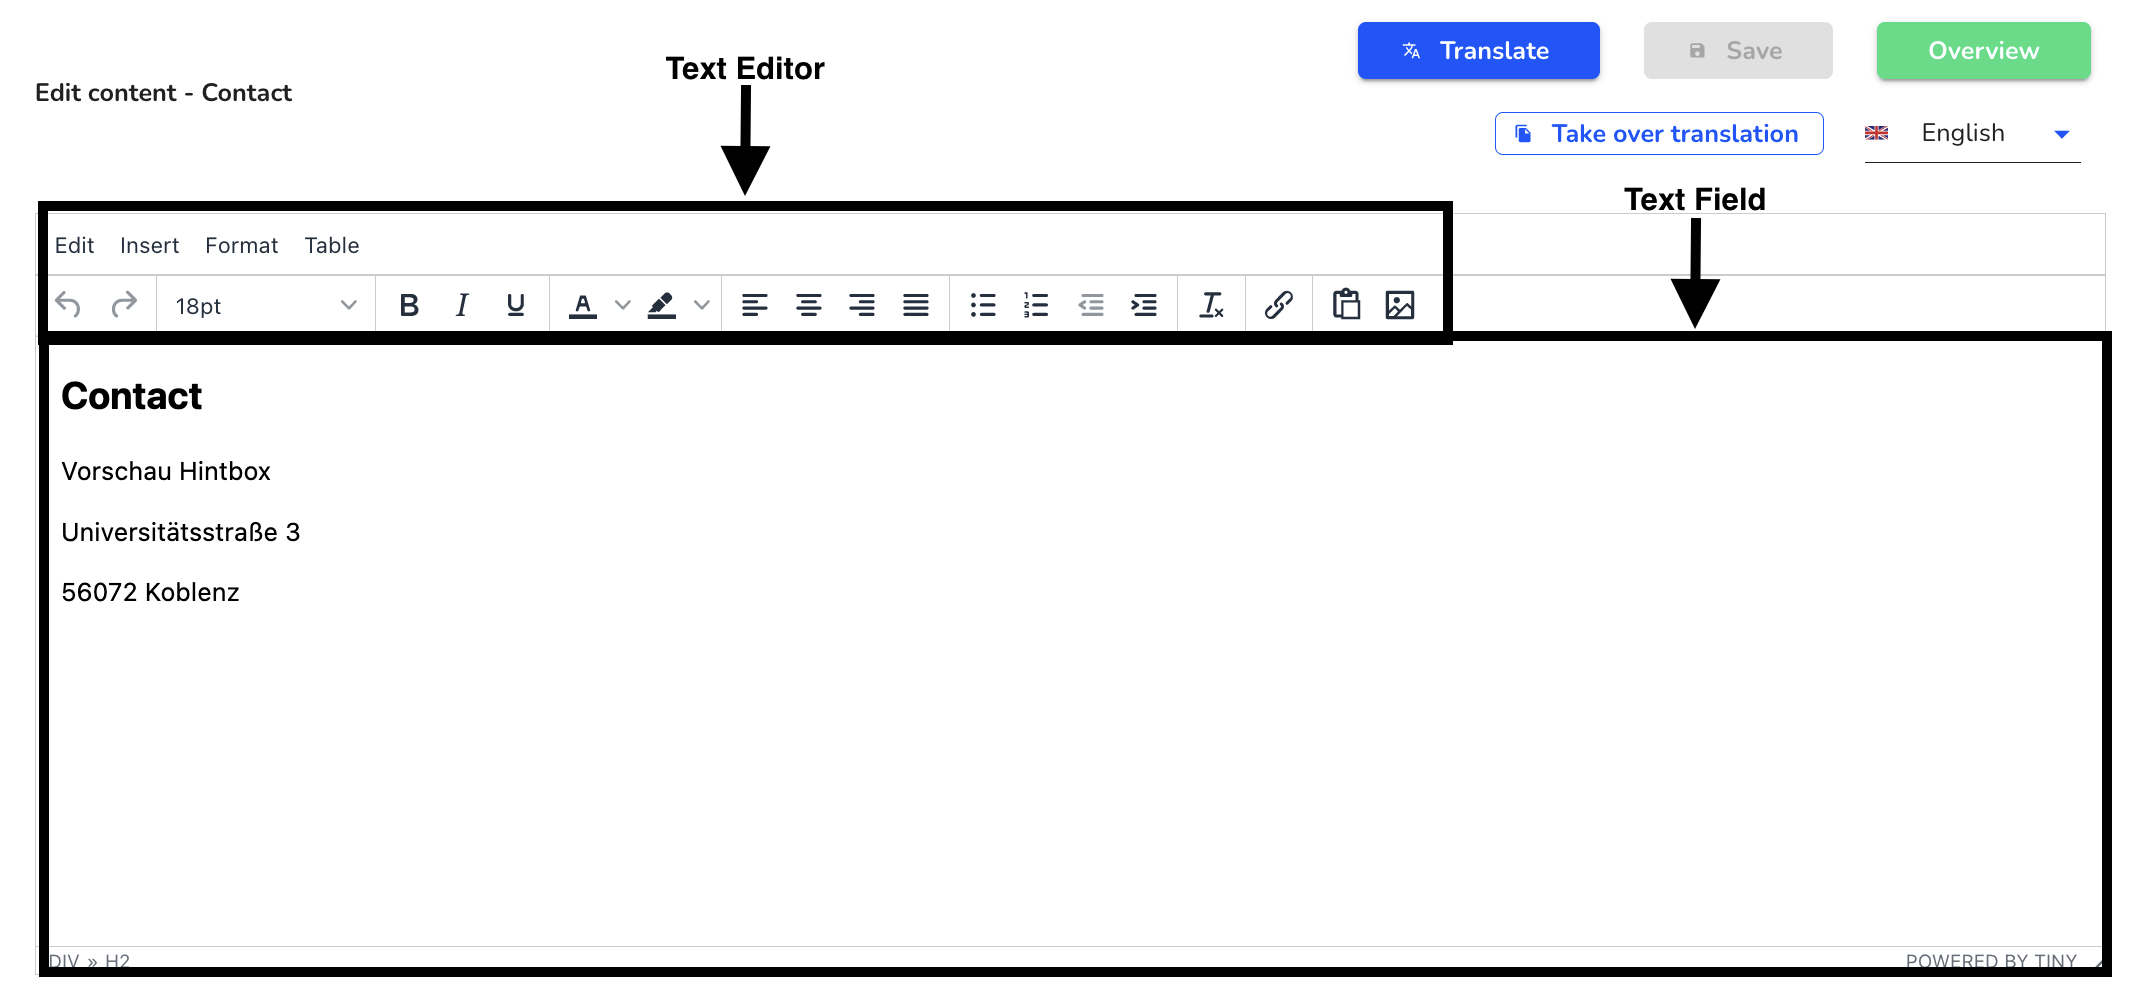
Adjustments can be made using the text editor in the text field. You can find more about the text editor here.
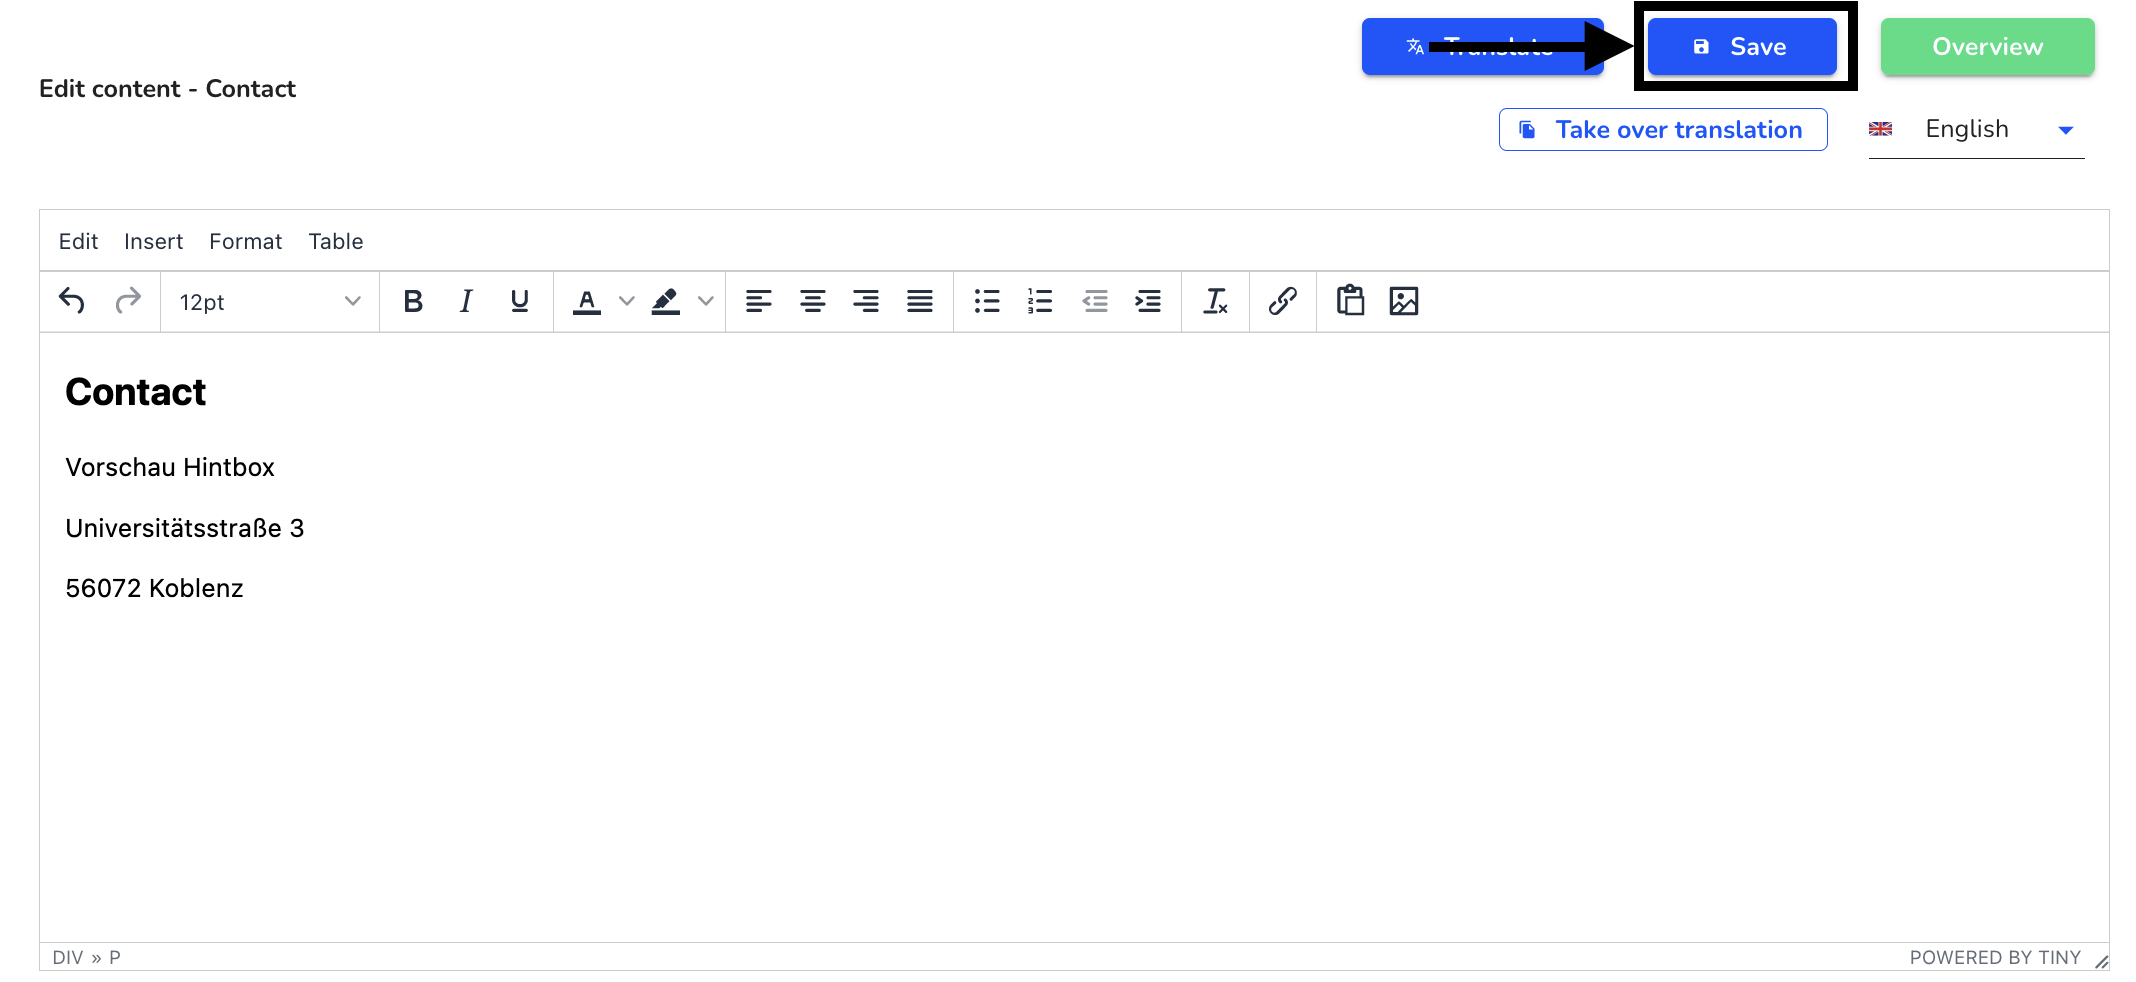
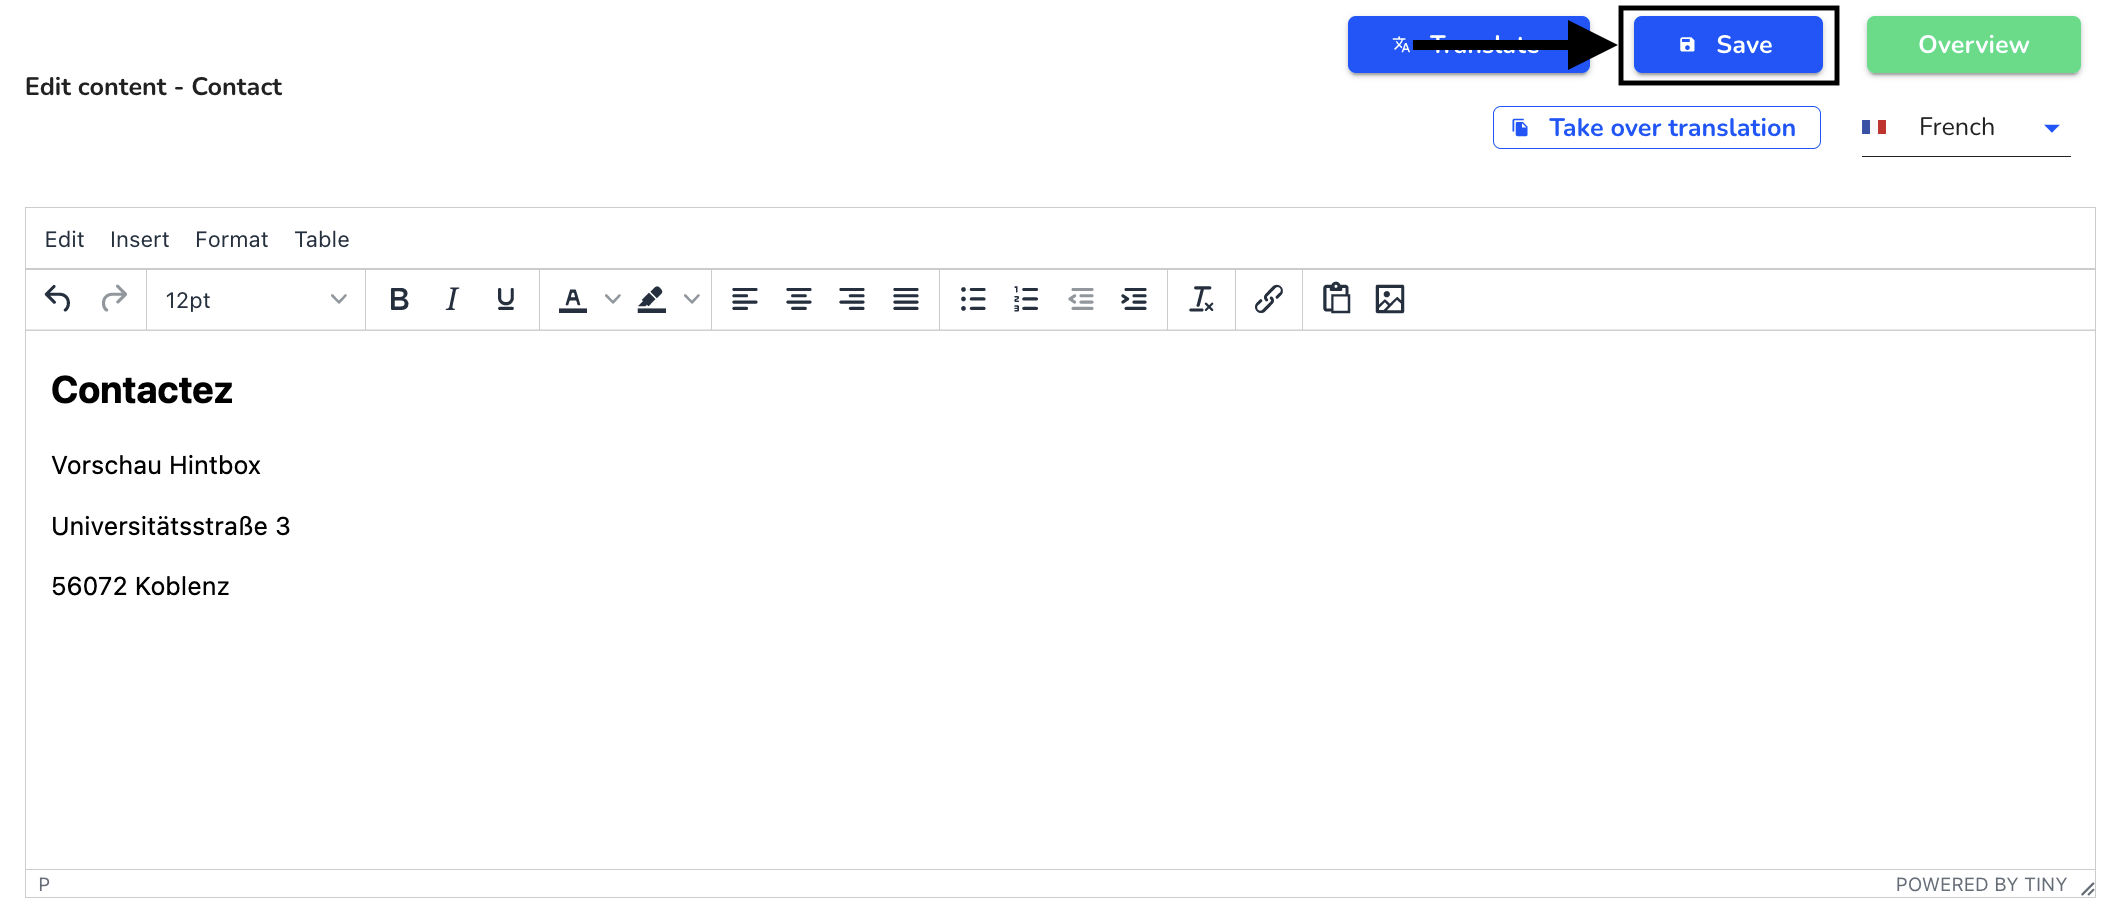
The changes must be saved by clicking on Save.
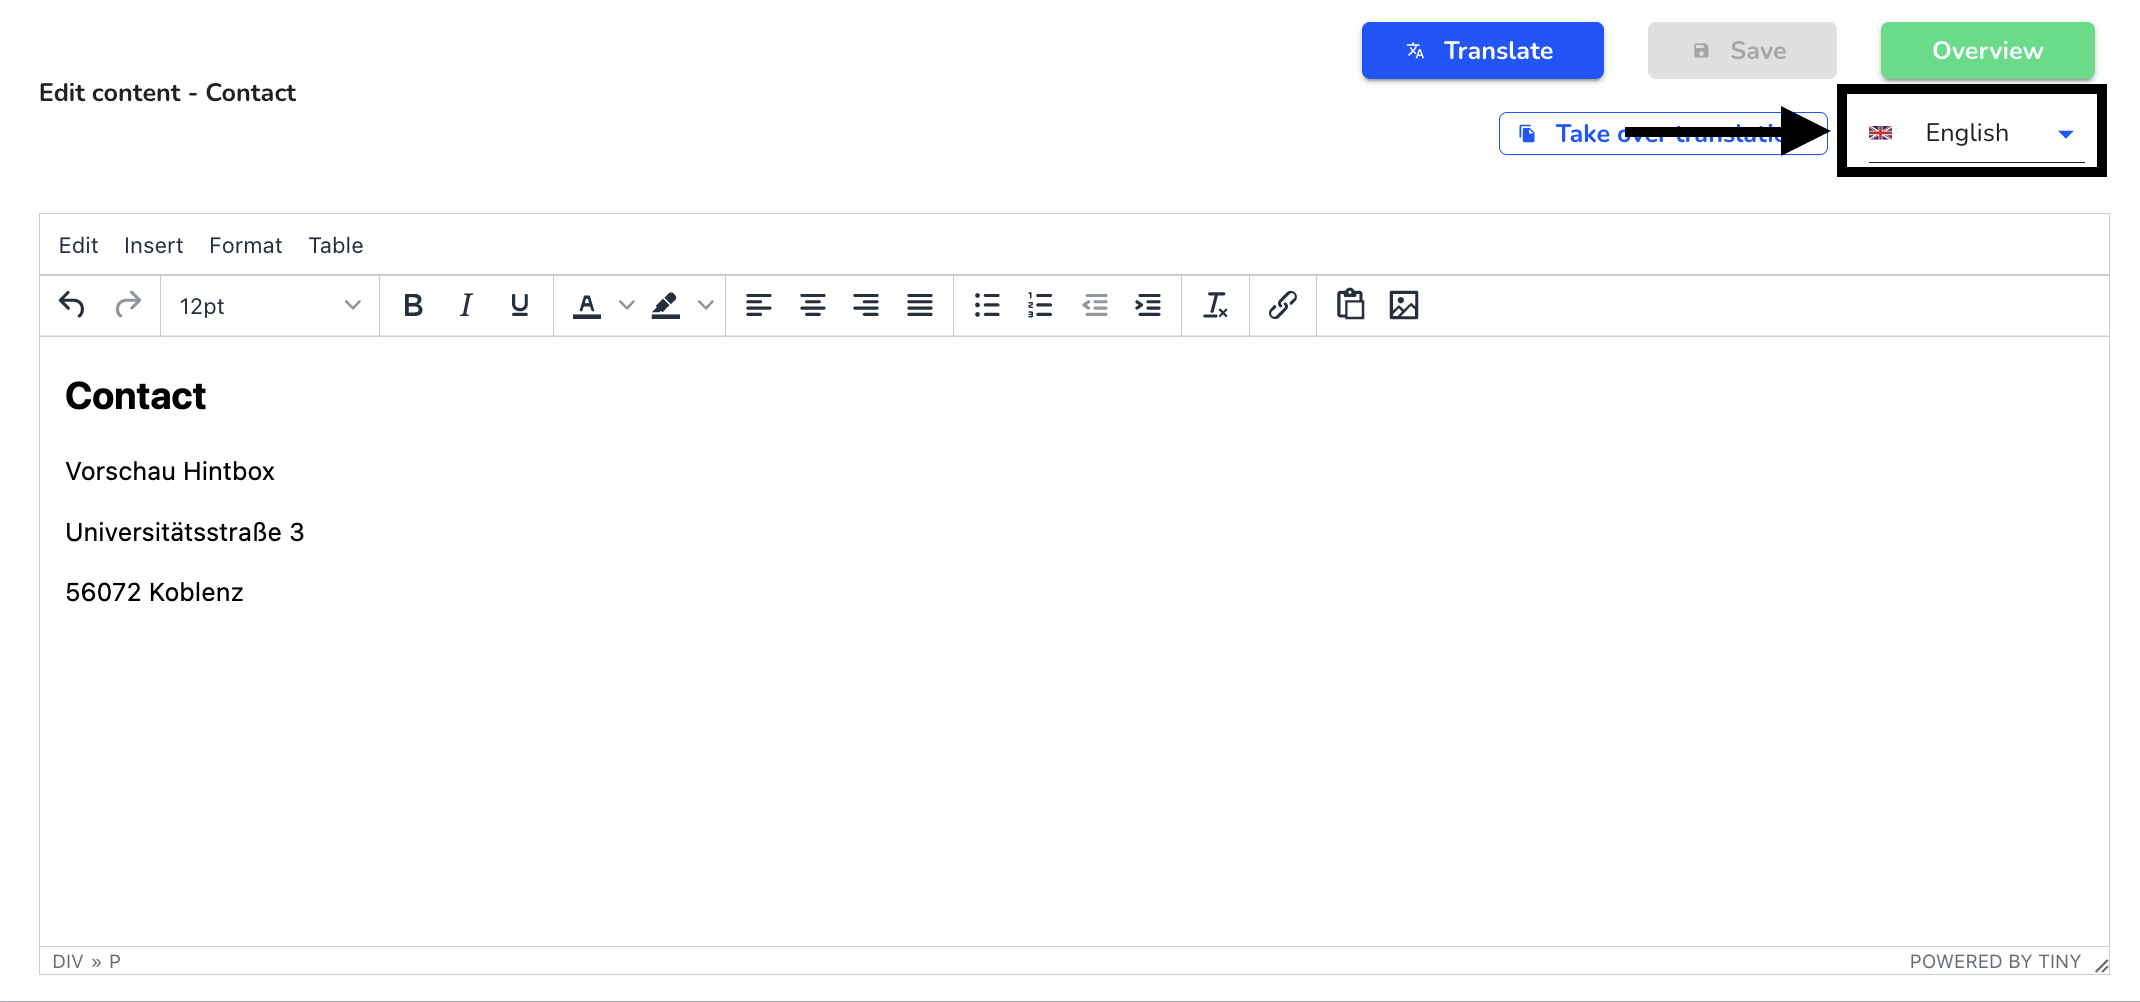
If the translation function is not to be used, the translation must be transferred manually to the selected languages by clicking on the language.
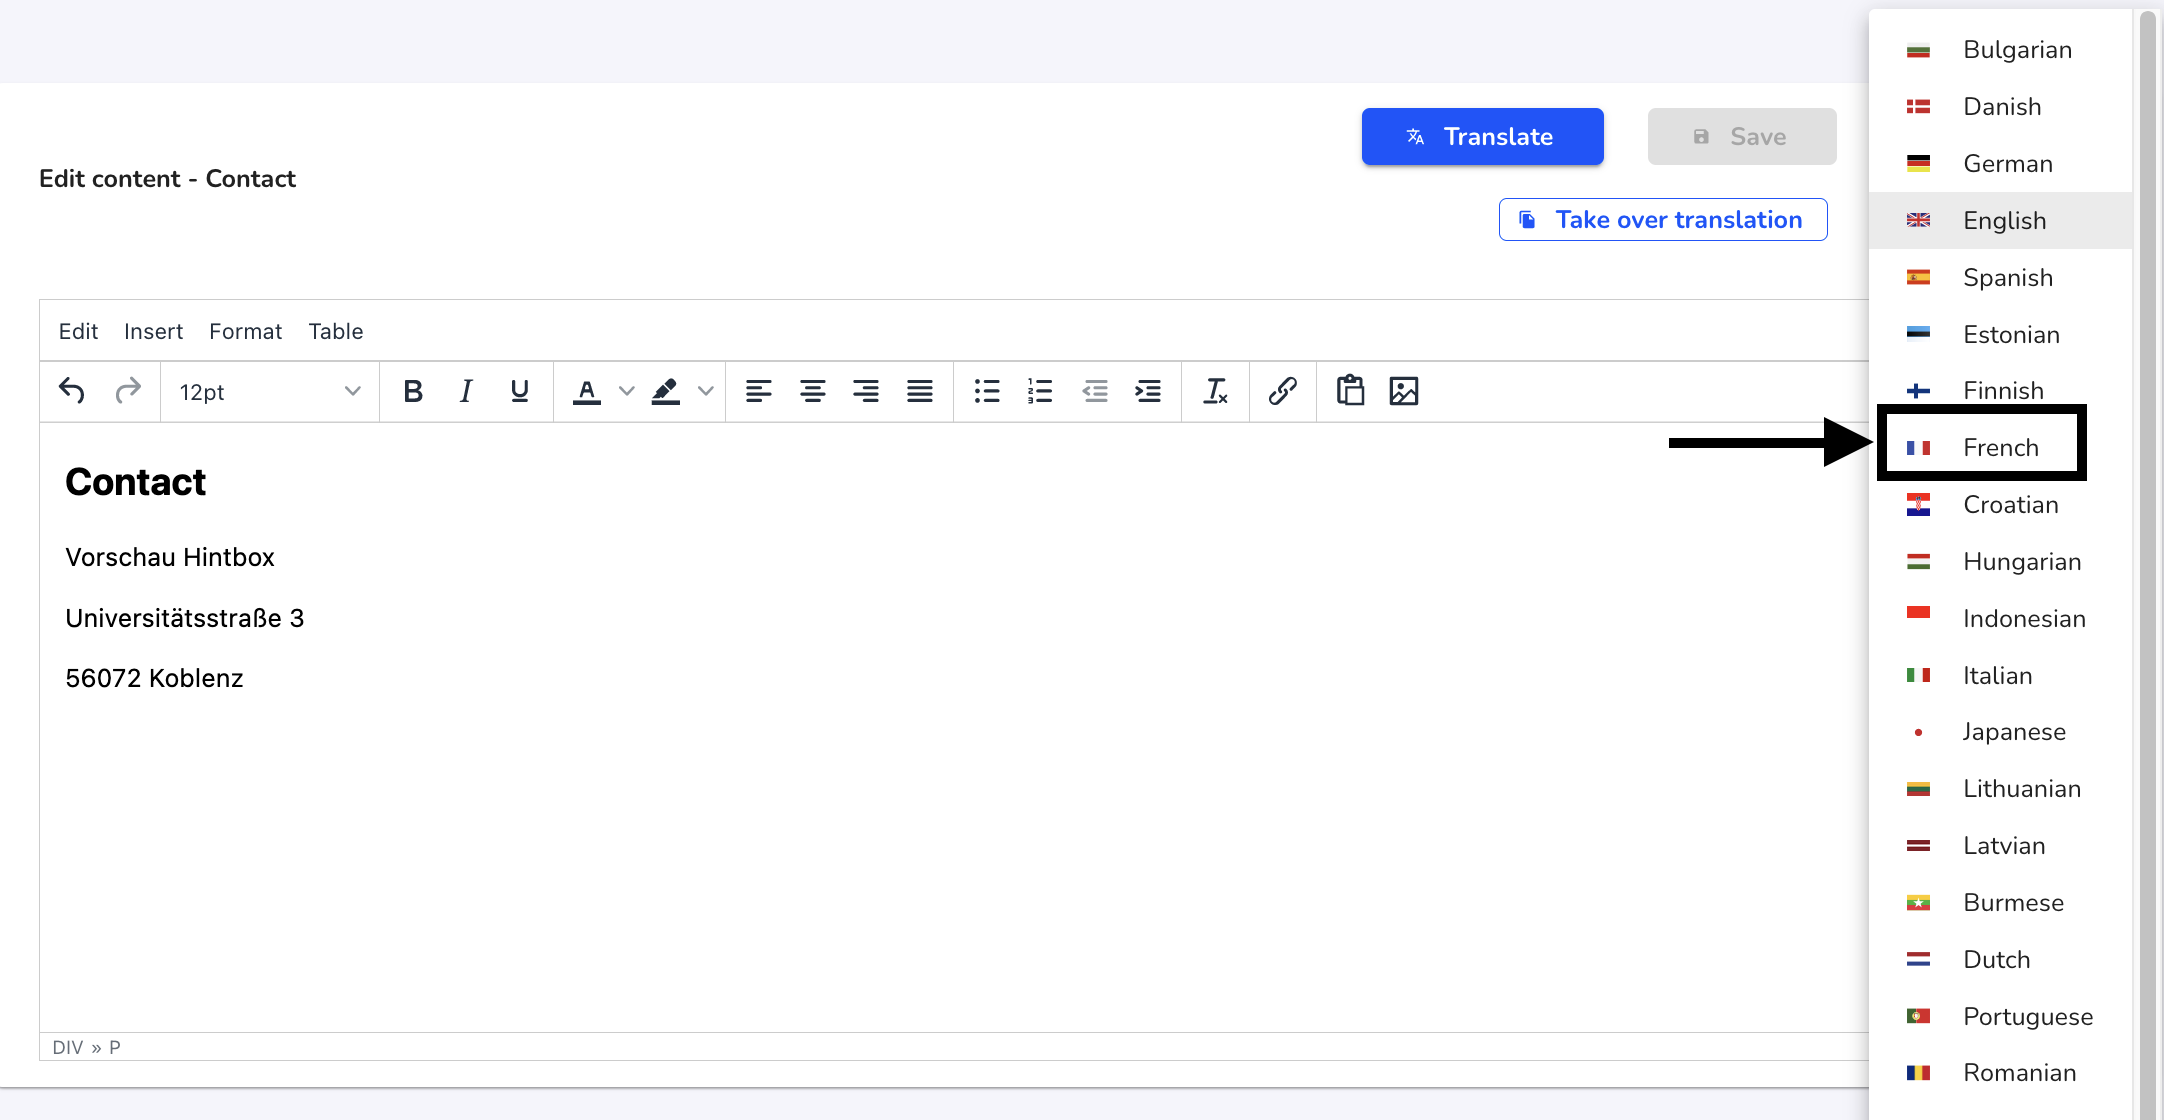
Then select the language in which you also want to make the change.
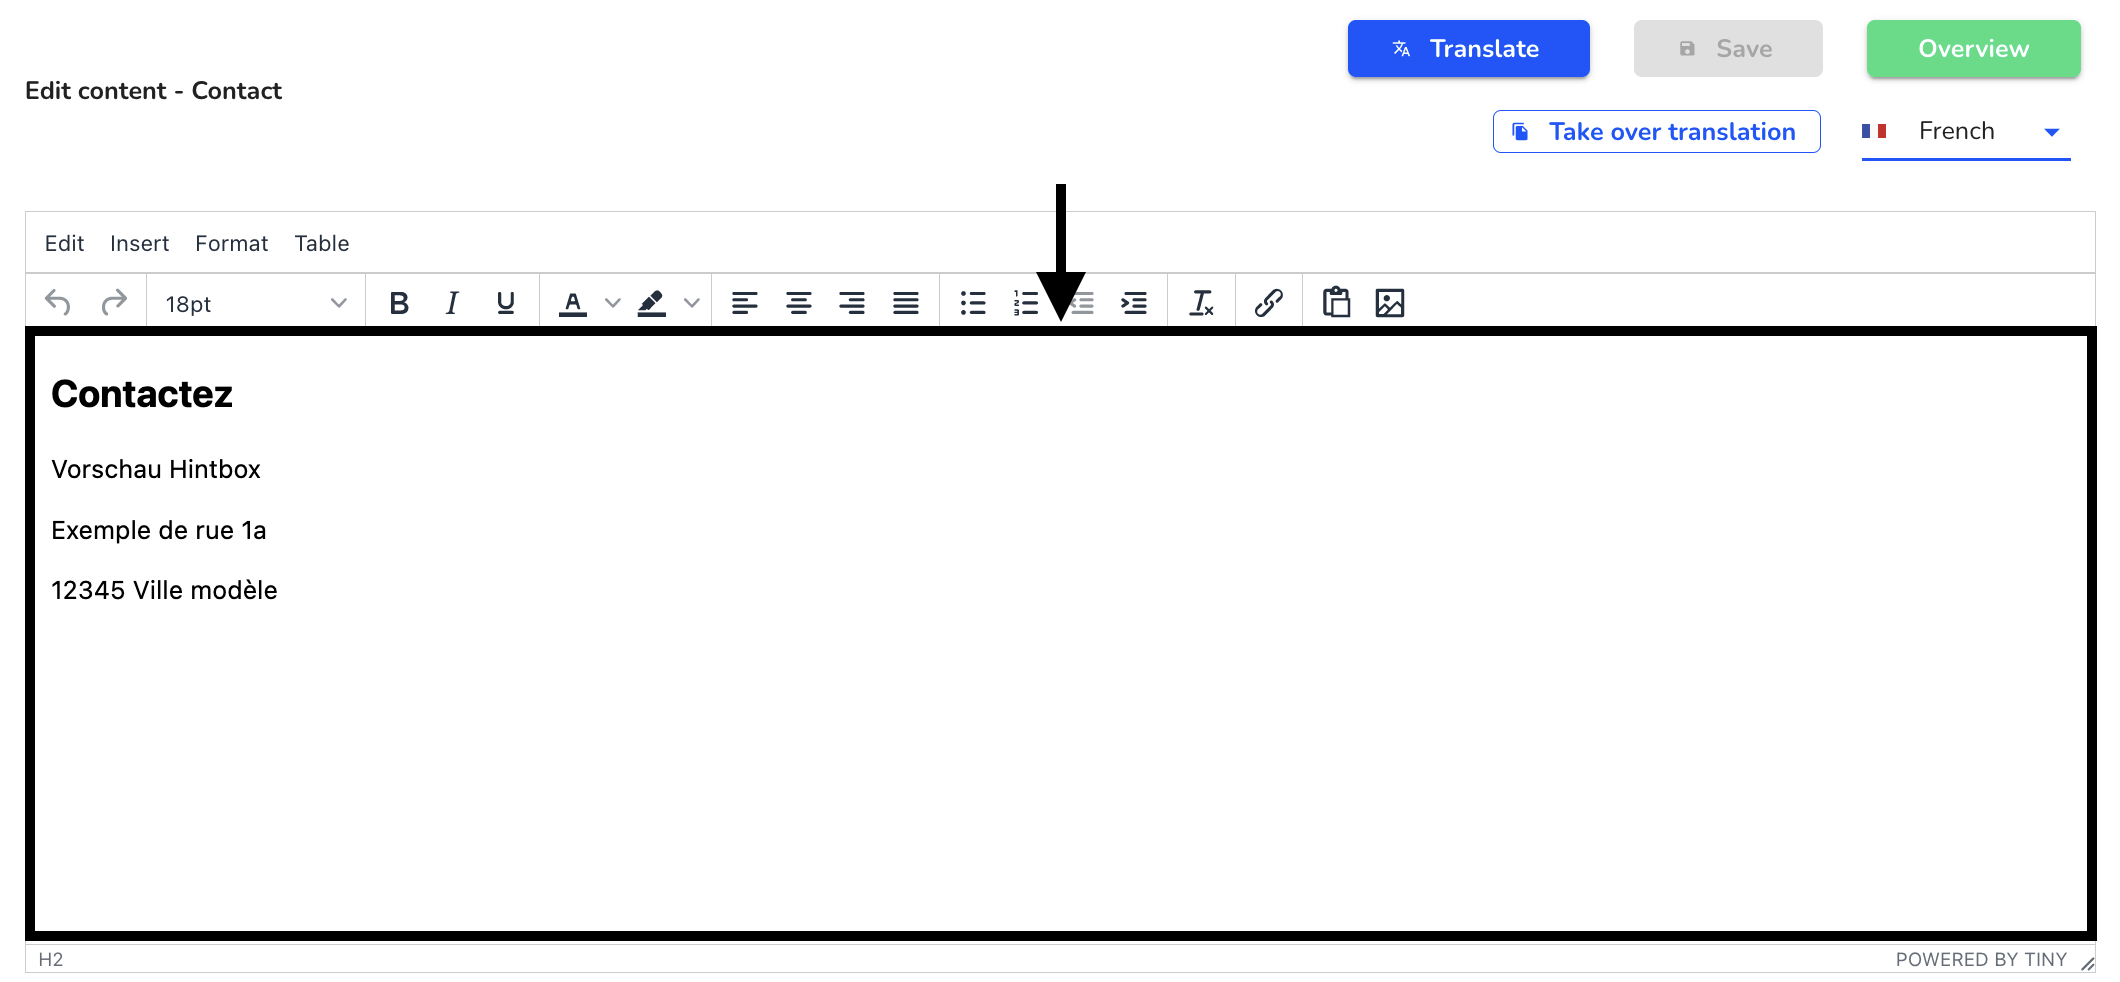
The text in the selected language opens. Here you can customize the text field using the text editor. You can find more about the text editor here.
The changes must be saved by clicking on Save.
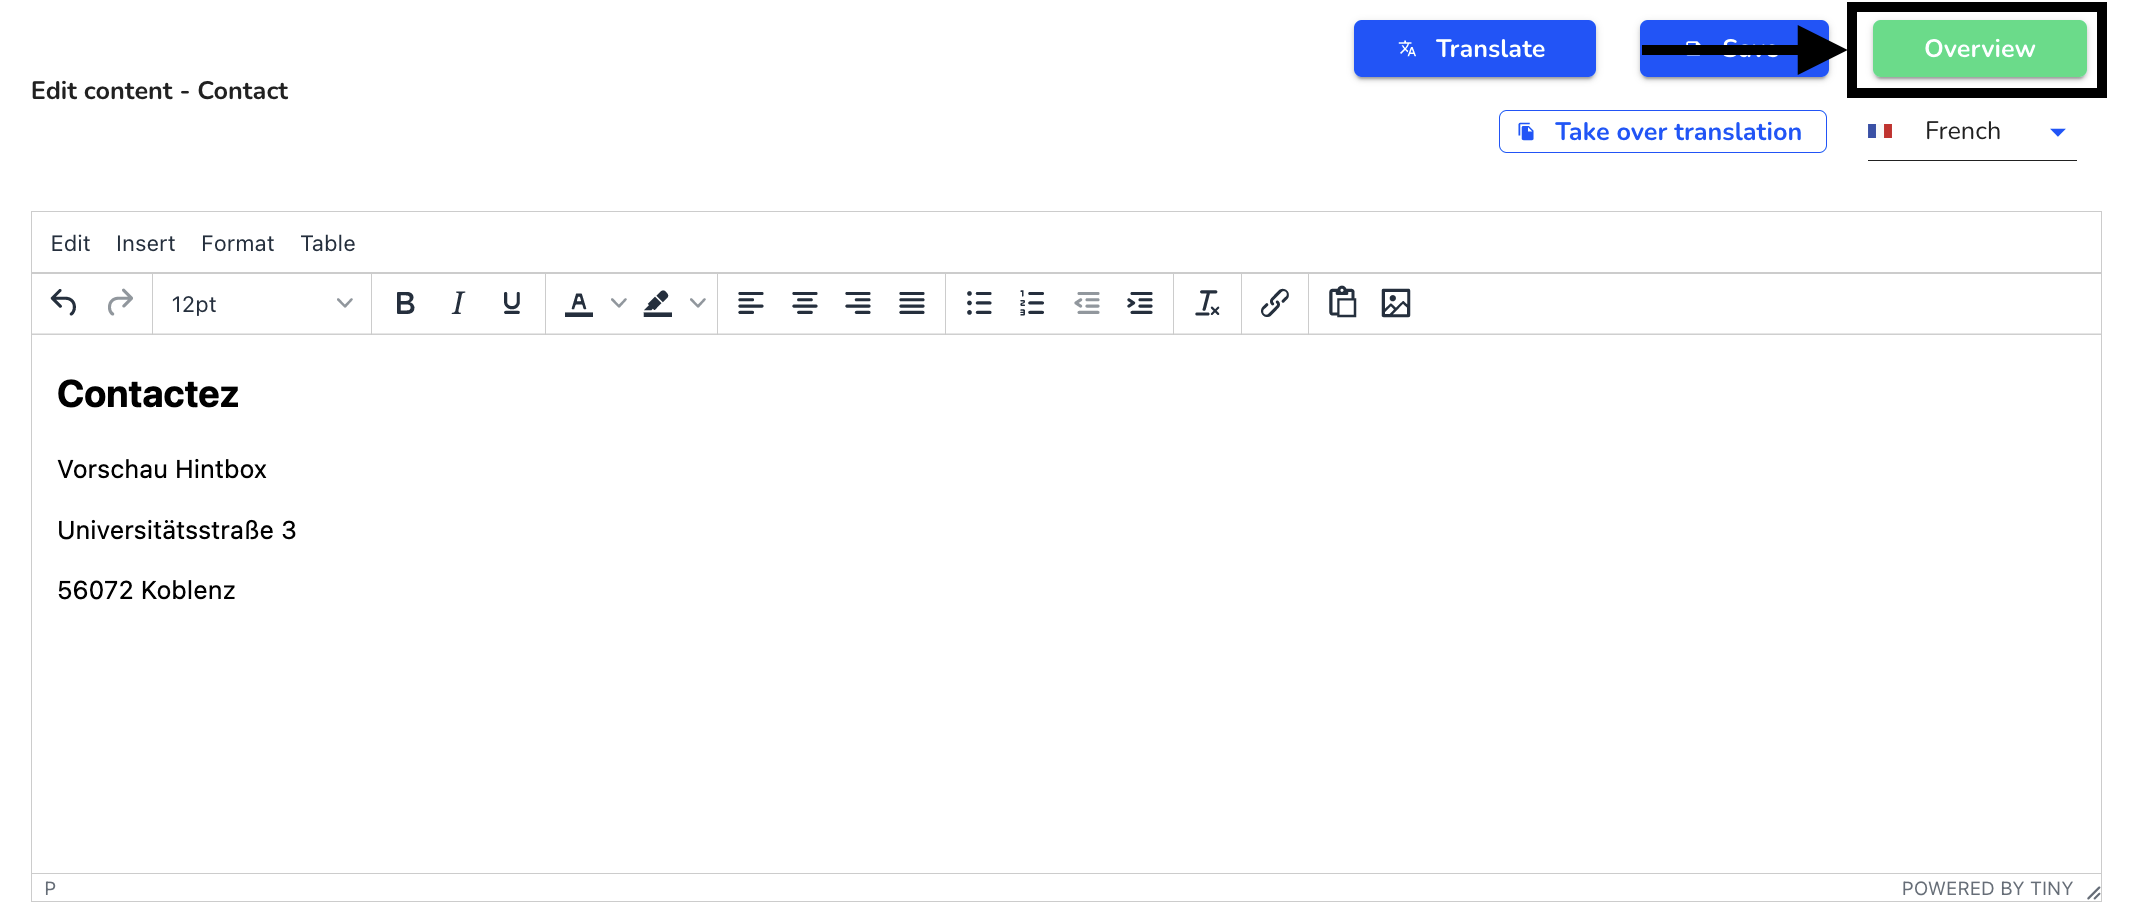
To get back to the overview click on To the overview.
Translate legal texts
Instead of manually adjusting the texts in all languages, the translation function can also be used. To edit the legal texts click Settings → System → Legal texts.

To translate a legal text, click on the edit pen of the respective legal text.

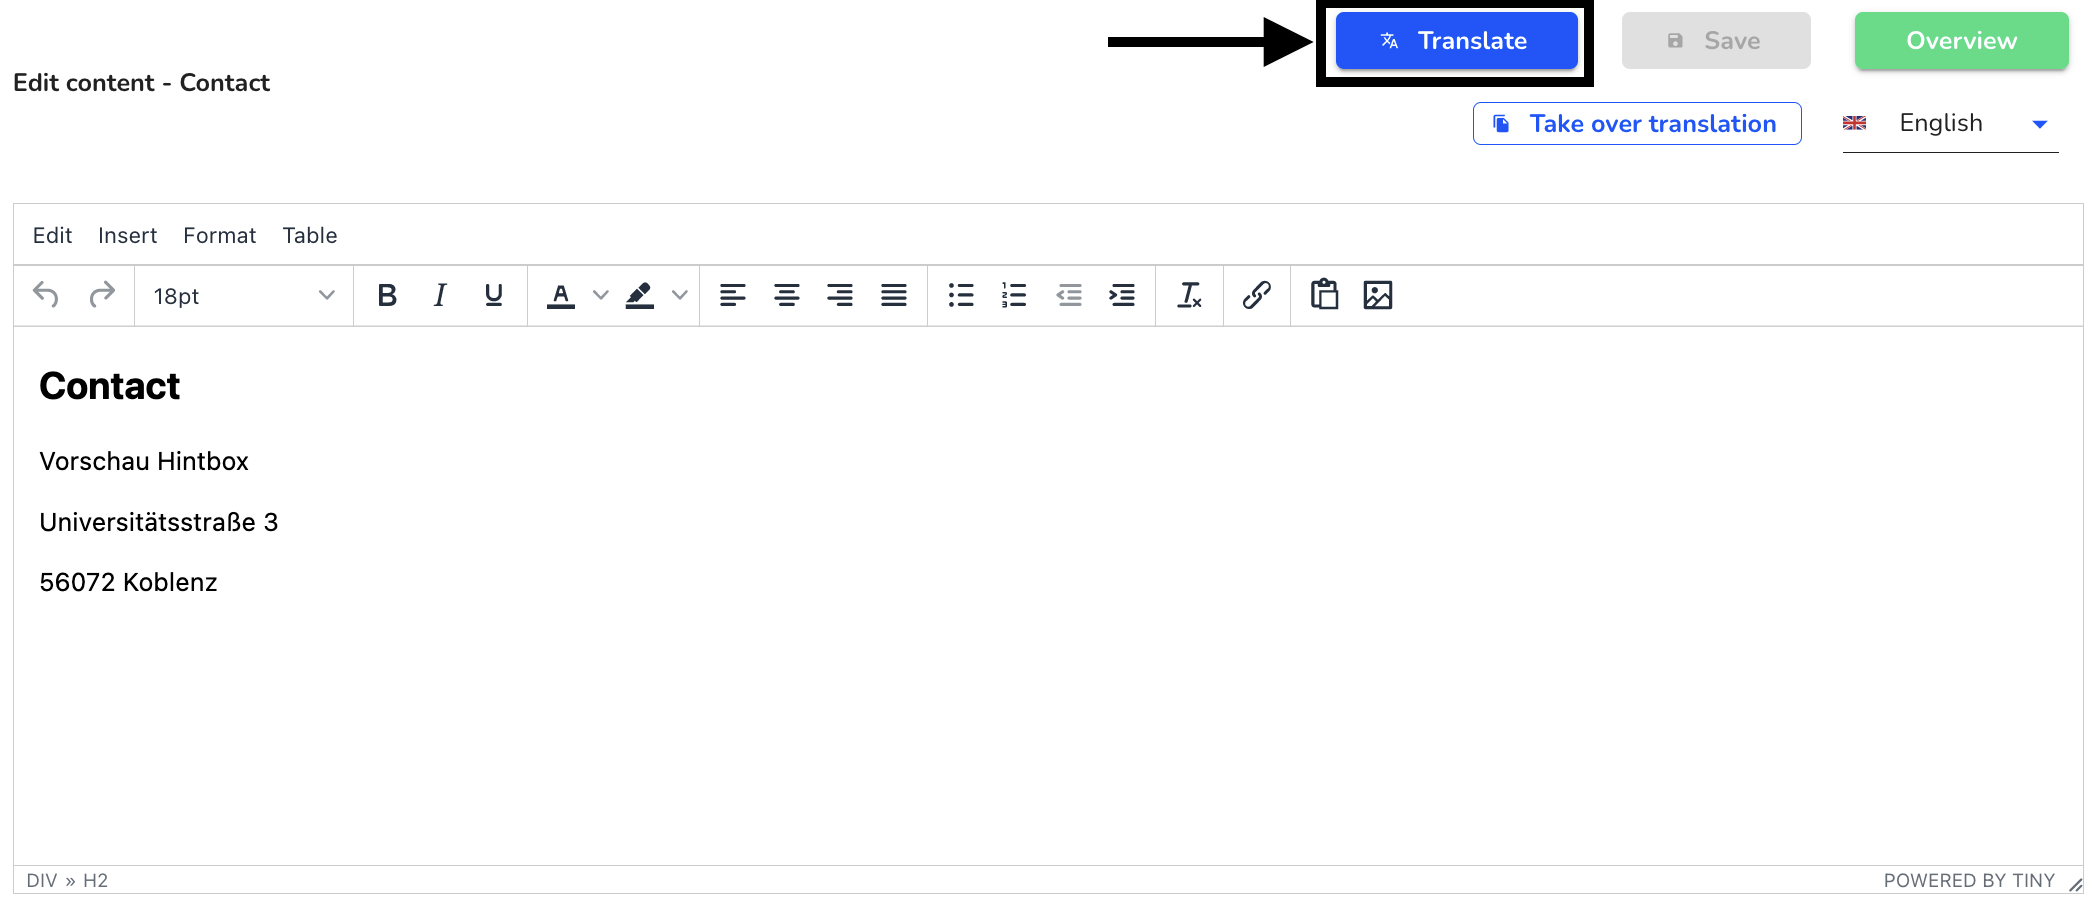
The selected legal text opens in the following view. Click Translate to translate the legal text.
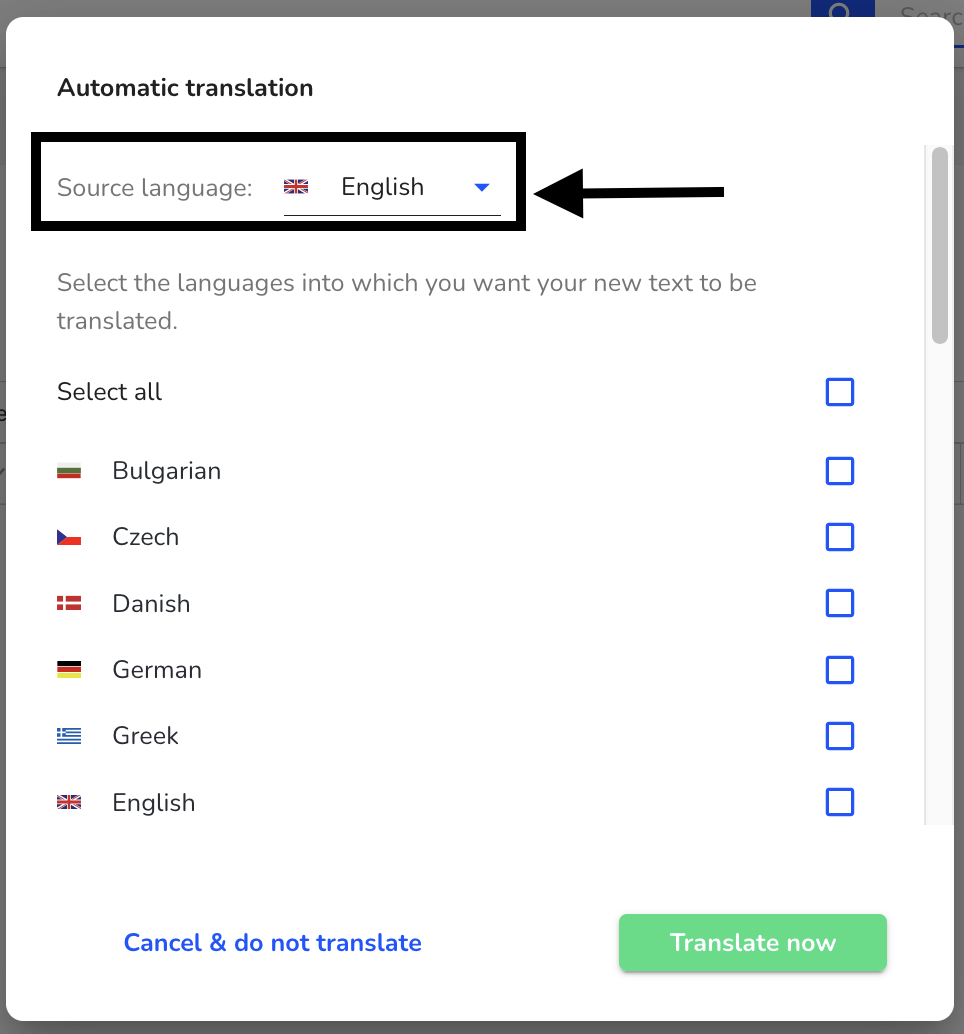
An overview opens in which you can first select the source language. This is automatically the language in whose text field you were before the translation.
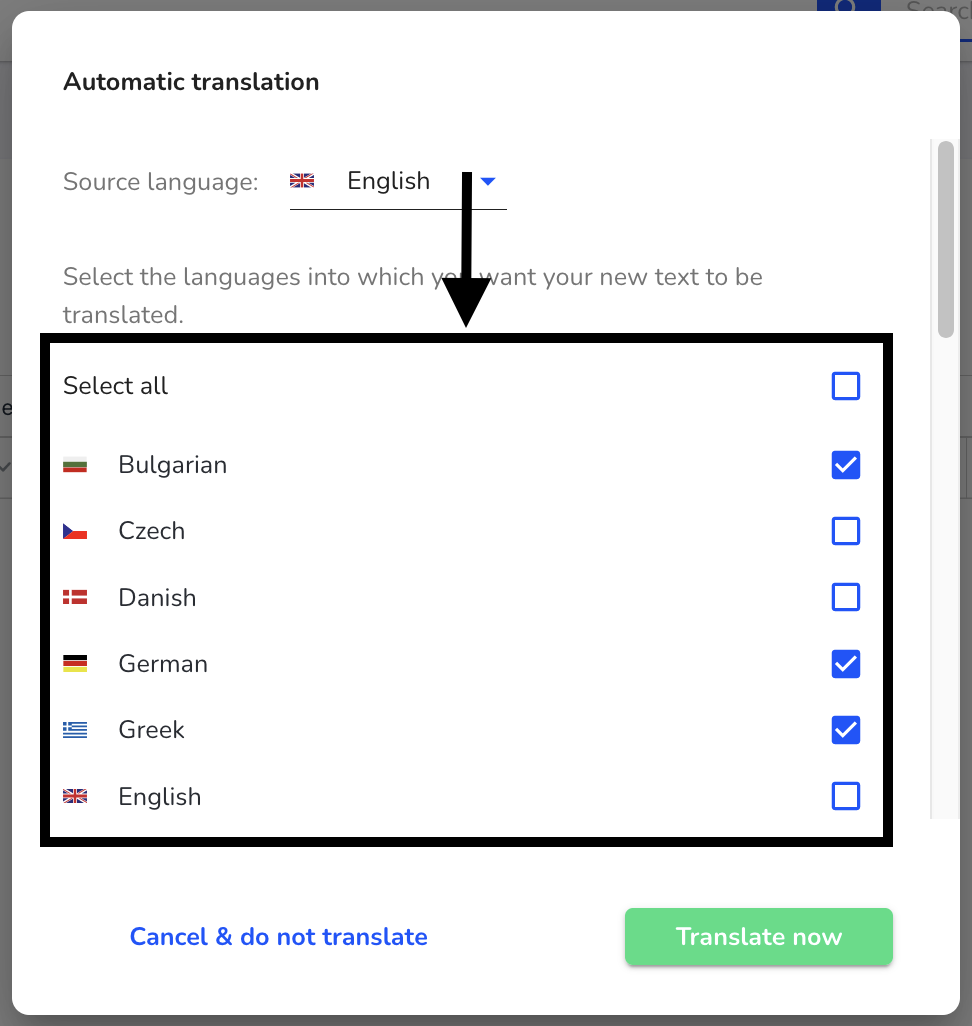
Then you can select the languages into which the text should be translated.
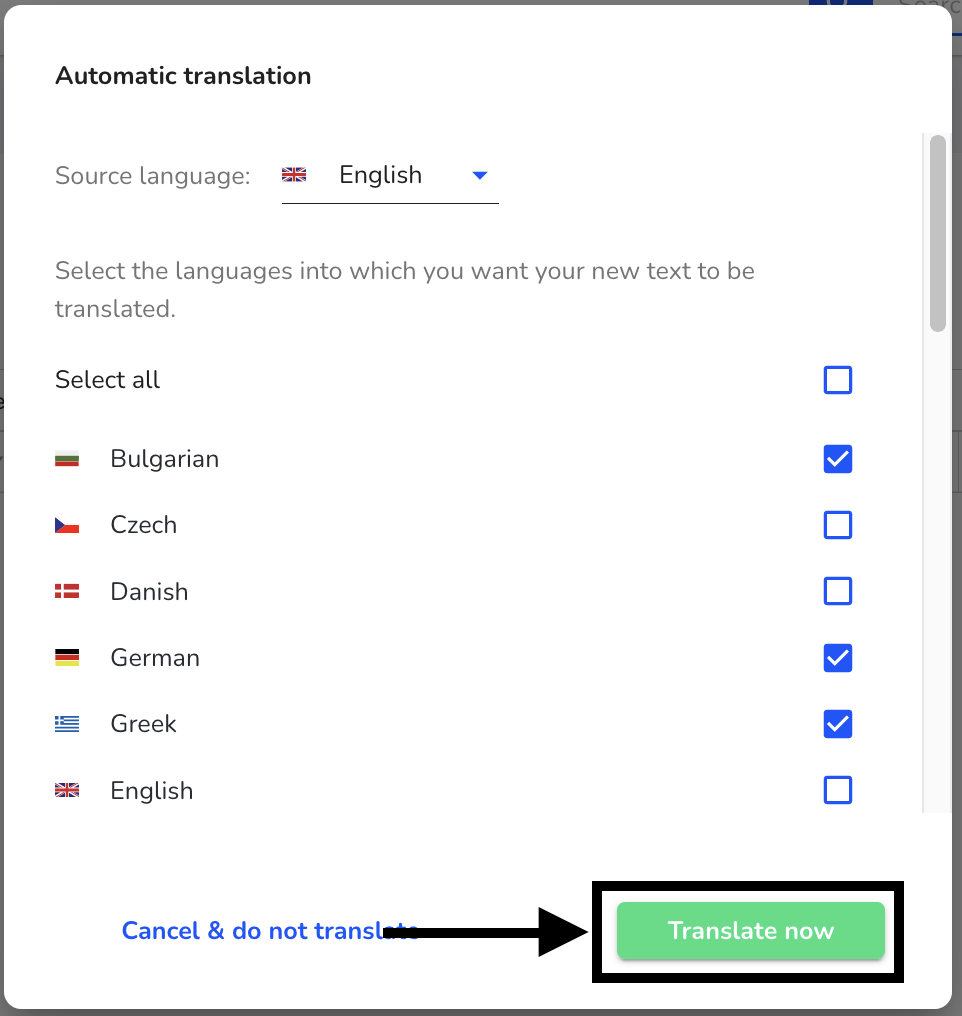
By clicking Translate now, the translation into the selected questions will be performed.
This translation can then be checked by clicking on the language.

Click on To overview to return to the overview of all legal texts.

Transfer legal texts
Instead of translating or manually editing legal texts, it is possible to transfer them. The text will be transferred to all selected languages with content and formatting. To edit the legal texts, click Settings → System → Legal texts.

To apply a legal text, click the edit pen of the respective legal text.
To apply a translation click Apply Transfer content into another language.
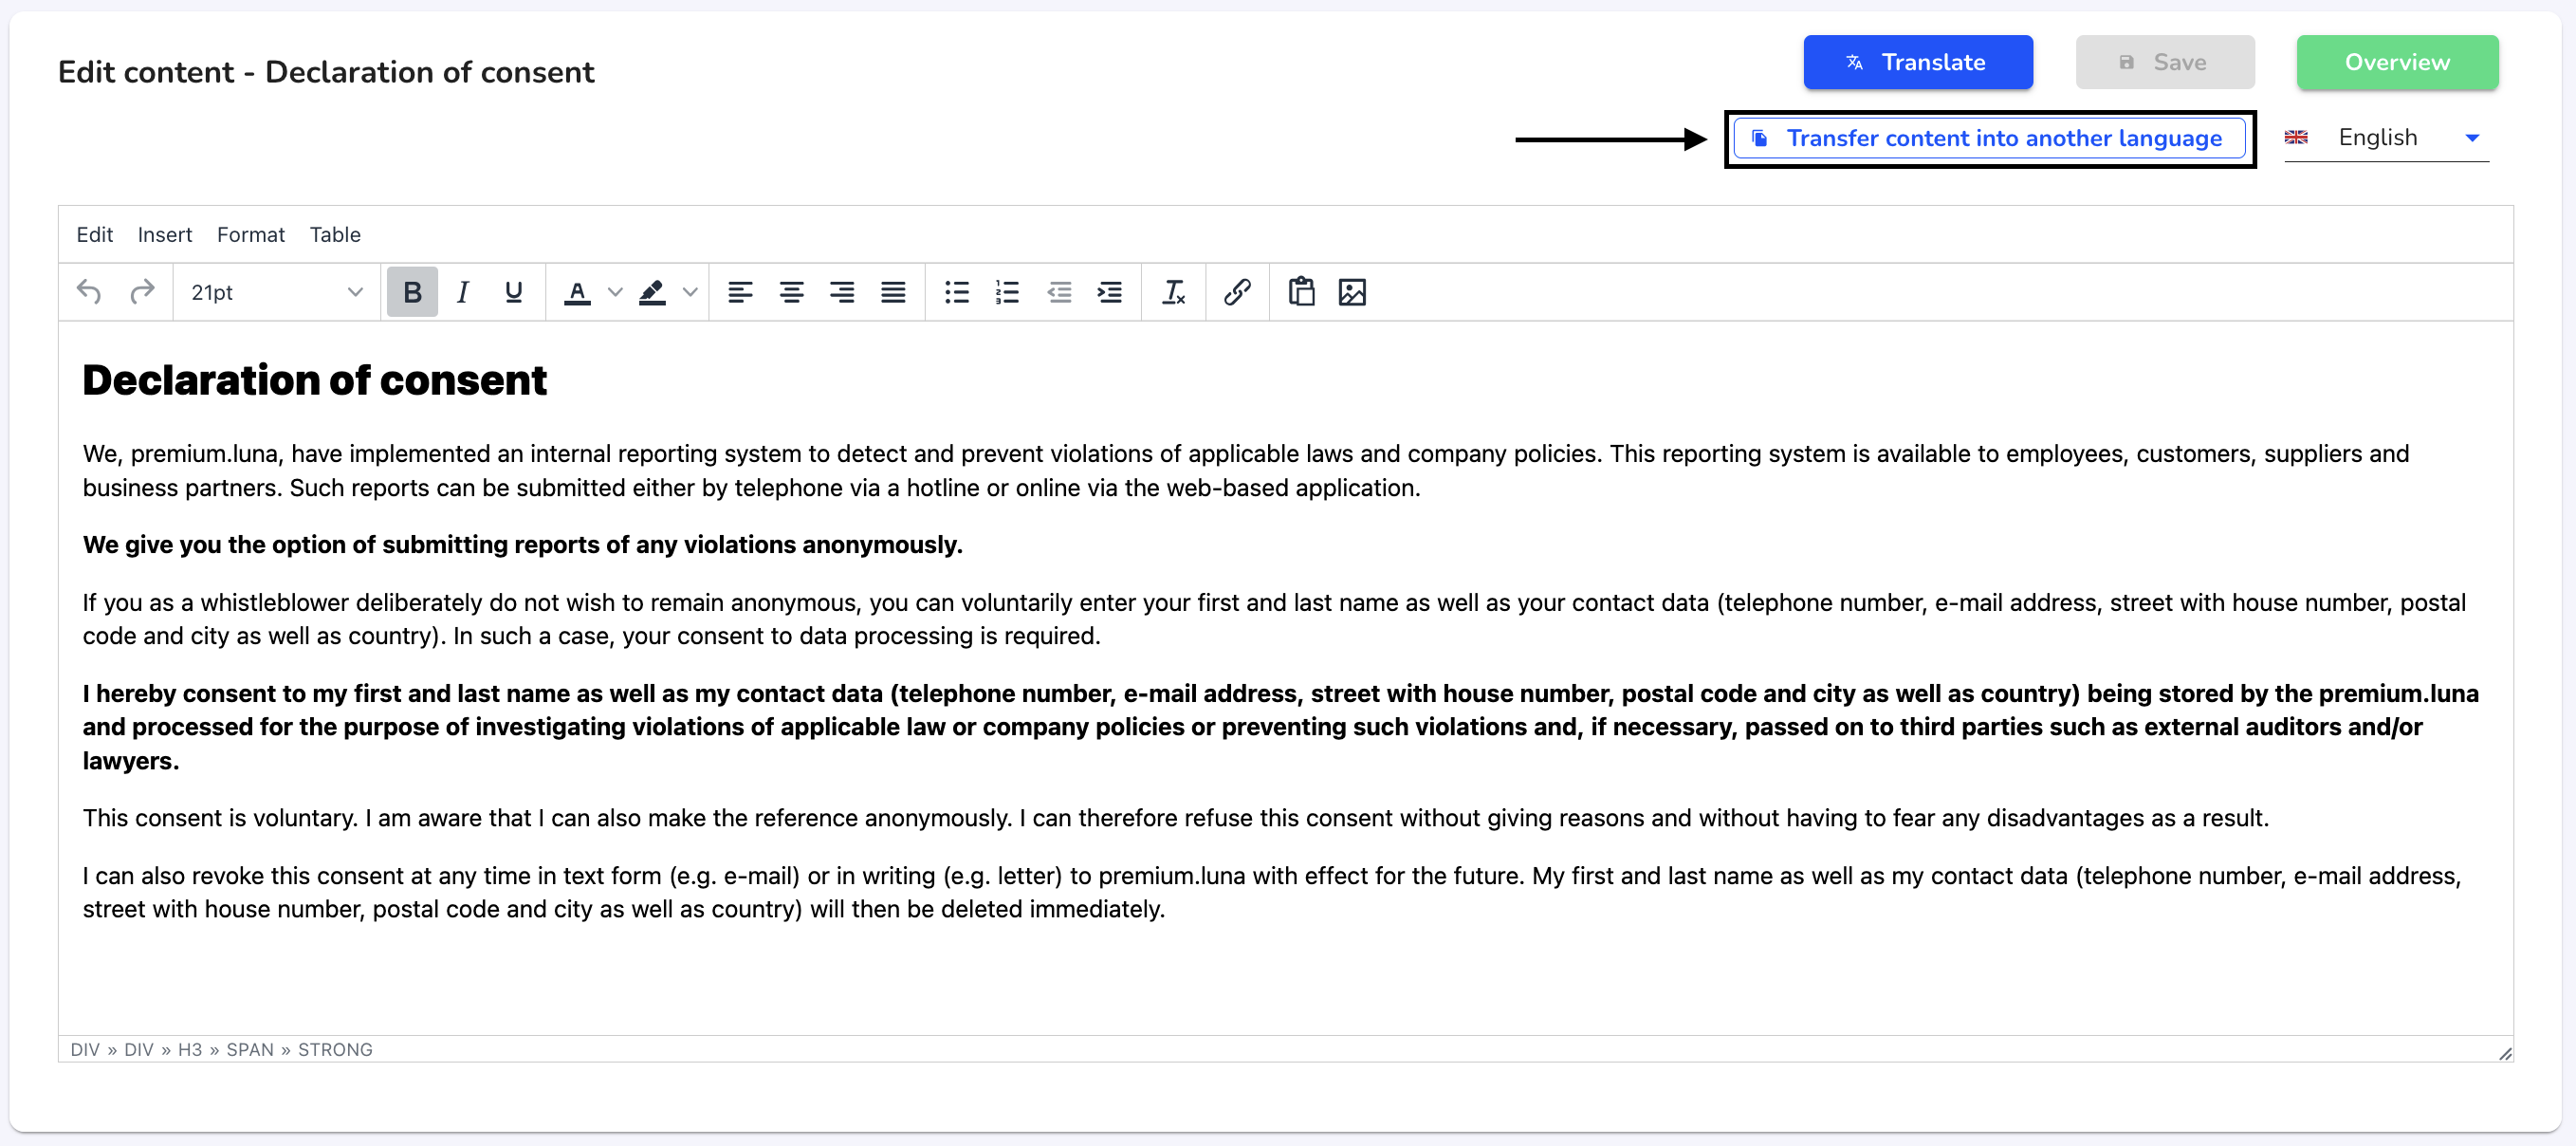
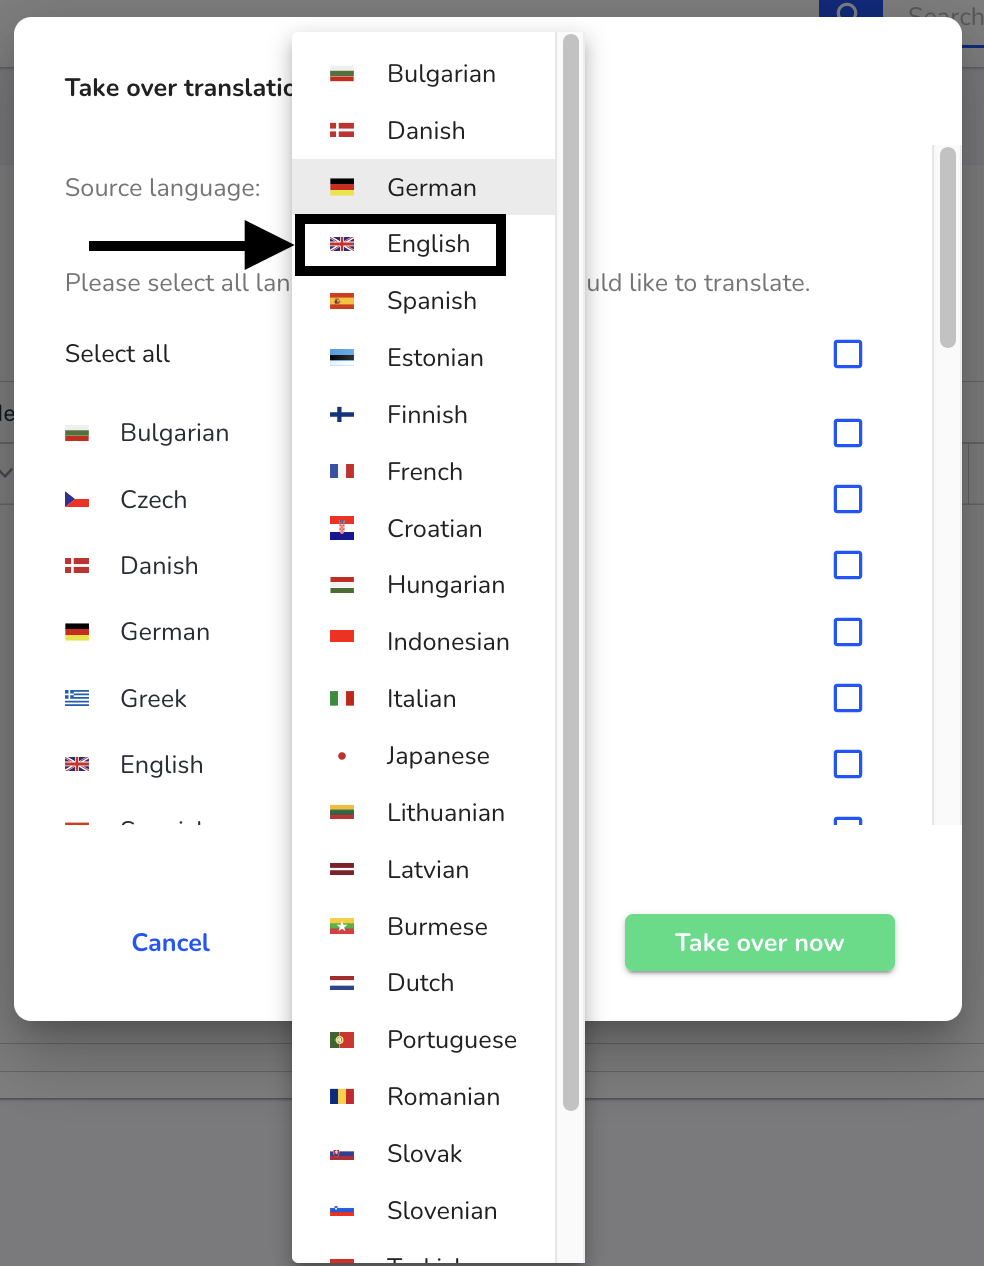
First you can select the source language. Click on the selected language.

Then select the source language.
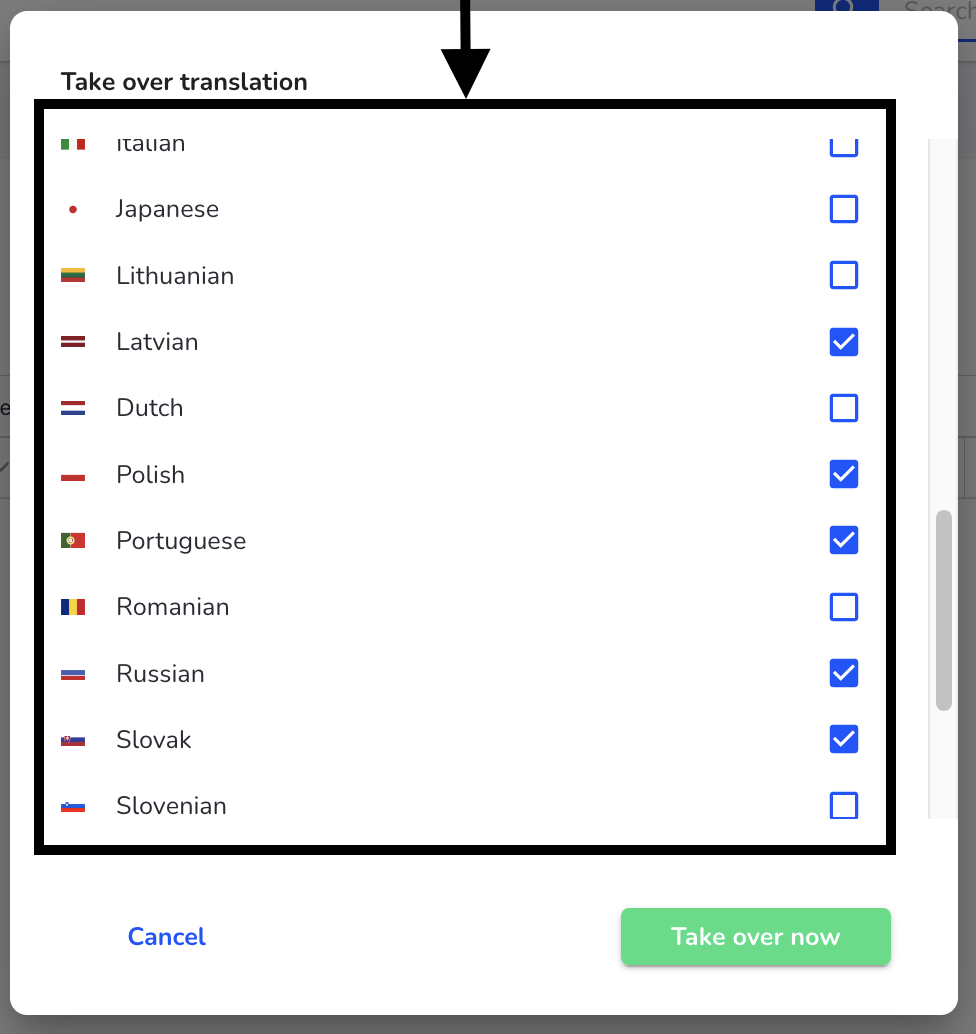
Then select all the languages you want to translate into.
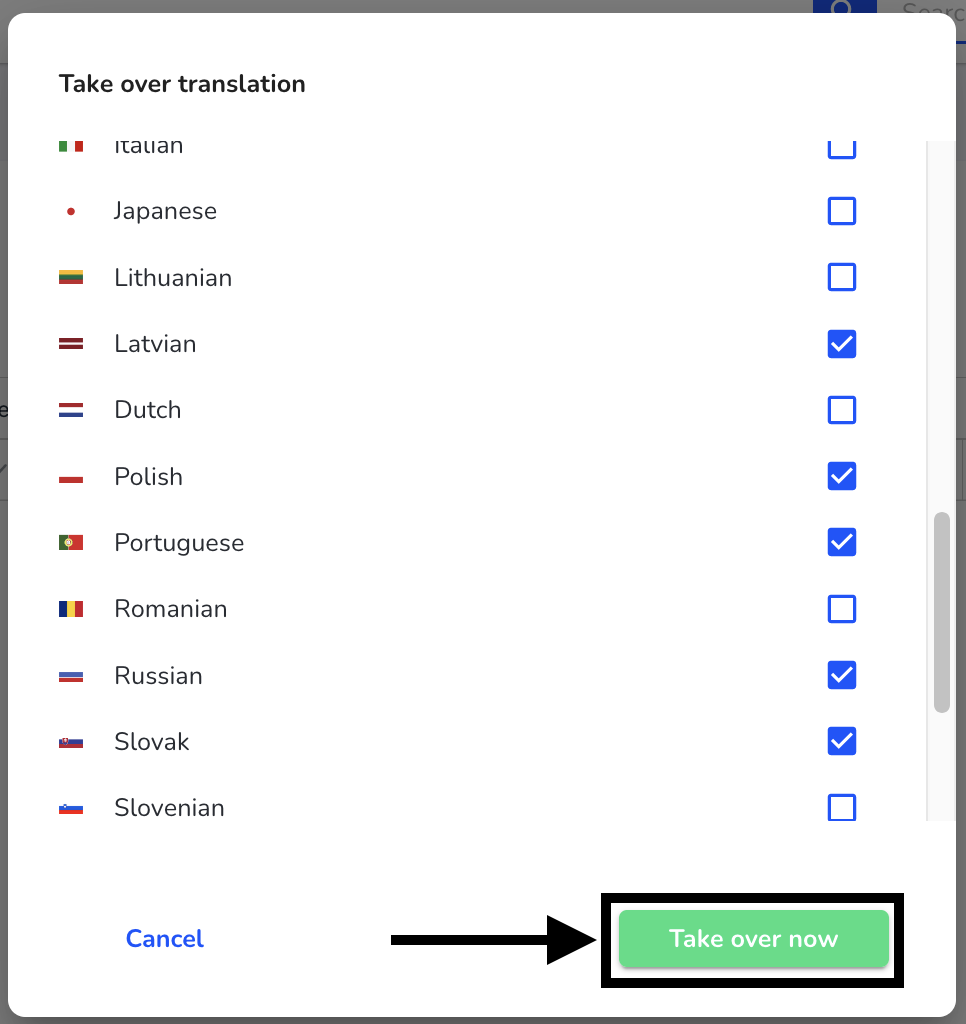
After all have been selected click Apply translation.
The button To overview will take you to all legal texts.
