General system settings
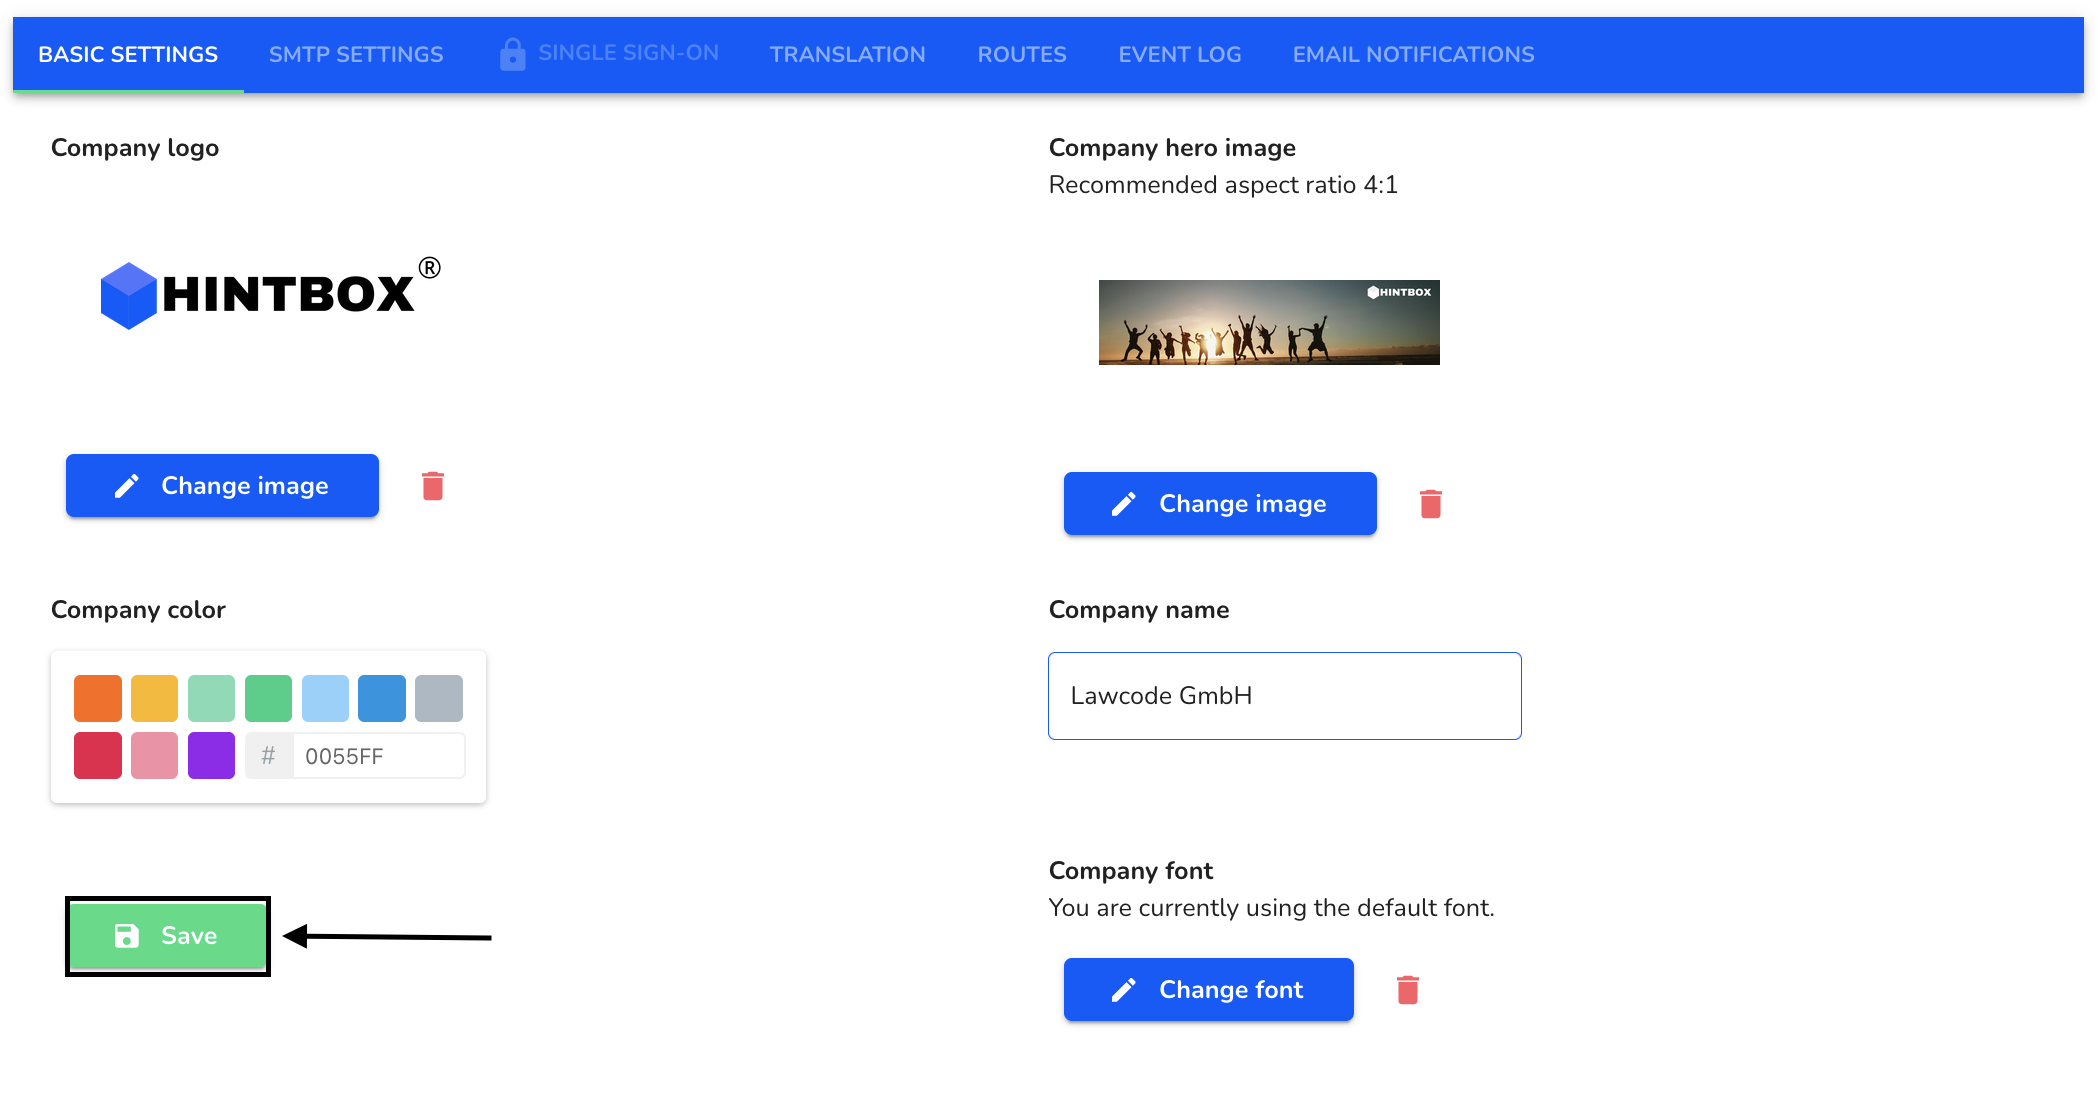
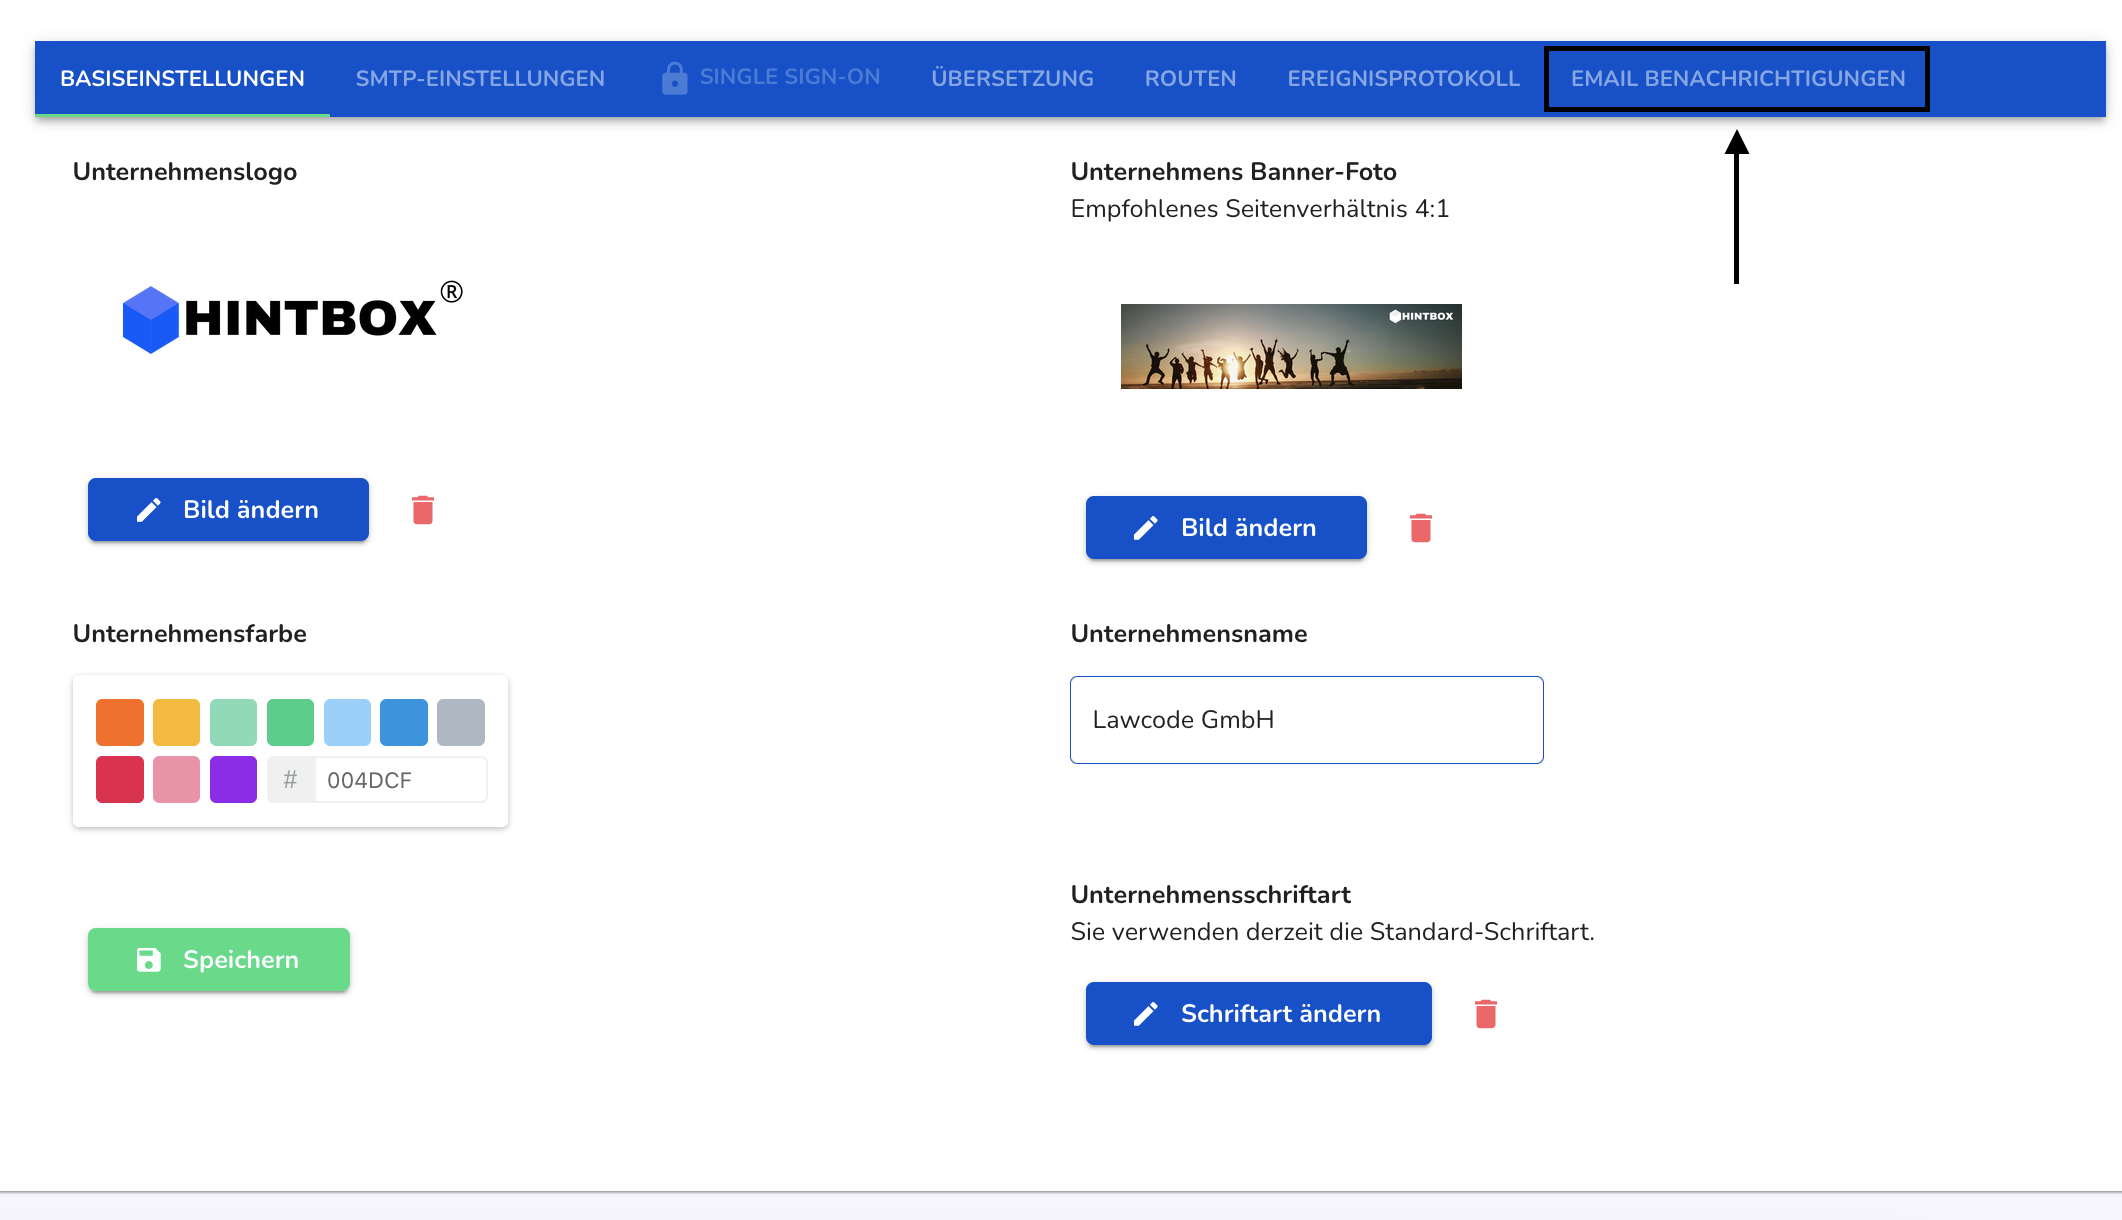
Basic settings
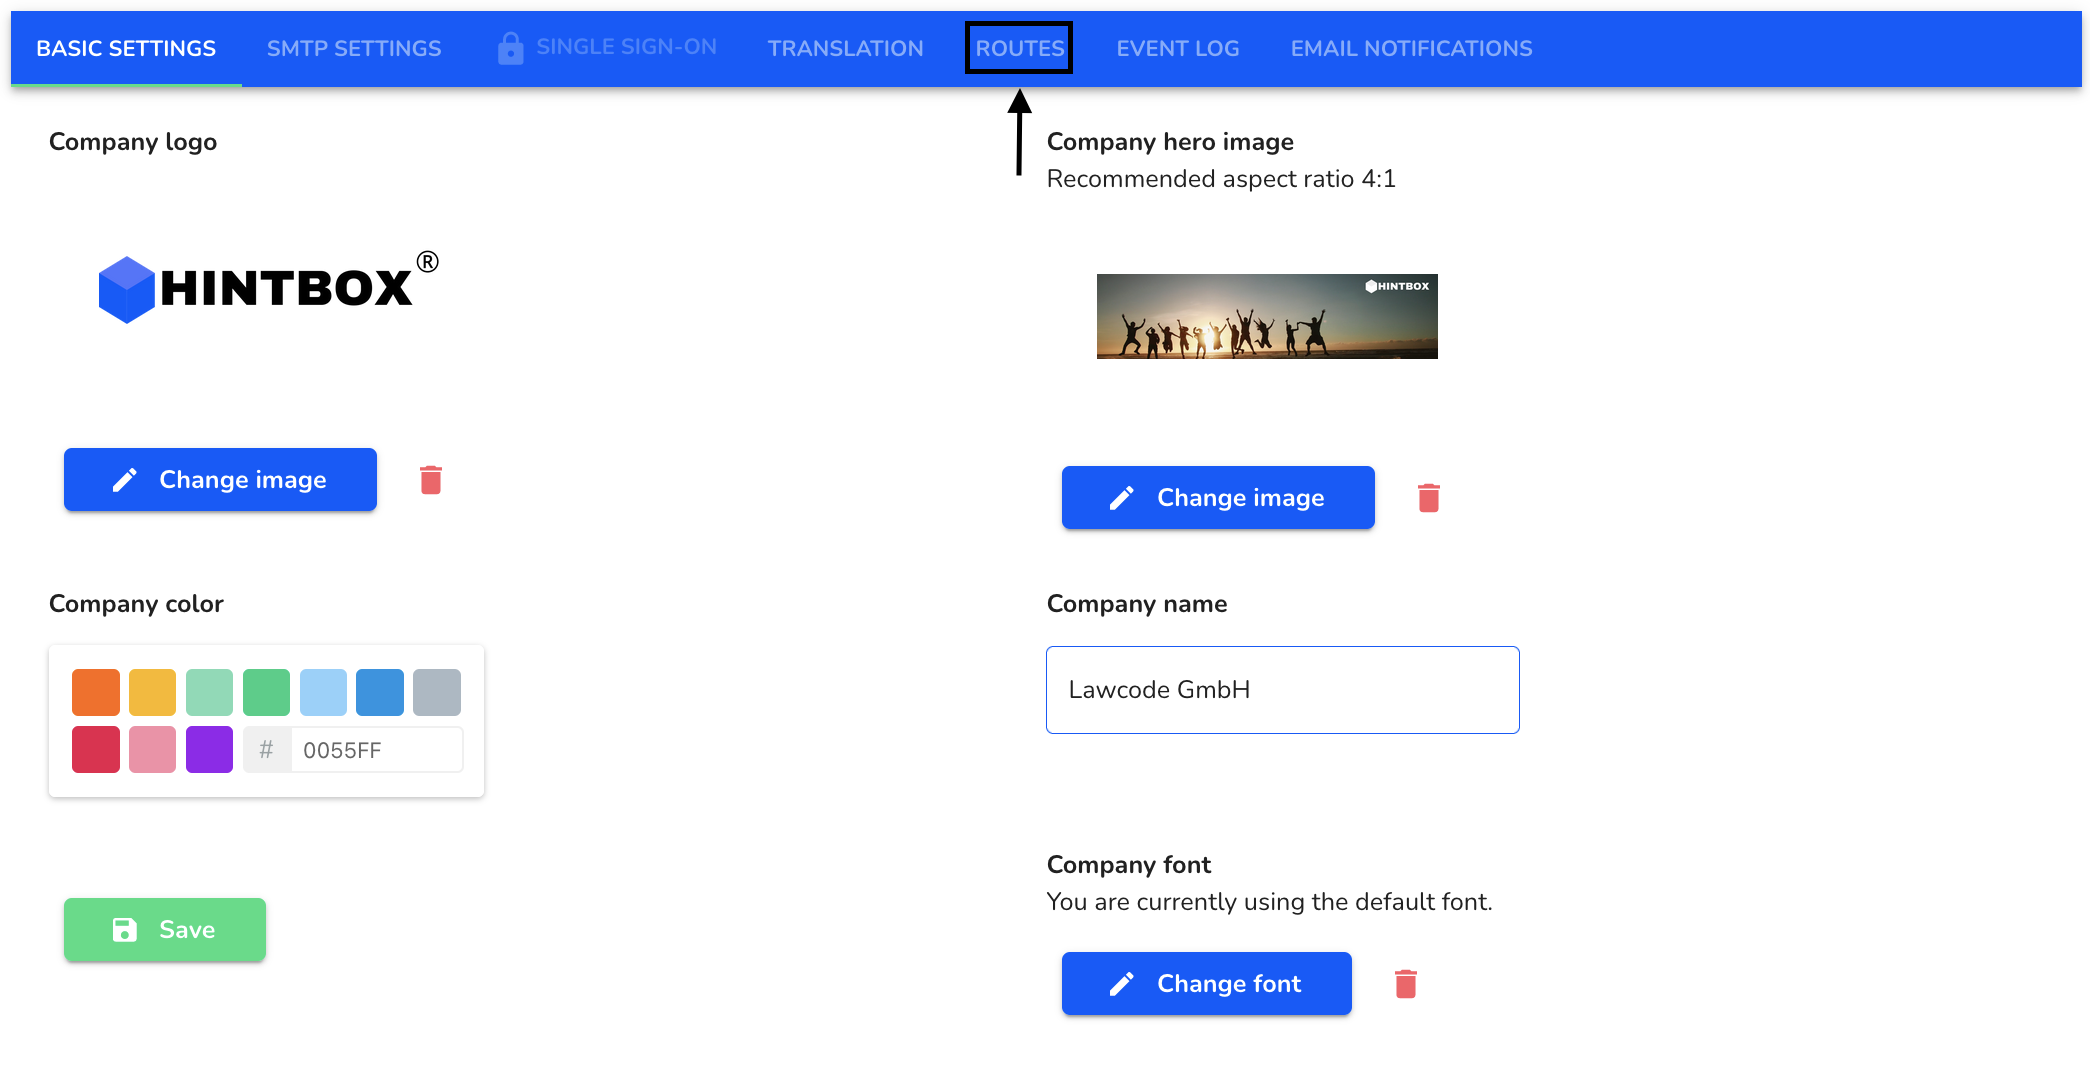
Company logo - The company logo can be uploaded in .jpg and .png file formats.
Company banner photo - The company banner photo can be uploaded in .jpg and .png file formats. The maximum size of the banner photo is 2 MB. We recommend an aspect ratio of 4:1.
Company color - The company color must be specified in hexadecimal code. For example, the corporate color colors the footer of the hintbox and also the buttons.
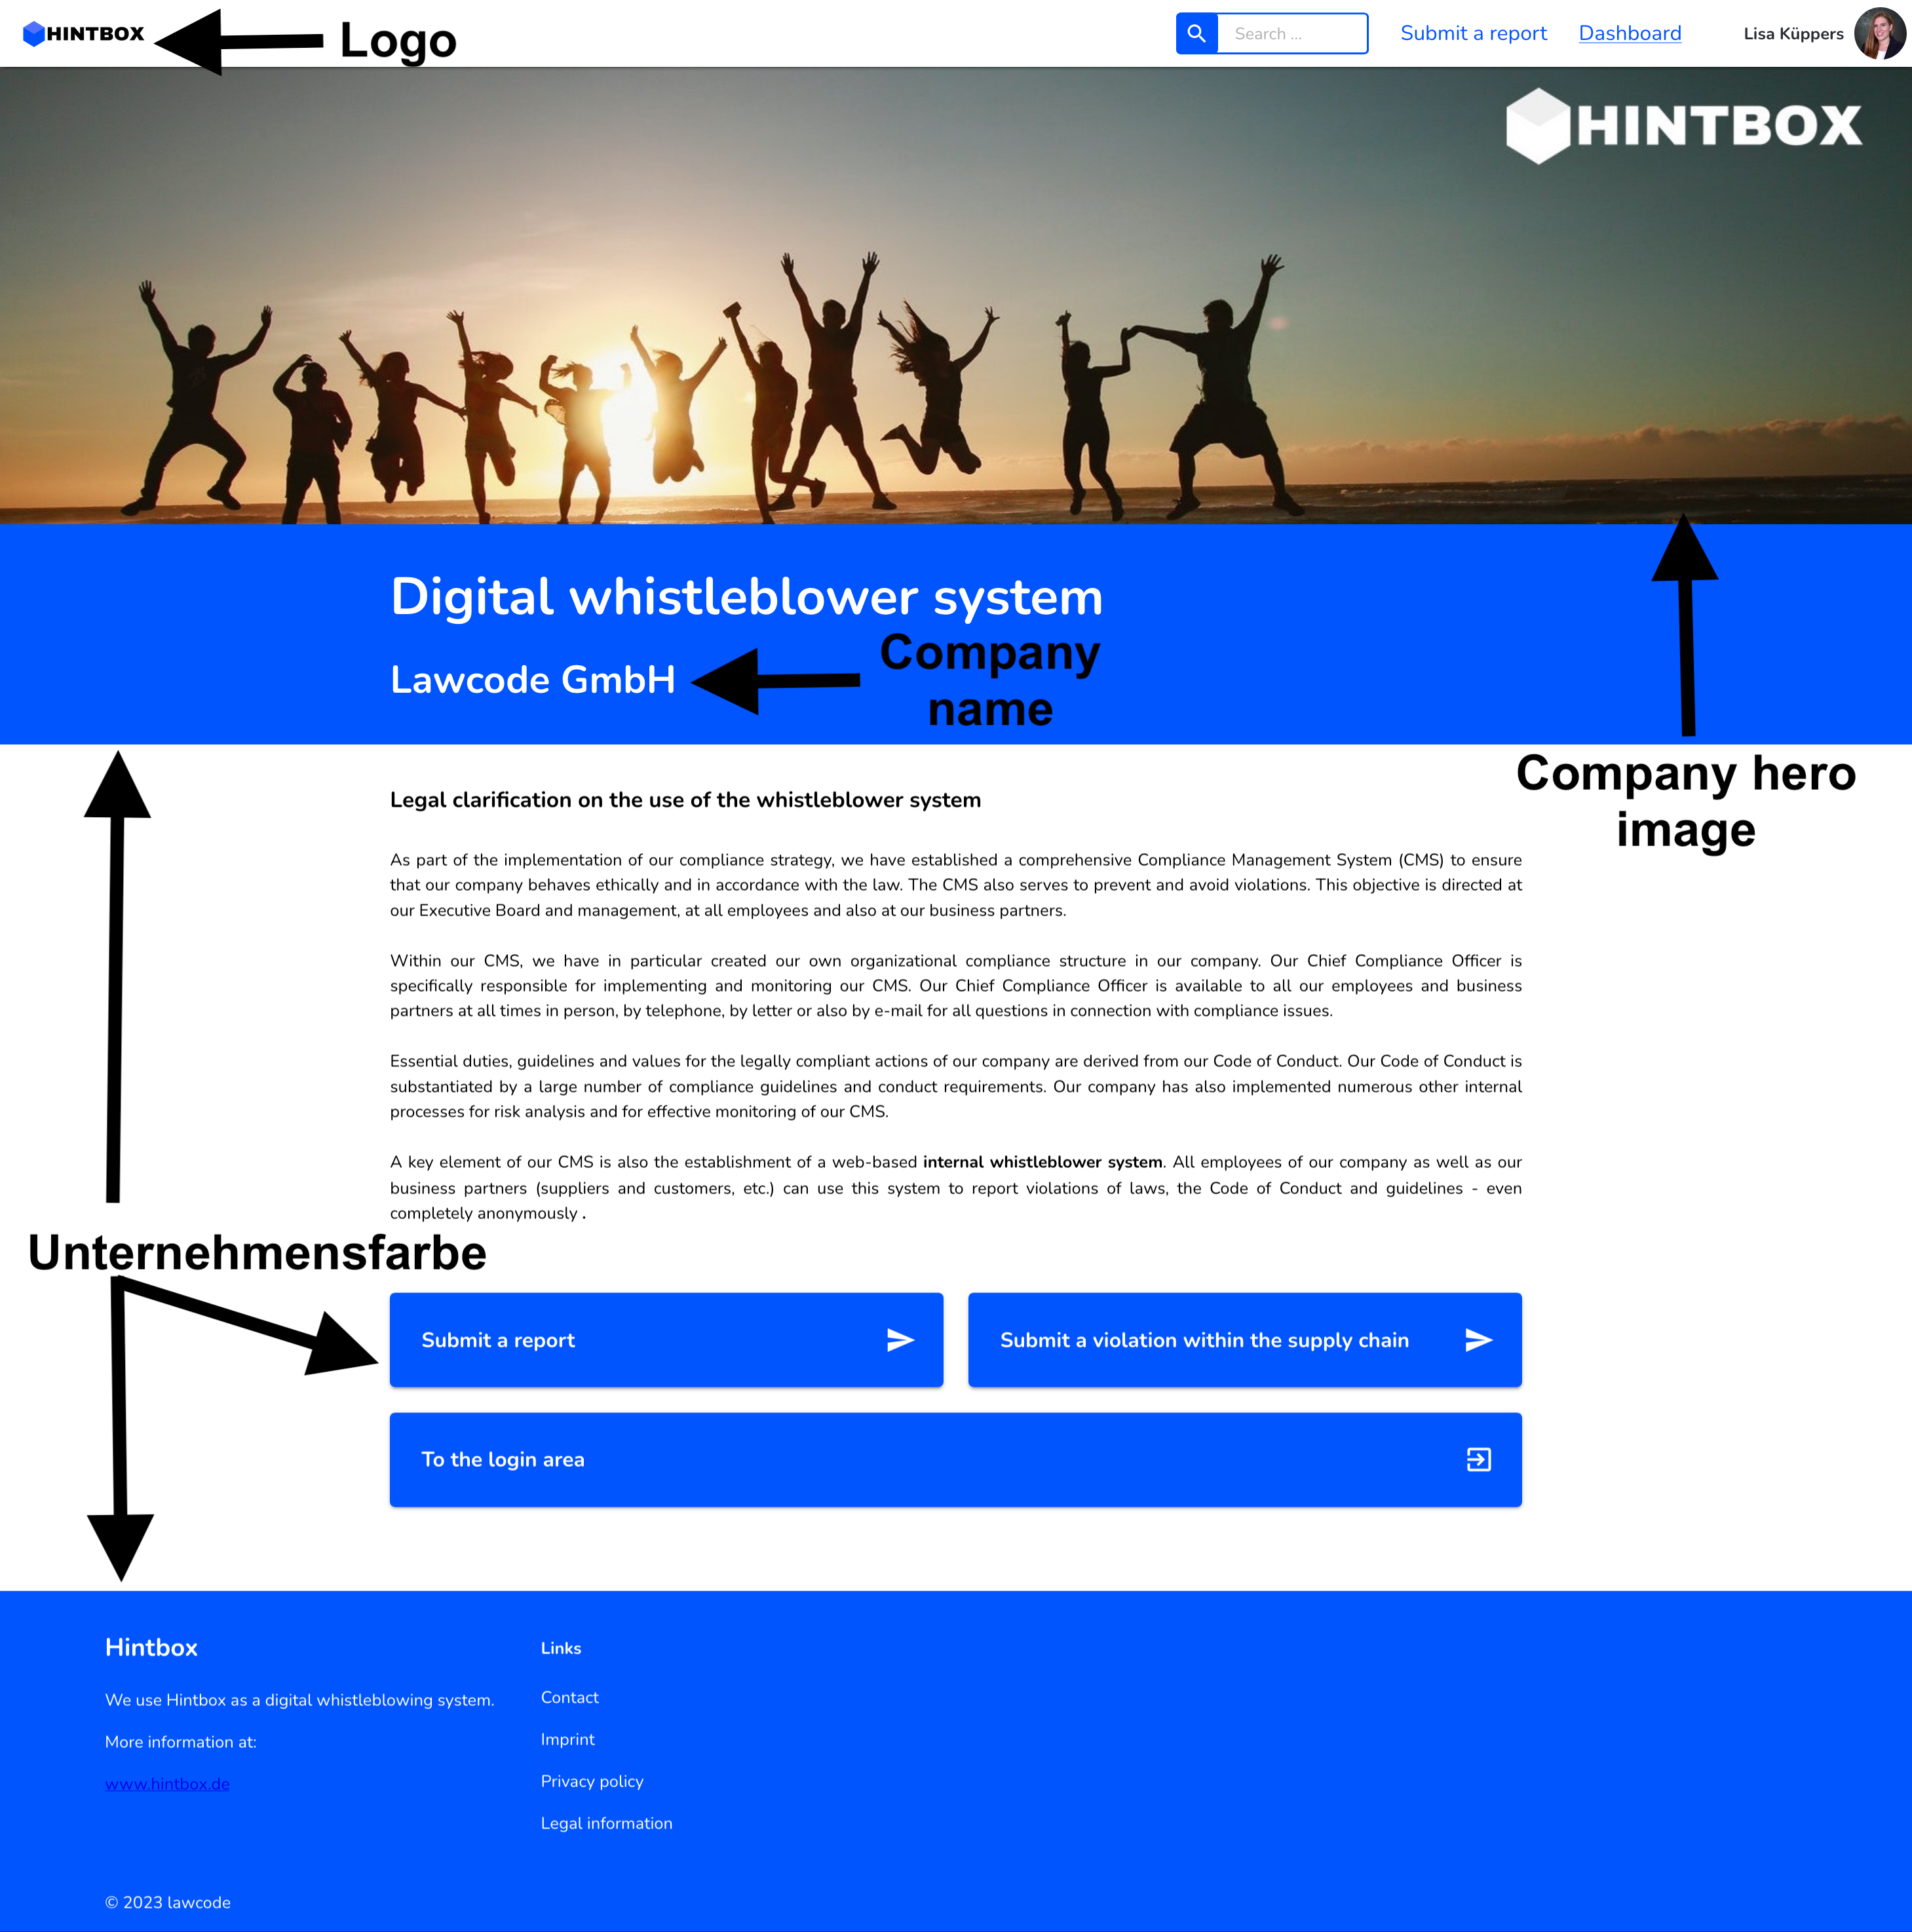
Company name - The company name appears on the home page and also in the footer of some system emails.
Corporate Font - Corporate font can be uploaded in .woff .ttf or .ttf2 format. All fonts will be changed.
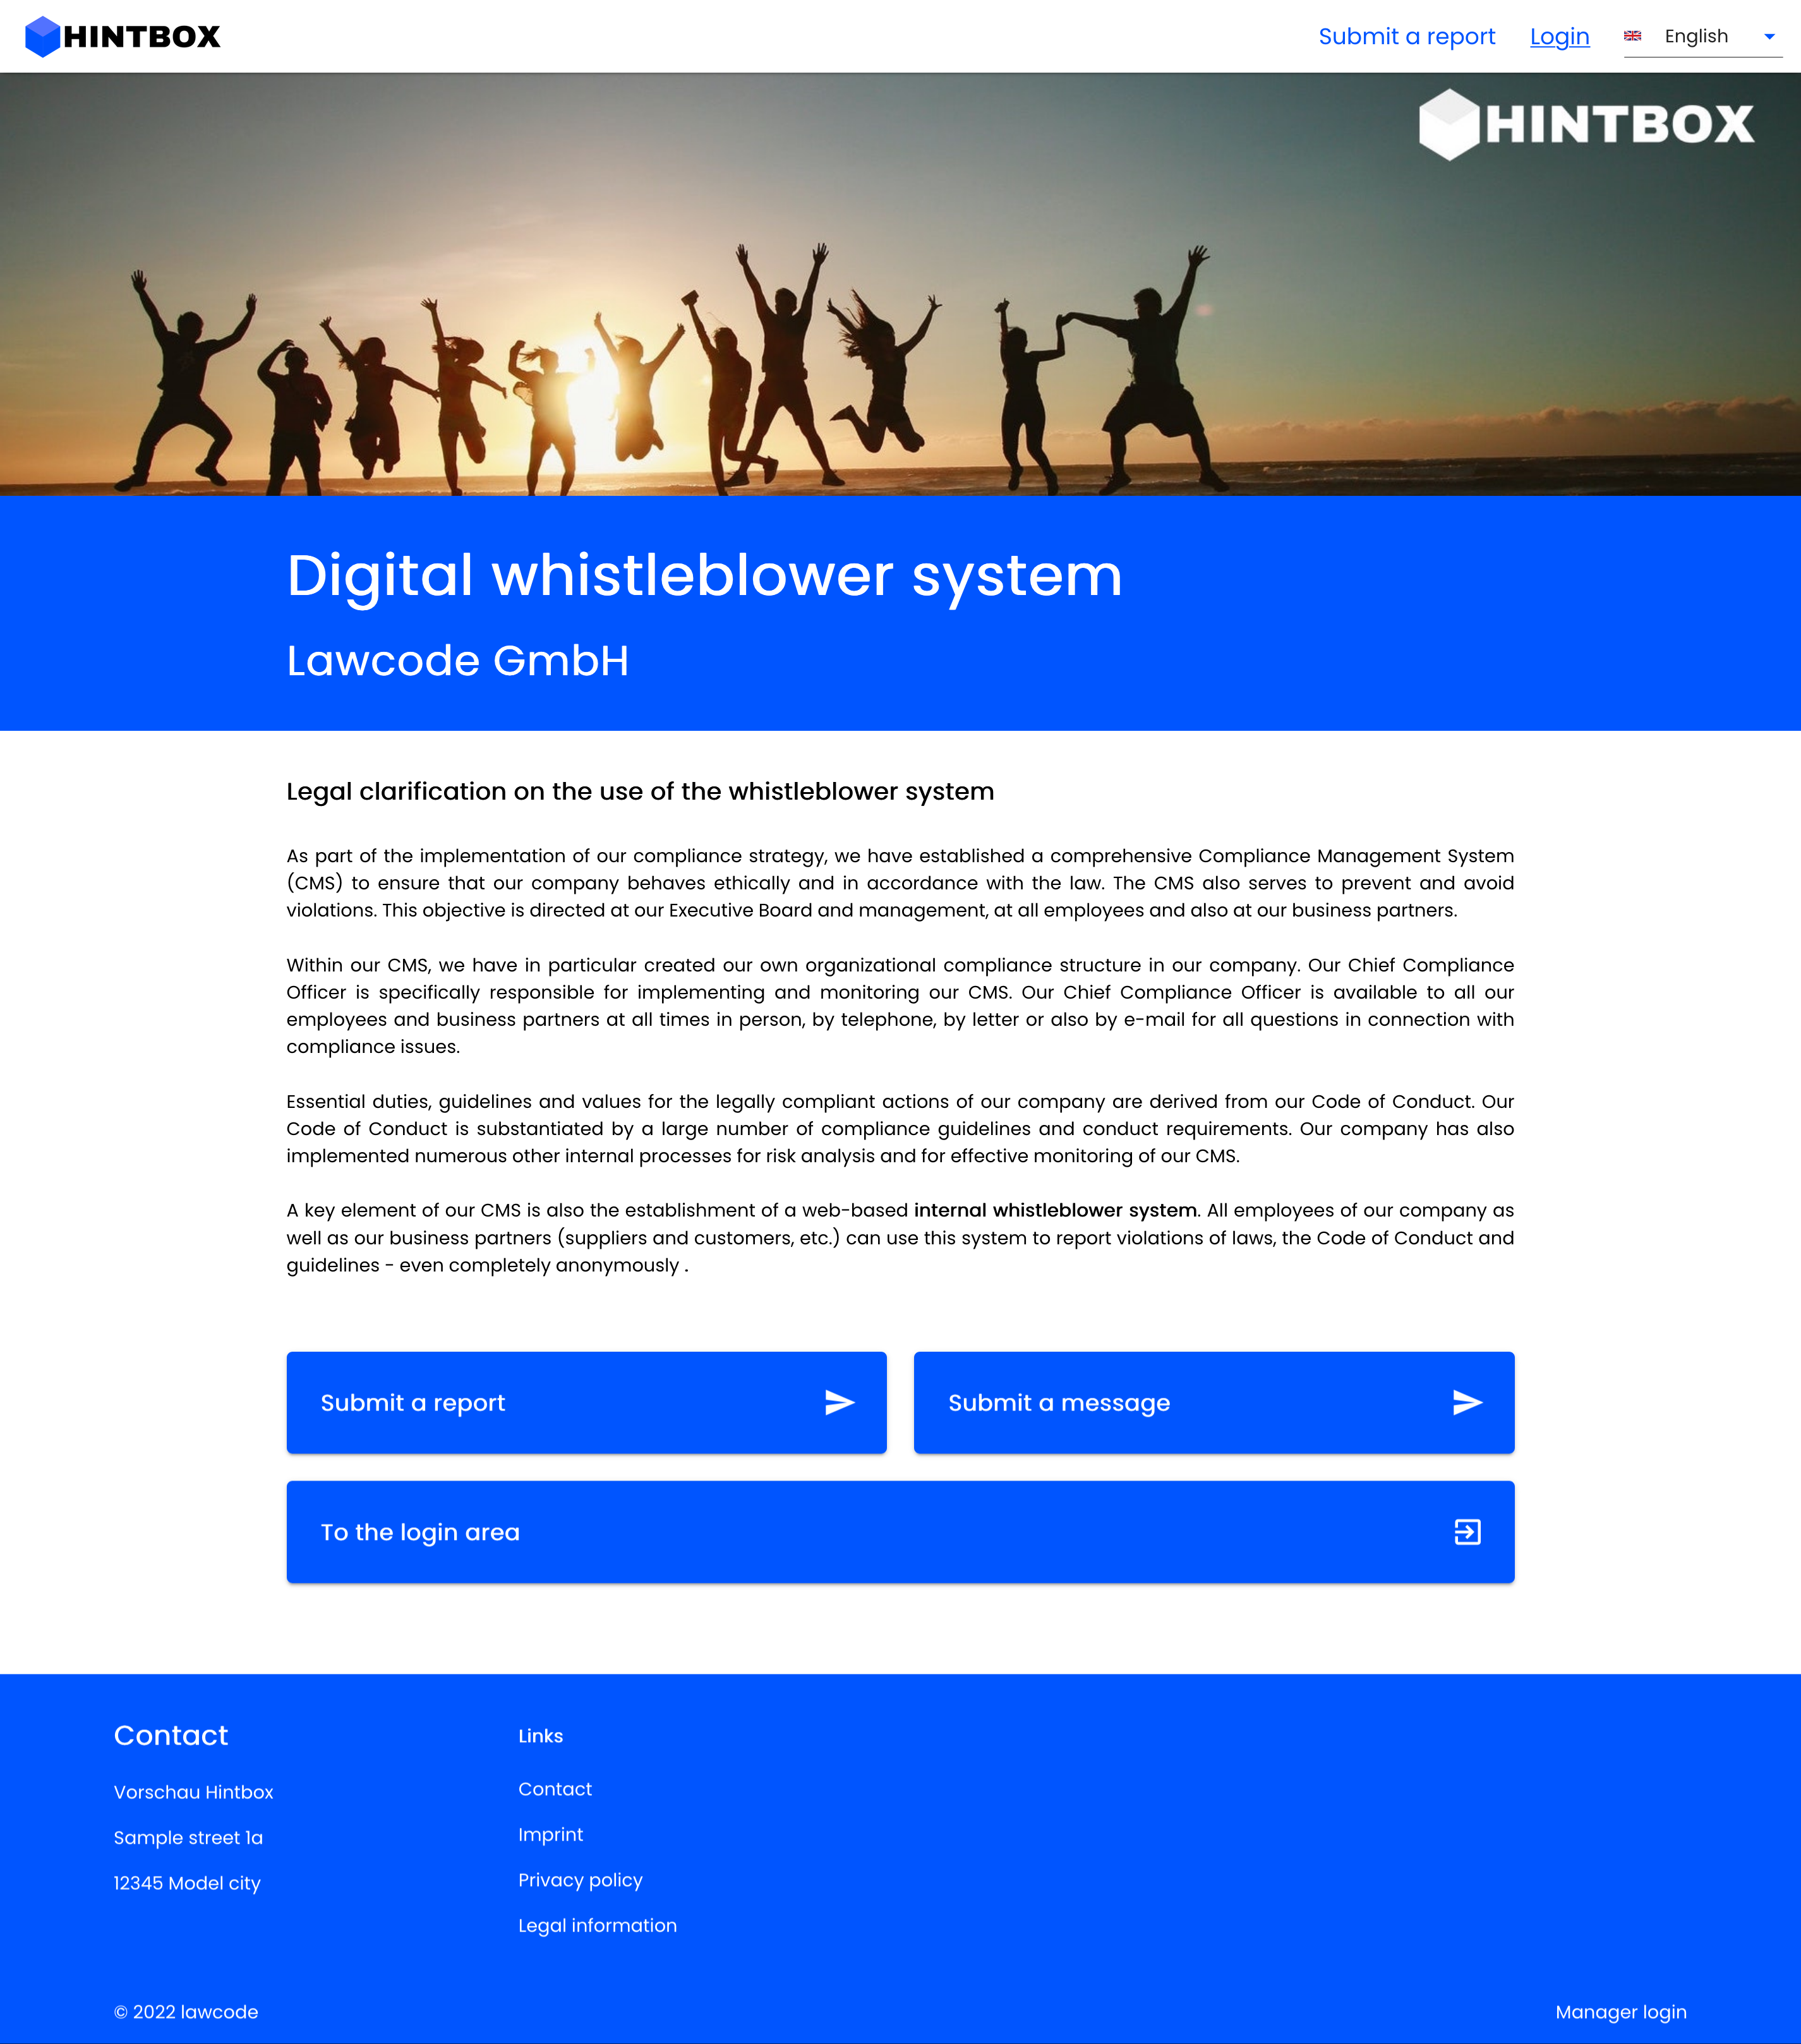
On the home page it looks like this.
Upload company logo
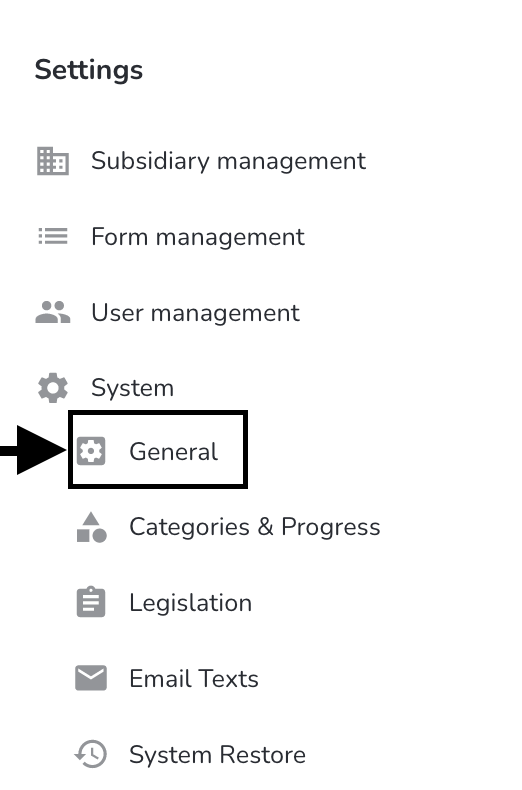
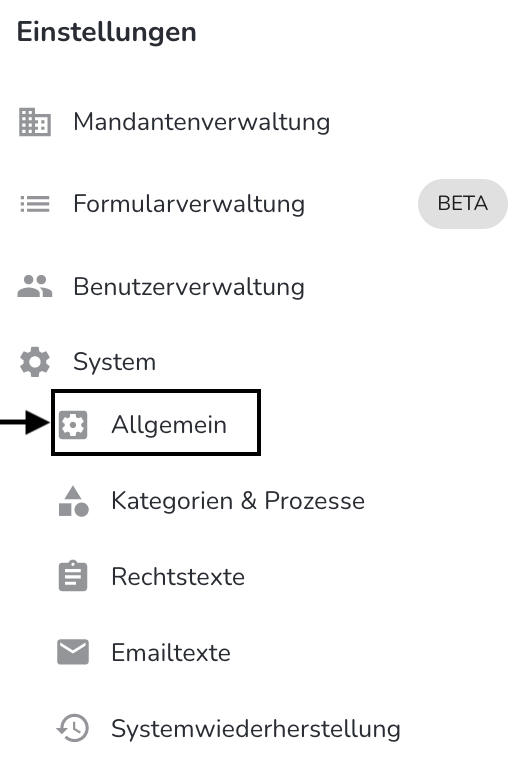
In the navigation on the left side, click System > General.
After that click the "Change Image" button in this view, then you can choose and confirm an image.
After that you will need to save the change by clicking the "Save" button.
Remove company logo
In the navigation on the left side, click System > General.
After that you will need to save the change by clicking the "Save" button.
Upload company banner photo
In the navigation on the left side, click System > General.
The company banner photo can becustomized by clicking "Change image", then you can choose and confirm an image.
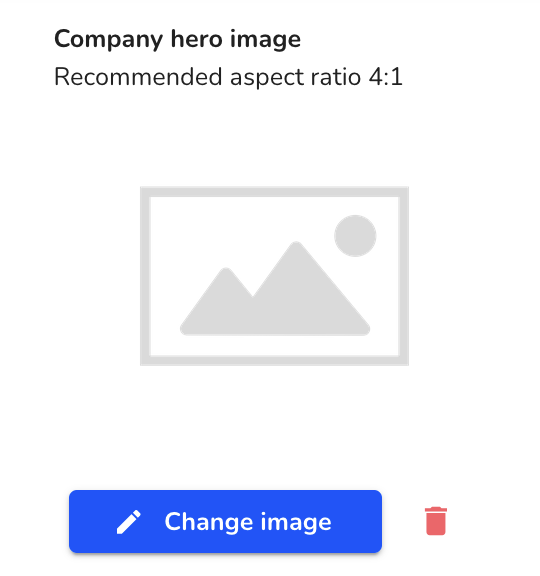
The change must be saved by clicking on Save.
Remove company banner photo
In the navigation on the left side, click System > General.
You don't want to use a banner in your Hintbox? You can delete an existing corporate banner photo by clicking on the trash.
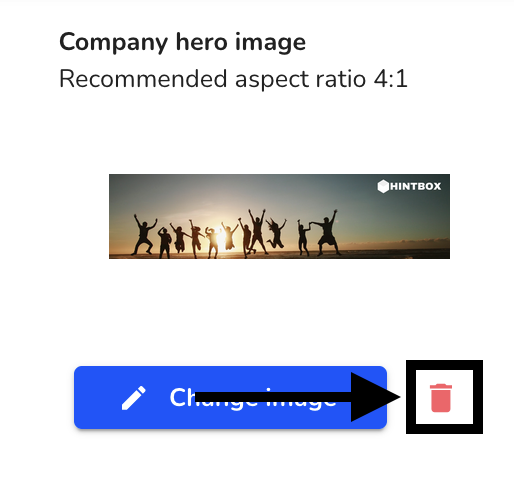
The change must be saved by clicking on Save.
Change corporate color
In the navigation on the left side, click System > General.
The color can be selected by clicking on one of the displayed colors or by entering the hexadecimal code in the input field.
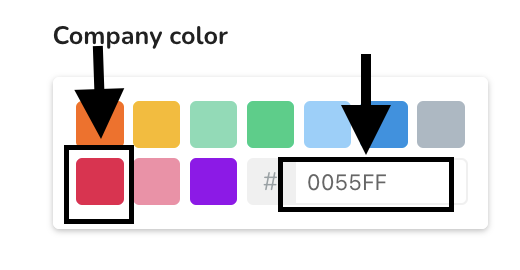
The change must be saved by clicking on Save.
Change company name
In the navigation on the left side, click System > General.
The company name must be entered in the input field.
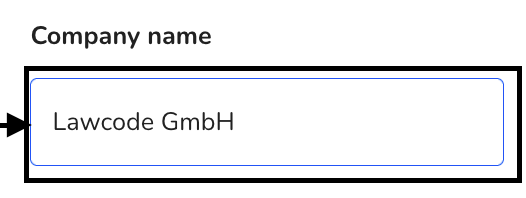
The change must be saved by clicking on Save.
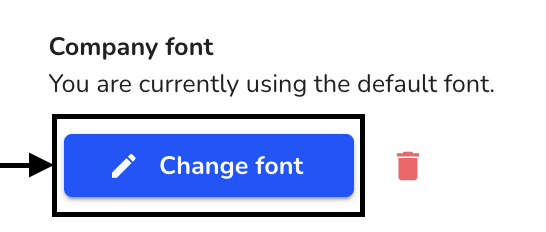
Upload company font
In the navigation on the left side, click System > General.
The font can be adjusted by clicking on Change font.
By clicking on the recycle bin, an existing font can be deleted.
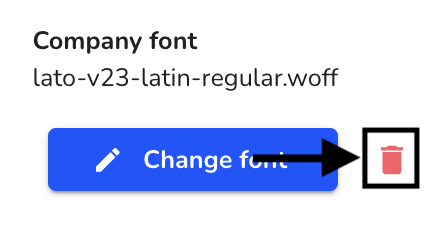
The change must be saved by clicking on Save.
Translation
In the navigation on the left side, click System > General.
Then click on Translation.
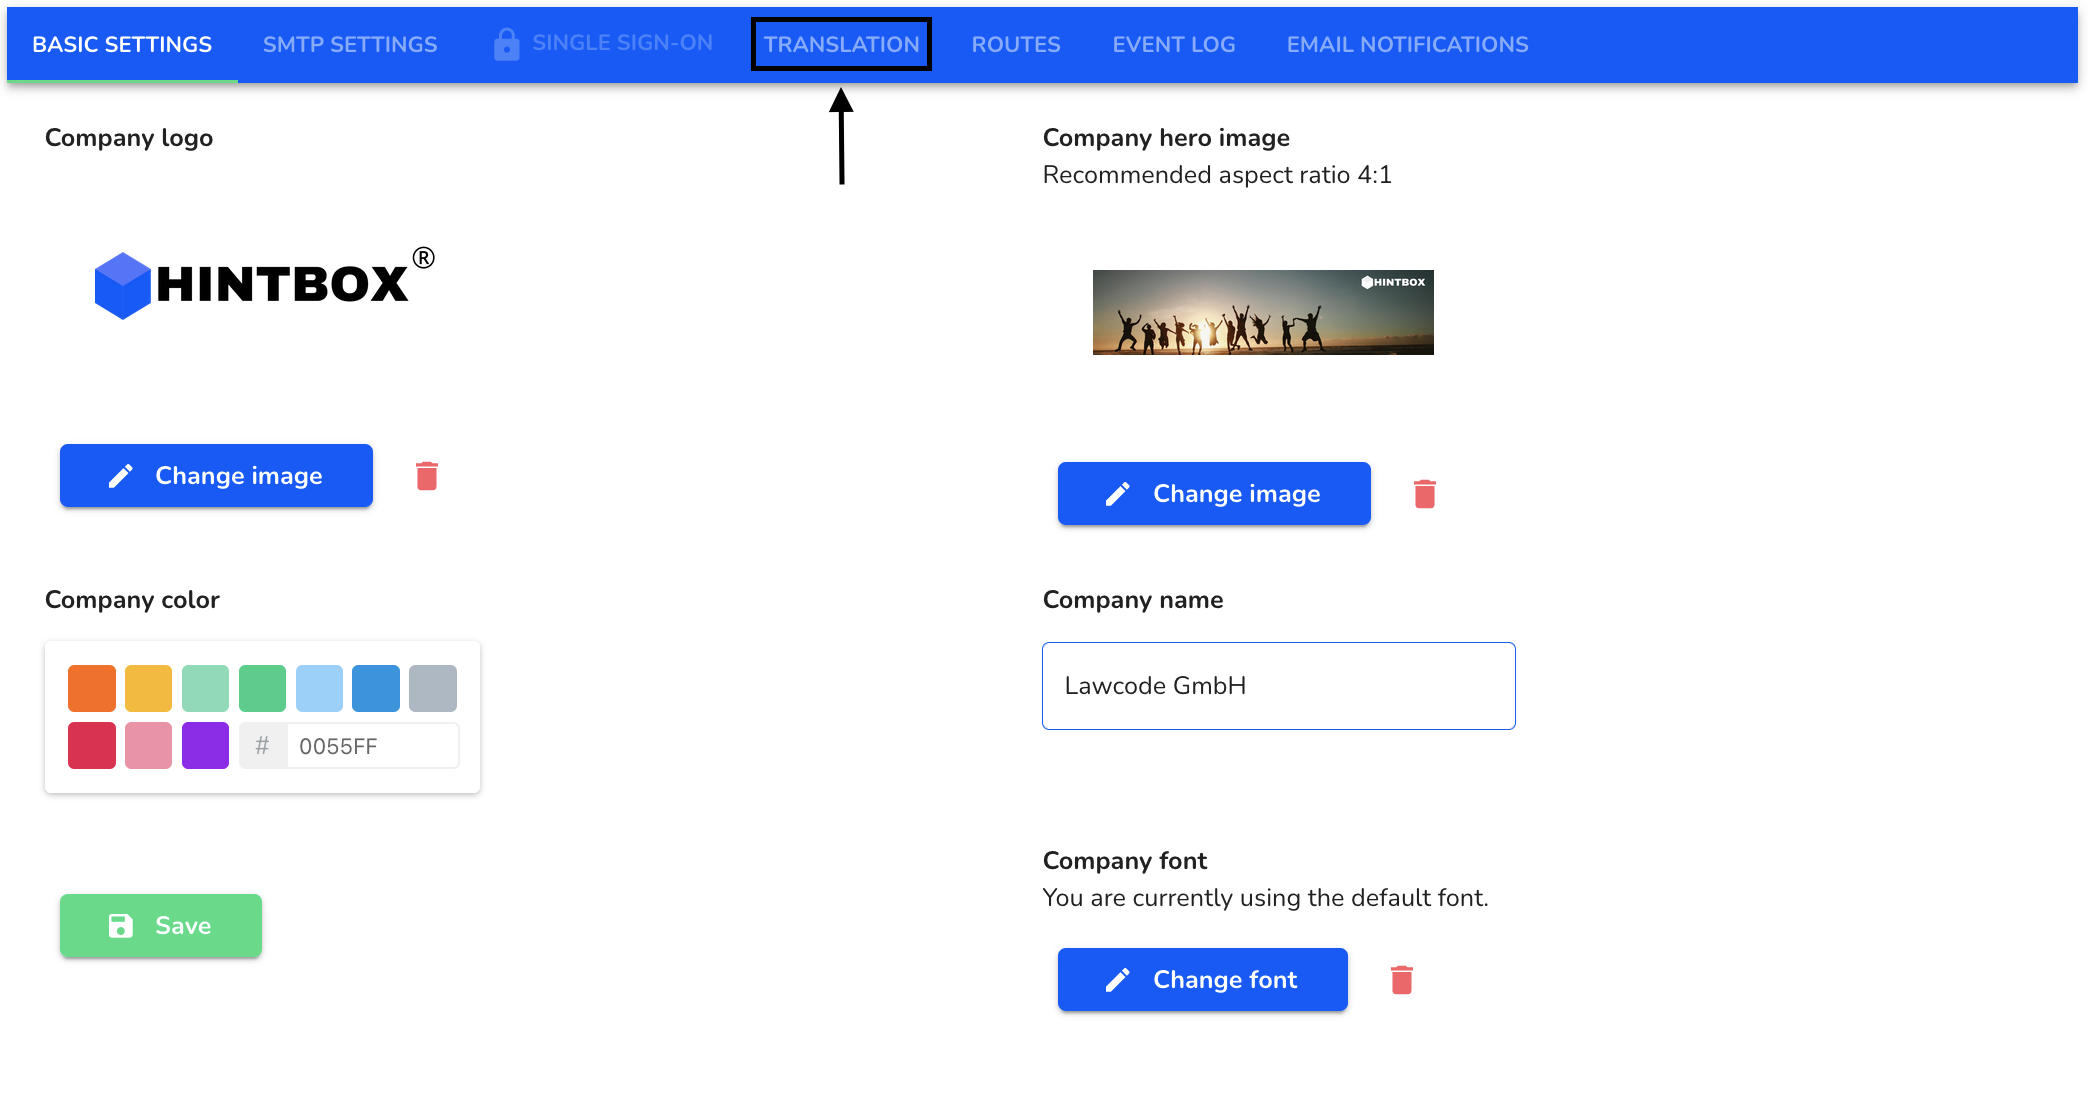
The following overview opens.
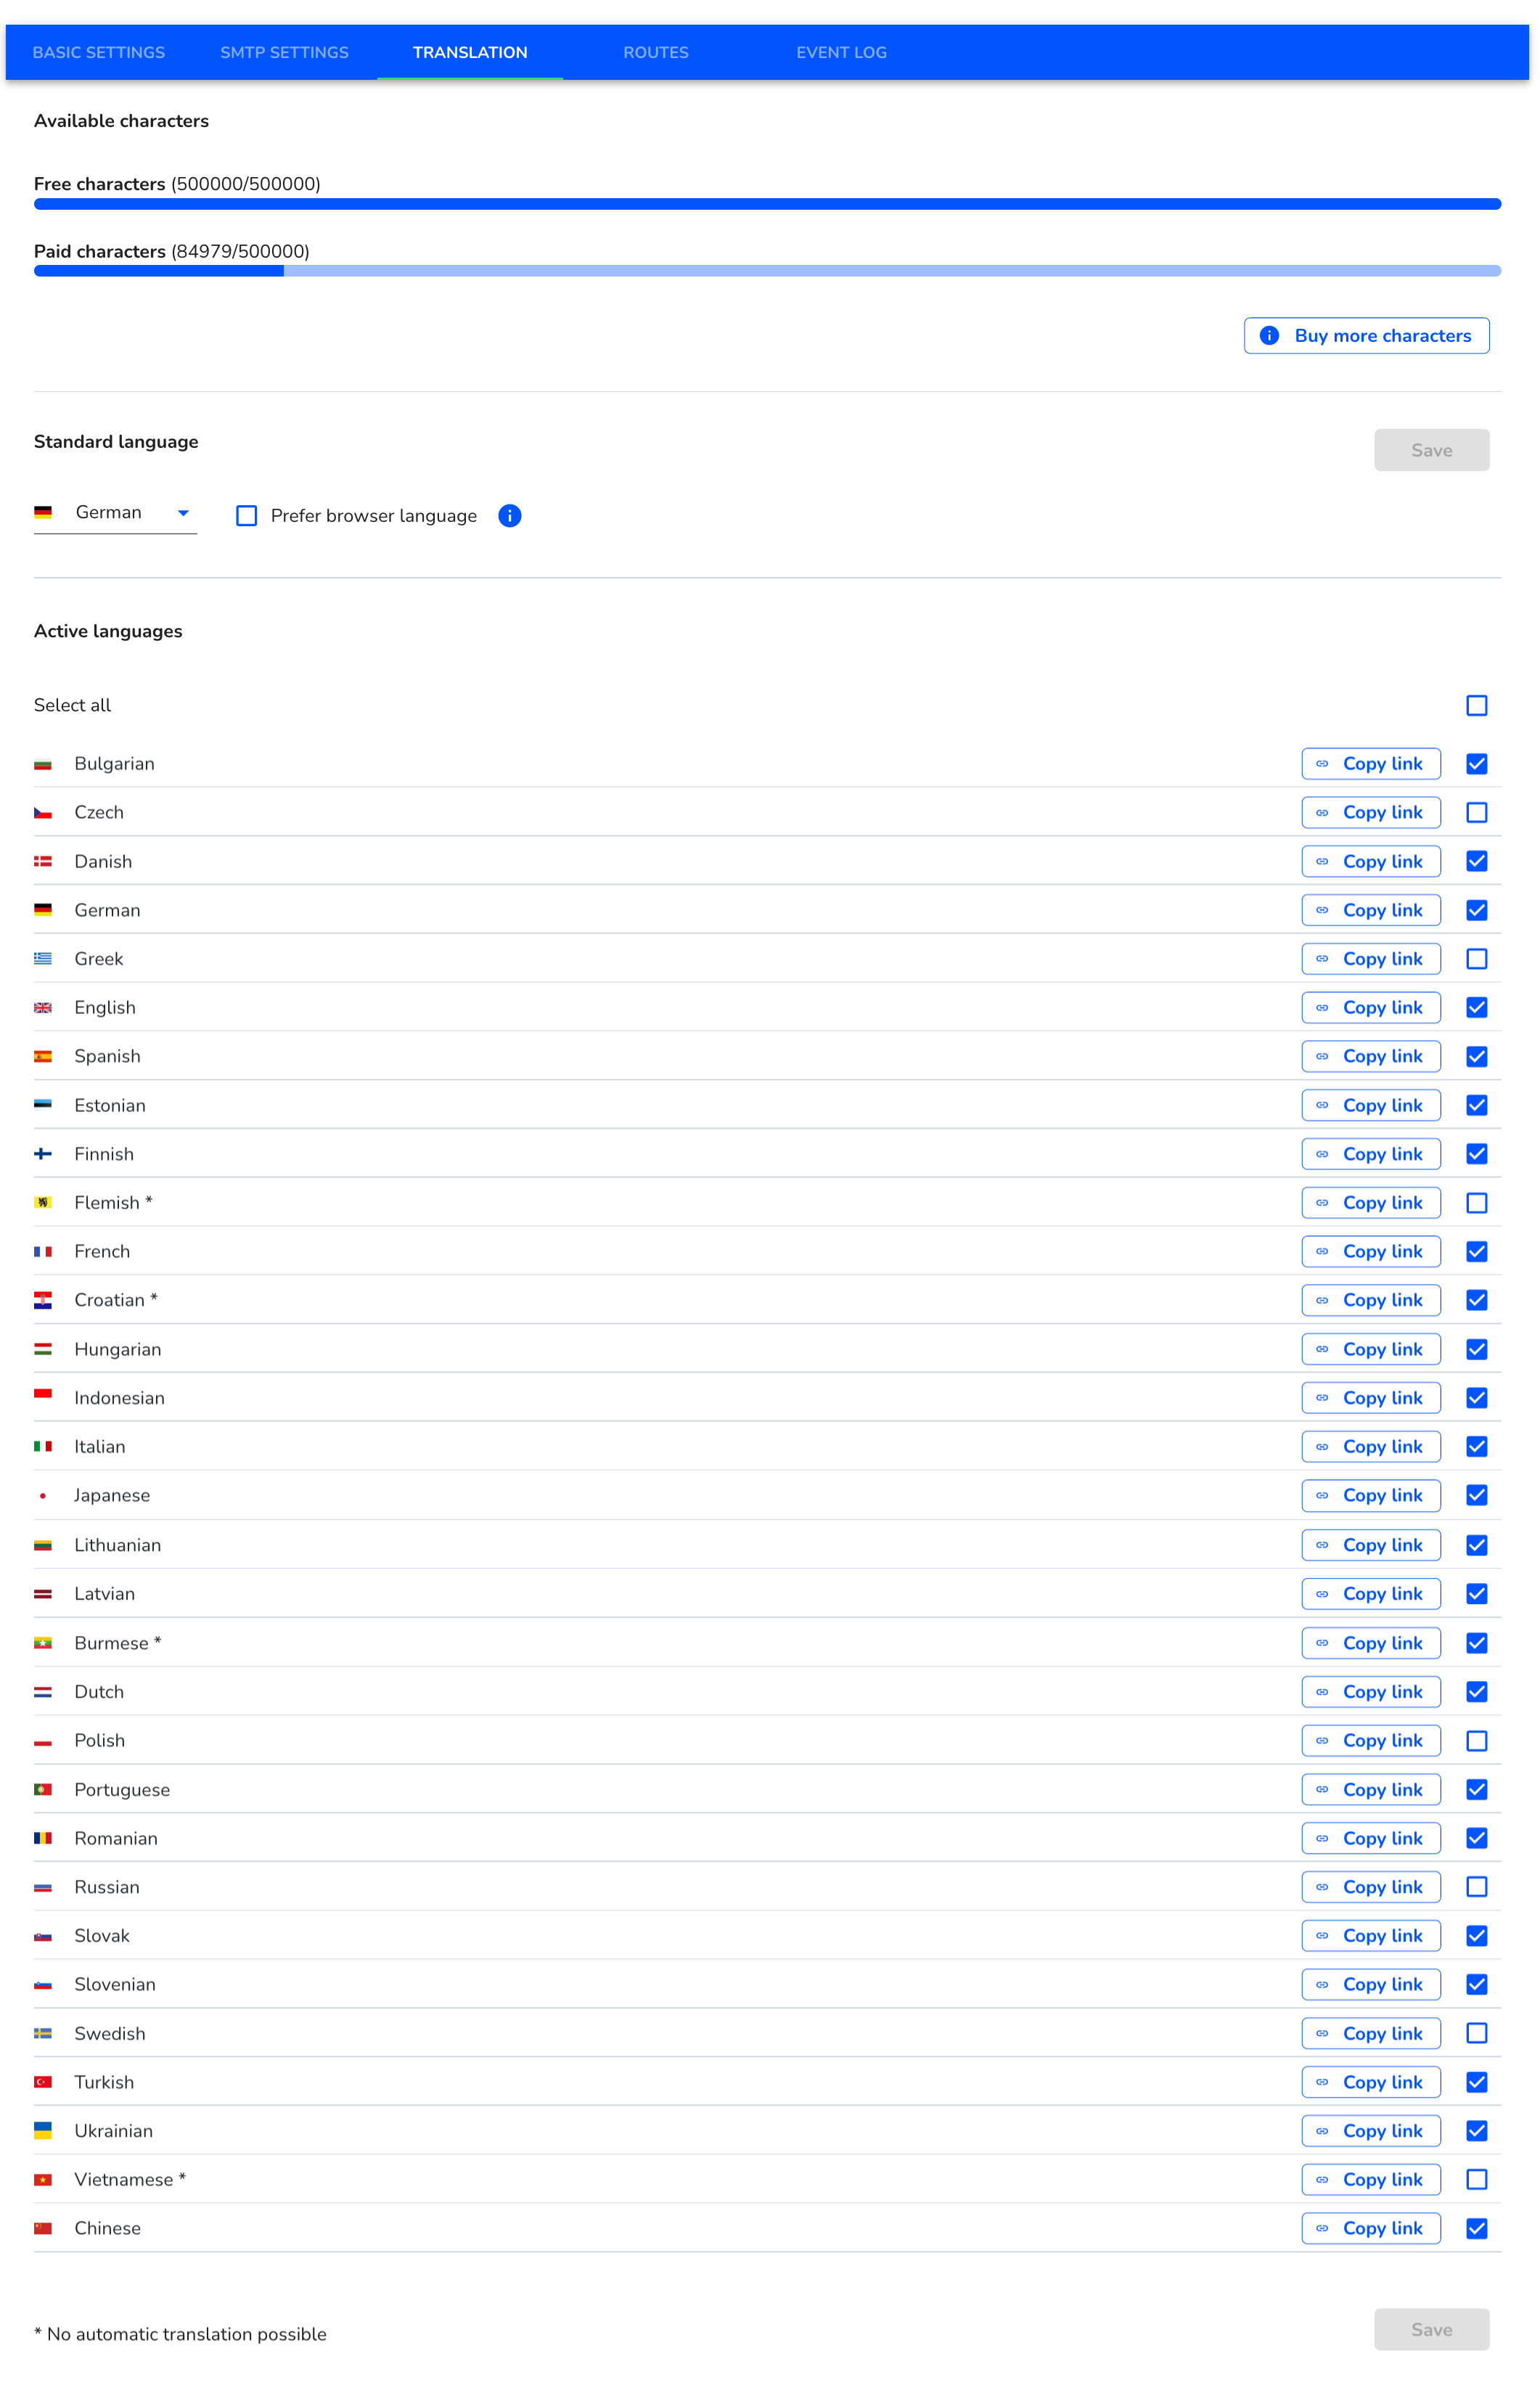
Free characters - The Hintbox is supplied with 1,000,000 translation characters as standard. This quota is available to you annually. The legal texts, e-mail texts, messages to and from the whistleblower, categories and processes, as well as steps and fields in the dynamic form can be translated from the quota. If all characters have been used up, more characters can be purchased. To do this, please call the hotline or contact our support team by e-mail. You will also receive this information when you click on Buy more characters.
Paid characters - If the quota is used up, translation characters can be purchased.
Default language - The default language is the language in which the hintbox is displayed when the link is called.
Prefer browser language - If this function is active, the preferred language is determined from the user's browser settings and applied to the whistleblower system, provided that the preferred language from the browser settings is supported by the whistleblower system.
Active languages - The Hintbox can be used by whistleblowers and compliance managers in all selected languages.
Set the default language of the hintbox
The default language is the language in which the hintbox is displayed when the link is called.
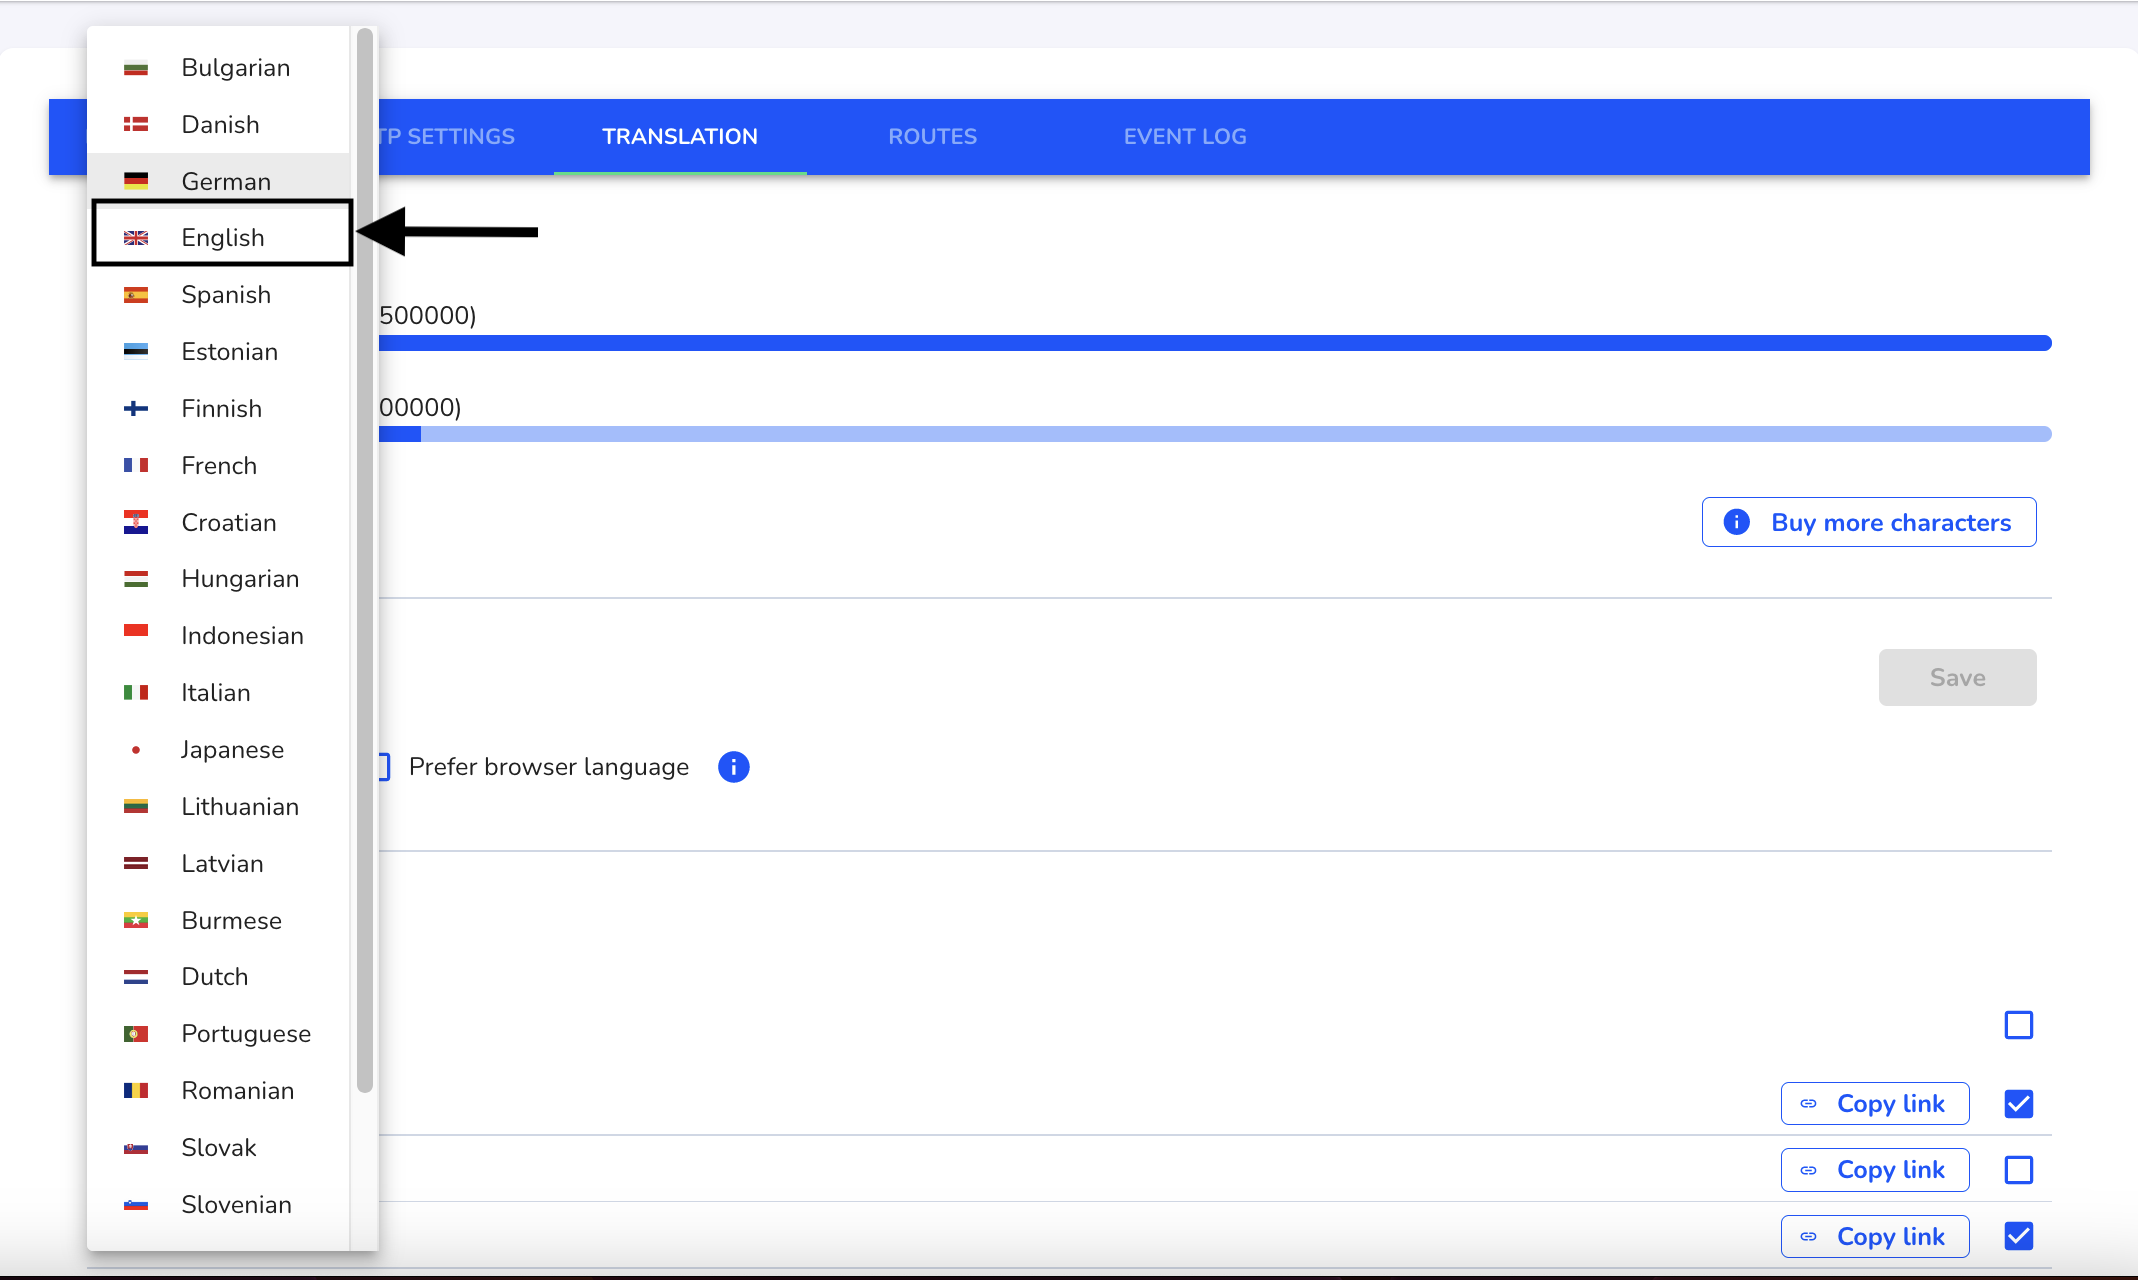
To change the default language click on the language.

A selection of all active languages of the Hintbox opens. Click there on the language you want to select (English in this example).
These changes must be saved by clicking on Save.

Automatic determination of the language of the website visitors
If this feature is active, the language is determined from the website visitor's browser settings and applied to the hintbox, provided that the language from the browser settings is supported by the hintbox. Otherwise, the hintbox is displayed in English by default.
Click the checkbox next to Prefer browser language.

These changes must be saved by clicking on Save.
Configuration of the selectable languages in the hintbox
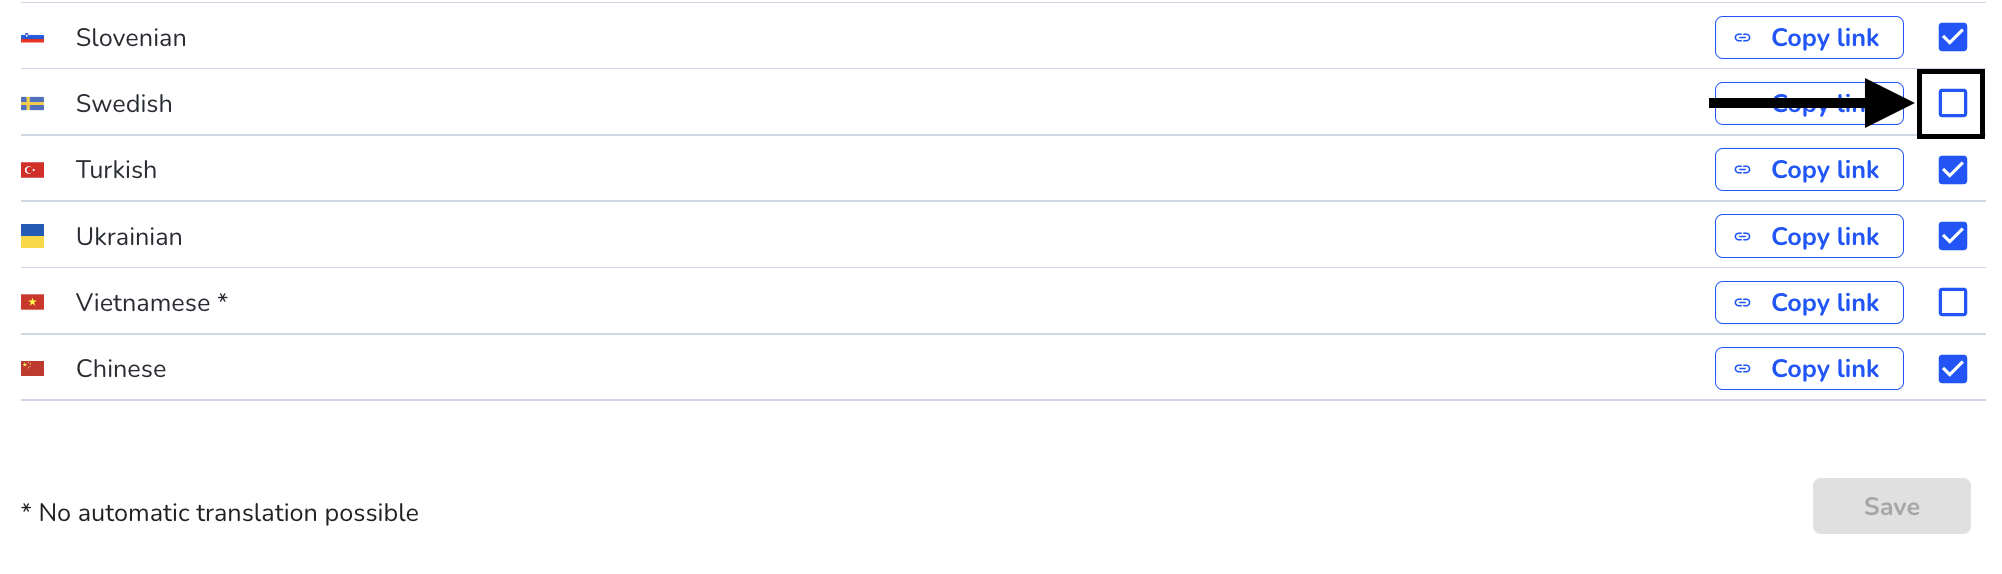
The Hintbox can be used in all selected languages by whistleblowers and compliance managers.
By clicking on the checkbox of the respective language, it can be selected.
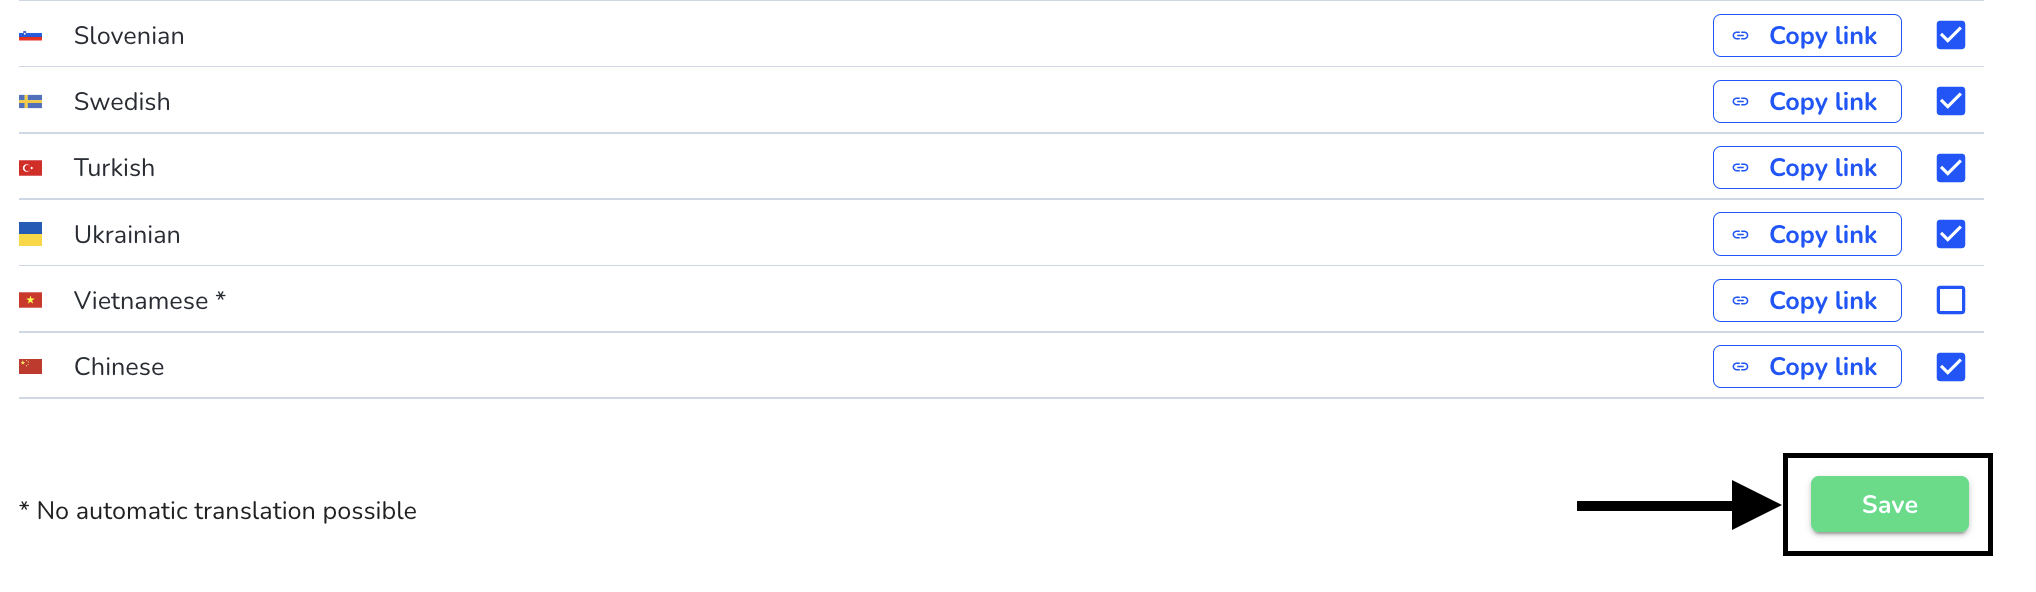
These changes must be saved by clicking on Save.
Targeted entry of a language
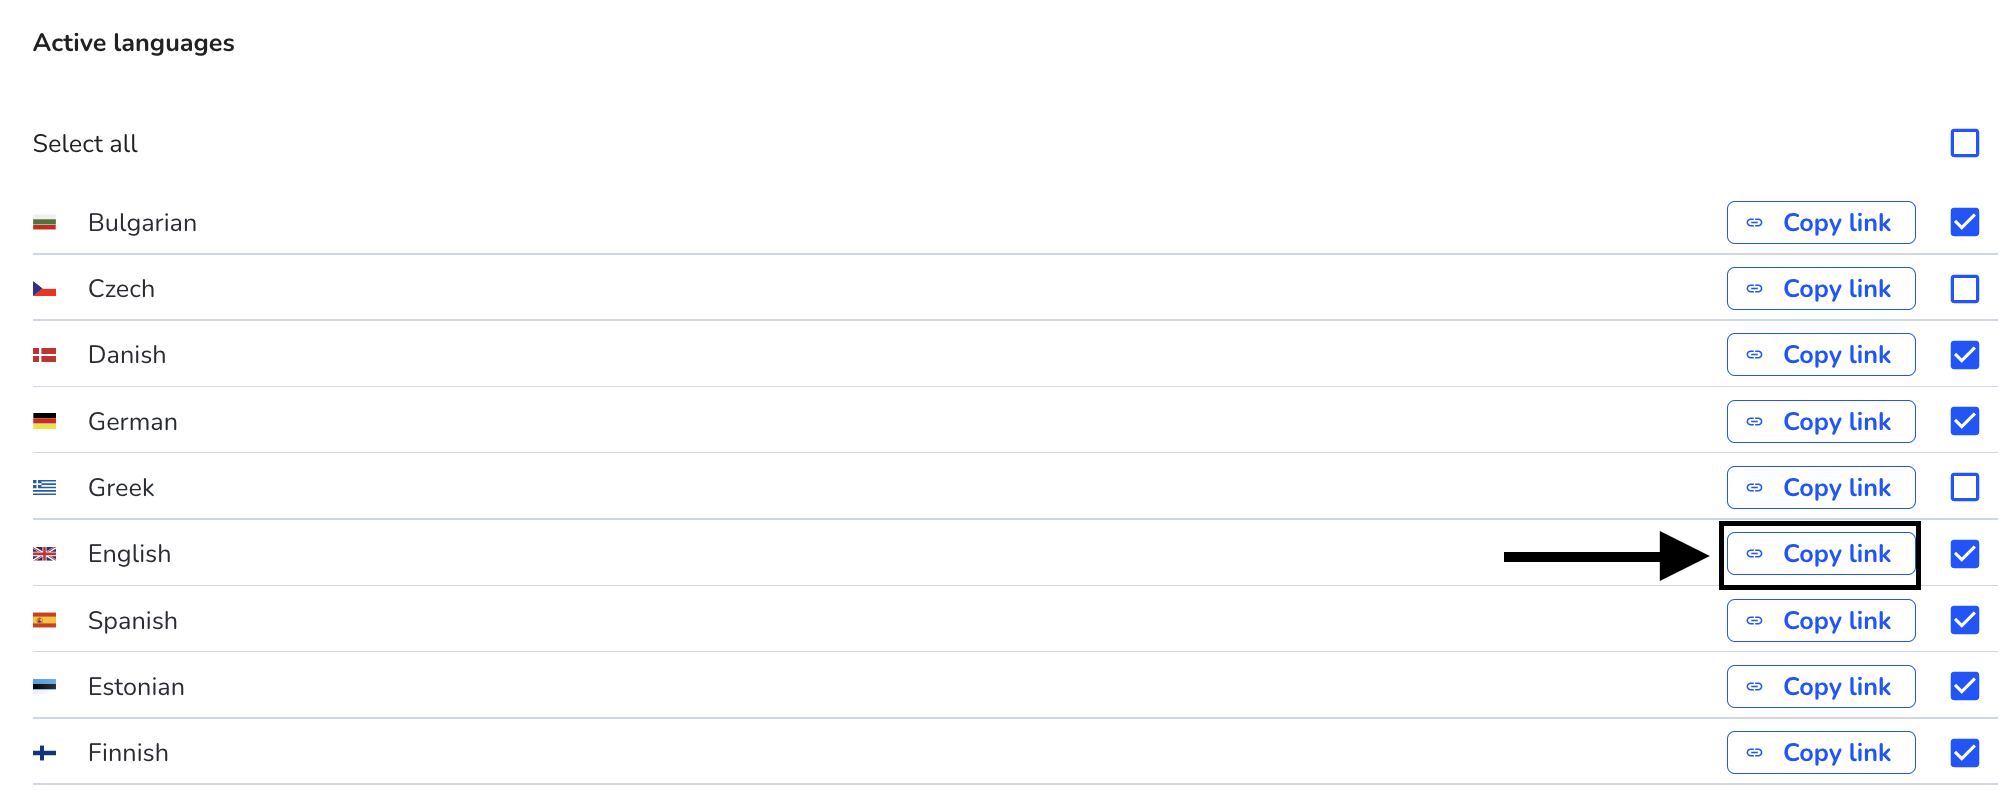
To provide the whistleblower with the start page in the different languages, a link can be generated and copied in the corresponding language. To use this function, the setting of the automatic browser detection must be switched off.

To use the link to the home page of the desired language click Copy link at the respective language.
You then paste this into the browser.

The start page appears in the desired language.
Routes
In the navigation on the left side, click System > General.
Starting from the basic settings, click Routes.
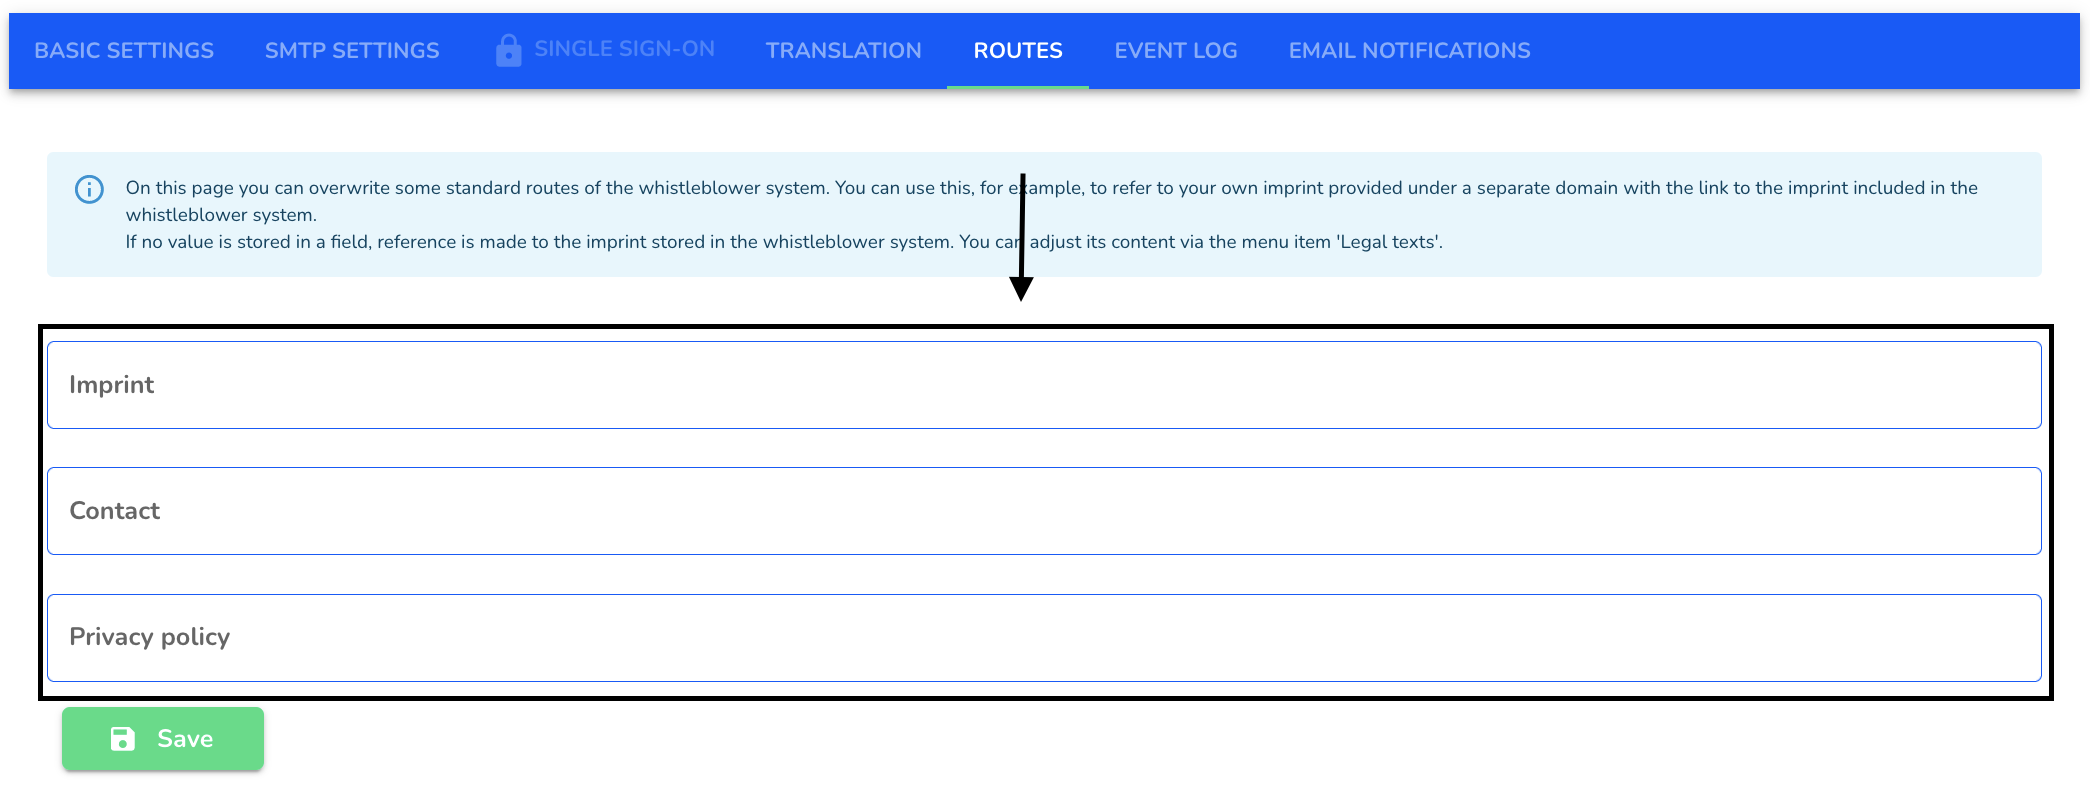
On this page you can overwrite some standard routes of the whistleblower system. You can use this, for example, to refer to your own imprint provided under a separate domain with the link to the imprint included in the whistleblower system.
If no value is entered in a field, a reference is made to the imprint stored in the whistleblower system. You can adjust its content via the menu item 'Legal texts'.
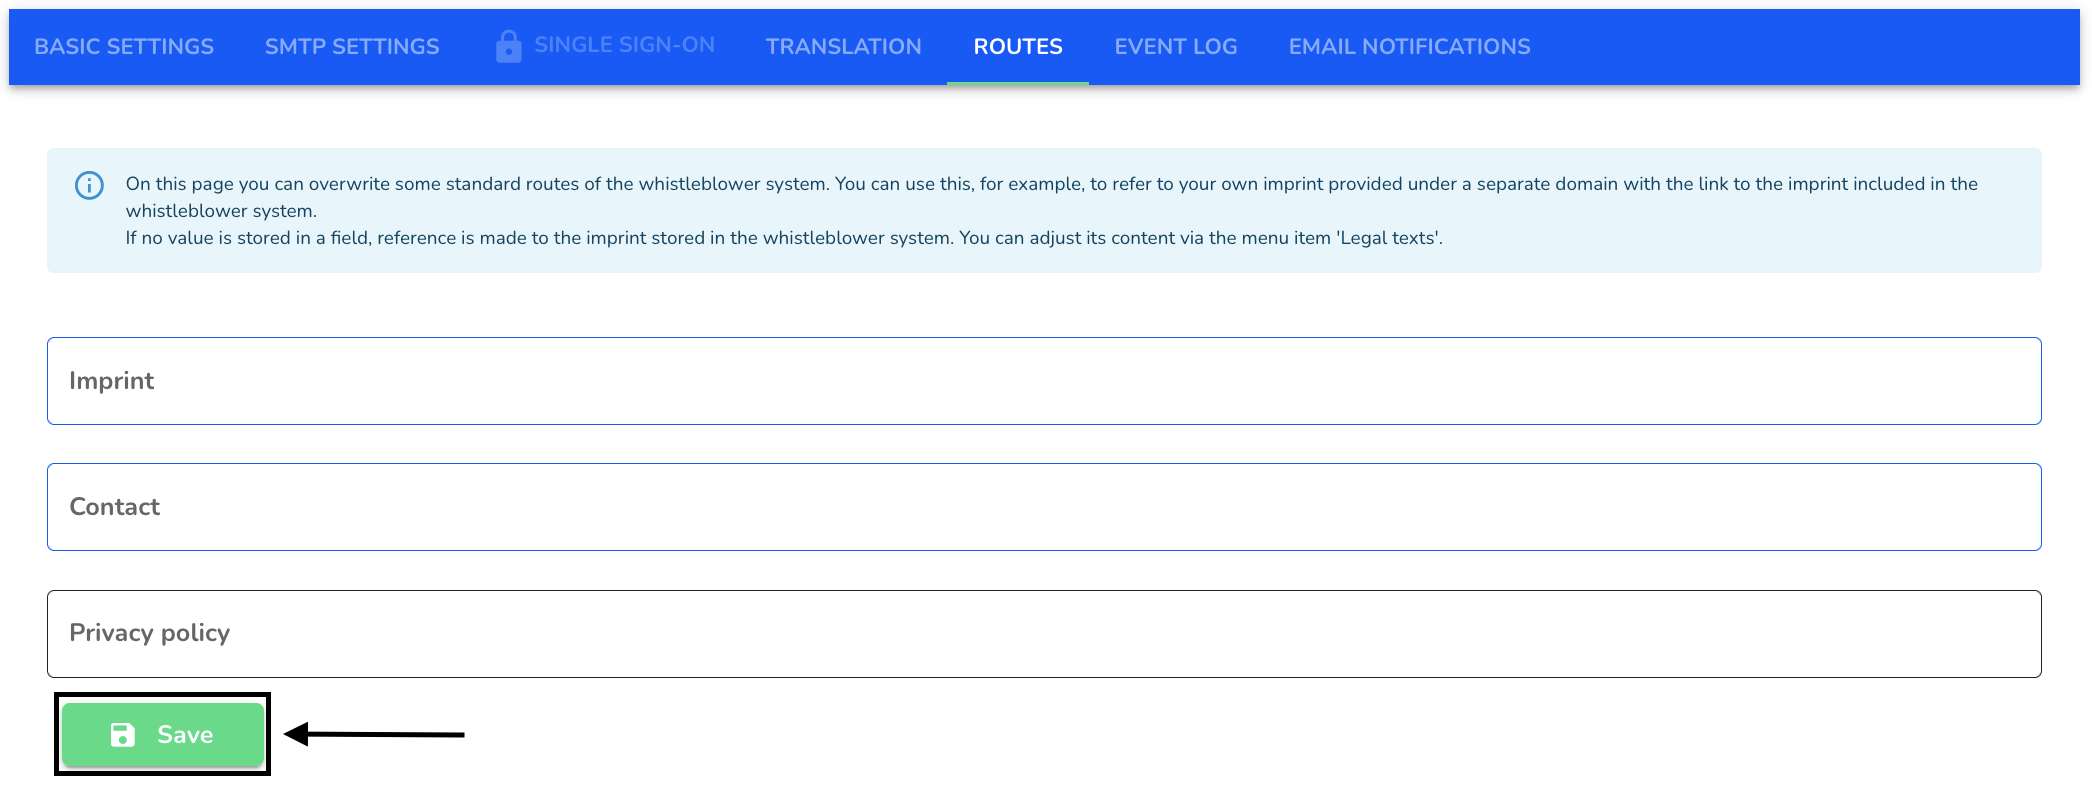
When the links are inserted, the change must be saved.
Event log
In the navigation on the left side, click System > General.
Starting from the basic settings, click Event Log.
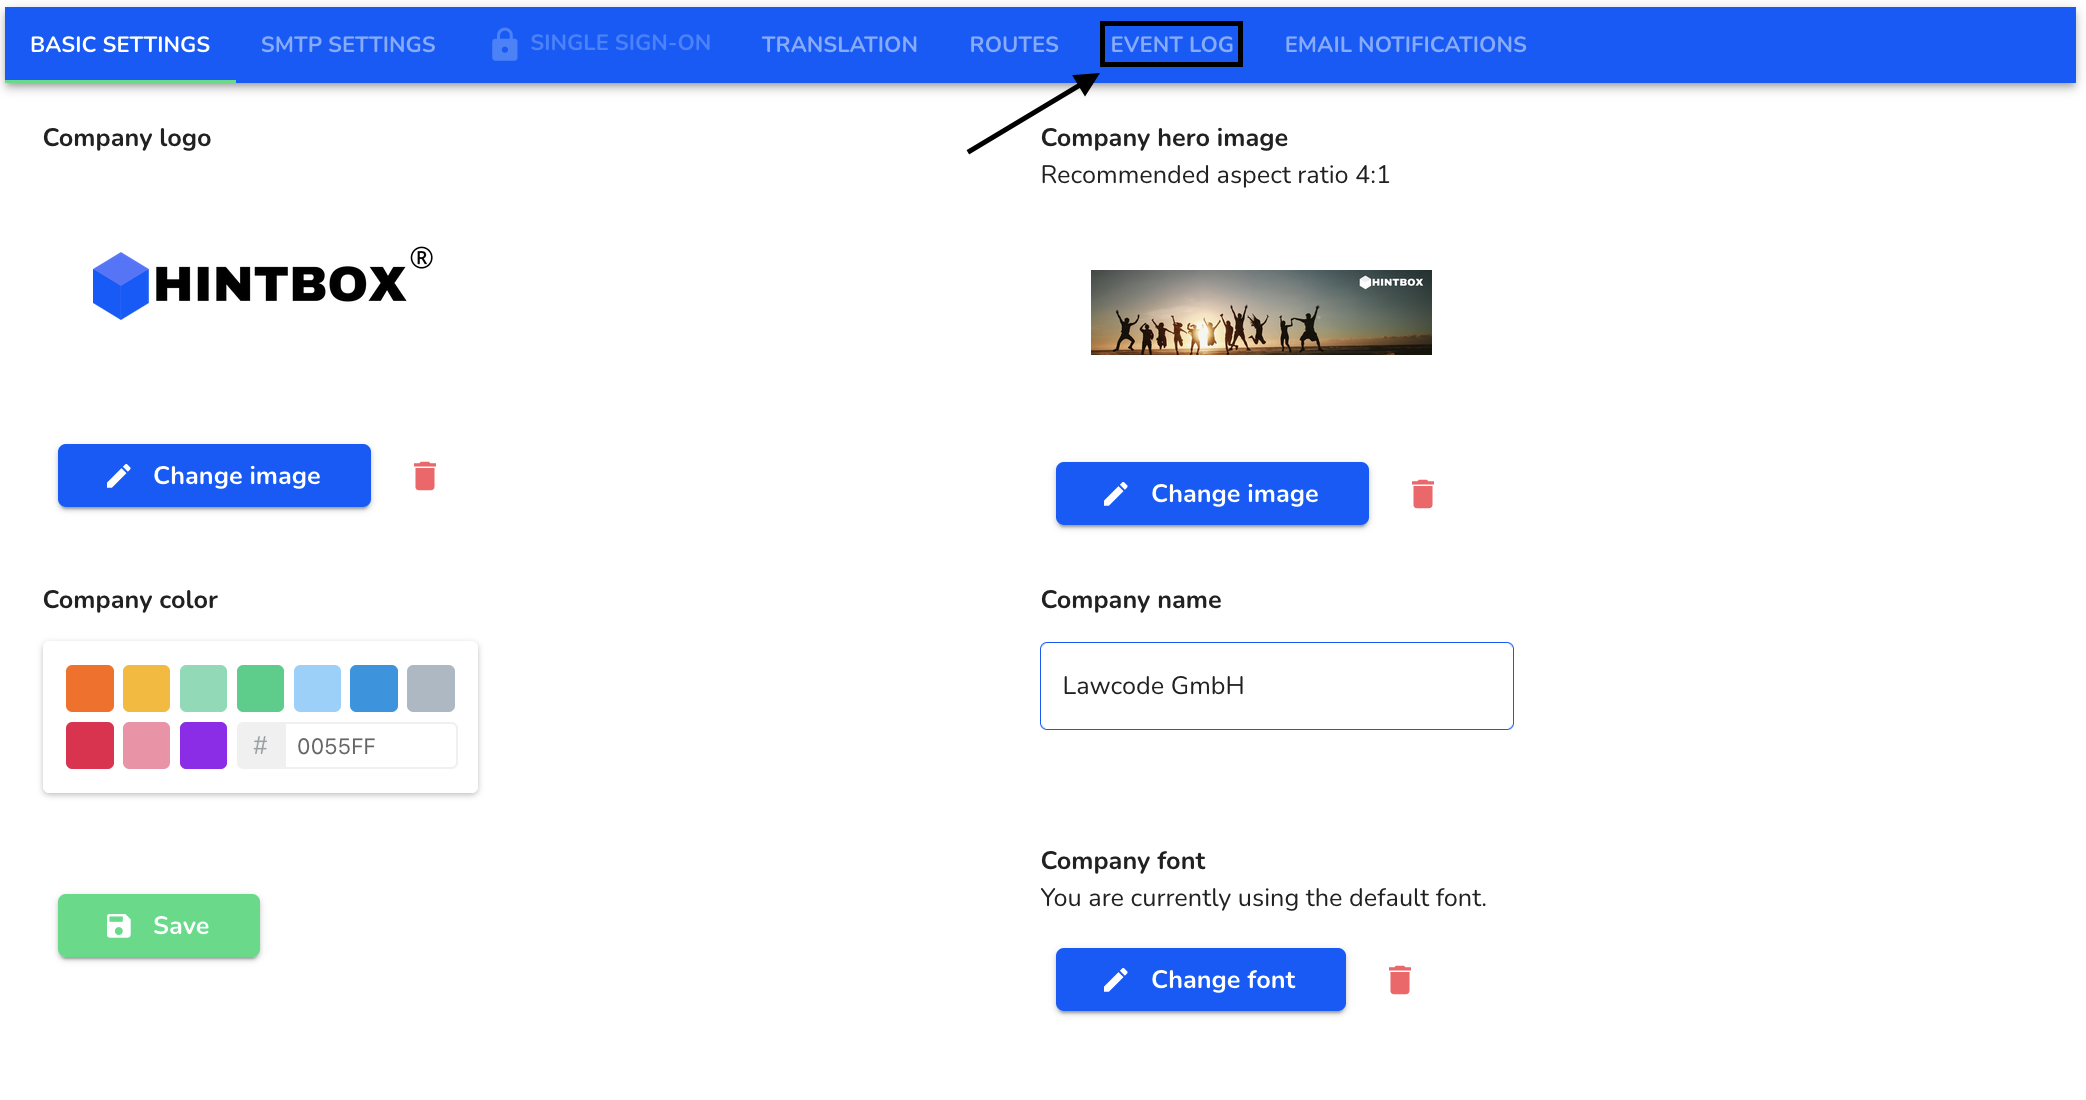
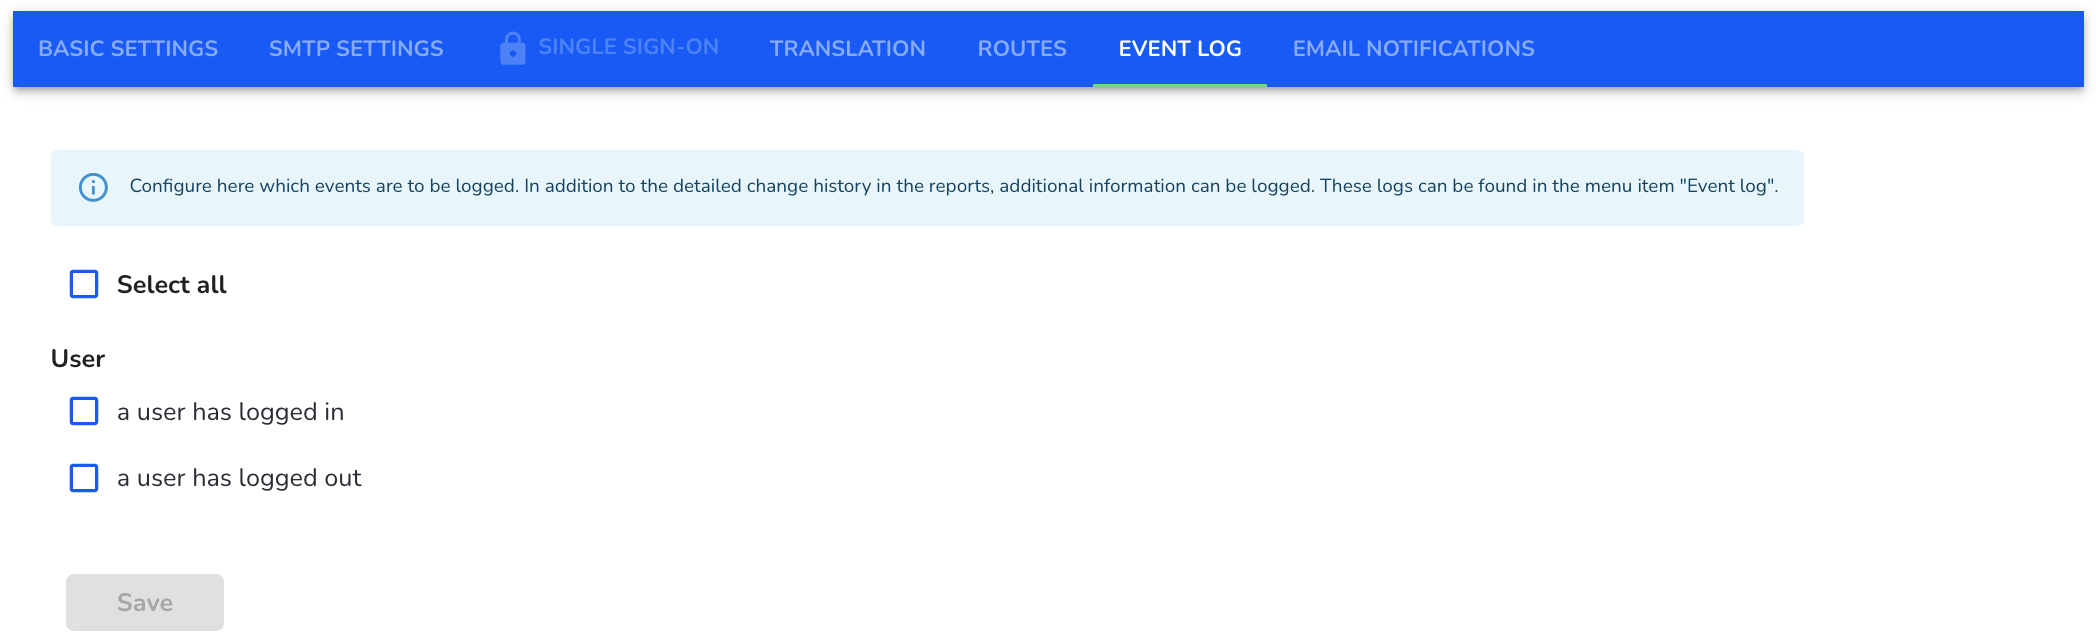
On this page you can configure which events should be logged. These logs can be found in the menu item "Event log".
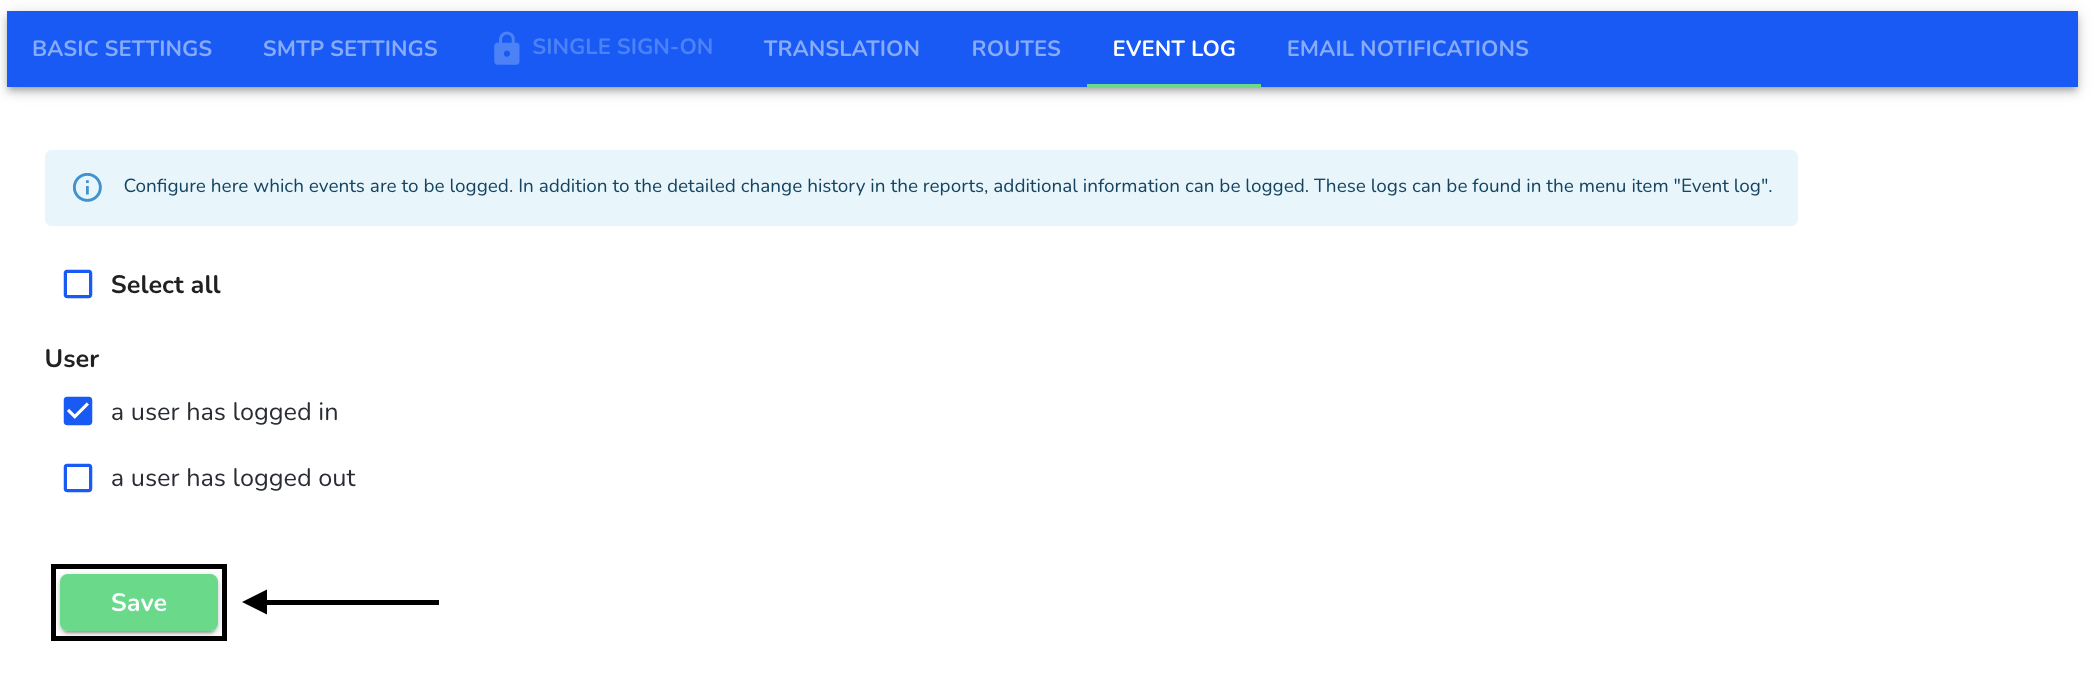
By clicking Save you can also log whether a user has logged in or logged out.
E-mail notification
This is about the e-mail notification for NEW users. The personal e-mail notifications can be customized in the profile settings. More about this in the chapter "User profile". To get to this article, click here.
Click System > General in the navigation on the left-hand side.
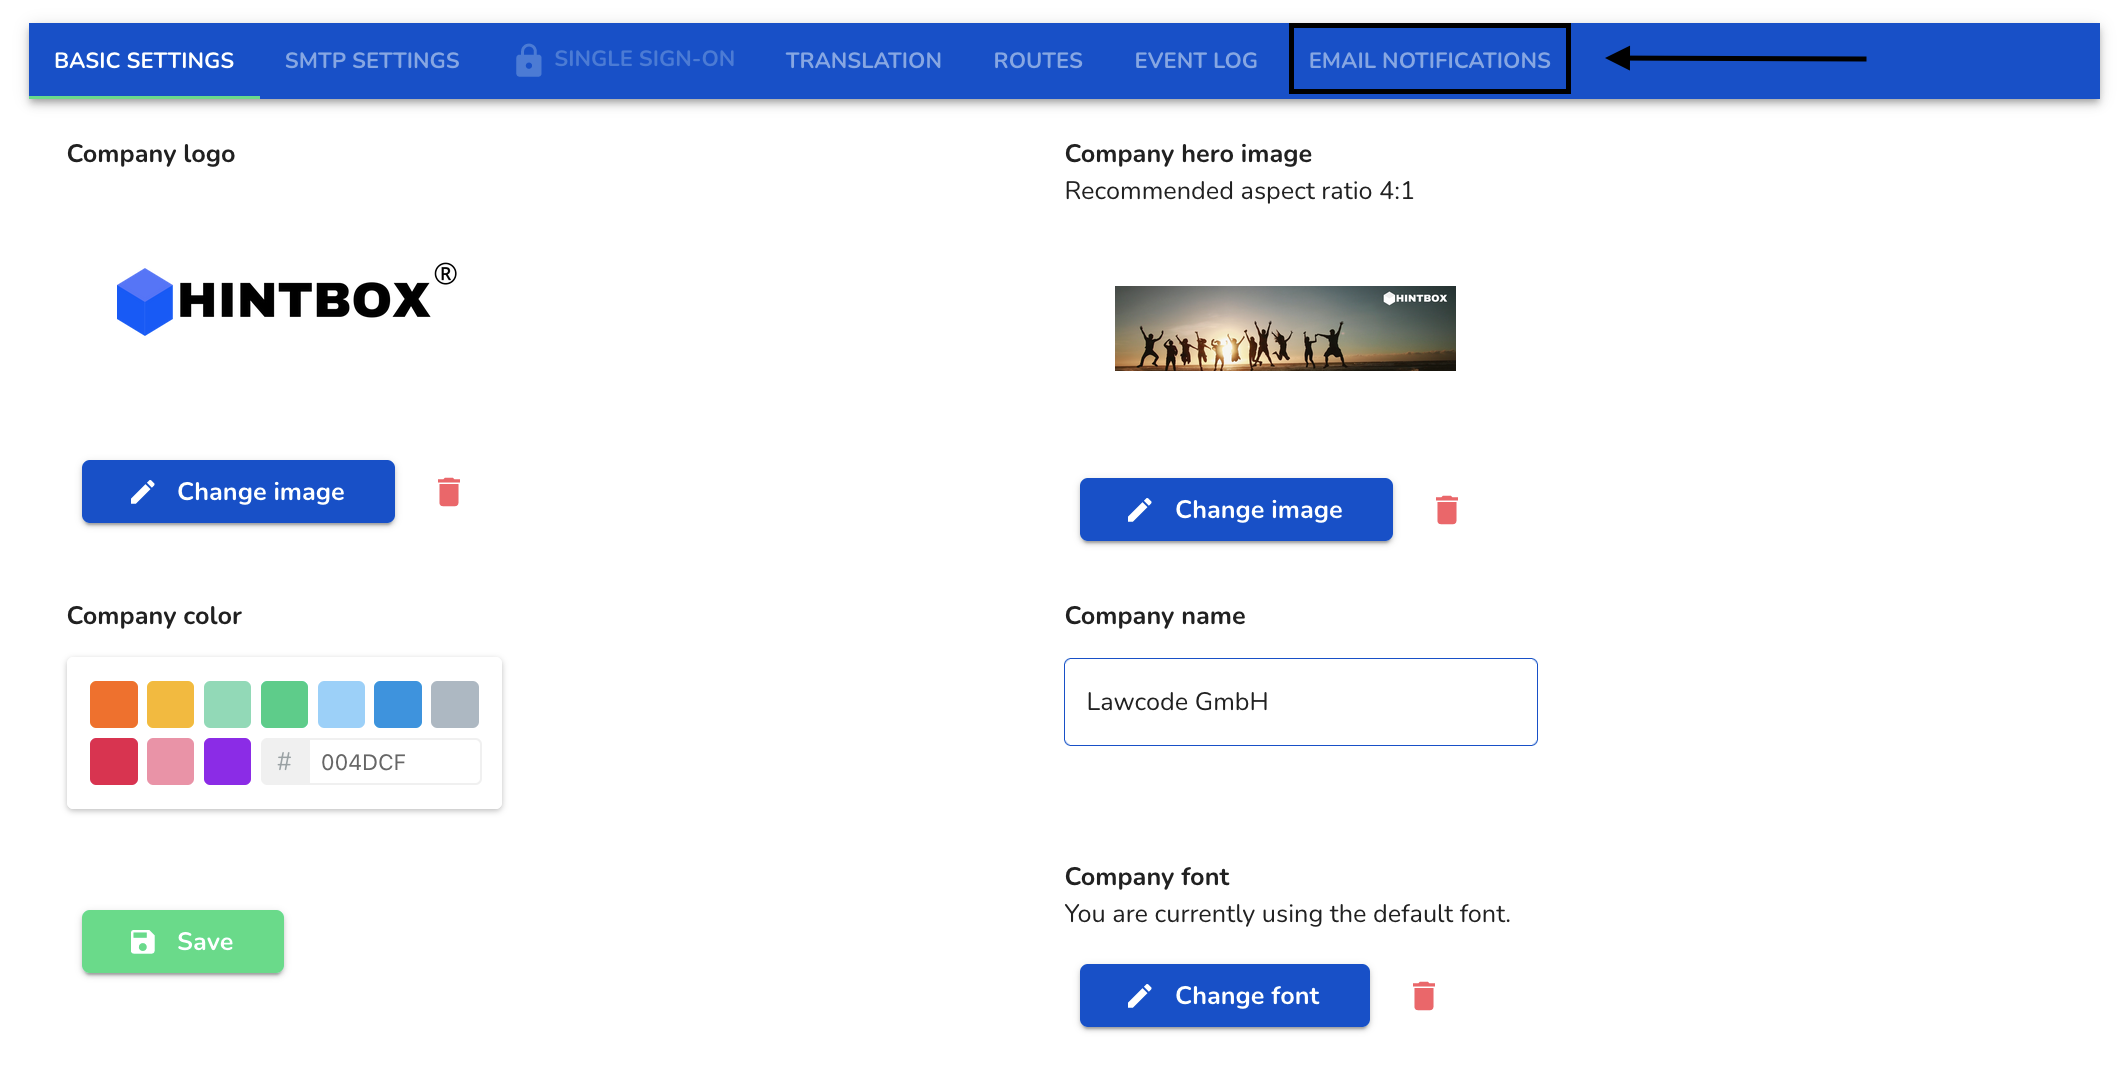
From the basic settings, click on Email notification.
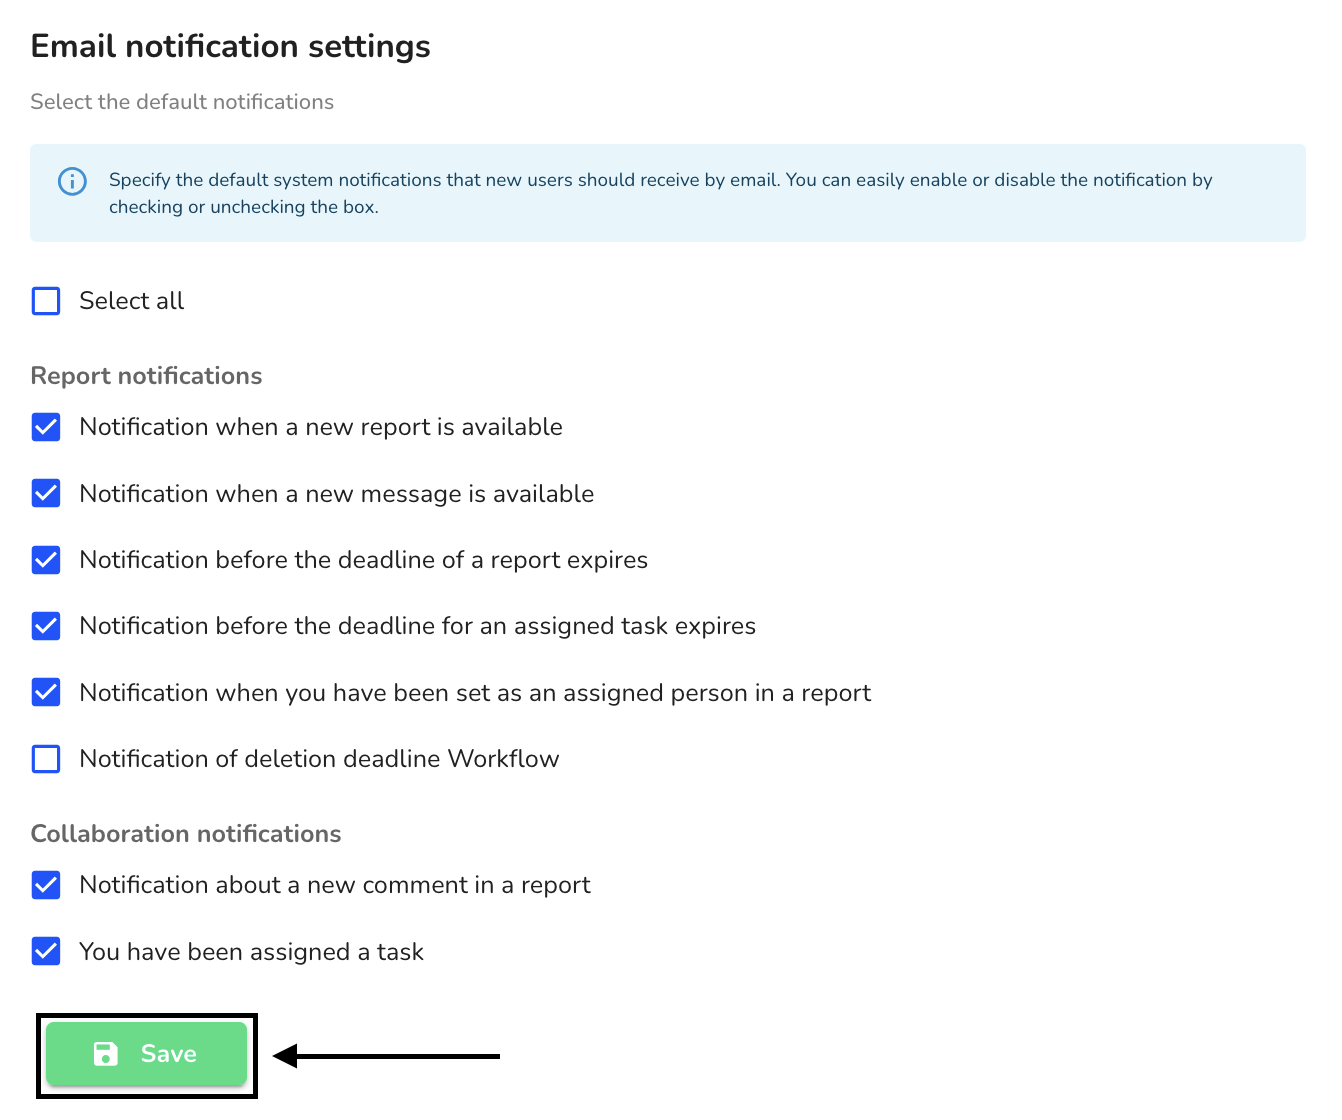
On this page you can configure which standard notifications you want to receive.
Specify the default system notifications that new users should receive by Email.
You can easily enable or disable the notification by checking or unchecking the box. Save the selection.
Create team e-mail addresses
Click System > General in the navigation on the left-hand side.
From the basic settings, click on Email notification.
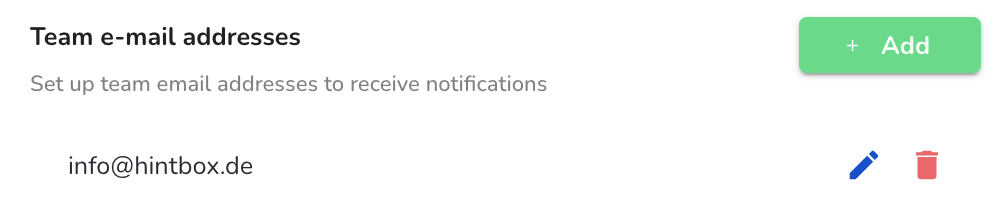
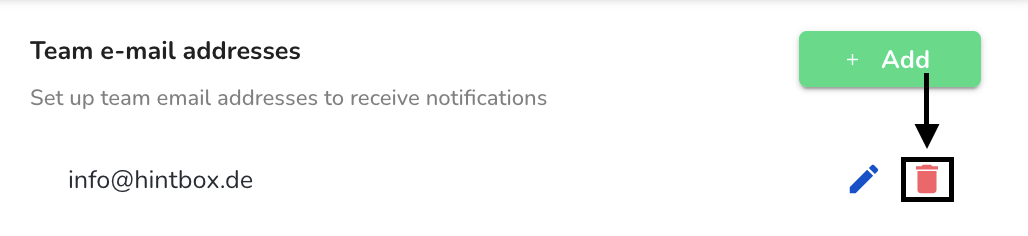
On this page you can set up team e-mail addresses to receive notifications.
Click on Add.

Configure the desired team email and select the team email access rights for divisions, subsidiaries and matters.
Click on Continue.

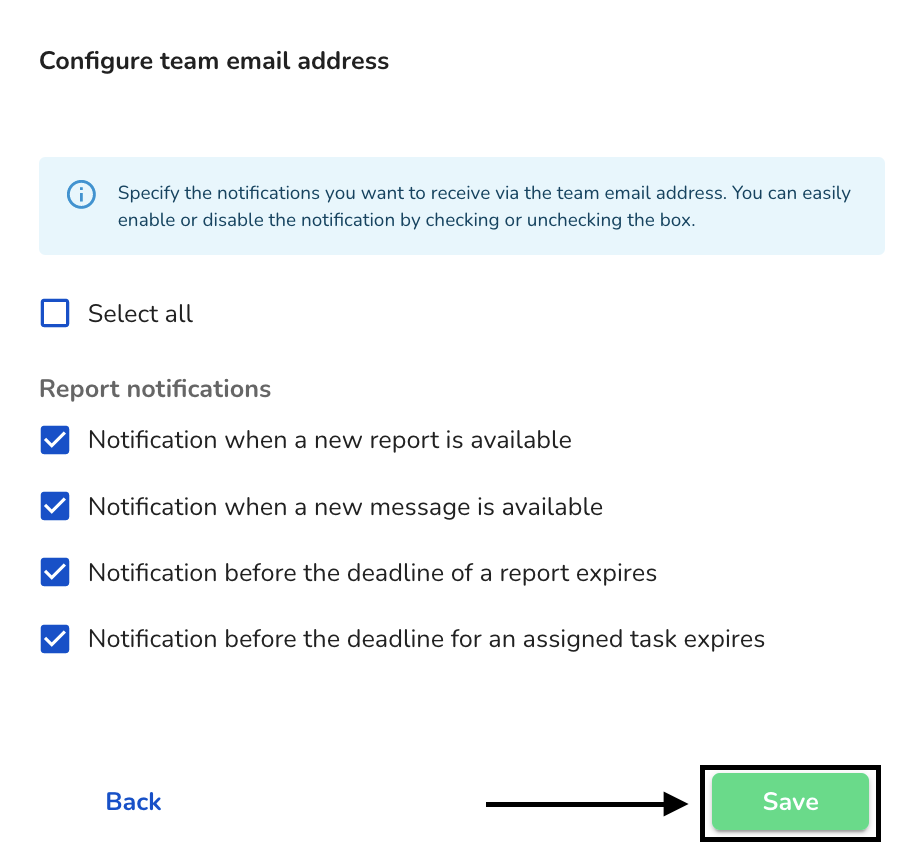
Specify the notifications you want to receive via the team email address. You can easily enable or disable the notification by checking or unchecking the box.
To confirm your selection, click on Save.
The team email address is now created. All activated email notifications are also sent to the team email address.
Edit team e-mail addresses
Click System > General in the navigation on the left-hand side.
From the basic settings, click on Email notification.
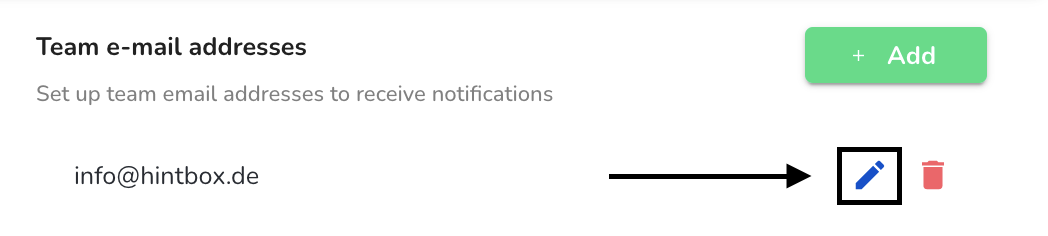
On this page you can edit the configured team e-mail addresses.
Click on the editing pencil.
Edit the desired team email and change the access rights of the team email for divisions, subsidiaries and matters.
Click on Continue.
Edit the notifications you would like to receive via the team's e-mail address. You can easily activate or deactivate the notification by checking or unchecking the box.
To confirm your selection, click on Save.
Your team e-mail address has been edited.
Delete team e-mail addresses
Click System > General in the navigation on the left-hand side.
From the basic settings, click on Email notification.
On this page you can delete the configured team e-mail addresses.
Click on the waste garbage can.
To permanently delete the team e-mail address, click on Delete.
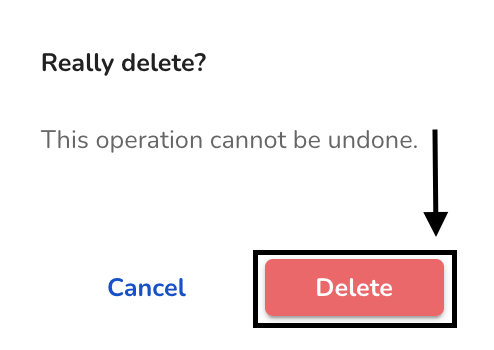
The desired team e-mail address has now been deleted.
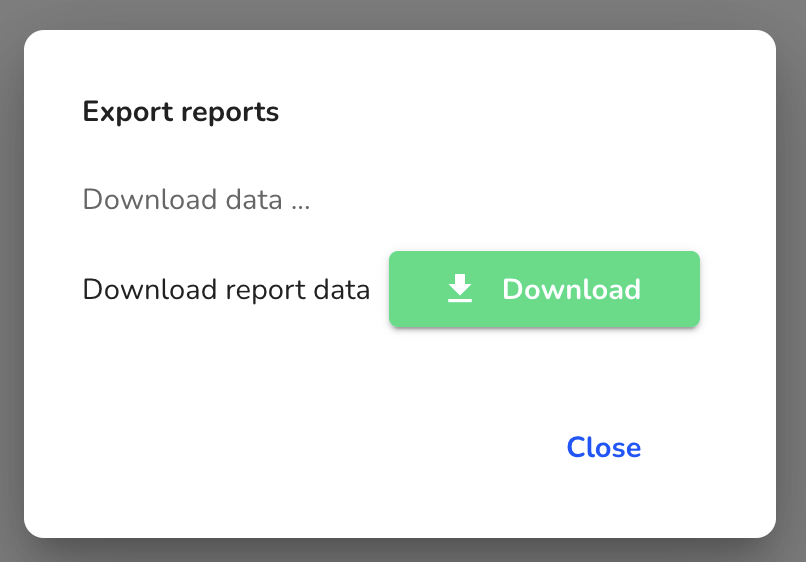
Export of all reports
This menu item can be used to export all reports as a JSON file. In addition, the files of all reports can be exported as a ZIP file.
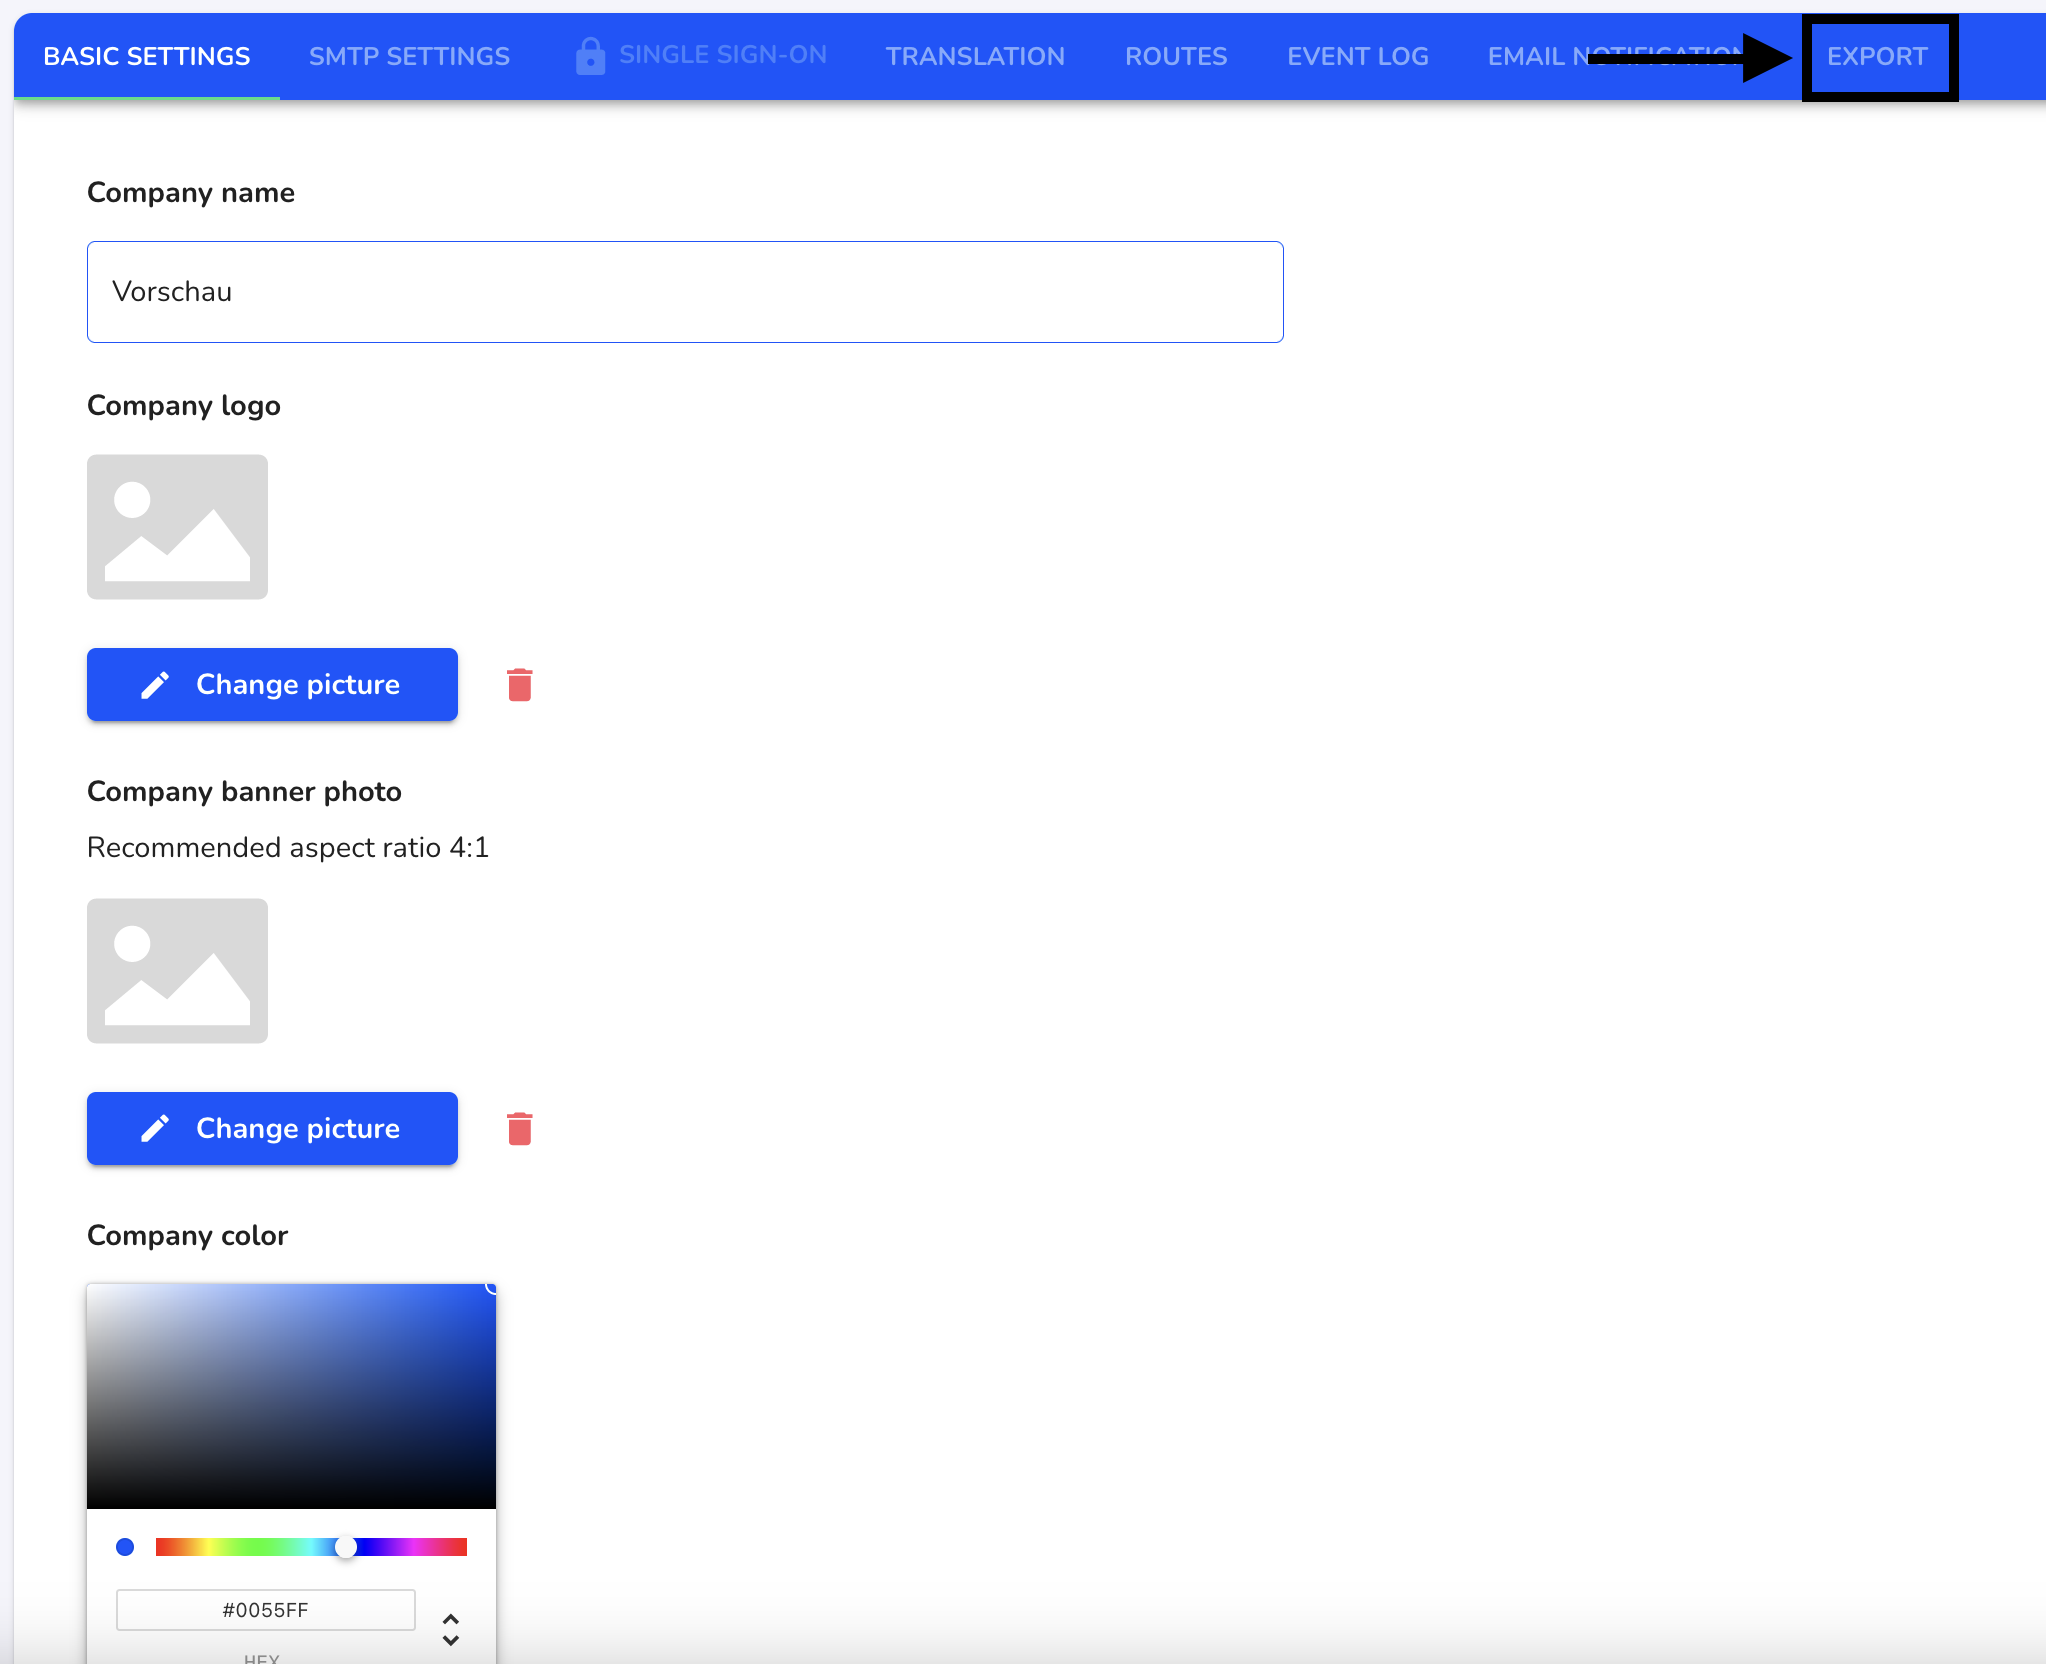
Navigate to System and General.
Navigate to the export menu.
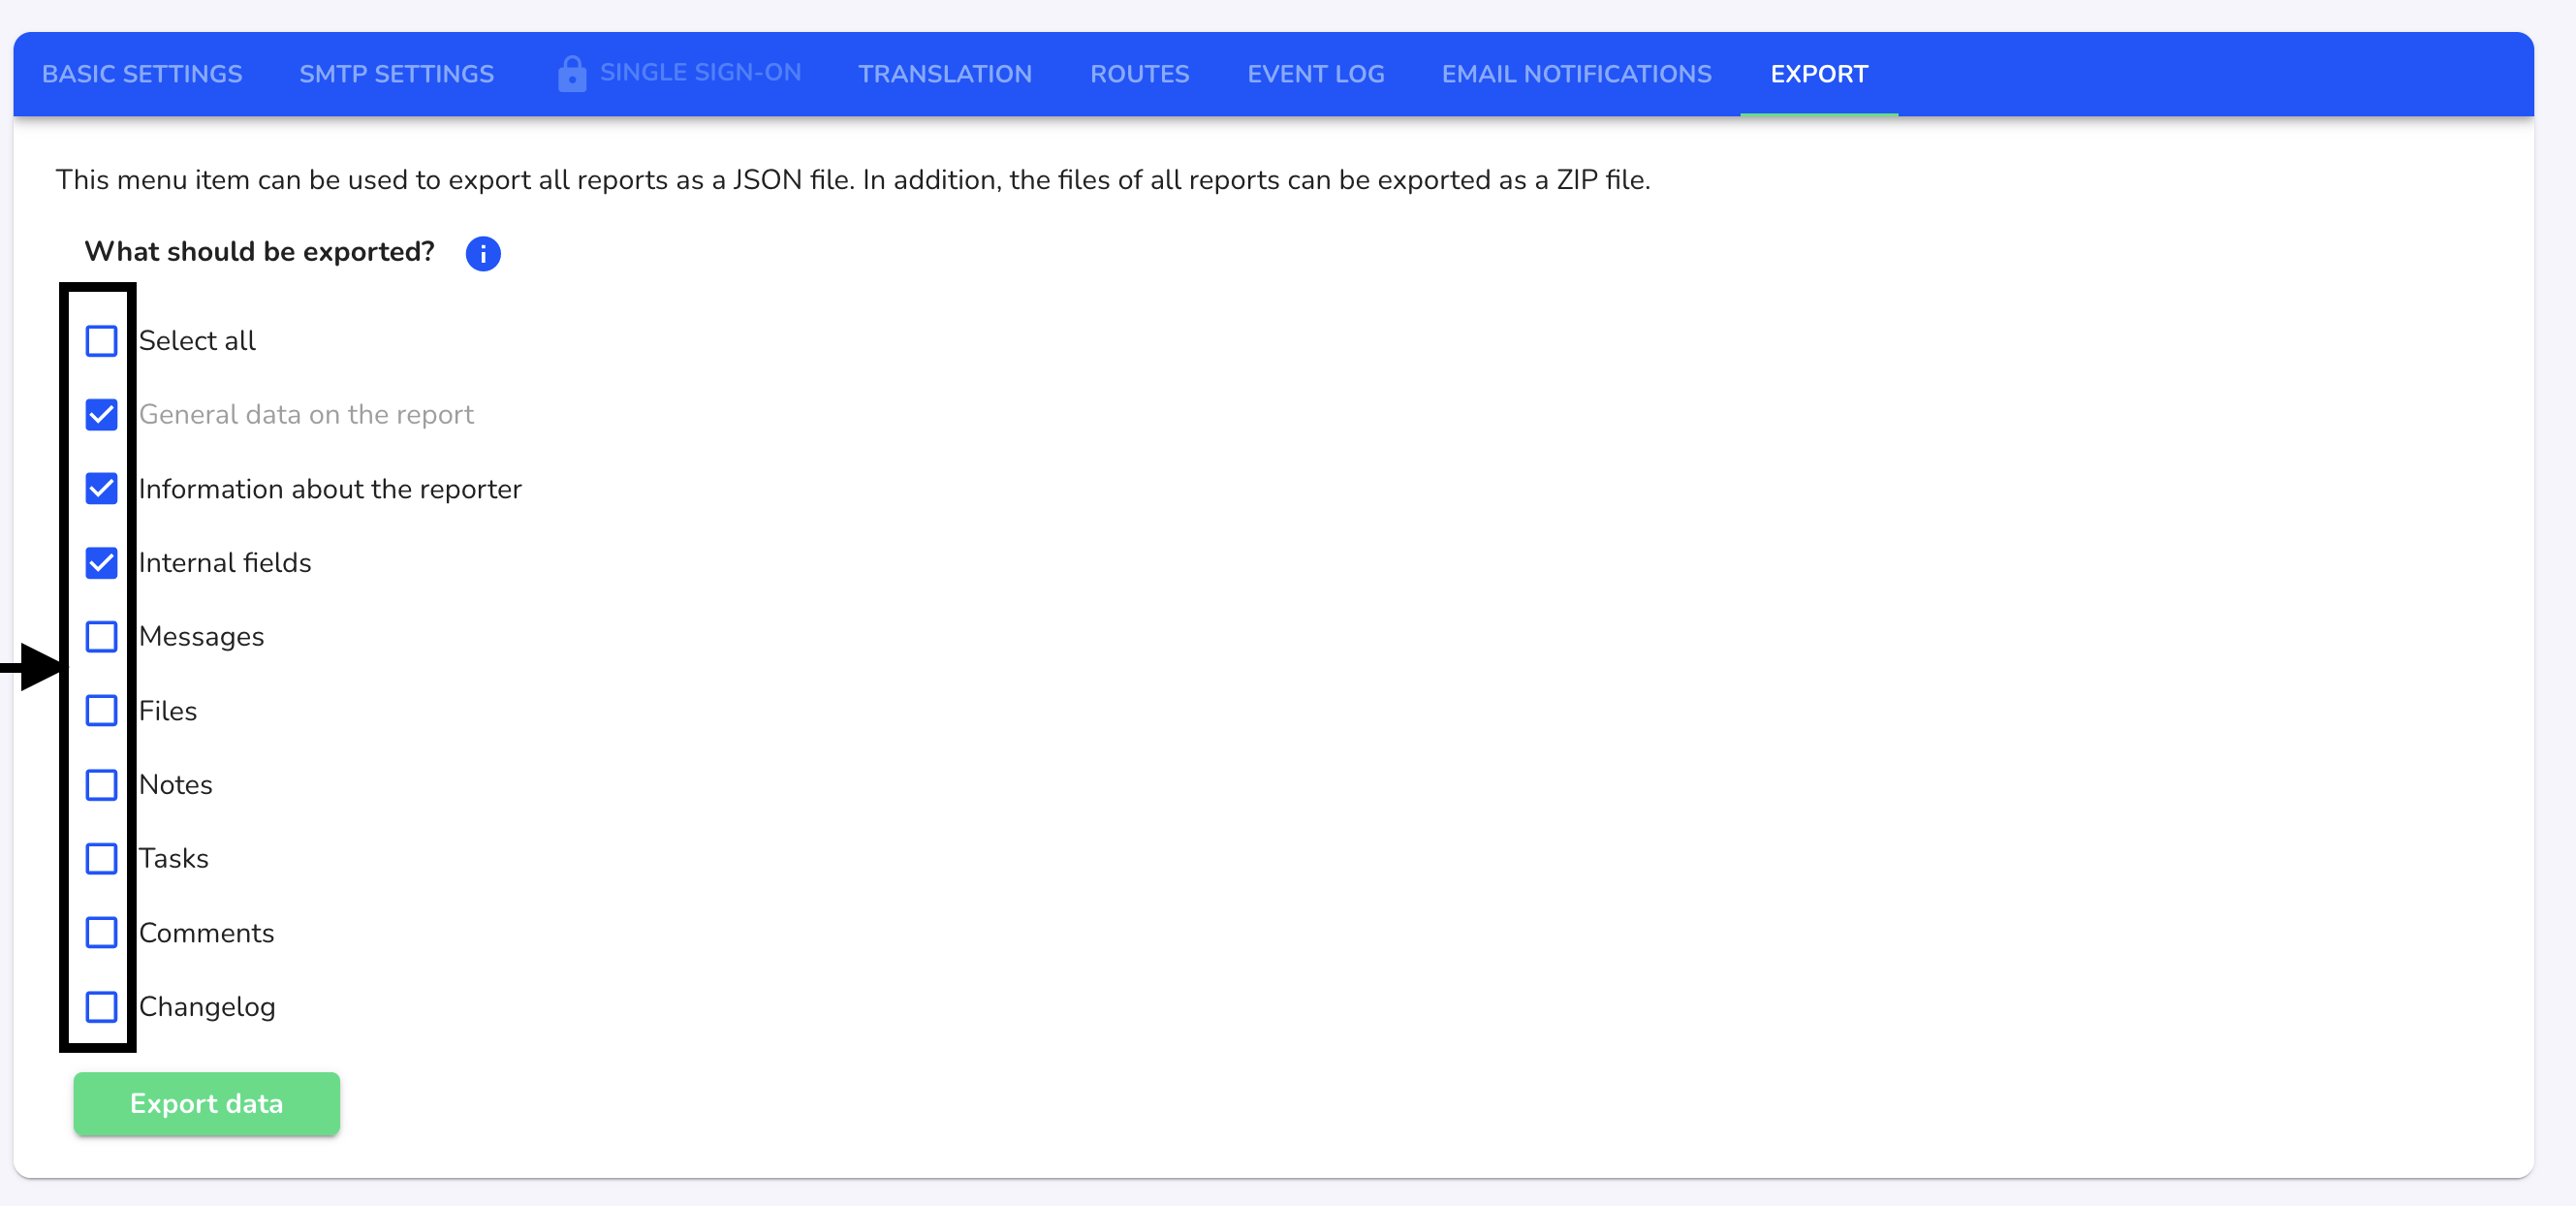
In the overview, you can select what is to be exported. The general data for the report is always exported. Select the corresponding checkboxes that you want to export.
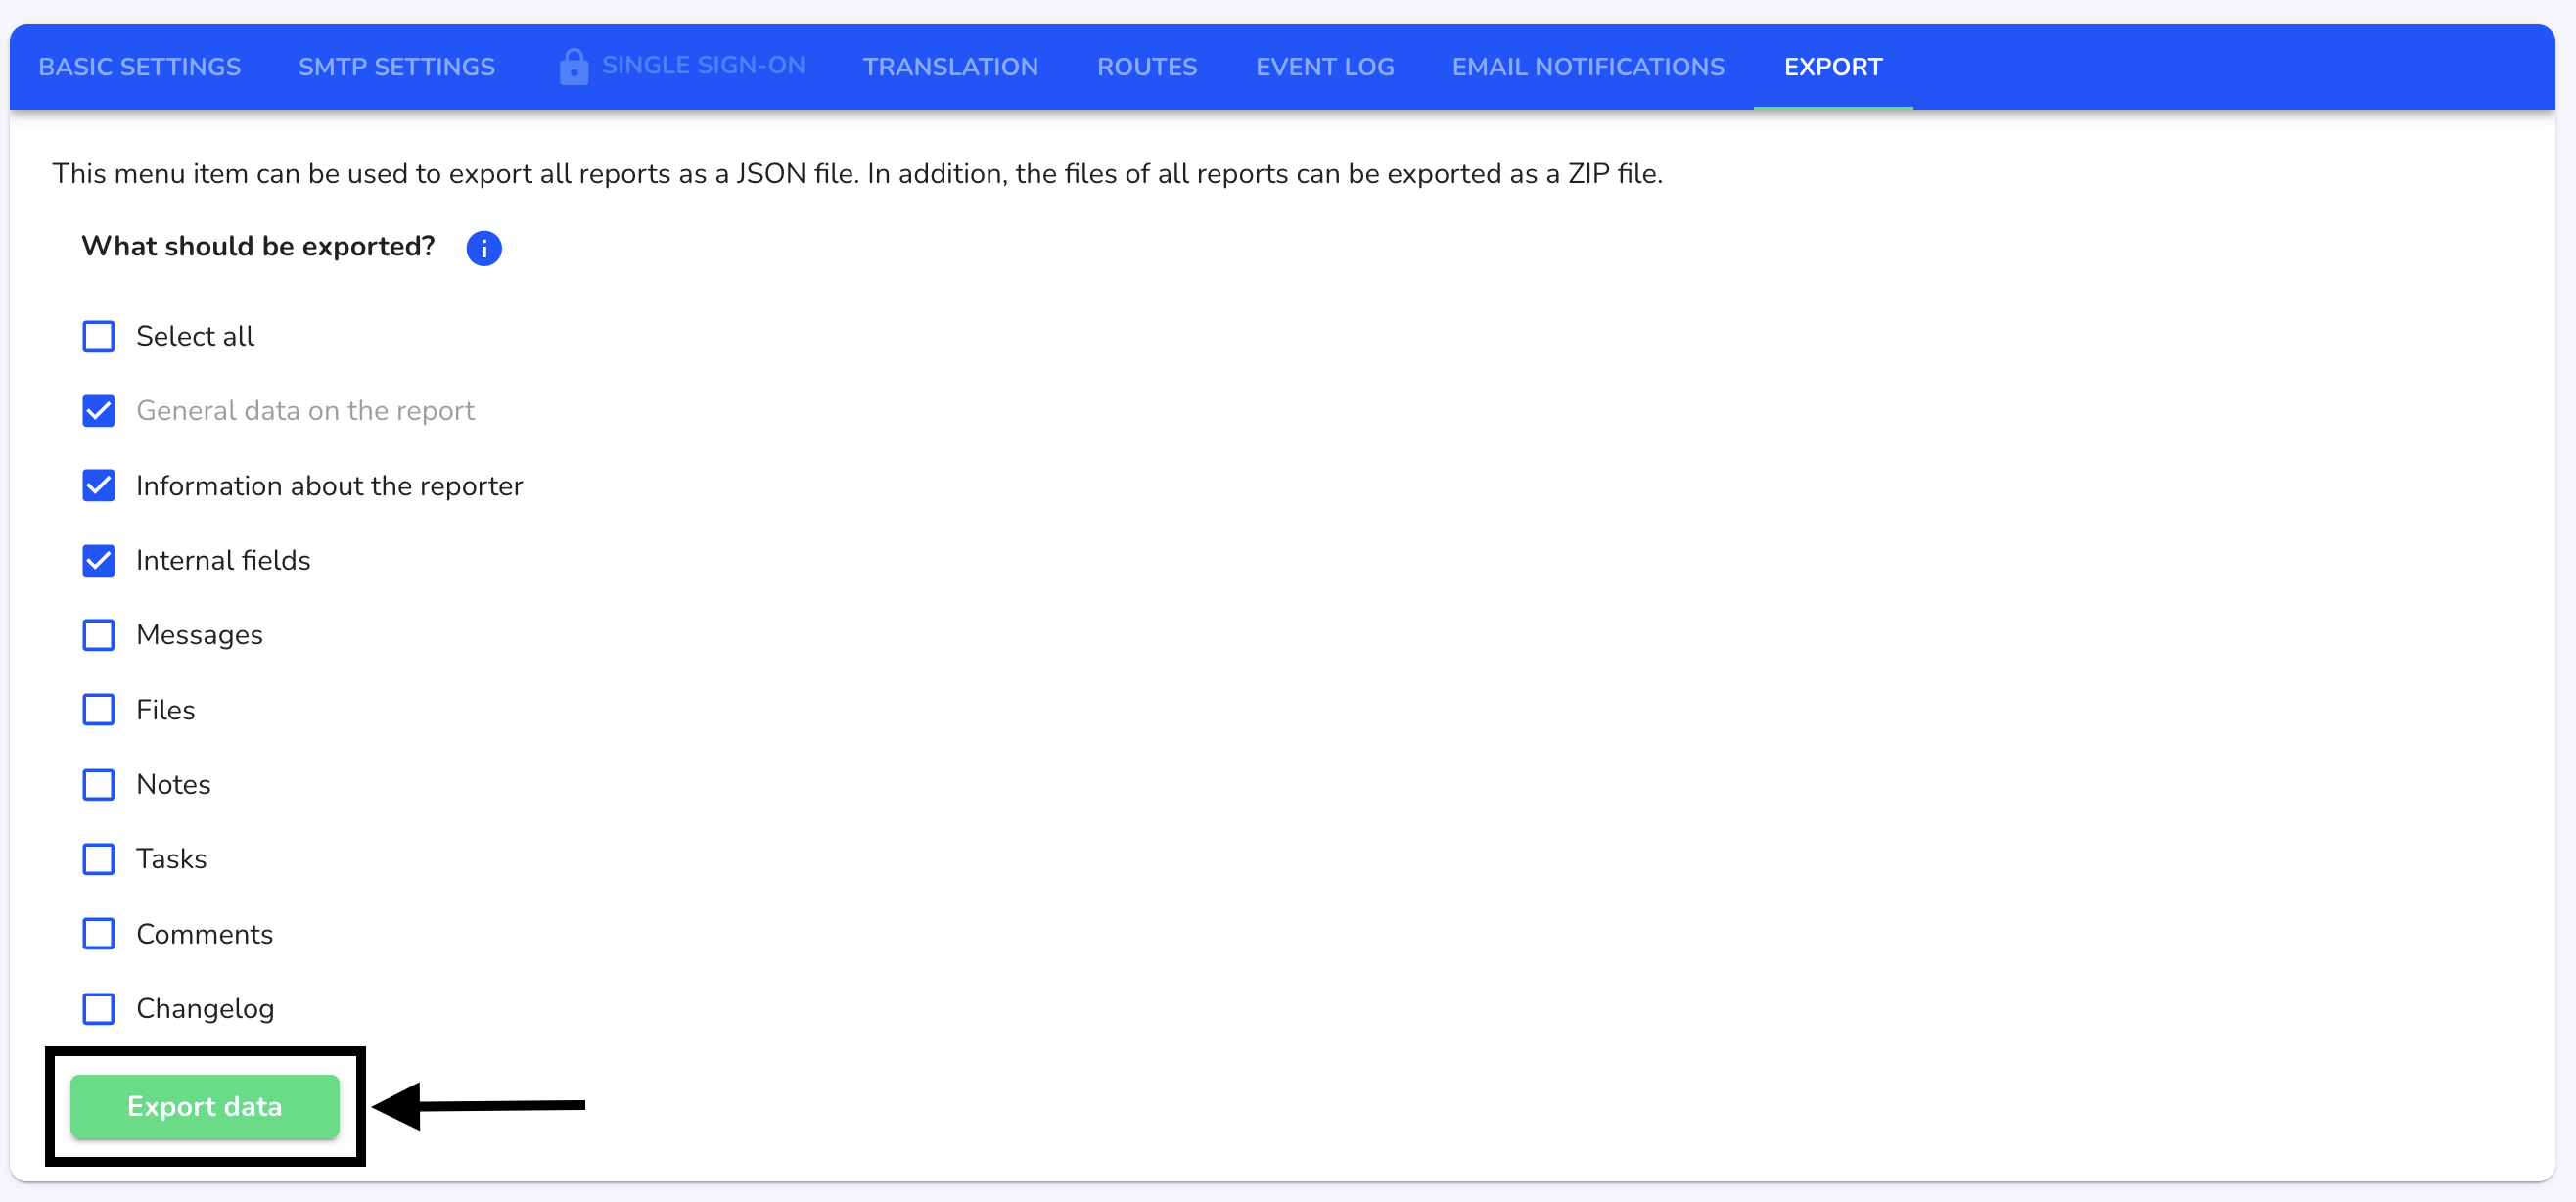
Click on Export data.
Wait until the data has been provided.
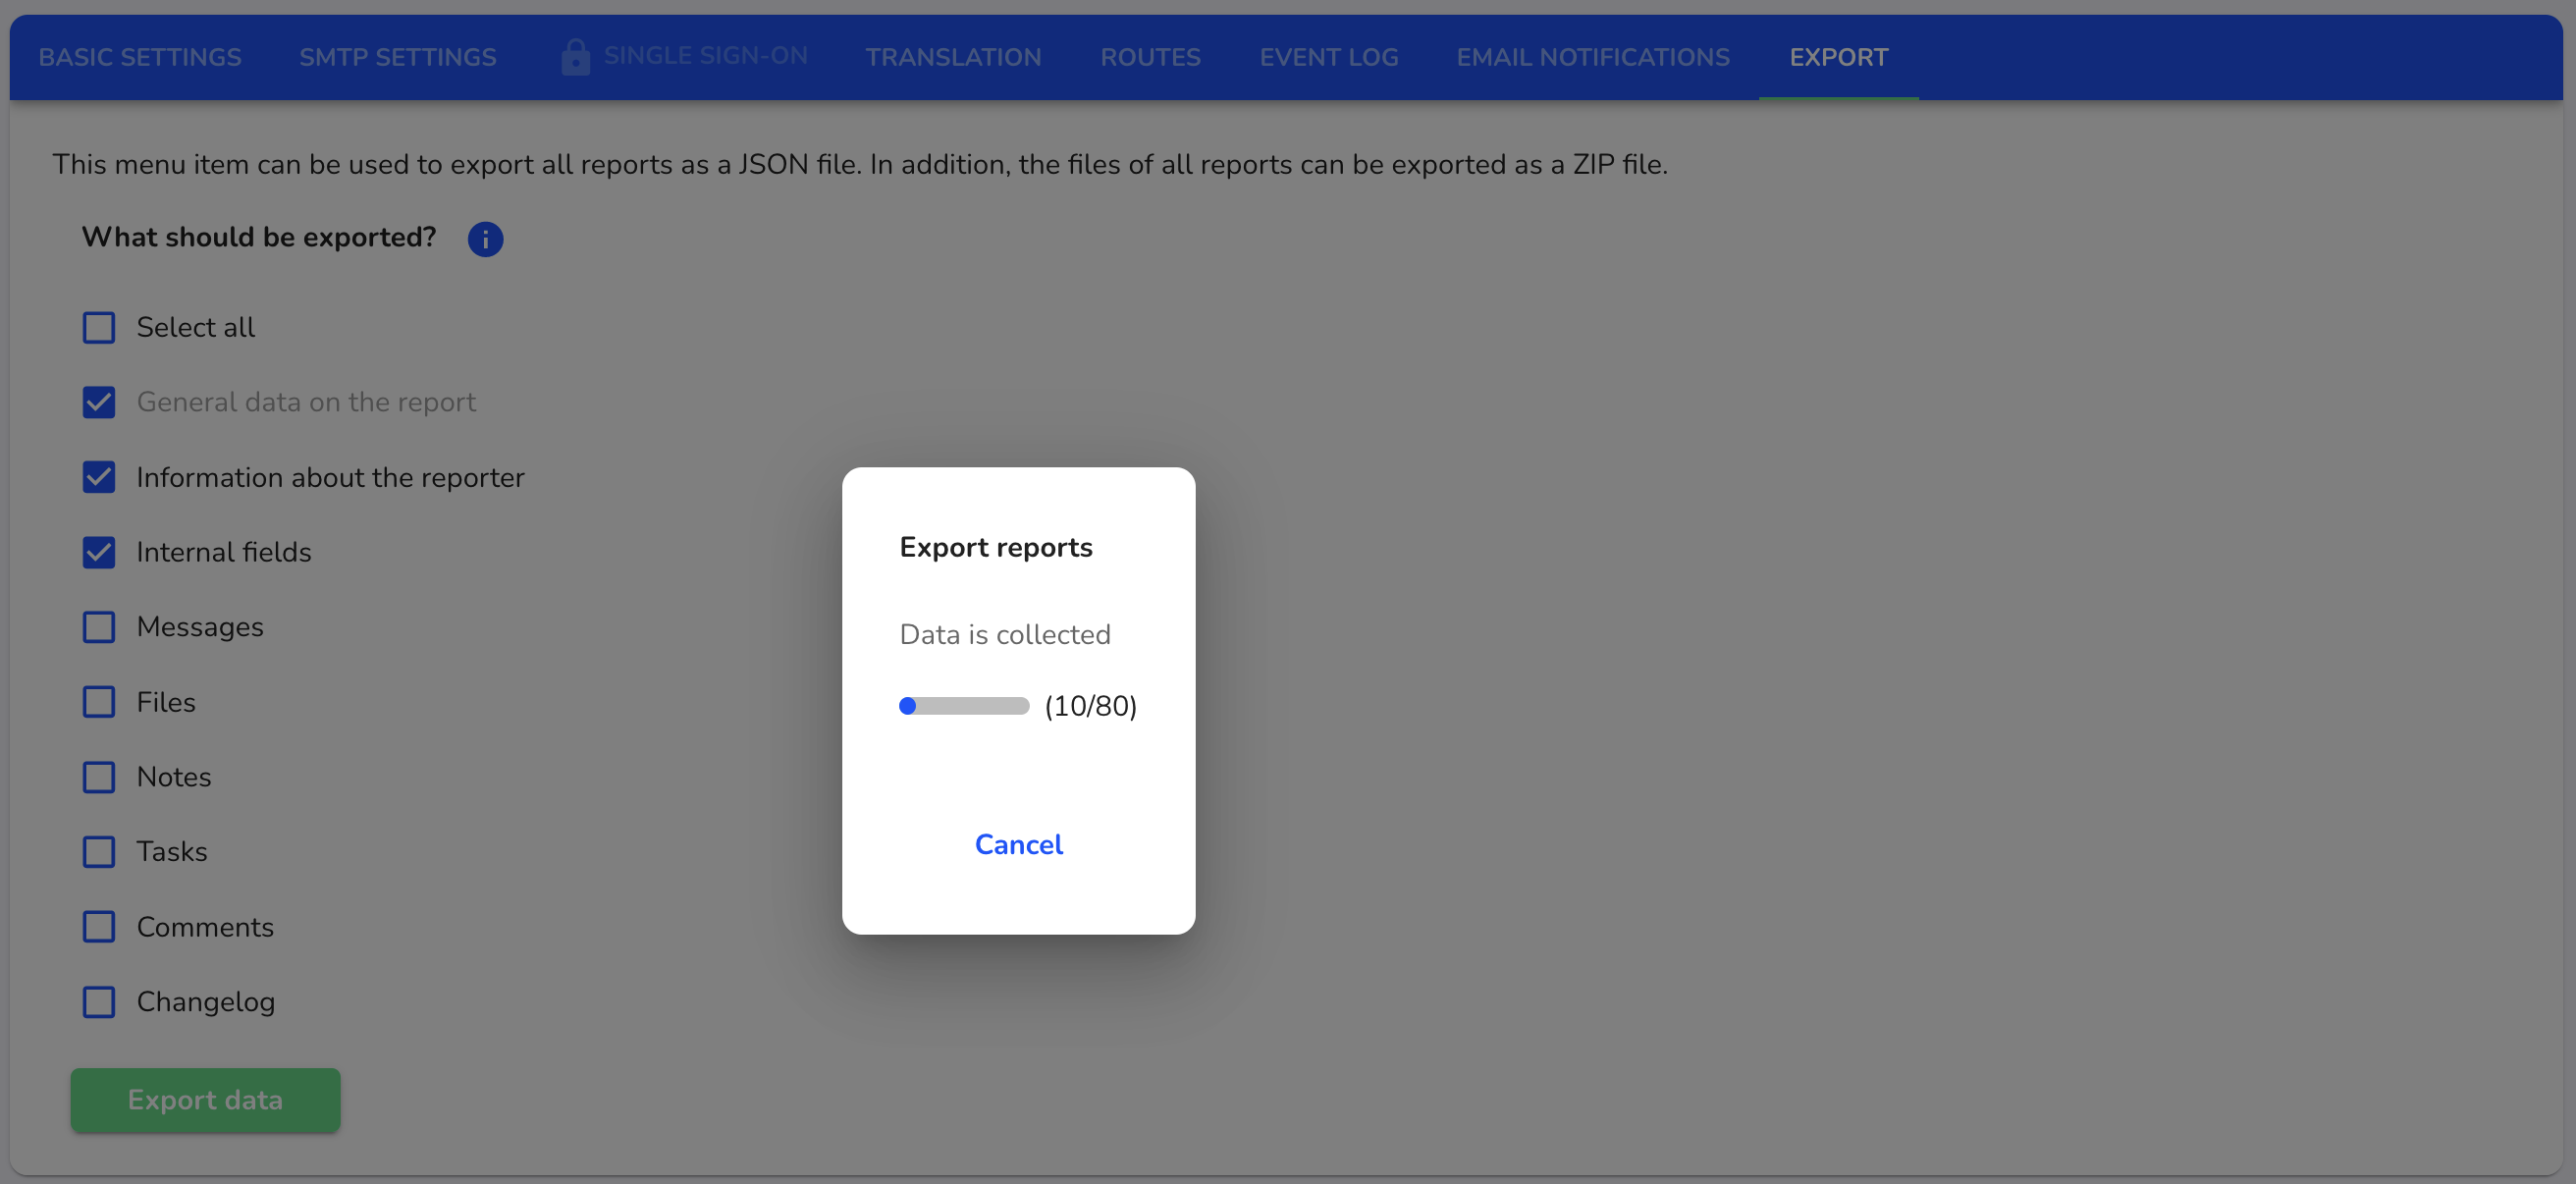
Select whether you want to download the reports as a zip file or as a JSON file. And click on the corresponding button.