Introduction
On this page we will explain how to set up your Hintbox step by step. This guide is a personal onboarding guide to repeat all settings of the Hintbox.
To use your system as a complete digital whistleblowing system, we advise you to consider and adjust the following settings.
Click here for the topic Initial login and recovery key.
Click here for the topic Subsidiary management.
Click here for the topic User management.
Click here for the topic General system settings.
Click here for the topic Legal texts.
Click here for the topic Email texts.
Click here for the topic System restore.
Initial login and recovery key
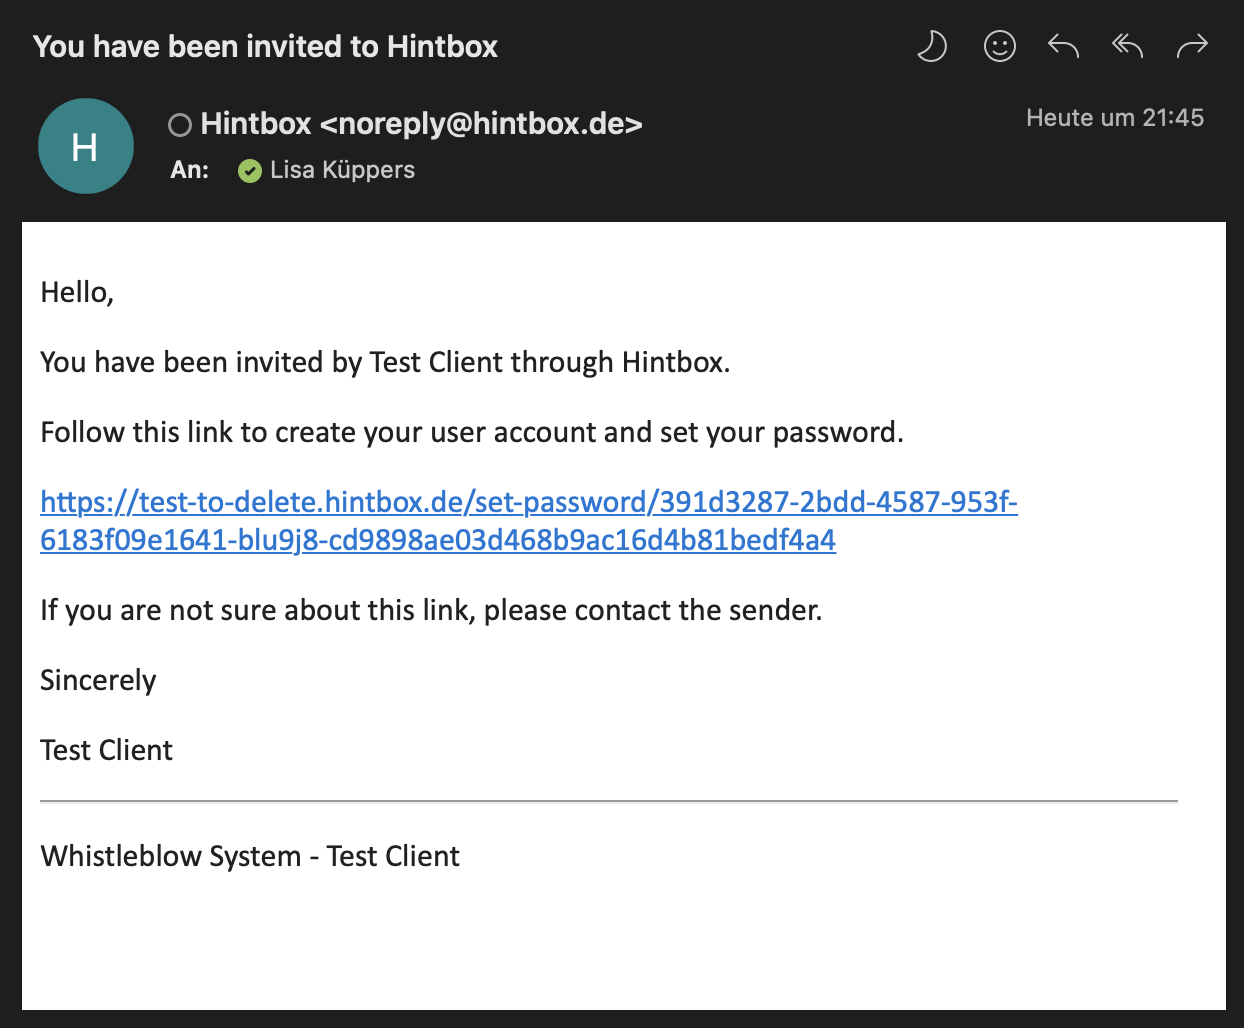
First, you should have received an invitation email.
Click on the link to create your user account and set your password.
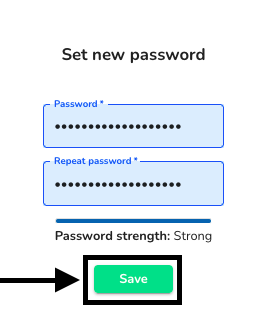
Assign yourself a password and click on Save.
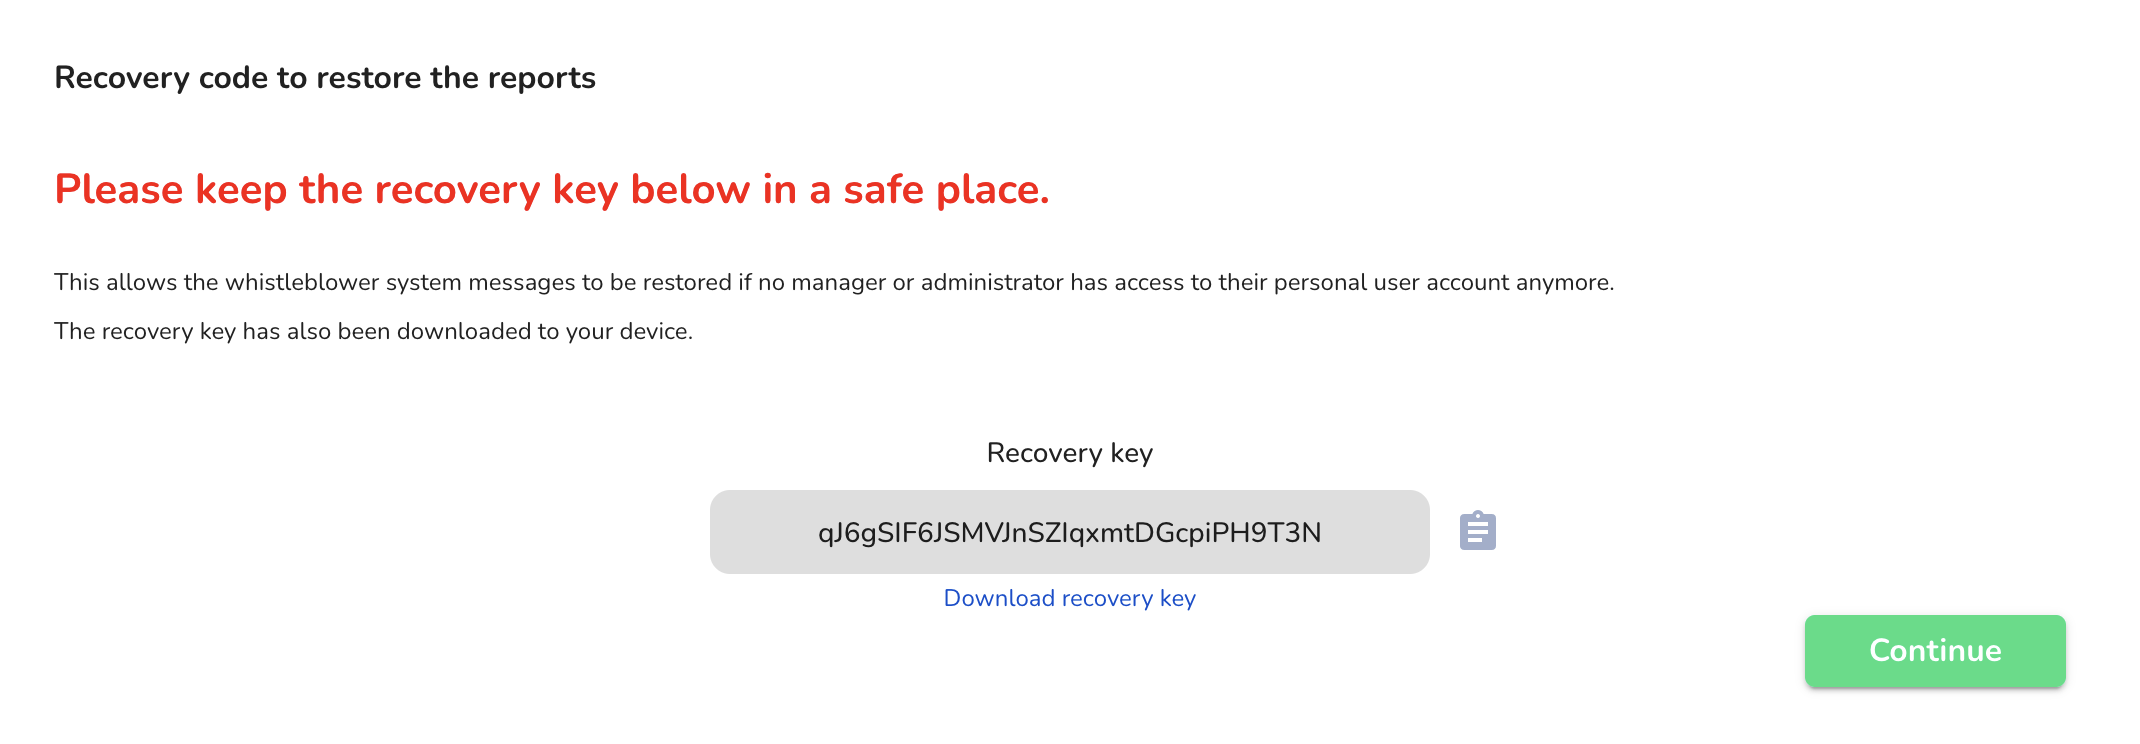
A recovery code for restoring the reports is generated automatically. Please download this and keep the recovery key below in a safe place.
Copy the recovery code and click Next.
Paste the recovery code into the empty field. This will be confirmed automatically.
Click on Continue.

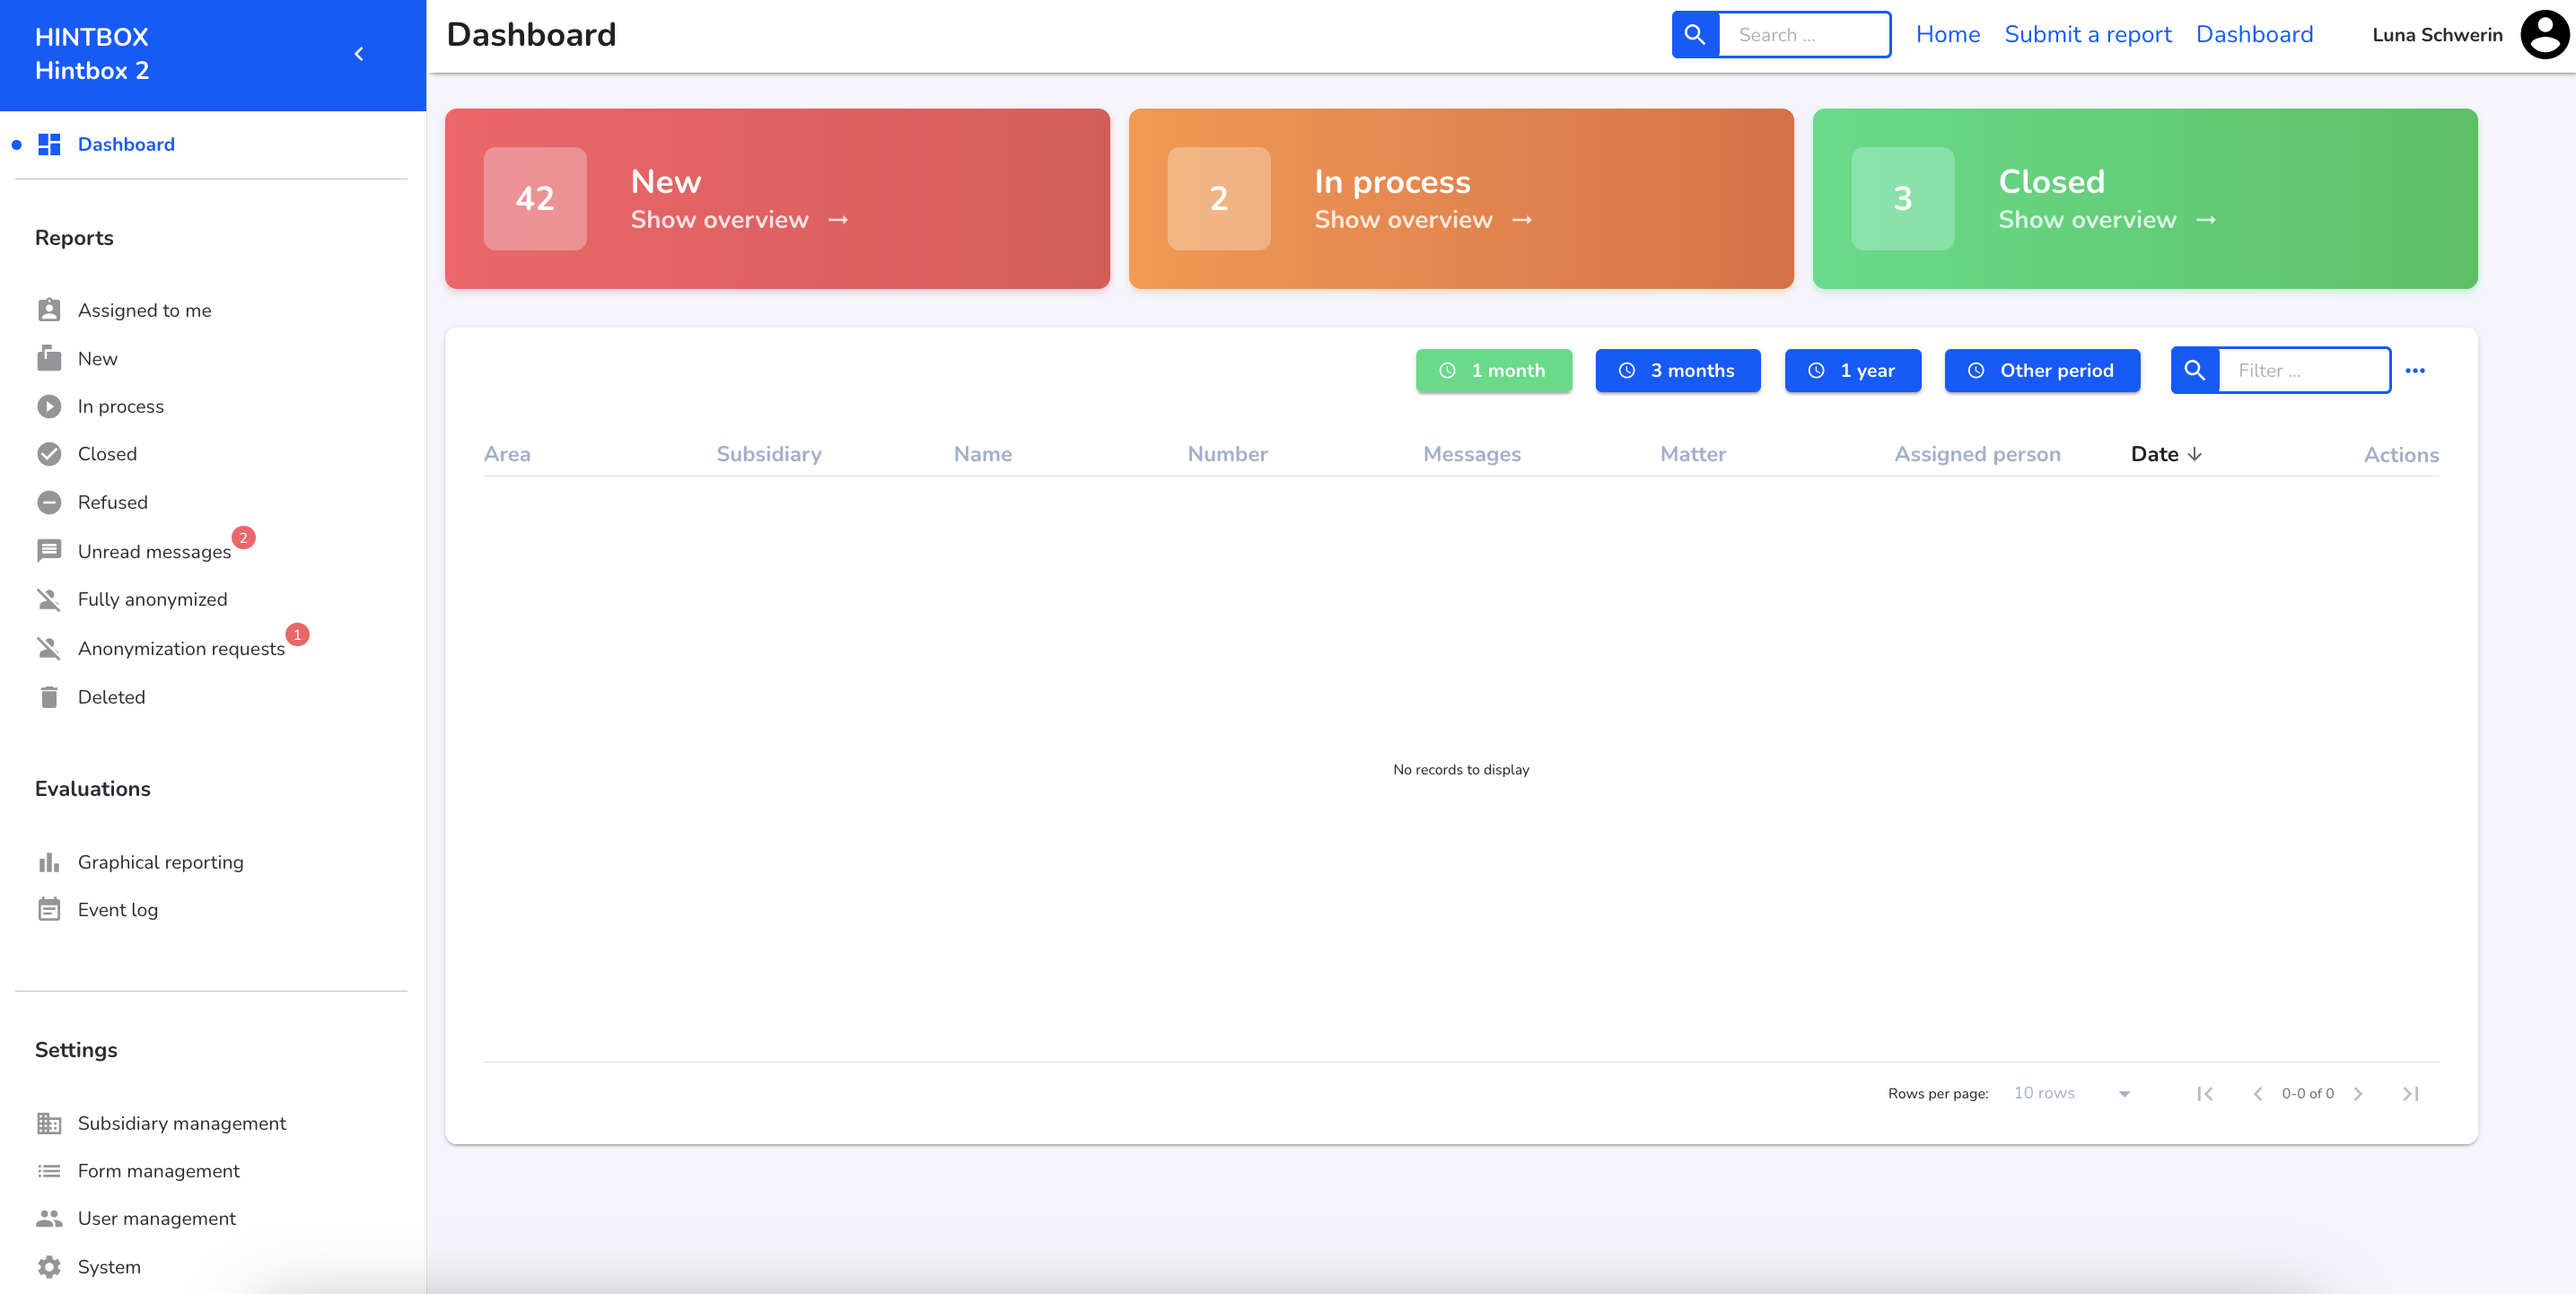
You are now on the dashboard. You can find more information about initial login and recovery key here.
Subsidiary management
In the Subsidiary management area, new clients can be created and existing clients can be edited or deleted.
Click on Subsidiary management.
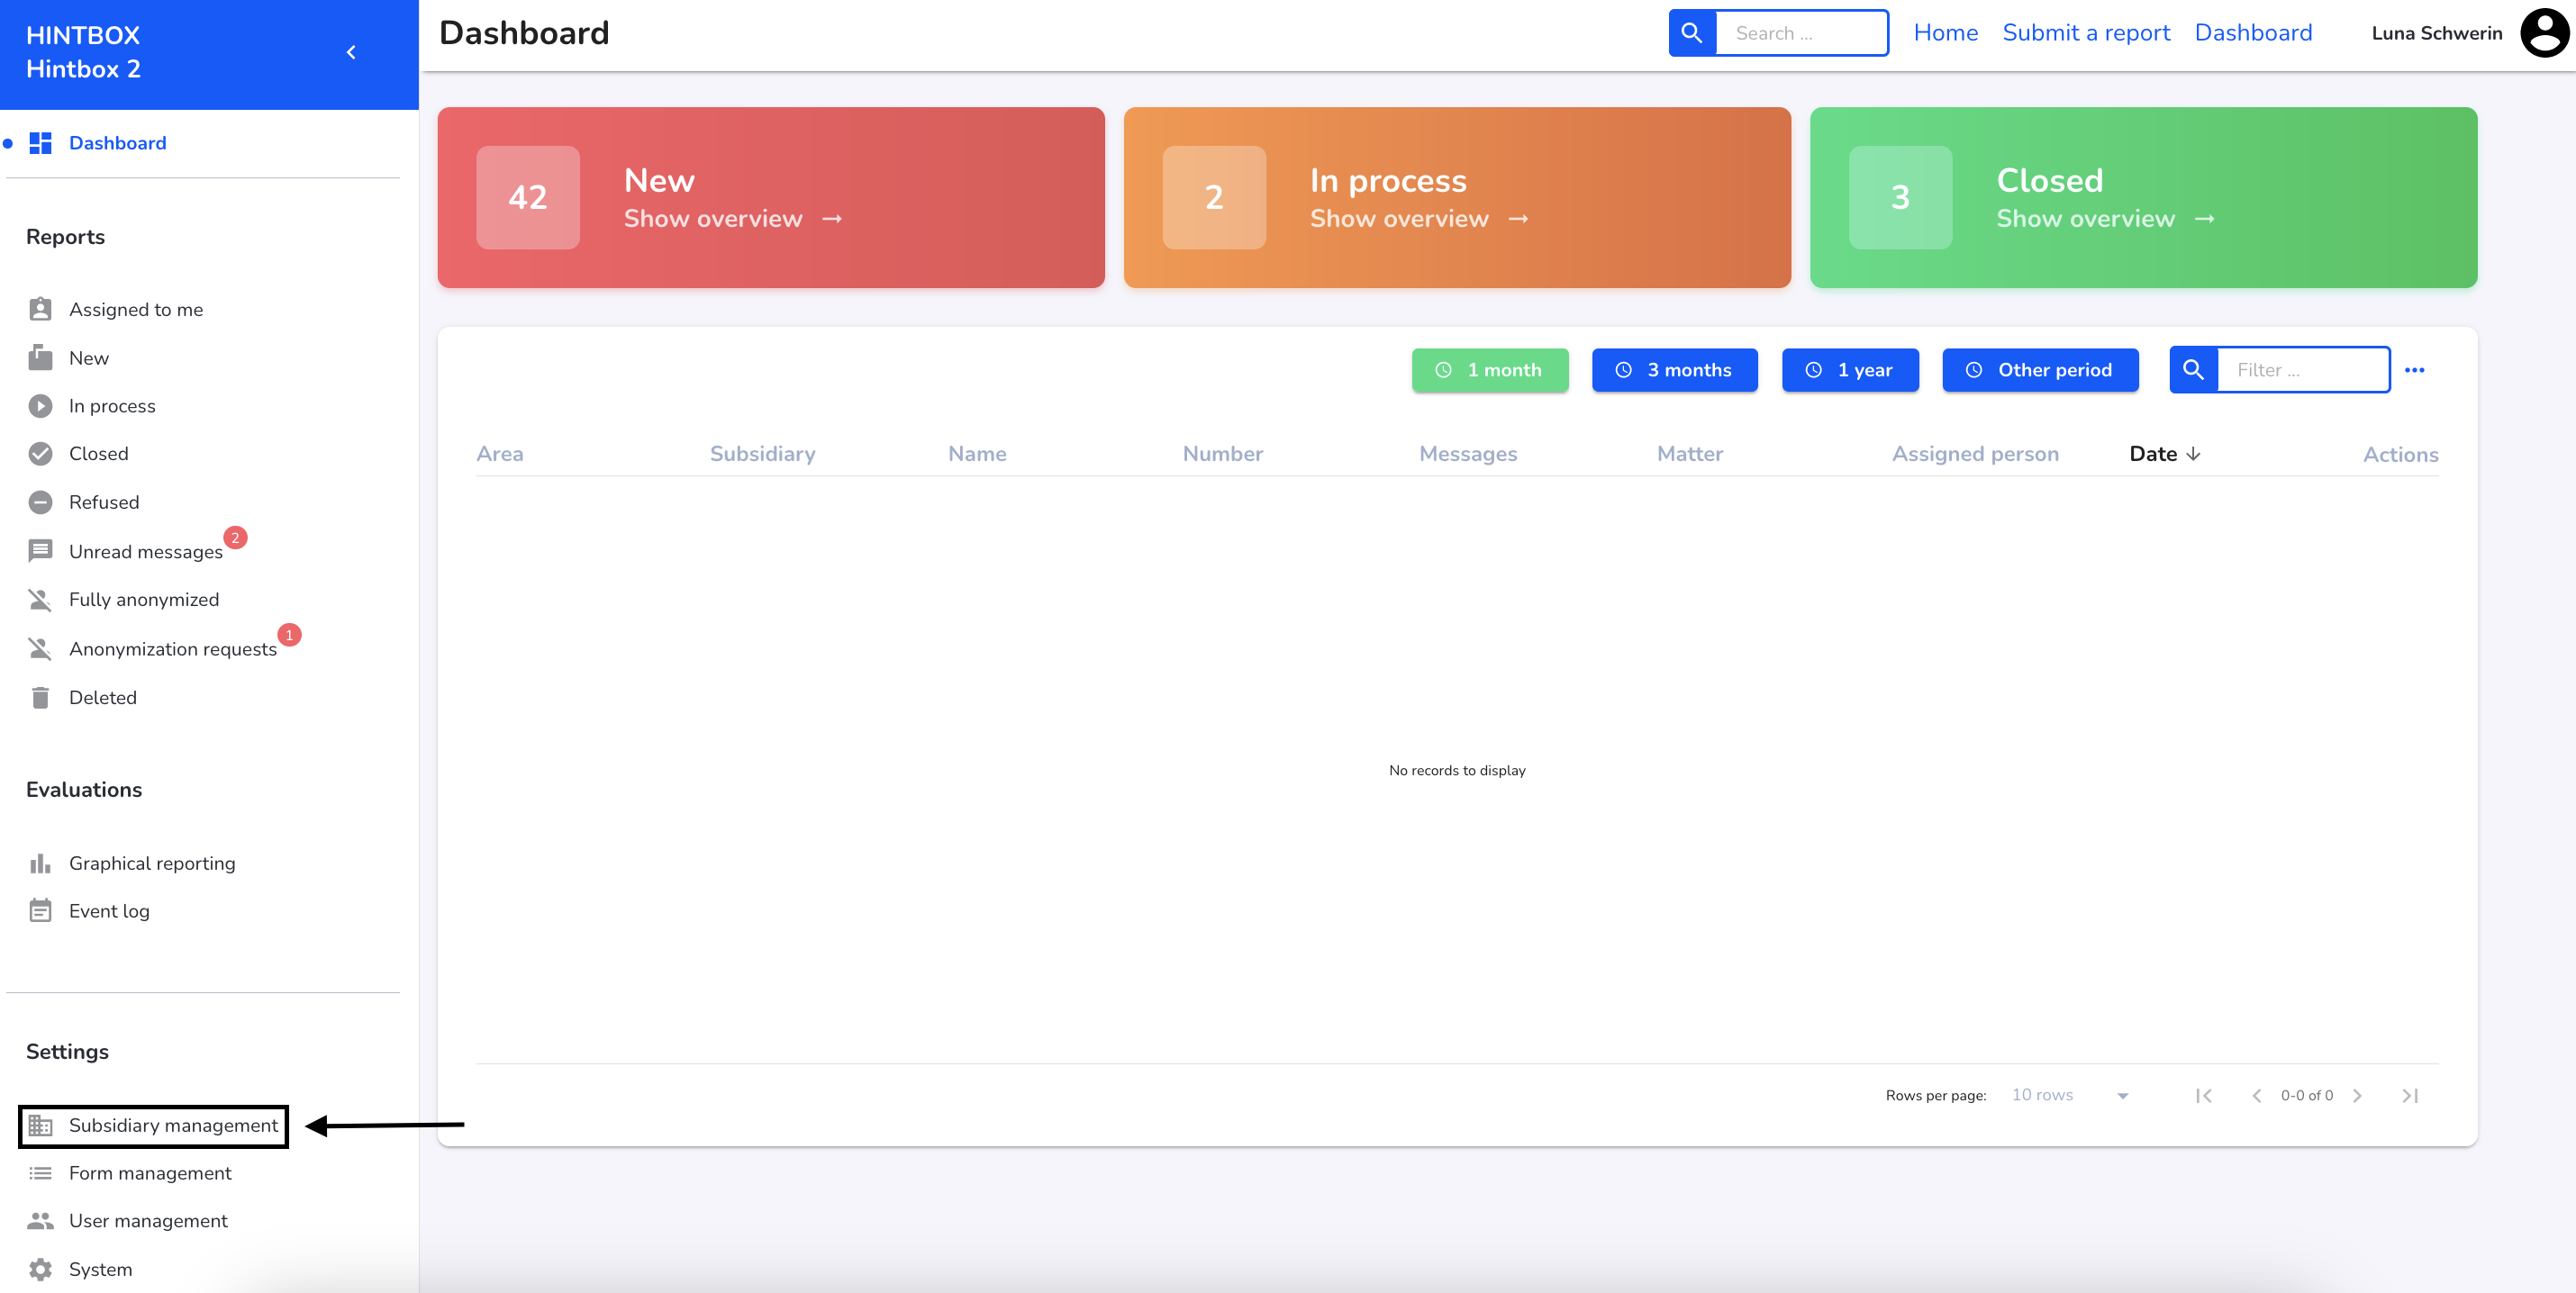
Your number of available clients is limited. To activate additional clients for a fee, please contact our team.
To go to the instructions for creating a subsidiary, click here.
To go to the instructions for editing the rights of a subsidiary, click here.
To go to the instructions for deleting a subsidiary, click here.
User management
In the user management area, new users can be created, existing users' rights can be edited, users can be deleted and users can be released.
There are 4 user types: administrators, managers, readers and whistleblowers. To learn more about the rights & roles, click here.
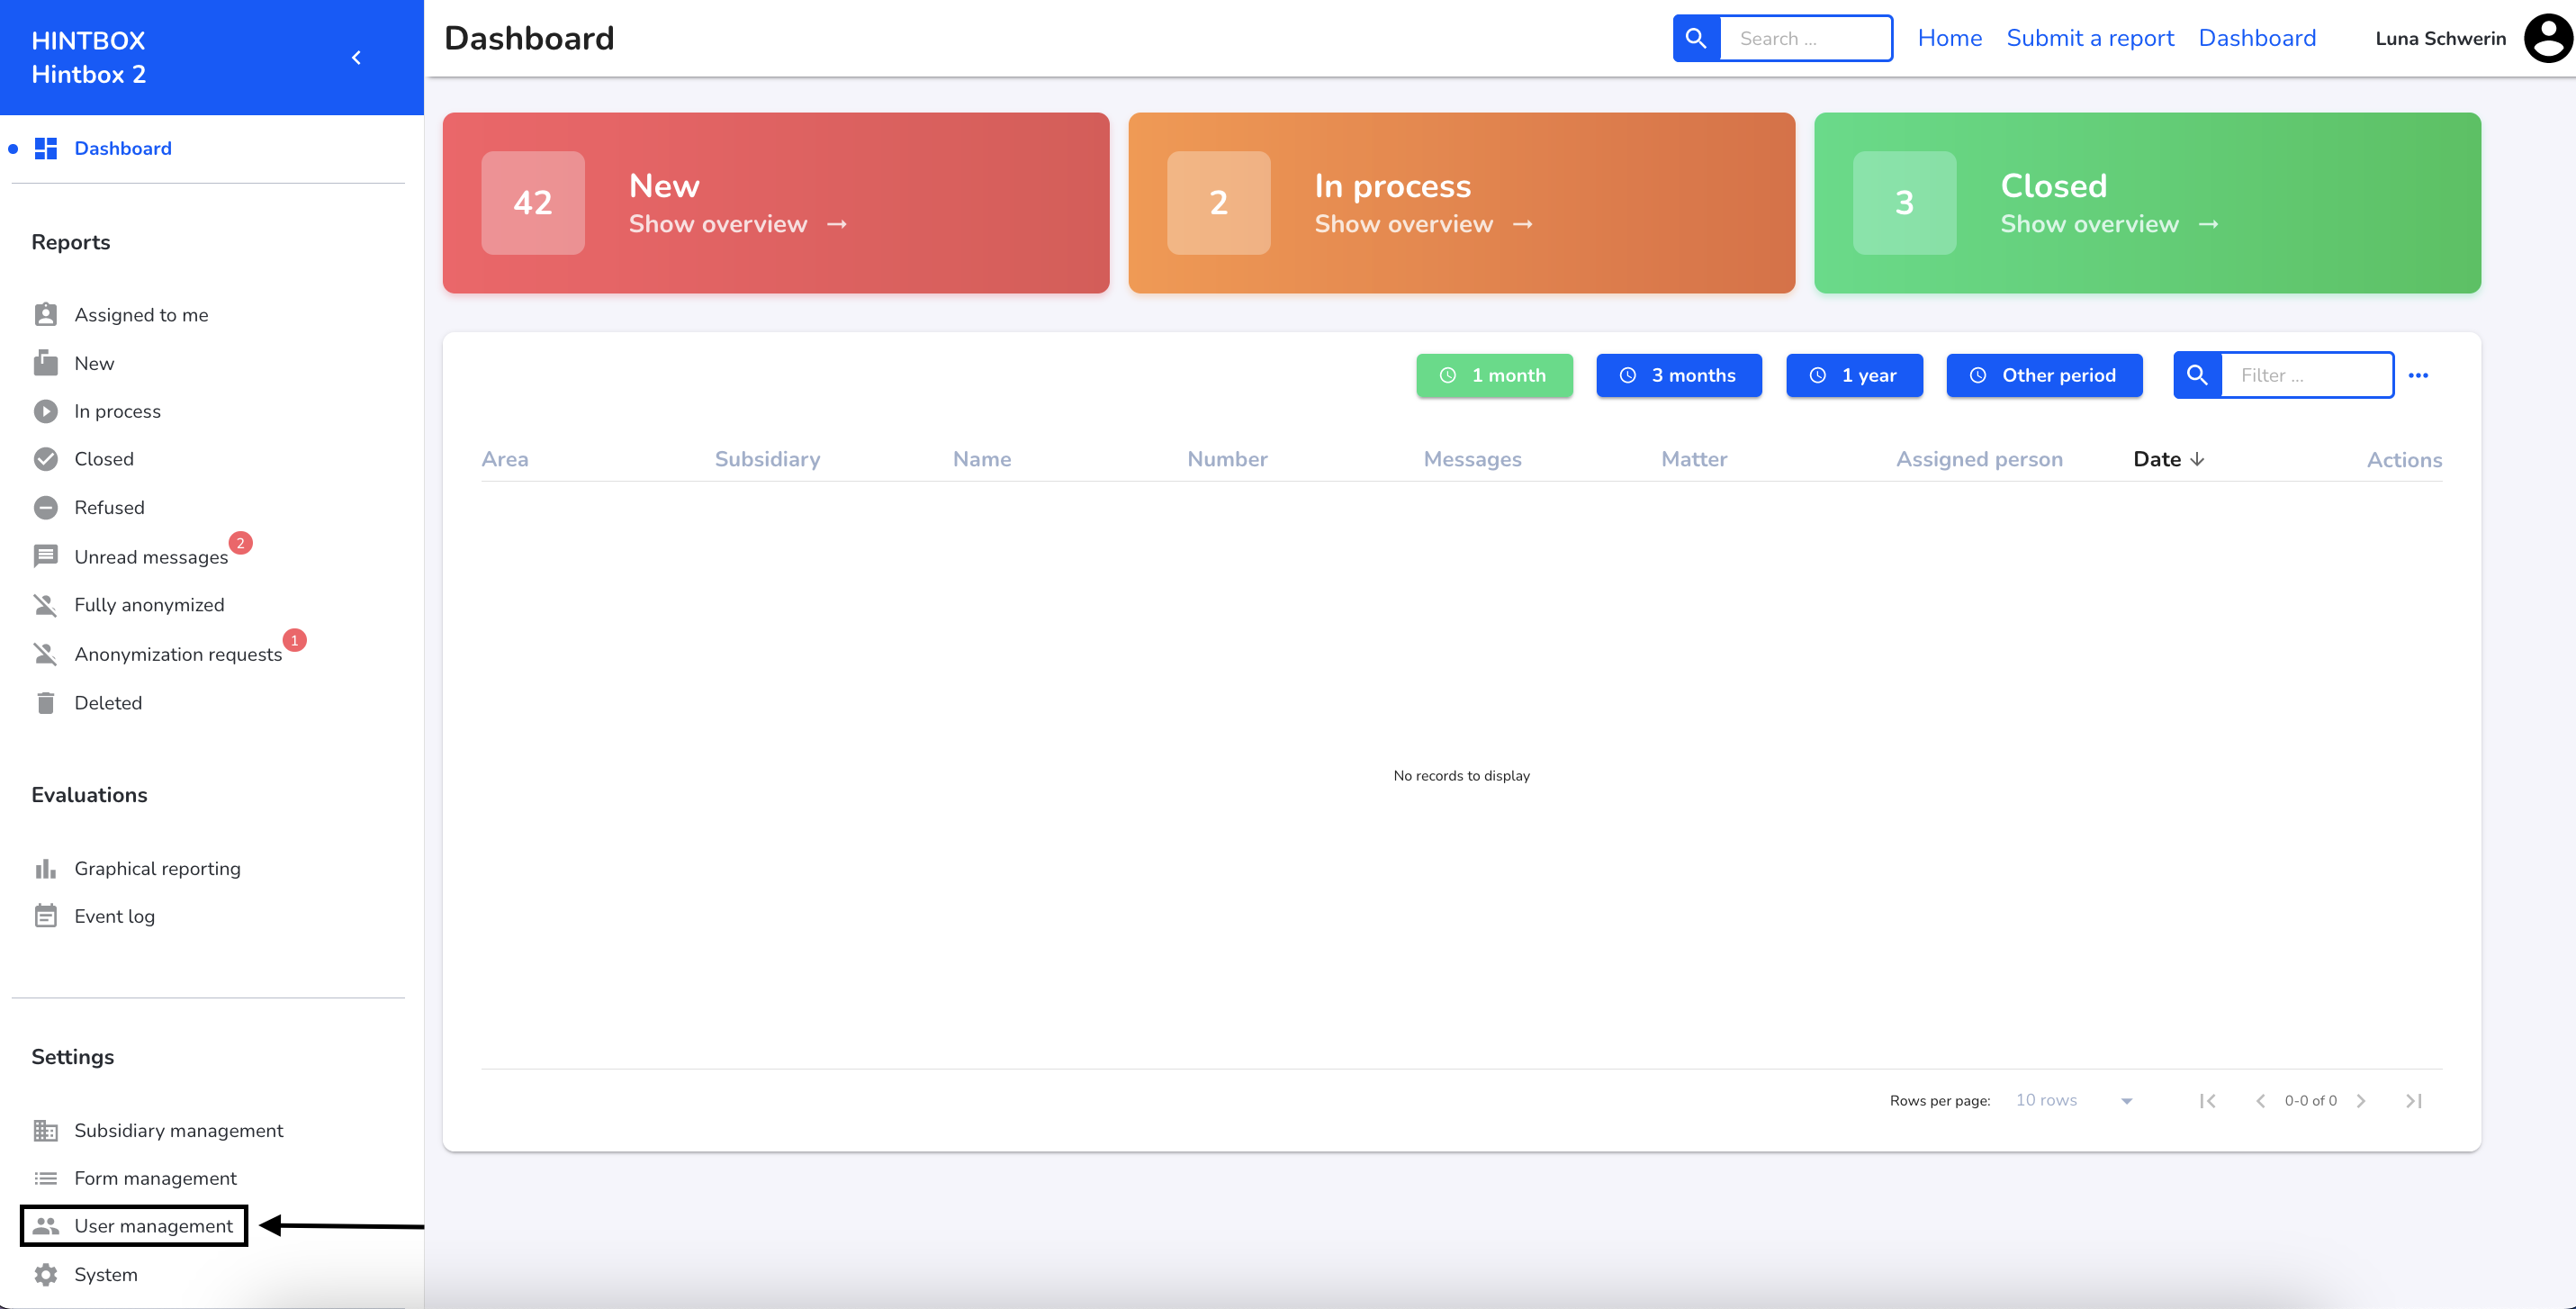
To go to the instructions for creating a user, click here.
To go to the instructions for editing a user, click here.
To go to the instructions for deleting a user, click here.
To go to the instructions for enabling a user, click here.
System setting
In the System area, you can personalize the general system settings, adjust categories & processes, edit legal texts, adjust email texts and access the system recovery.
Click on System.
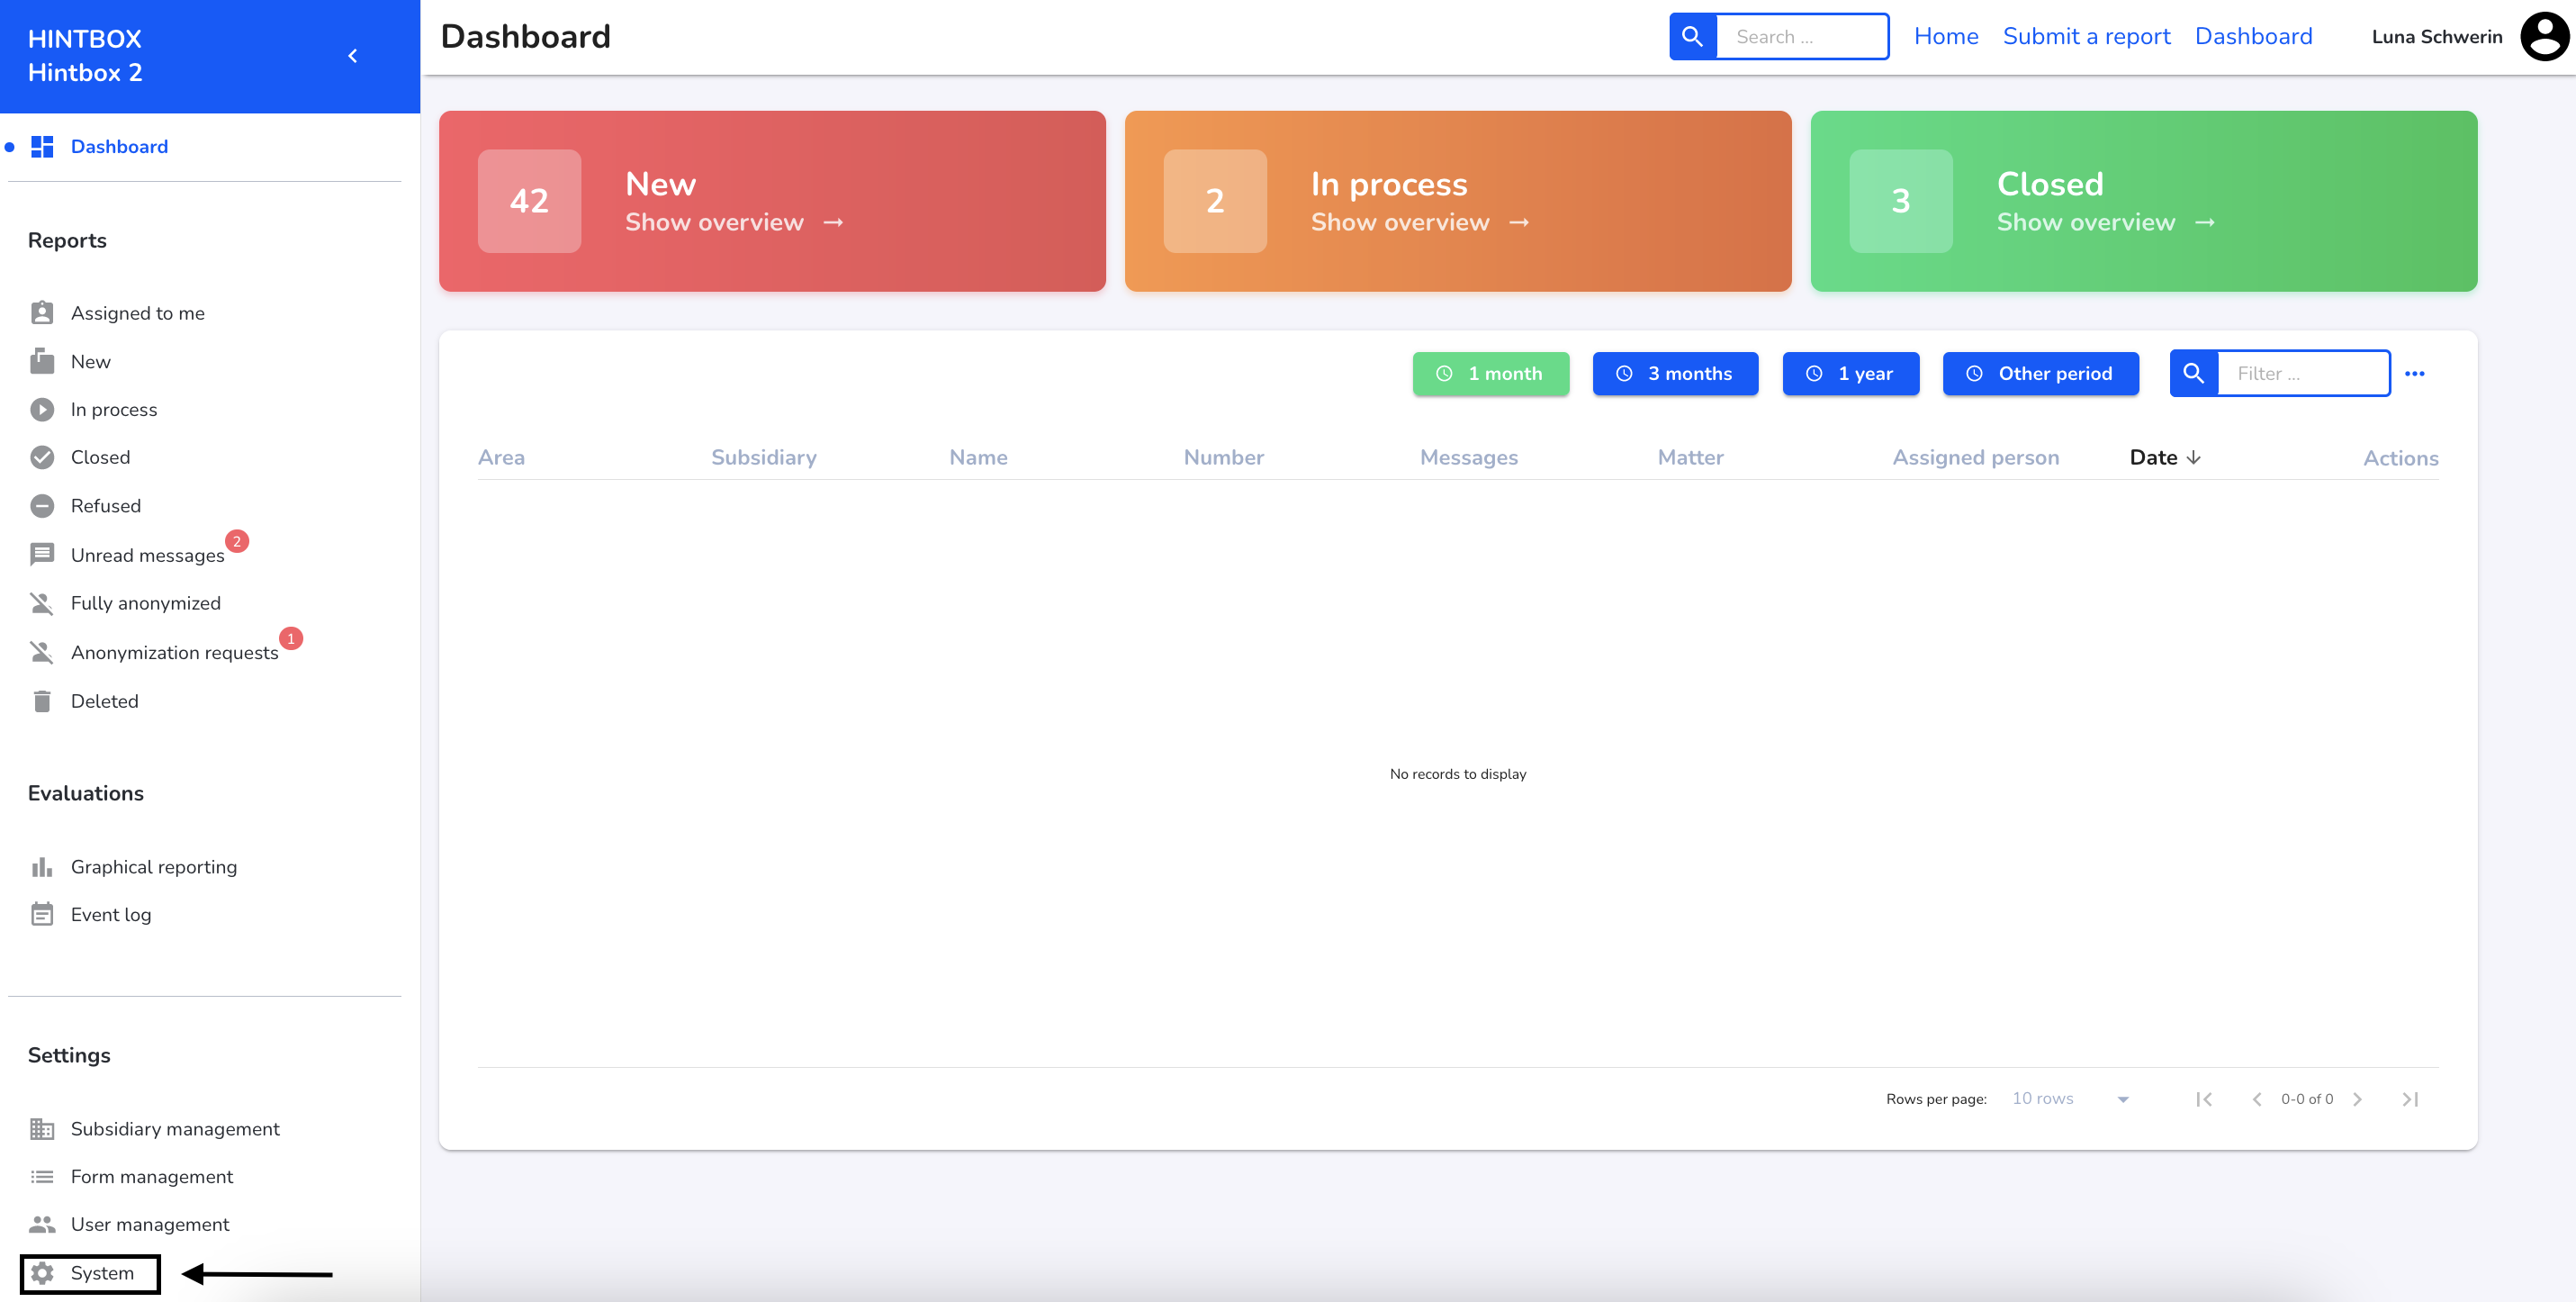
General system settings
In the General area, the company logo, banner photo, color and font can be adjusted, translations can be selected, standard routes of the whistleblower system can be overwritten and the event log can be activated.
Click on General.
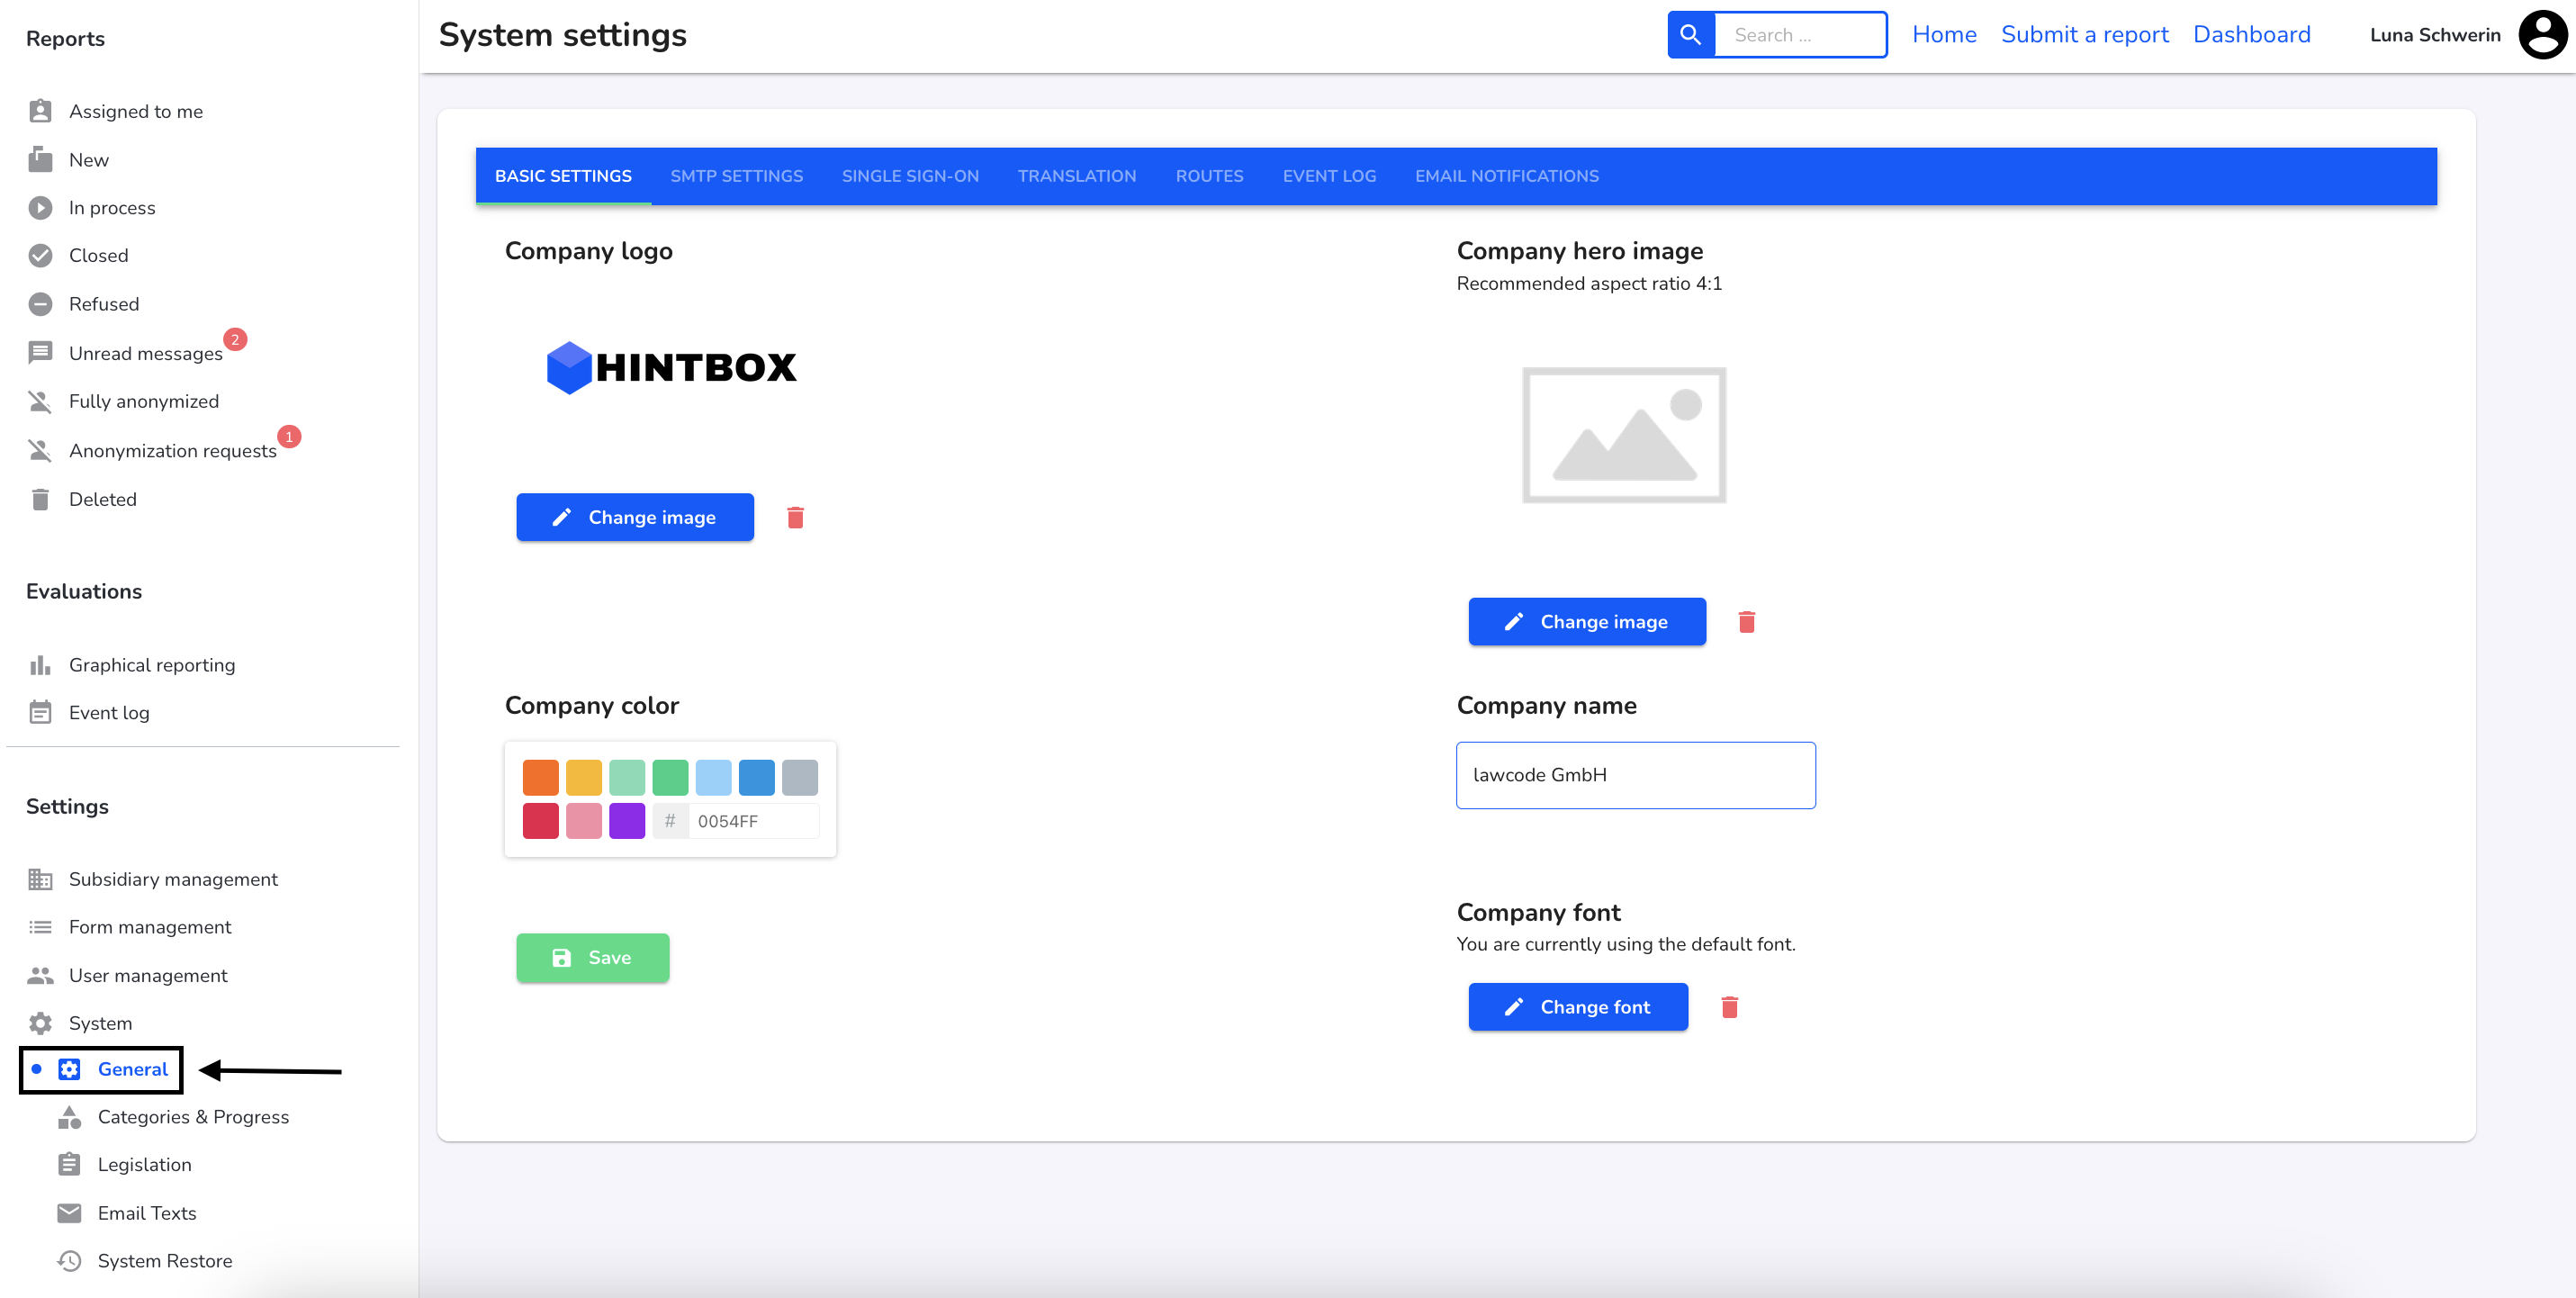
Basic settings
You can personalize your whistleblowing system in the basic settings. This step is used to personalize the branding of your system.
Click on Basic settings.
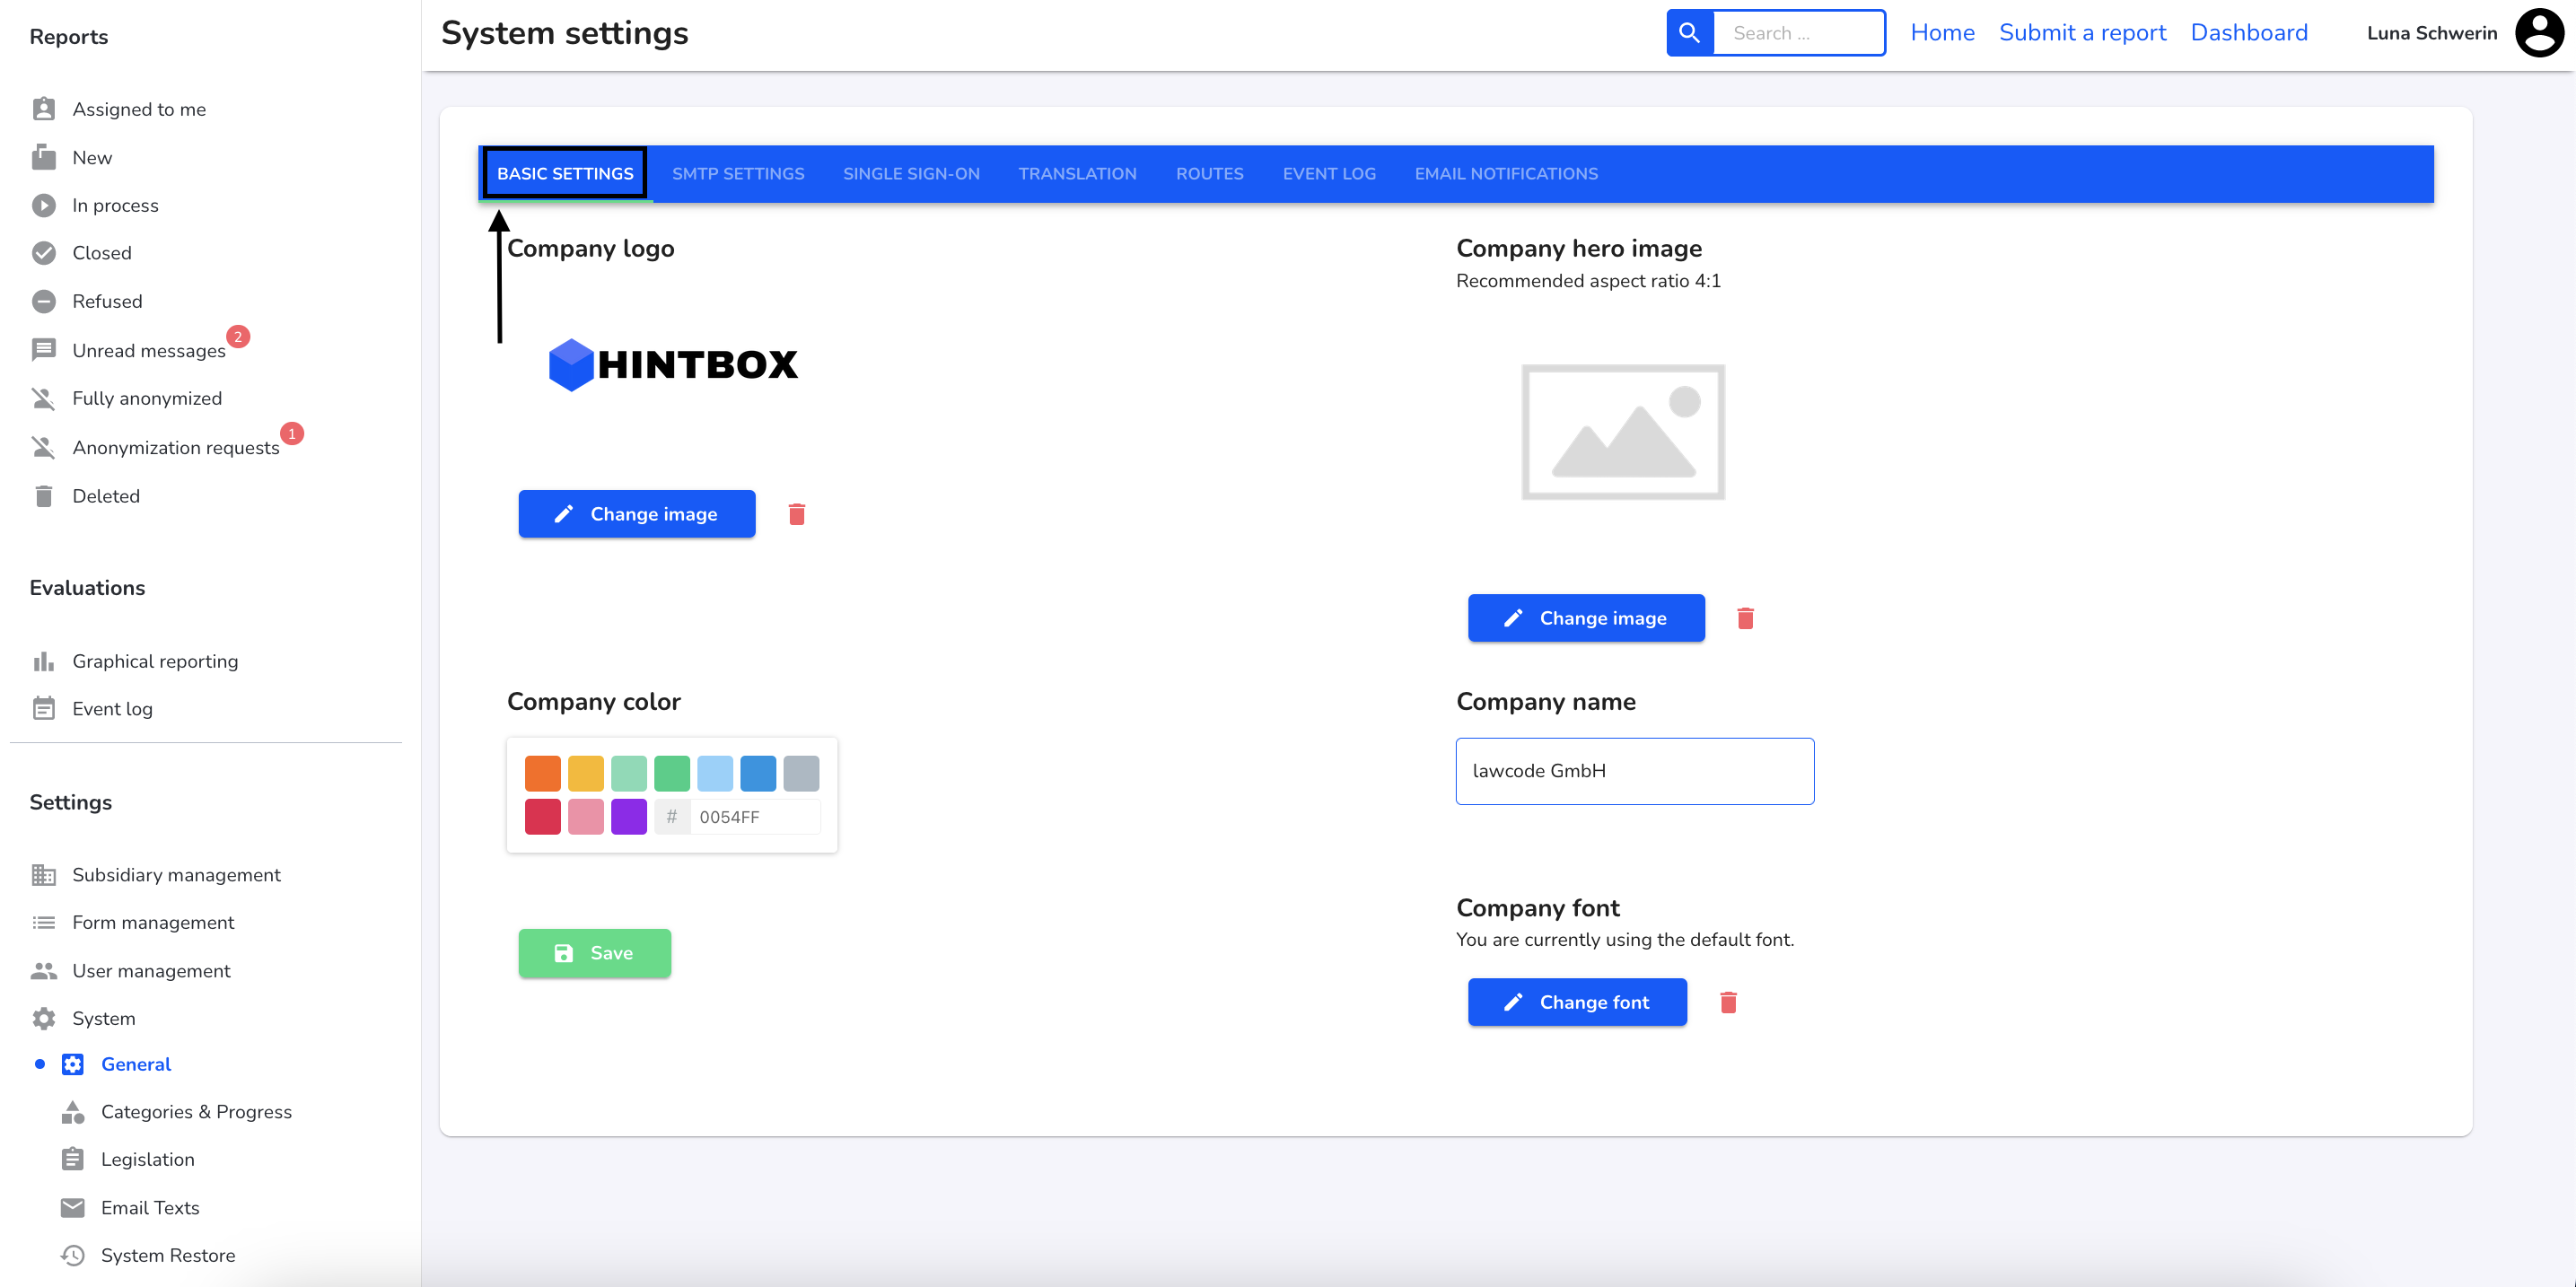
To go to the instructions for editing a company logo, click here.
To go to the instructions for editing a company banner photo, click here.
To go to the instructions for changing a company color, click here.
To go to the instructions for changing a company name, click here.
To go to the instructions for uploading a company font, click here.
Translation
In the Translation area, you can set the default language of the hintbox, configure the selectable languages in the hintbox and select a browser language.
Click on Translation.
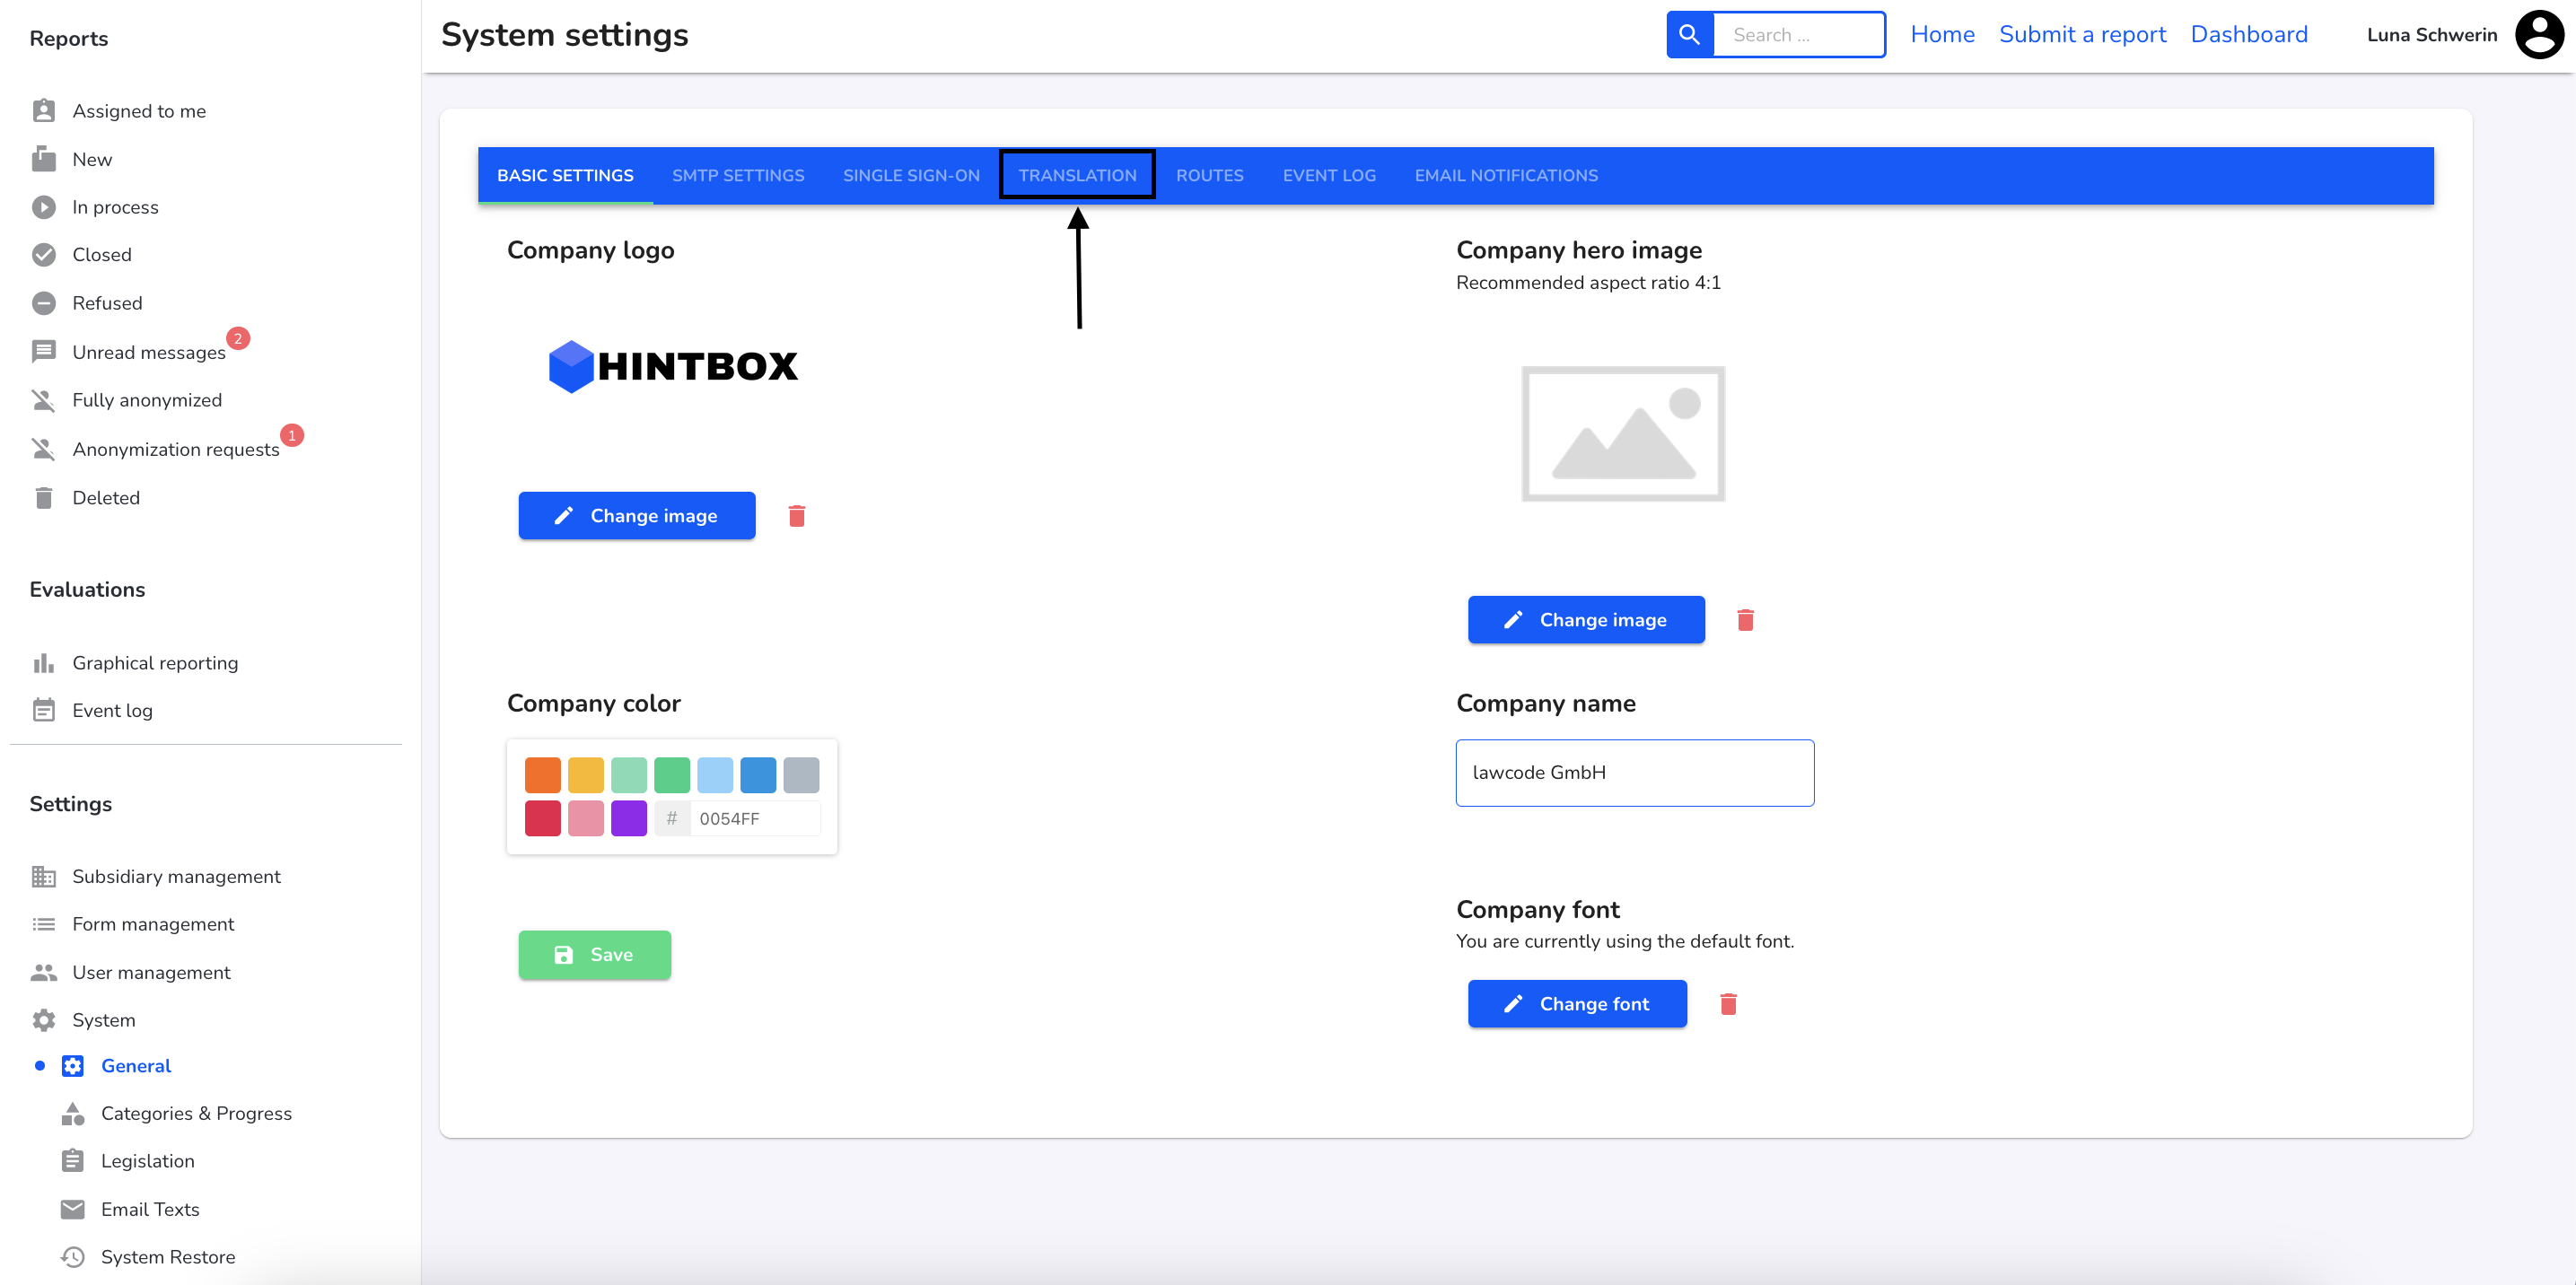
Click here to go to the instructions for customizing the translation.
Routes
In the Routes section, you can overwrite some standard routes of the whistleblowing system. You can use this, for example, to refer to your own imprint provided under a separate domain with the link to the imprint integrated in the whistleblowing system. To find out more about routes, click here.
Click on Routes.
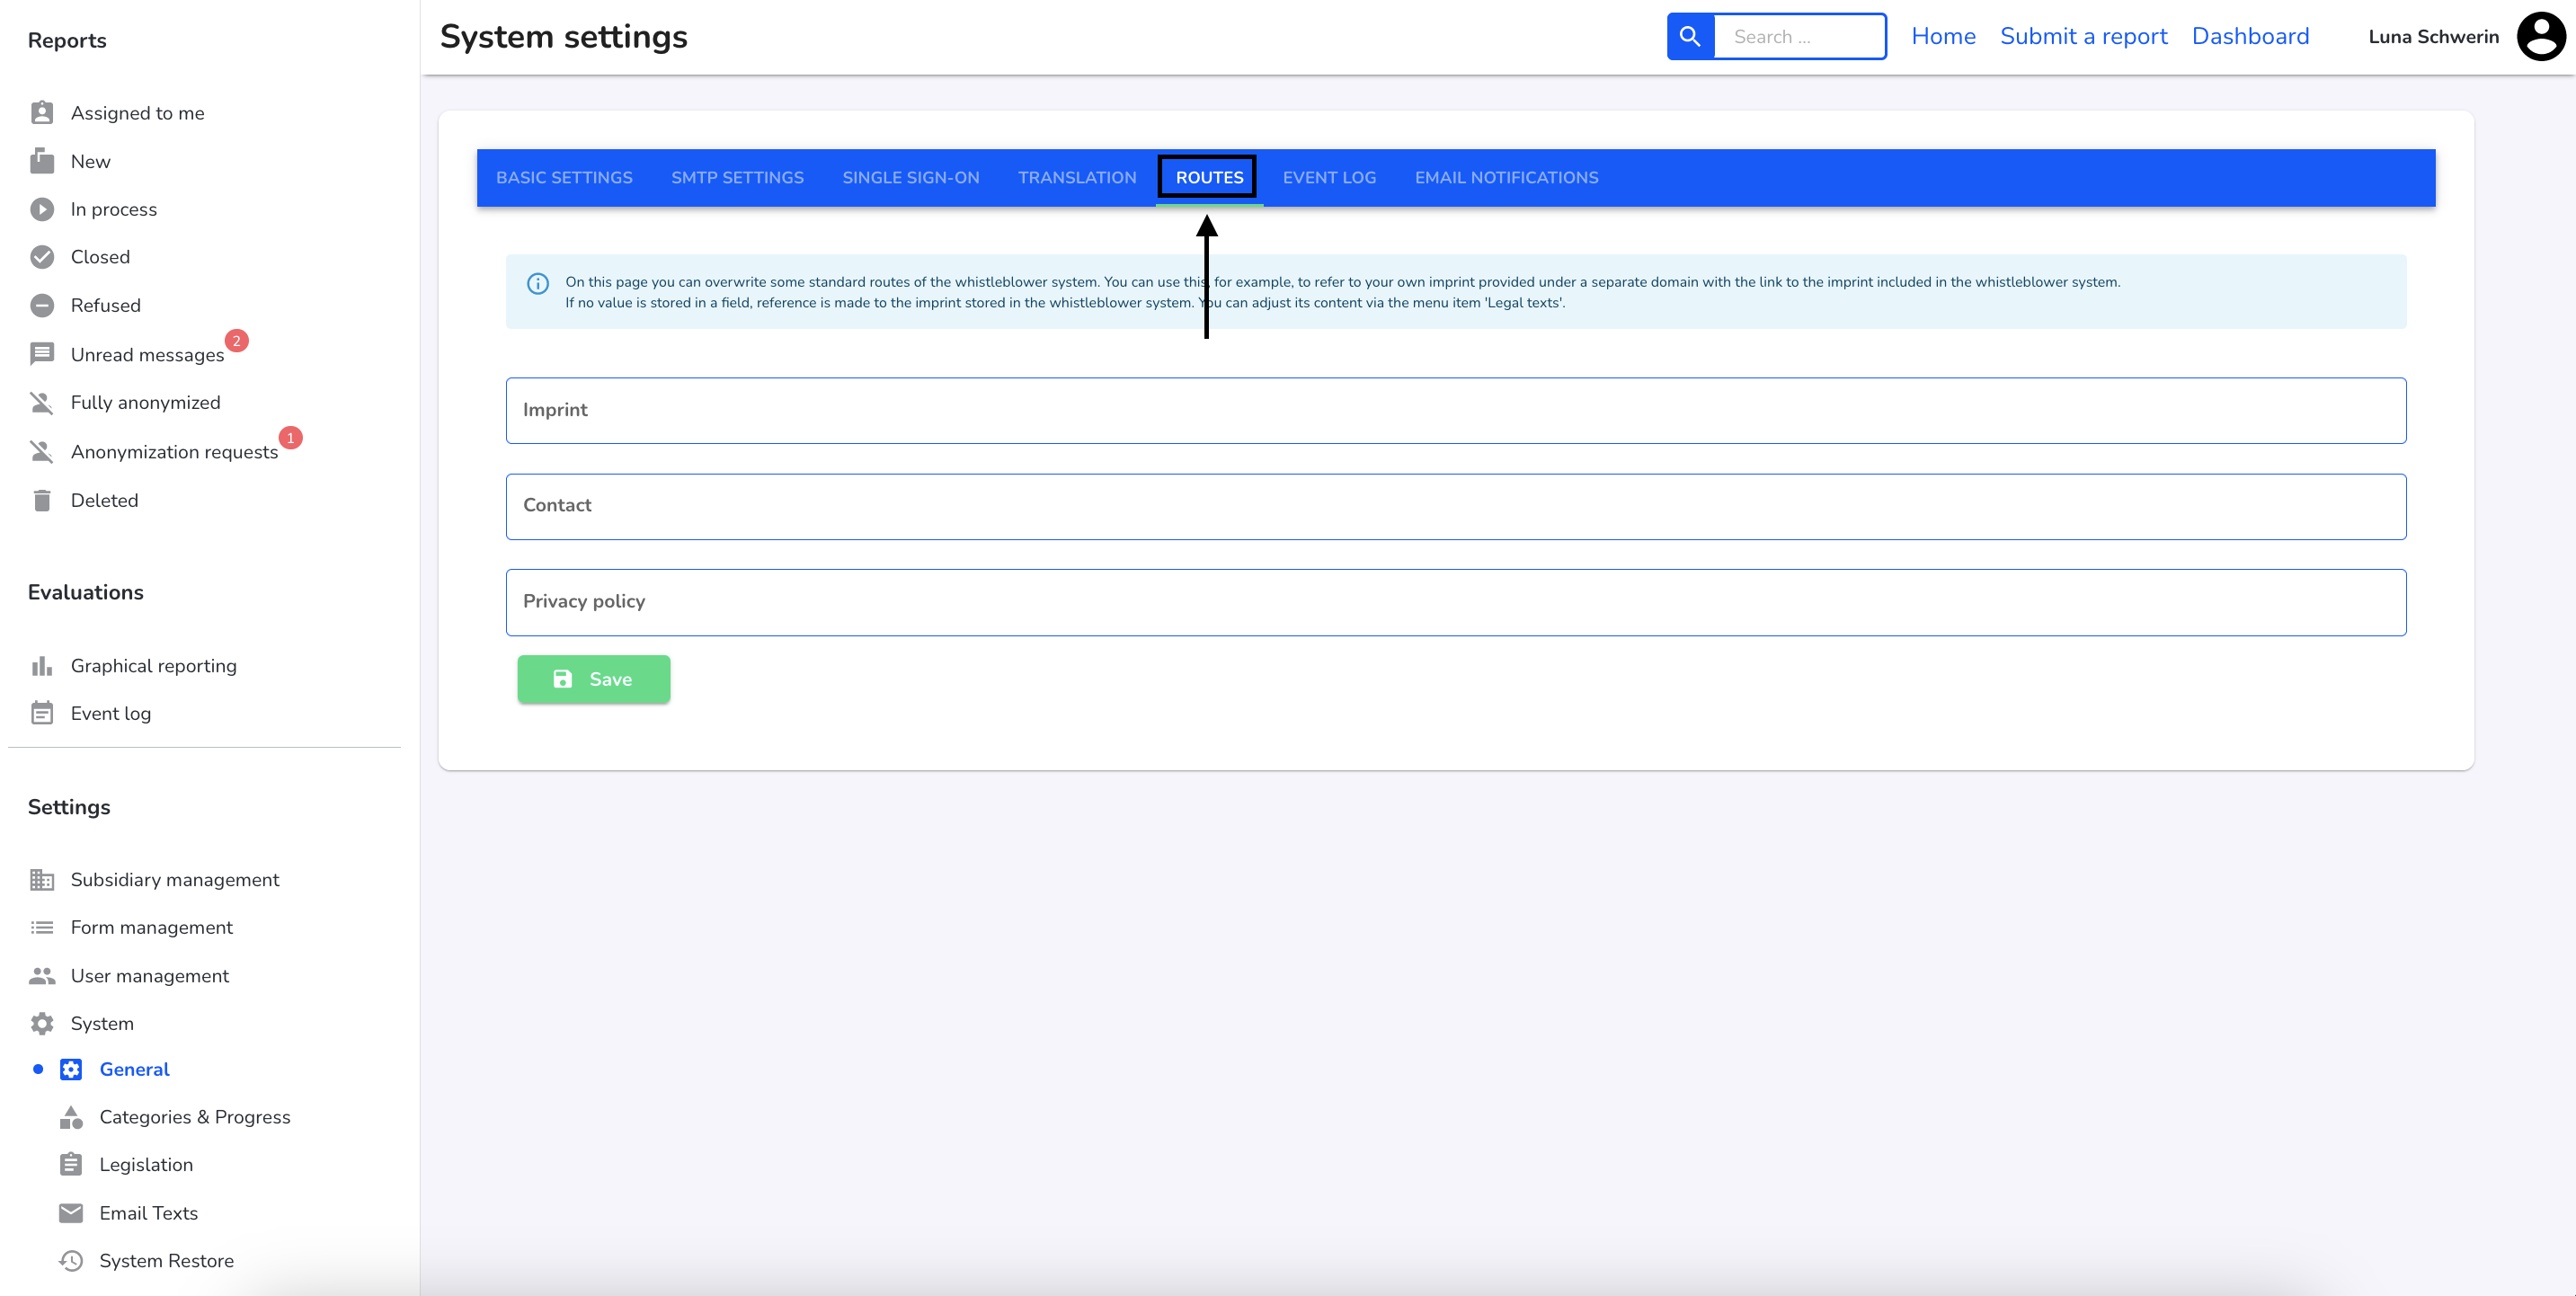
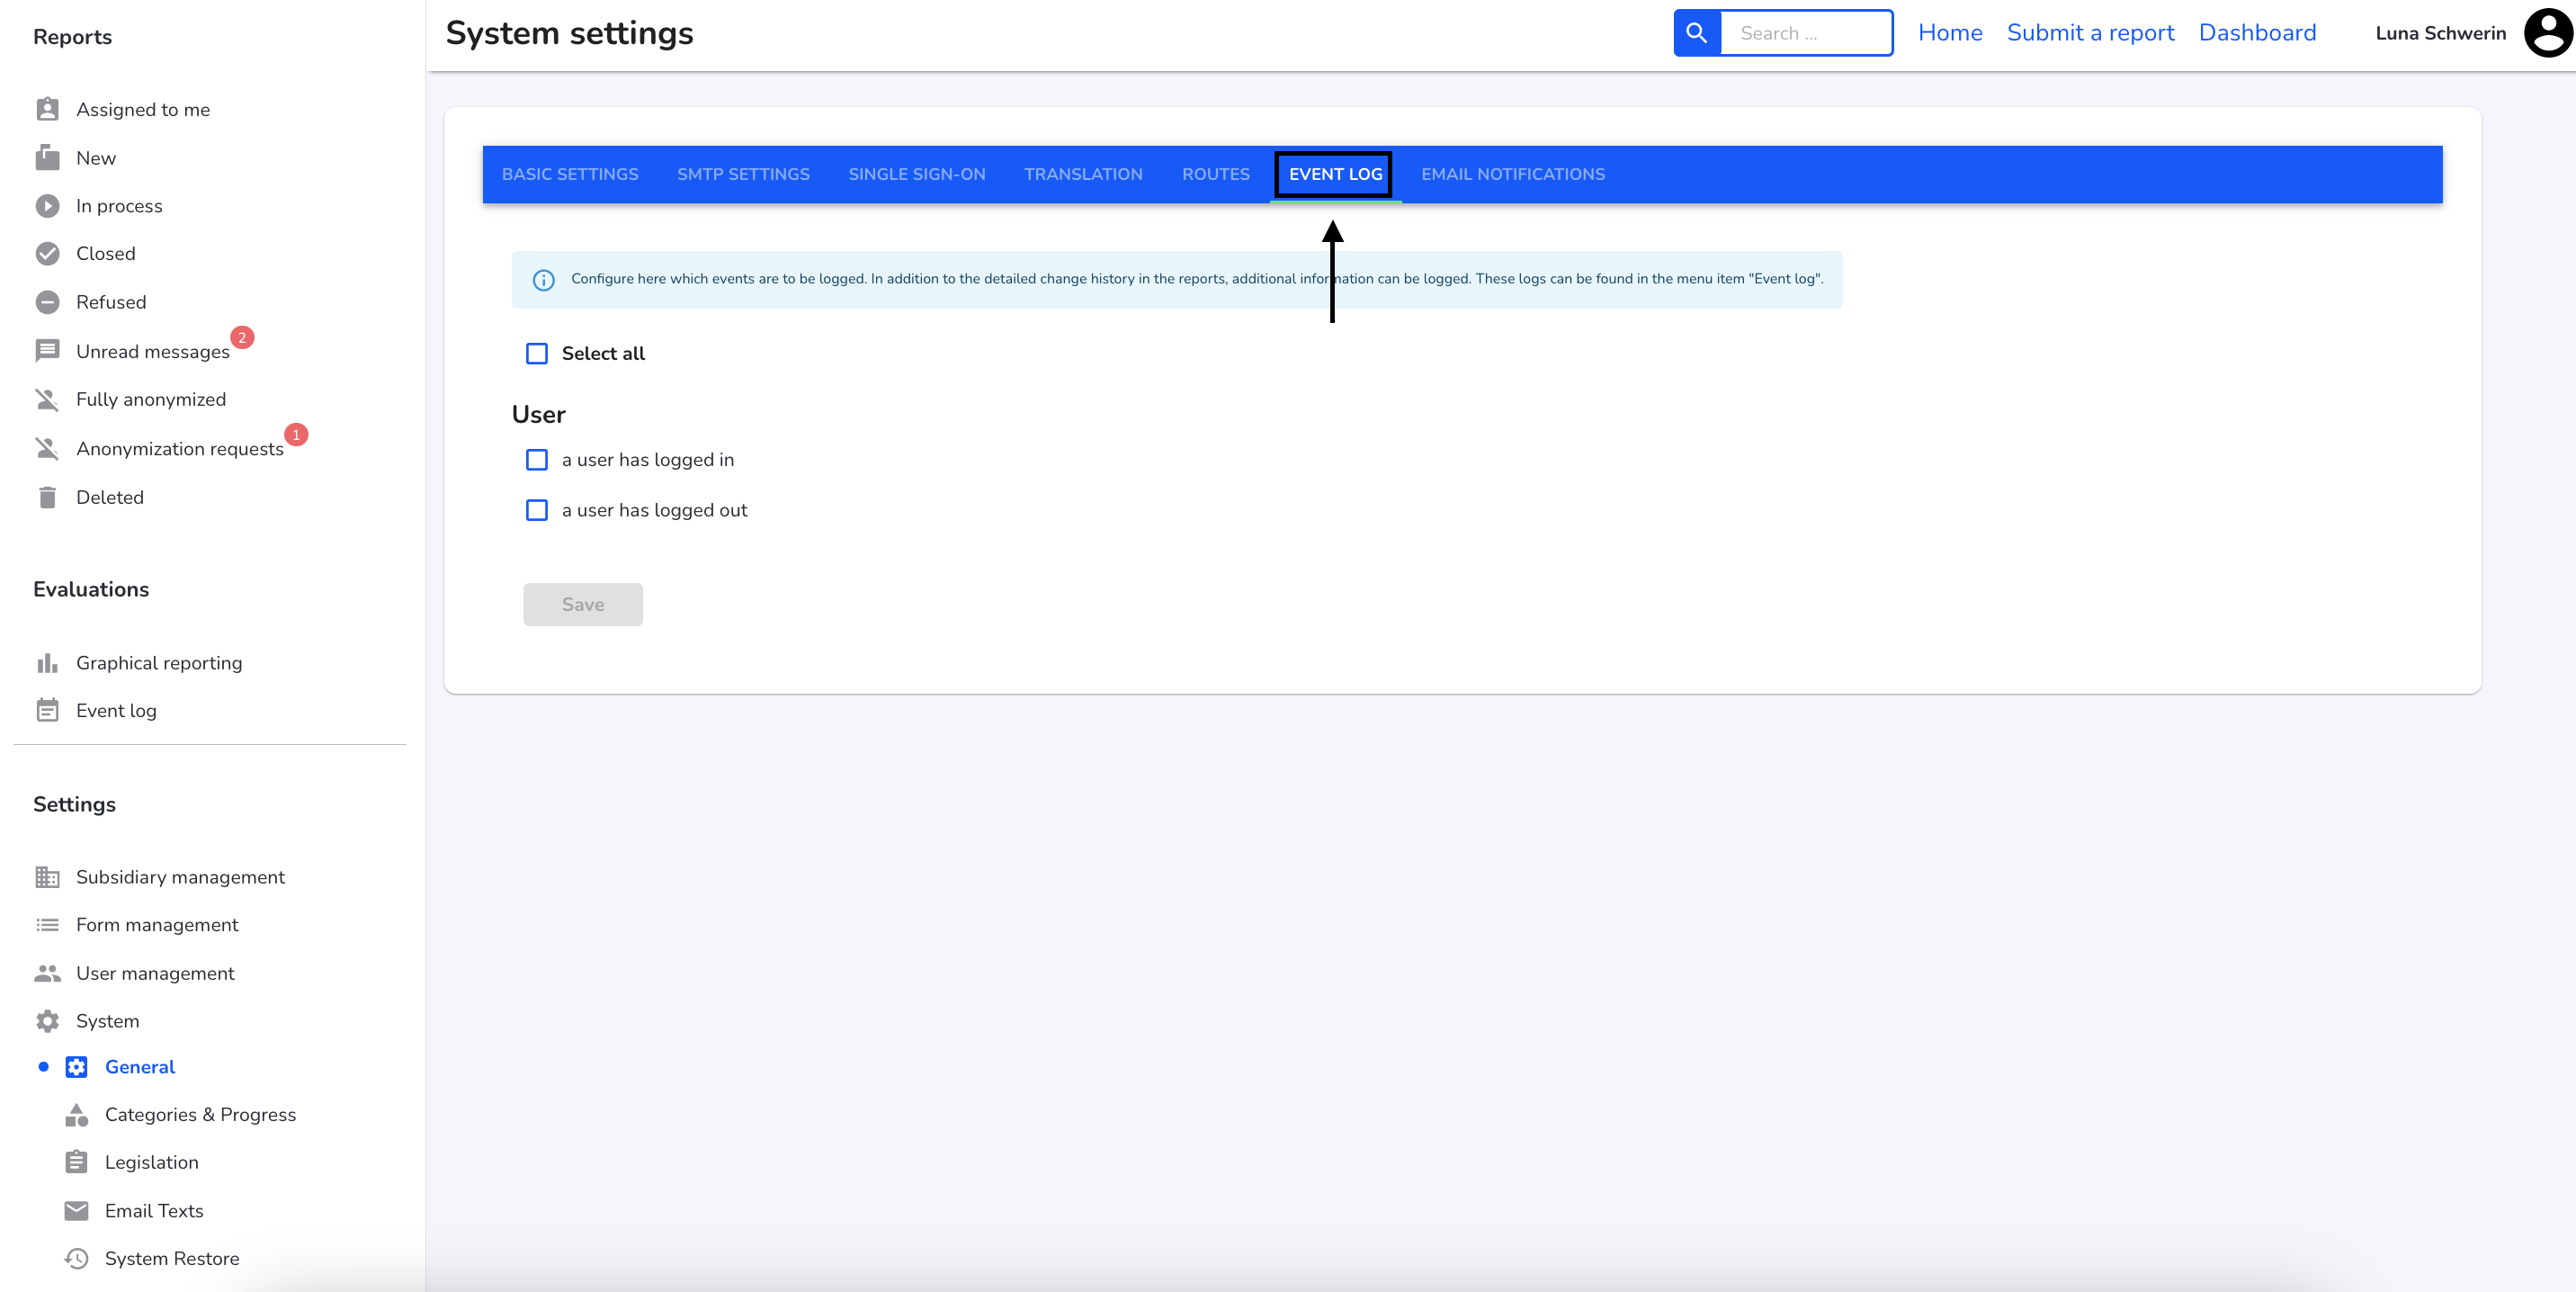
Event log
In the Event log area, you can configure which events are to be logged. To find out more about the event log, click here.
Click on Event log.
Categories and processes
These can be created, edited, sorted and deleted in the categories and processes area.
Click on Categories and Processes.
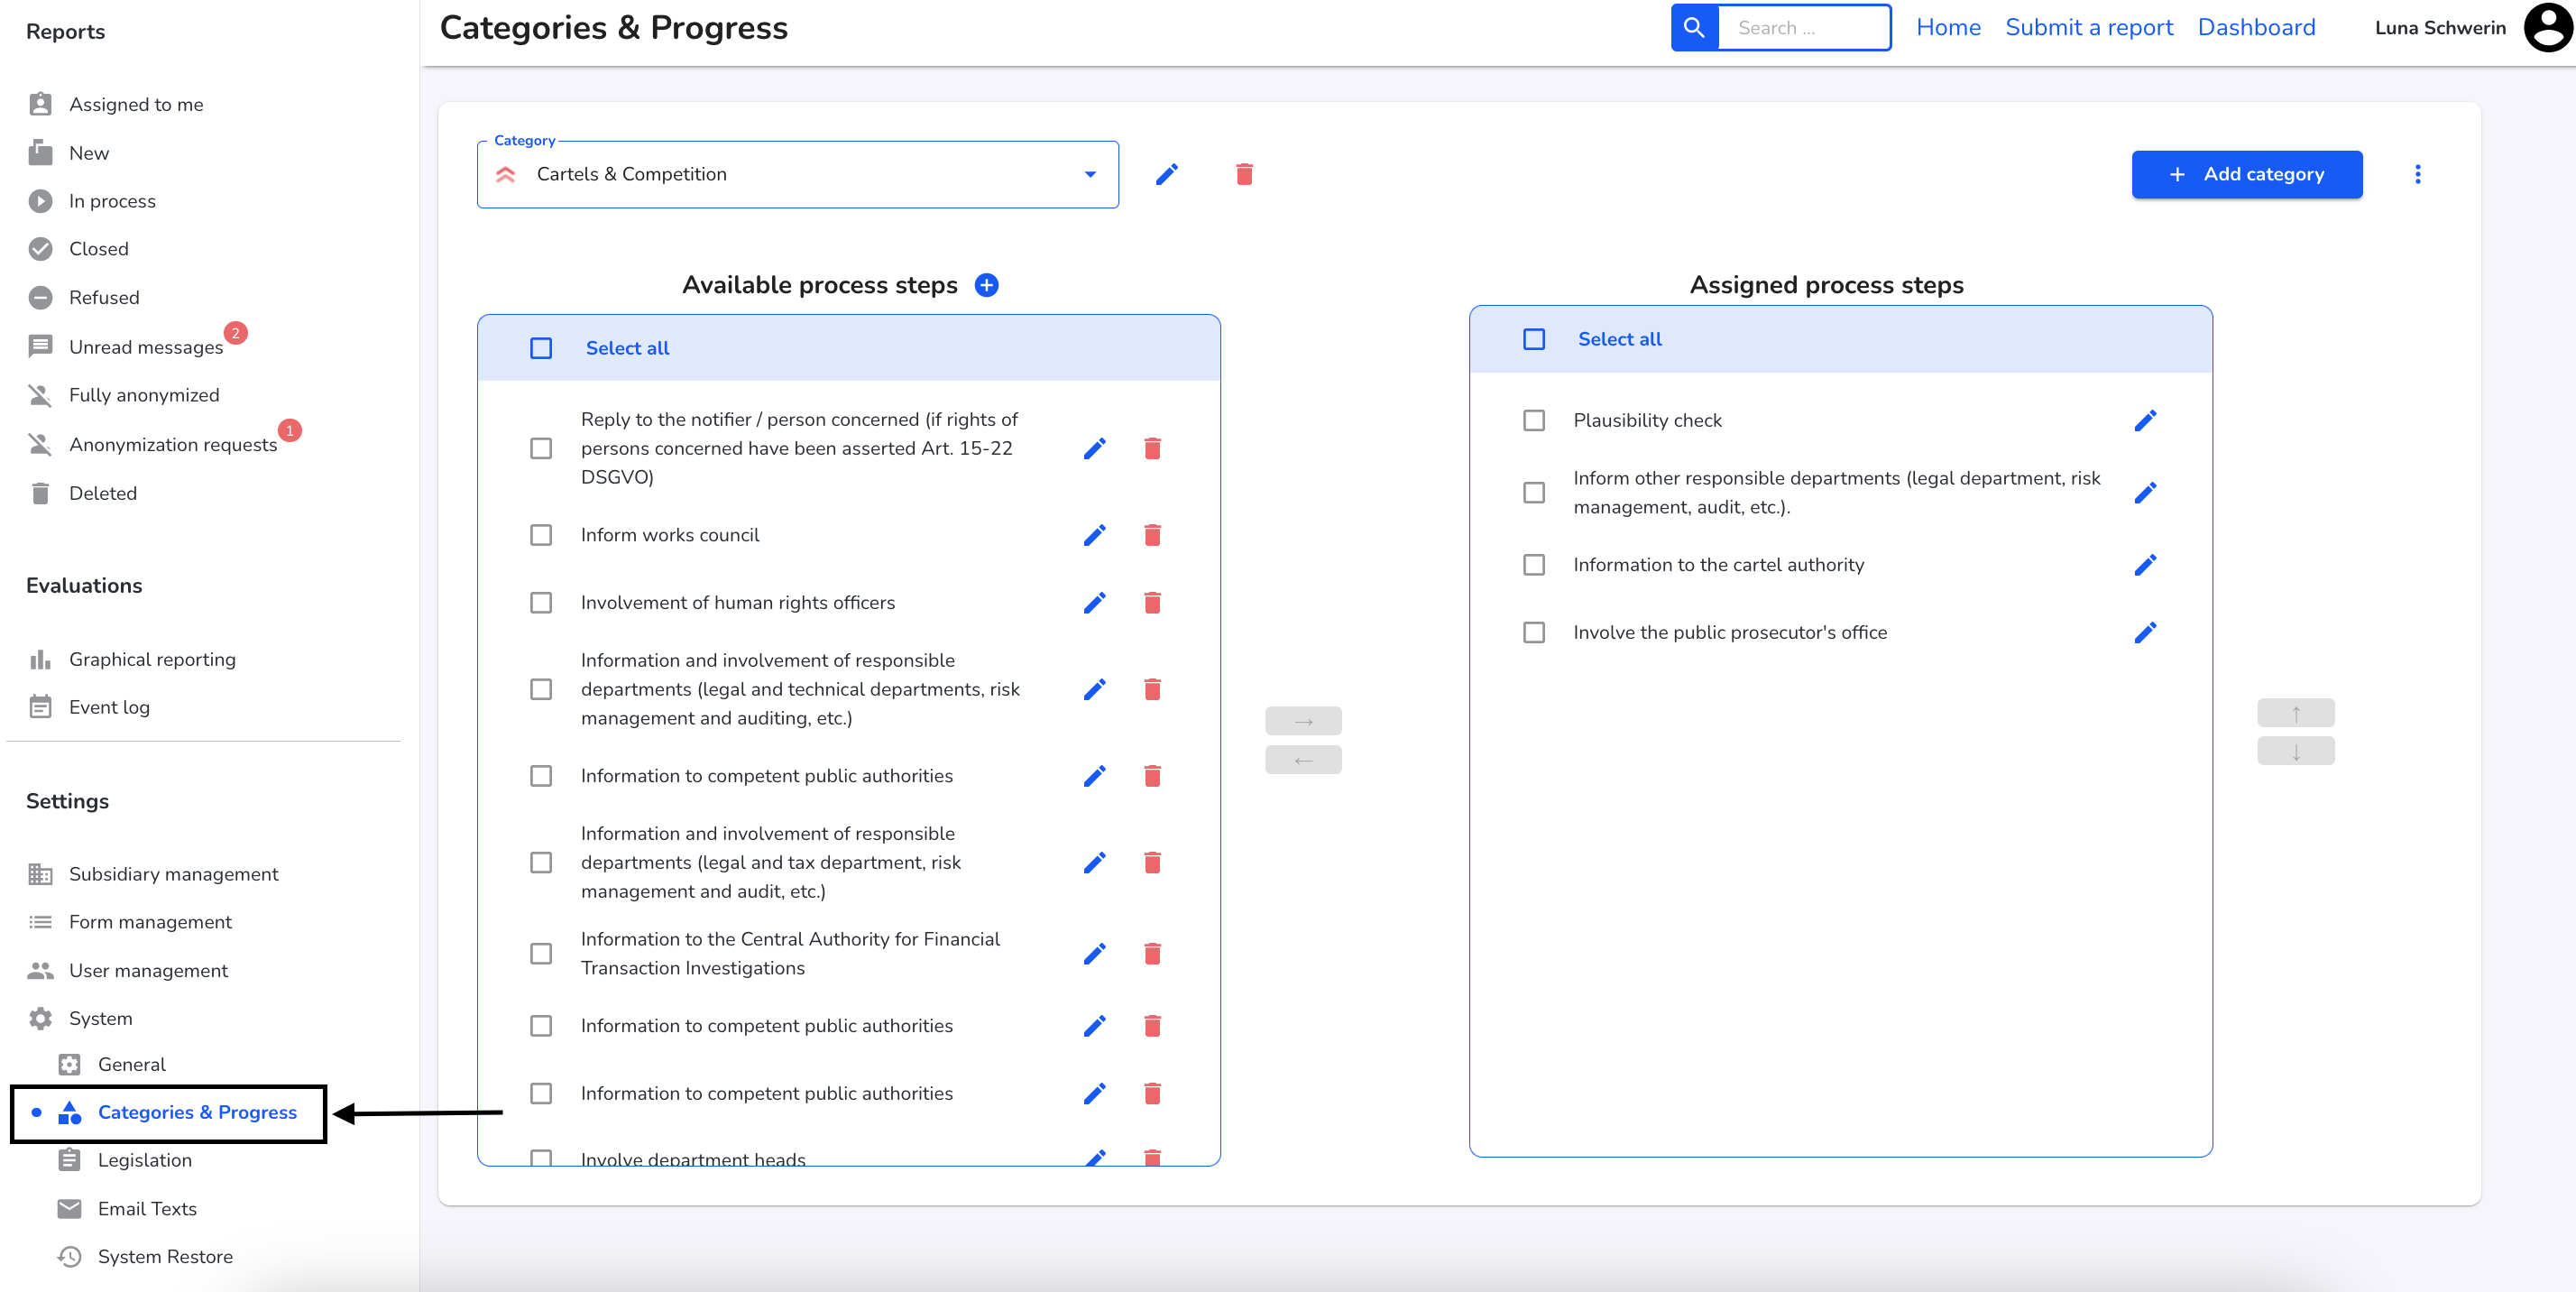
To go to the instructions for create a category, click here.
To go to the instructions for translating a category, click here.
To go to the instructions for assigning a process to a category, click here.
To go to the instructions for managing a process, click here.
Legal texts
In the legal texts section you will find all texts that are stored and accessible within the system.
Click on Legal texts.
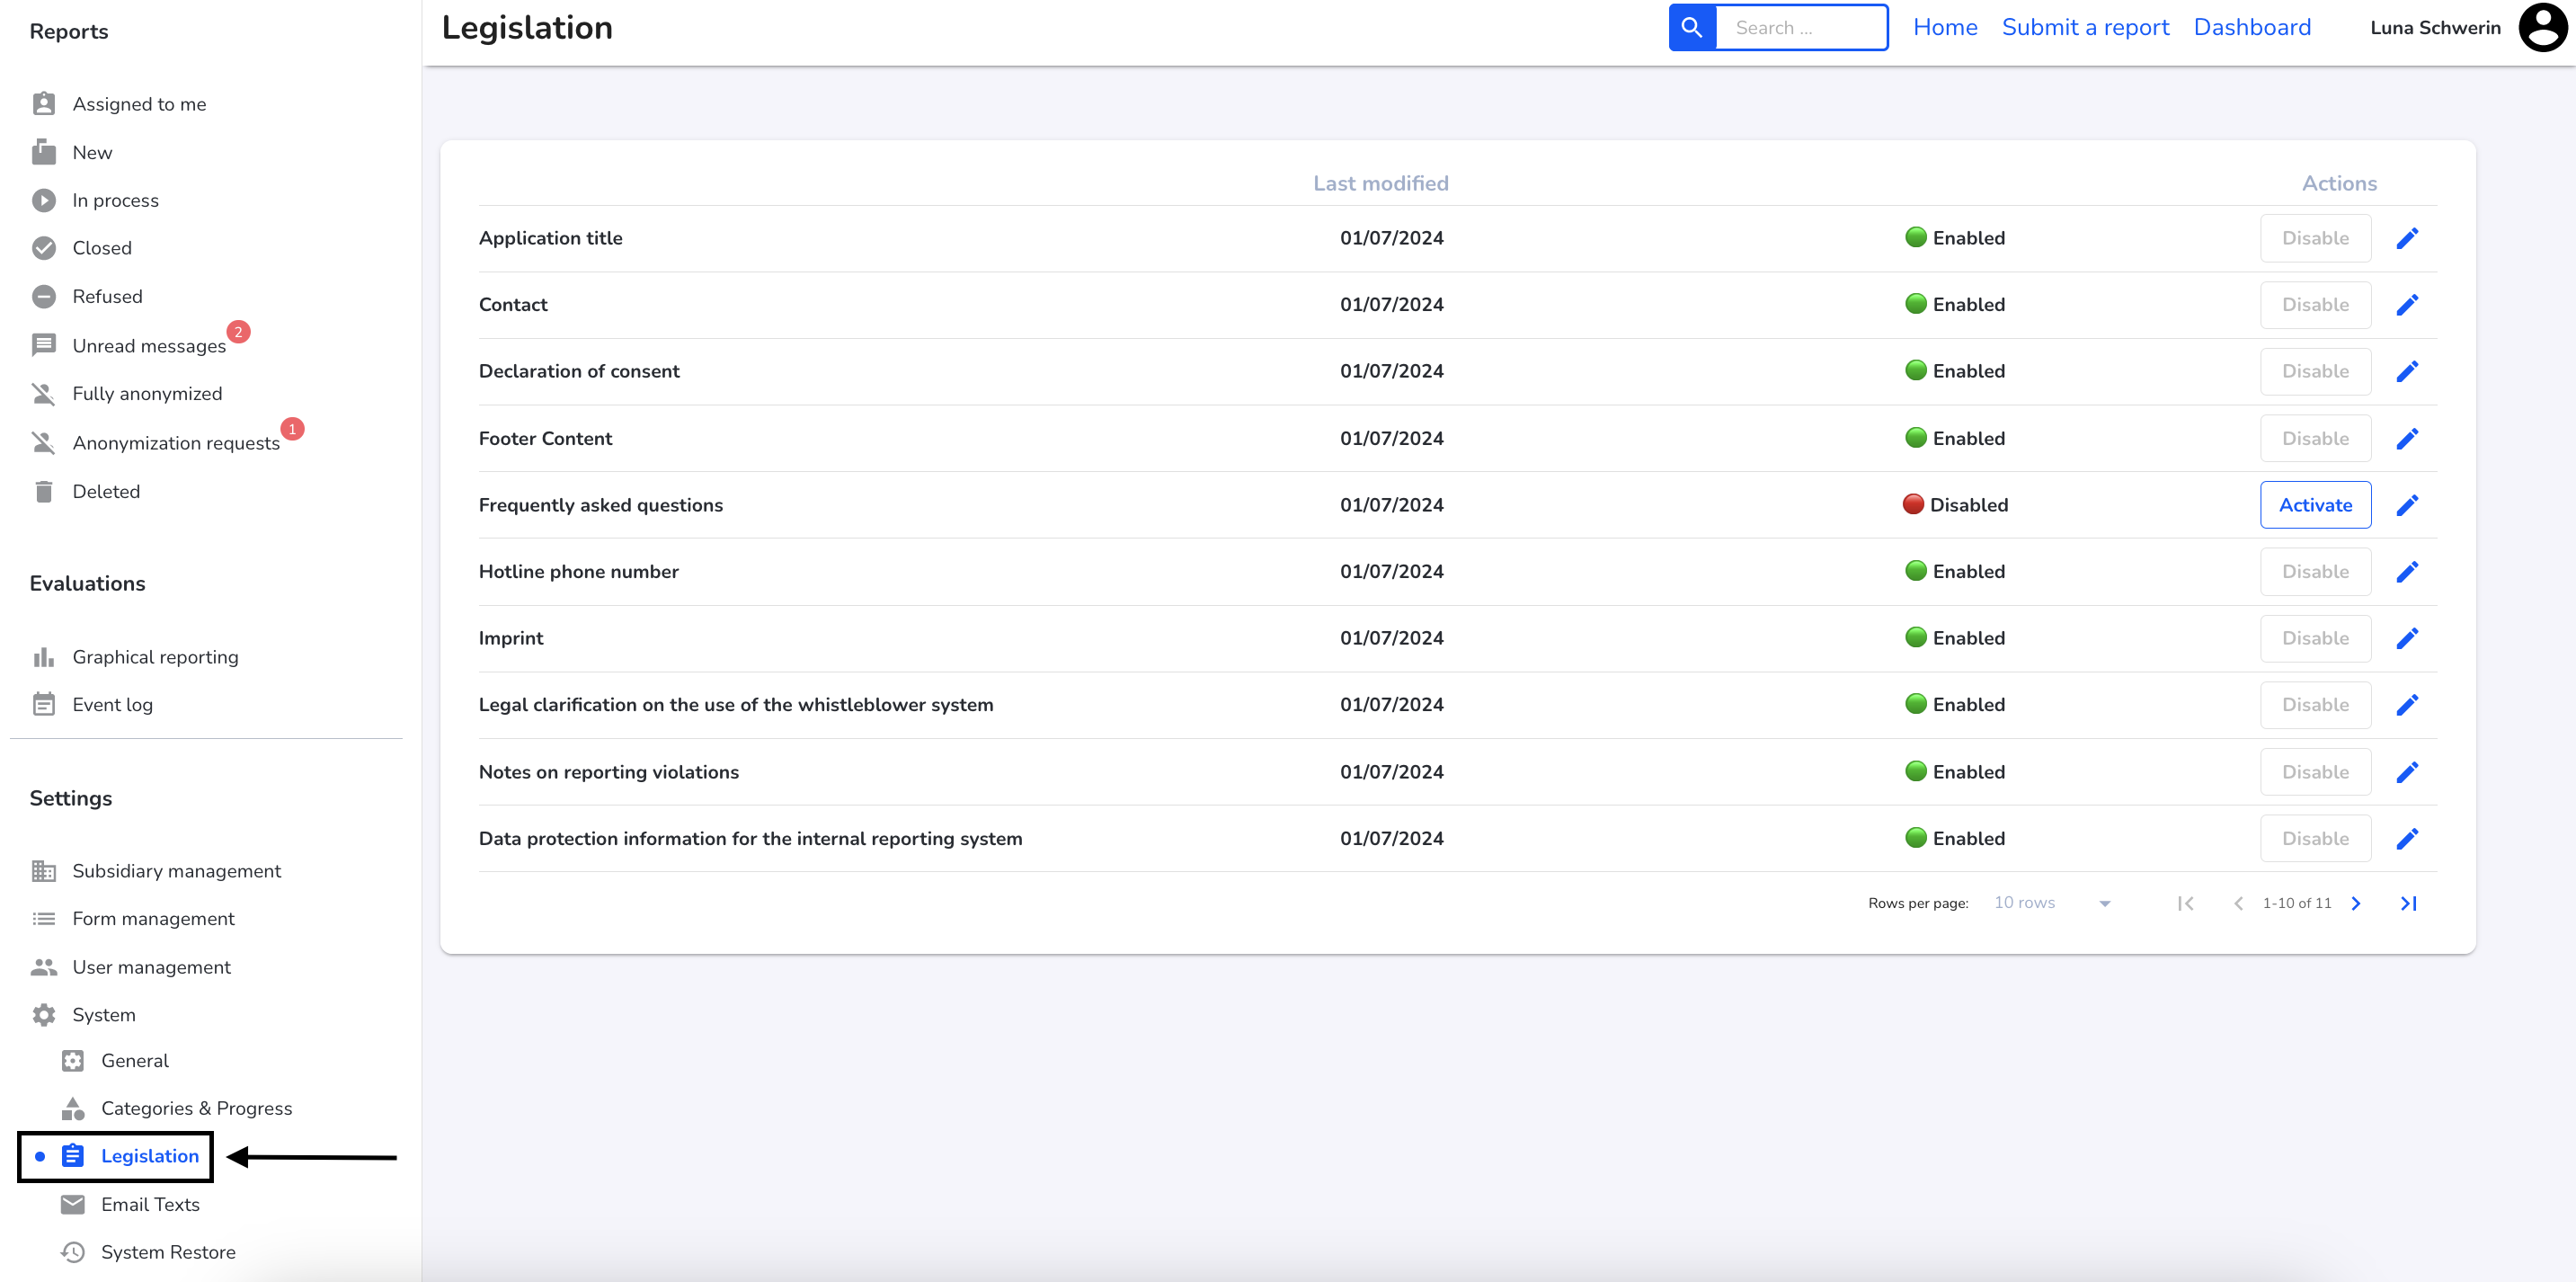
https://docs.hintbox.eu/en/legal-texts/#customize-legalOur standard texts are stored in your system. You can use these or make changes.
You must adapt these texts to include your address and contact details:
- Contact us
- Footer content
- Imprint
- Data protection information for the reporting system
To go to the instructions for customizing a legal text, click here.
Click here for instructions on how to translate a legal text.
To go to the instructions for transferring a legal text, click here.
Email texts
In the Email texts area, you can manage all automatic email texts that are stored within the system.
Click on Email texts.
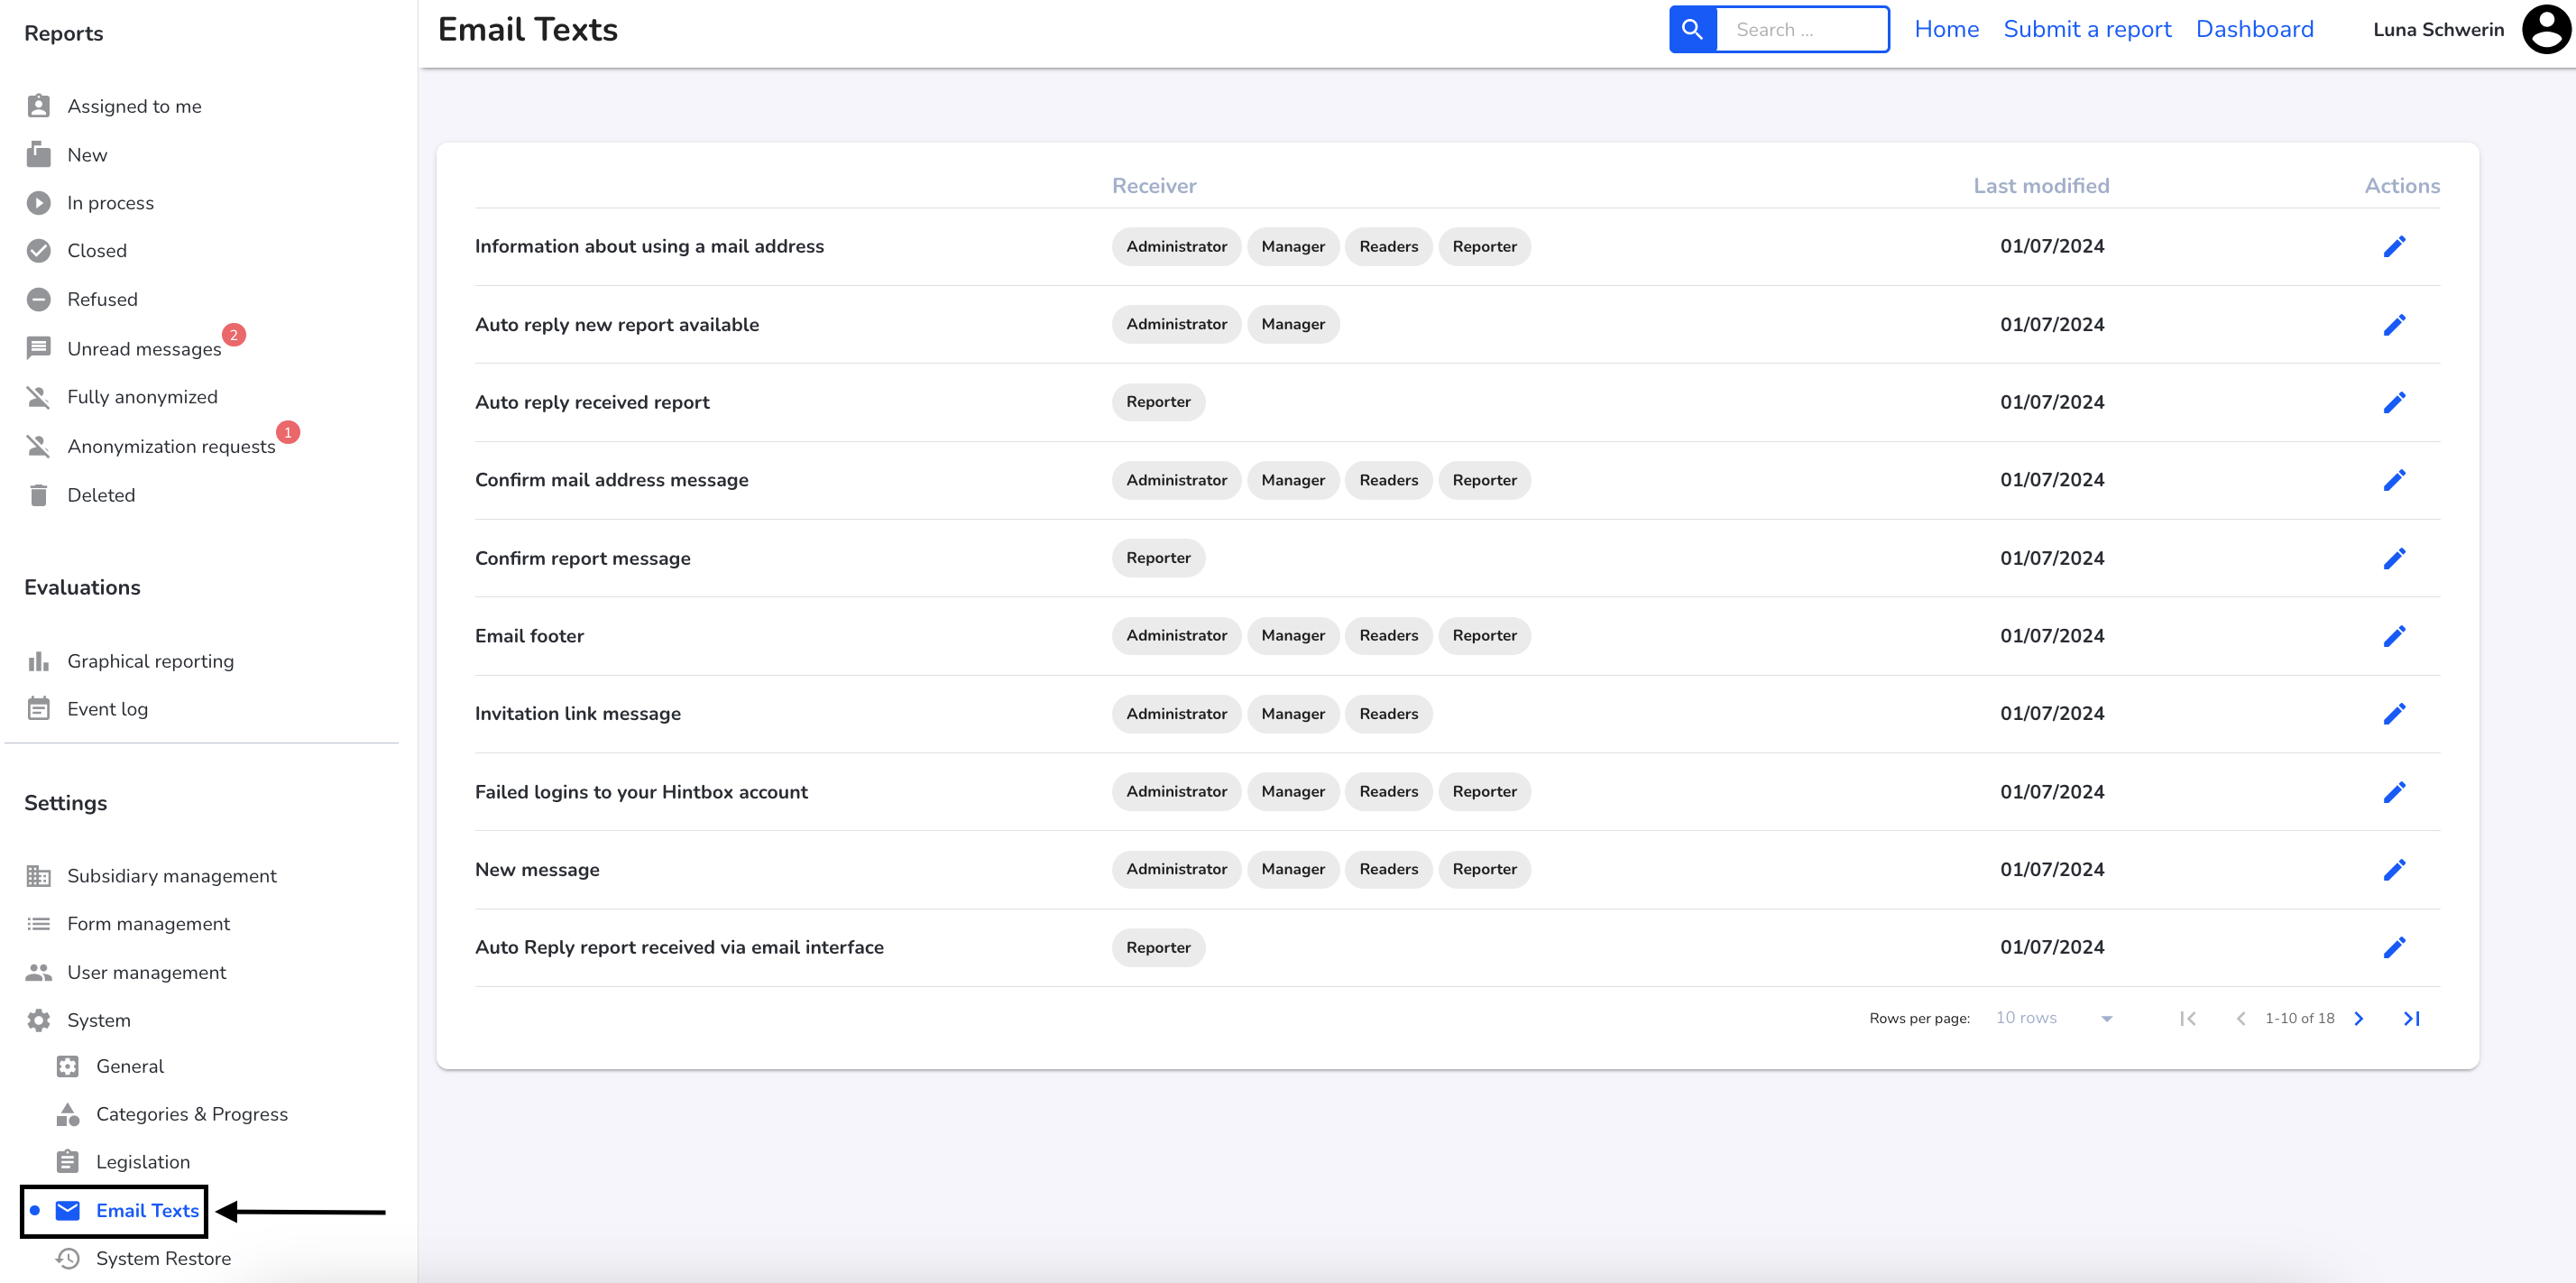
To go to the instructions for customizing an e-mail text, click here.
Click here for instructions on how to translate an e-mail text.
Click here for instructions on how to transfer an e-mail text.
To go to the instructions for customizing global and available parameters, click here.
System recovery
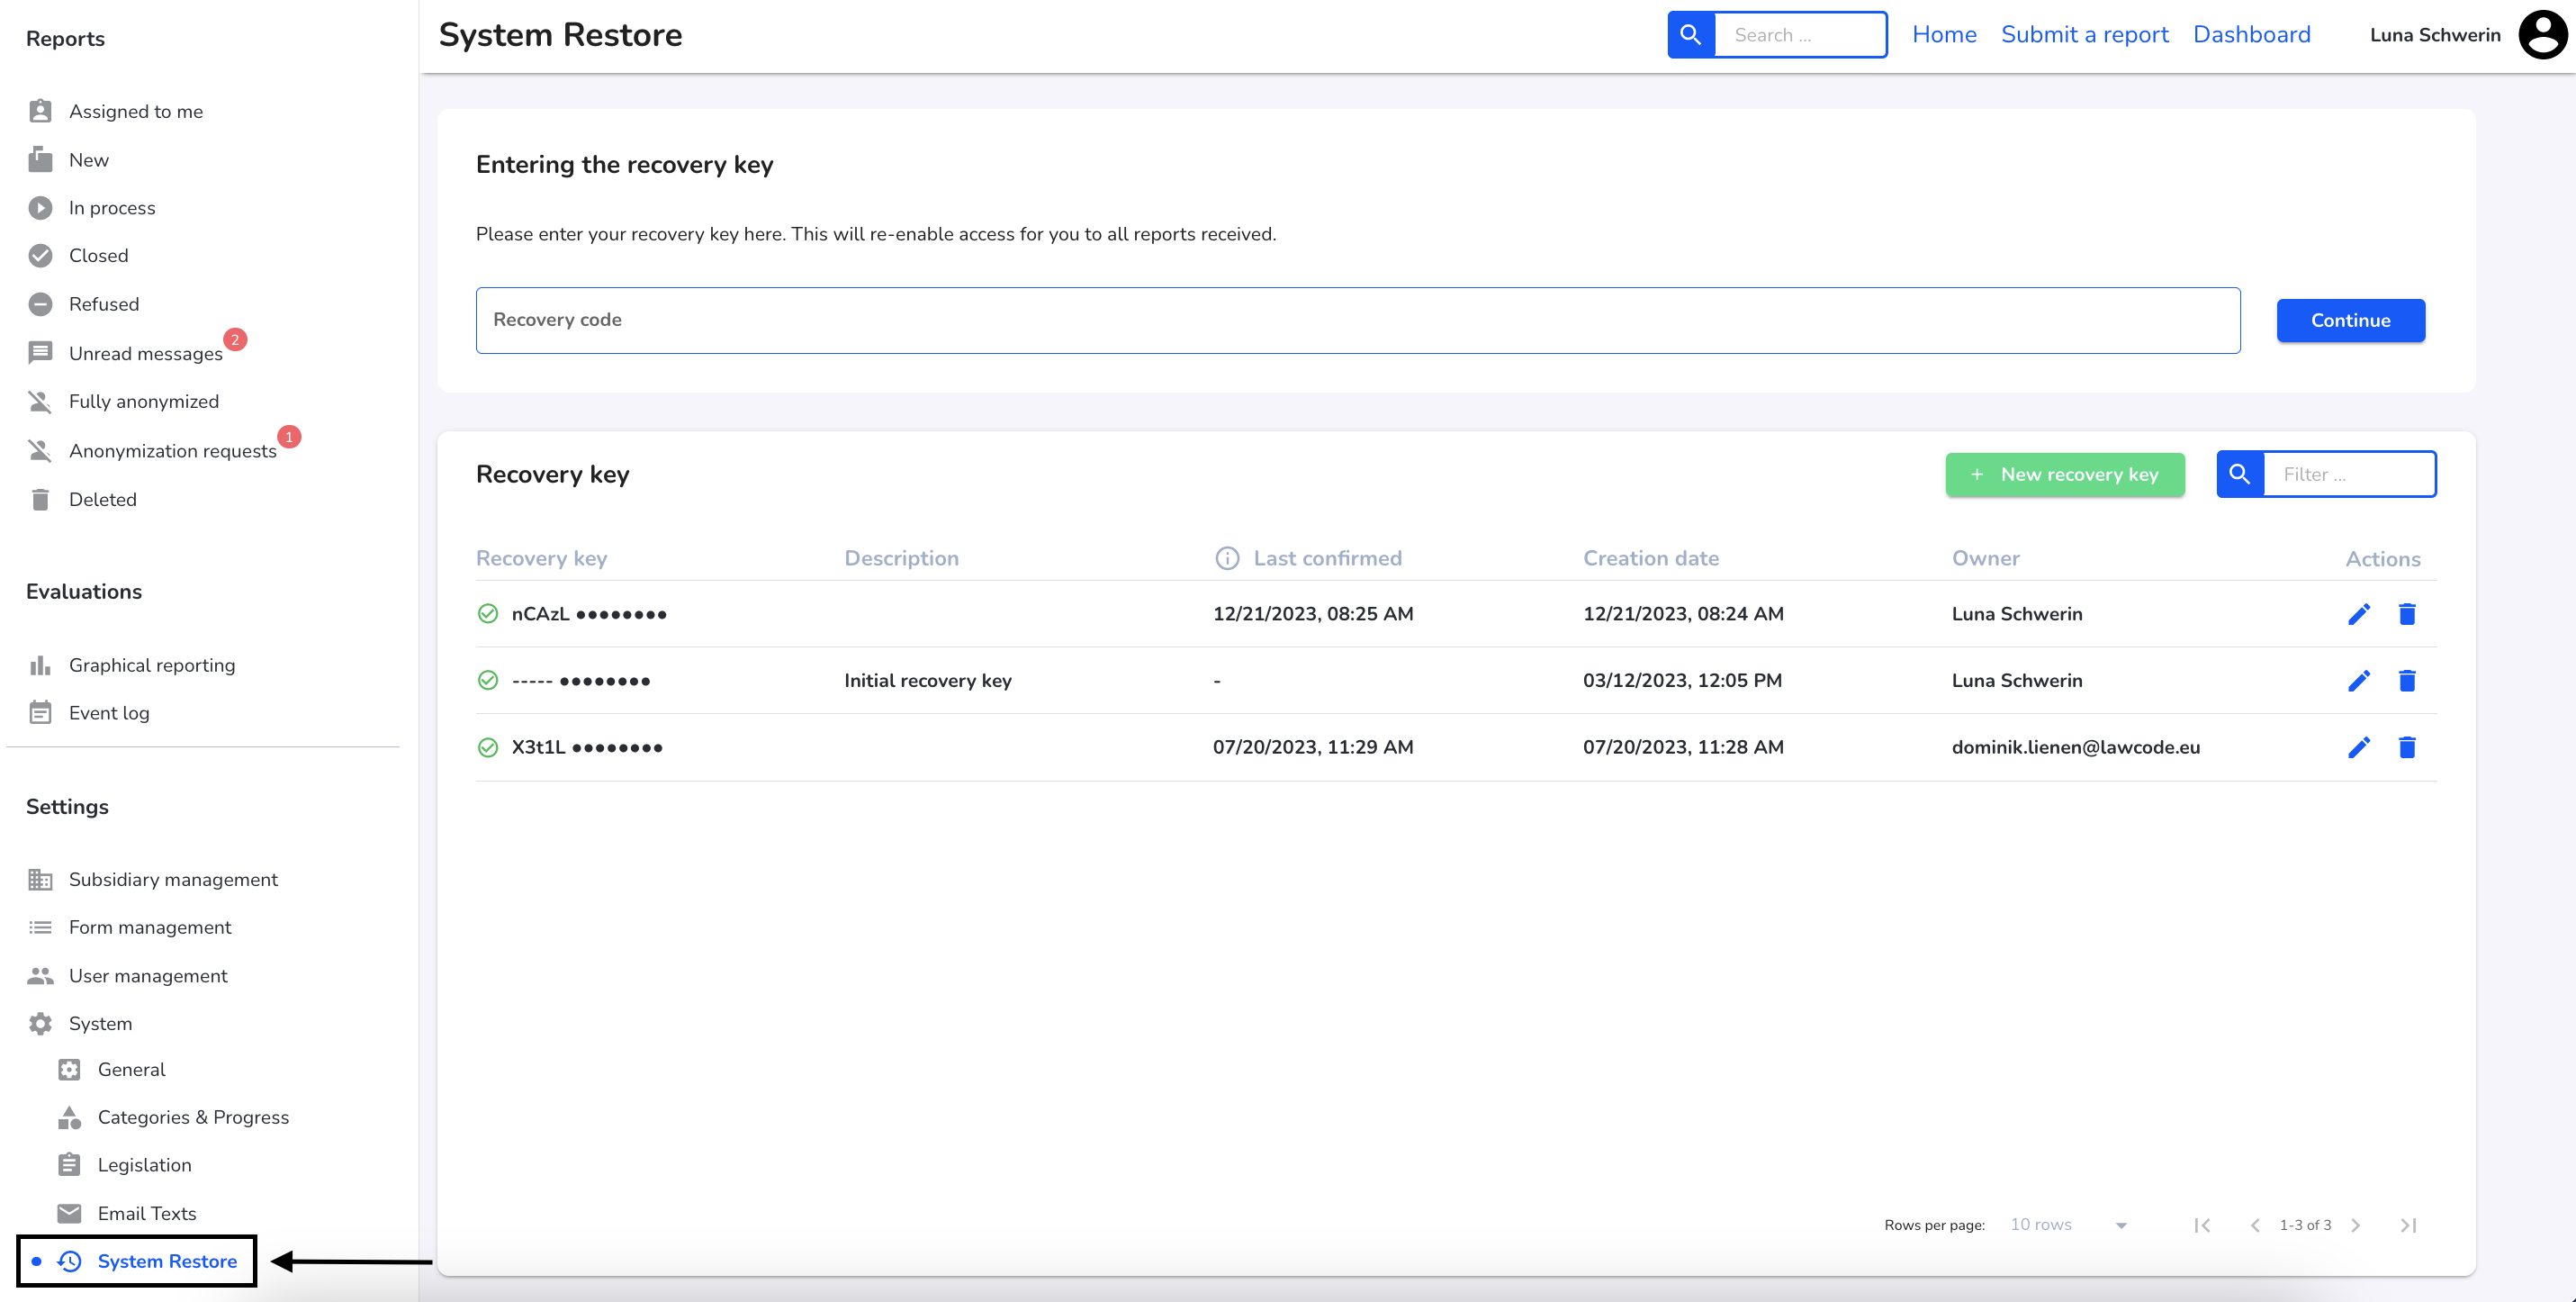
The recovery keys are managed in the system recovery area; to find out more about the recovery keys, click here.
Click on System Restore.
