Areas
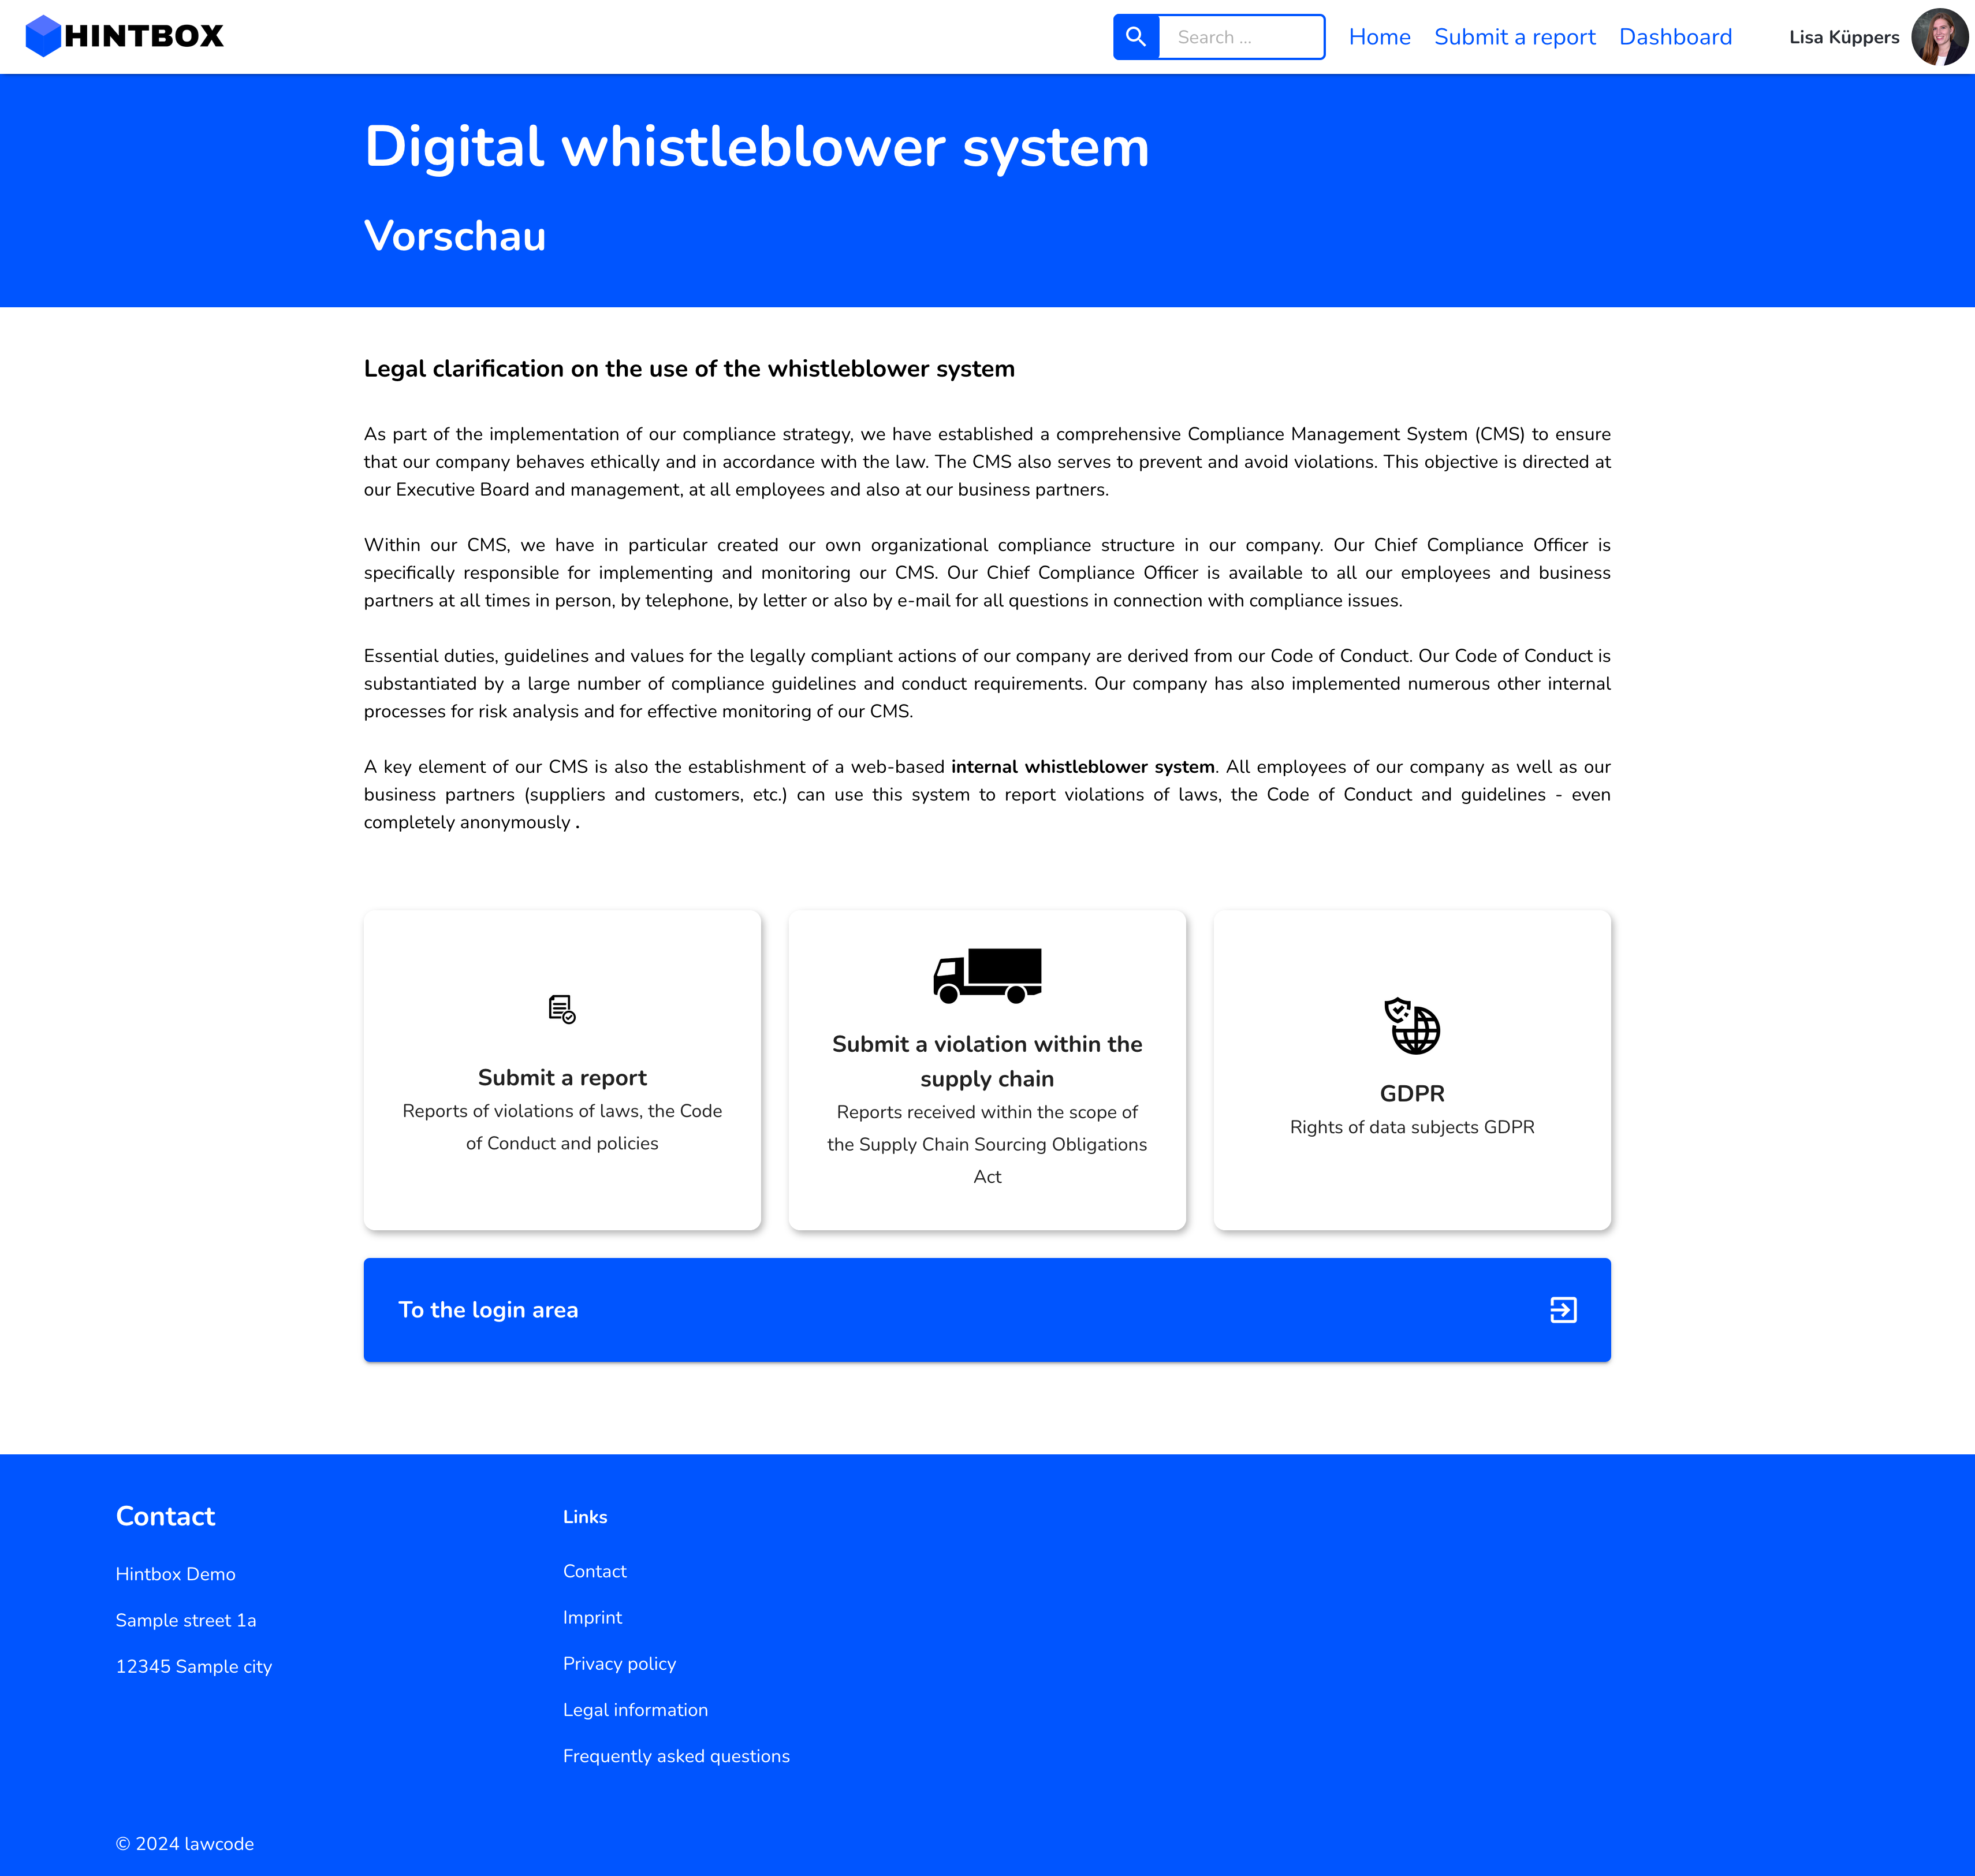
Areas are used in the Hintbox to give whistleblowers the opportunity to report information on various topics. In addition to the Whistleblower Protection Act, you can also use different areas to submit reports for the Supply Chain Due Diligence Act, complaints procedures in accordance with the General Equal Treatment Act (AGG) or submission of data subject rights in accordance with the General Data Protection Regulation (GDPR) and much more. By creating different areas, the start page of your Hintbox could look like this.
Create area
You can create as many areas as you like in the Hintbox. However, these only become visible on the start page when you create a public form is deposited.
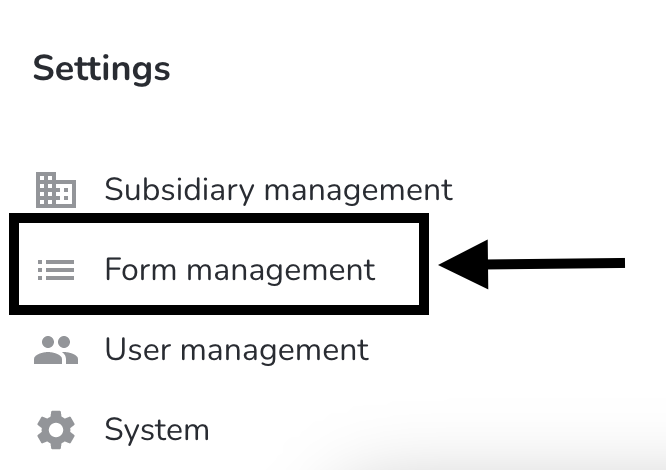
To create an area, click in the form administration.
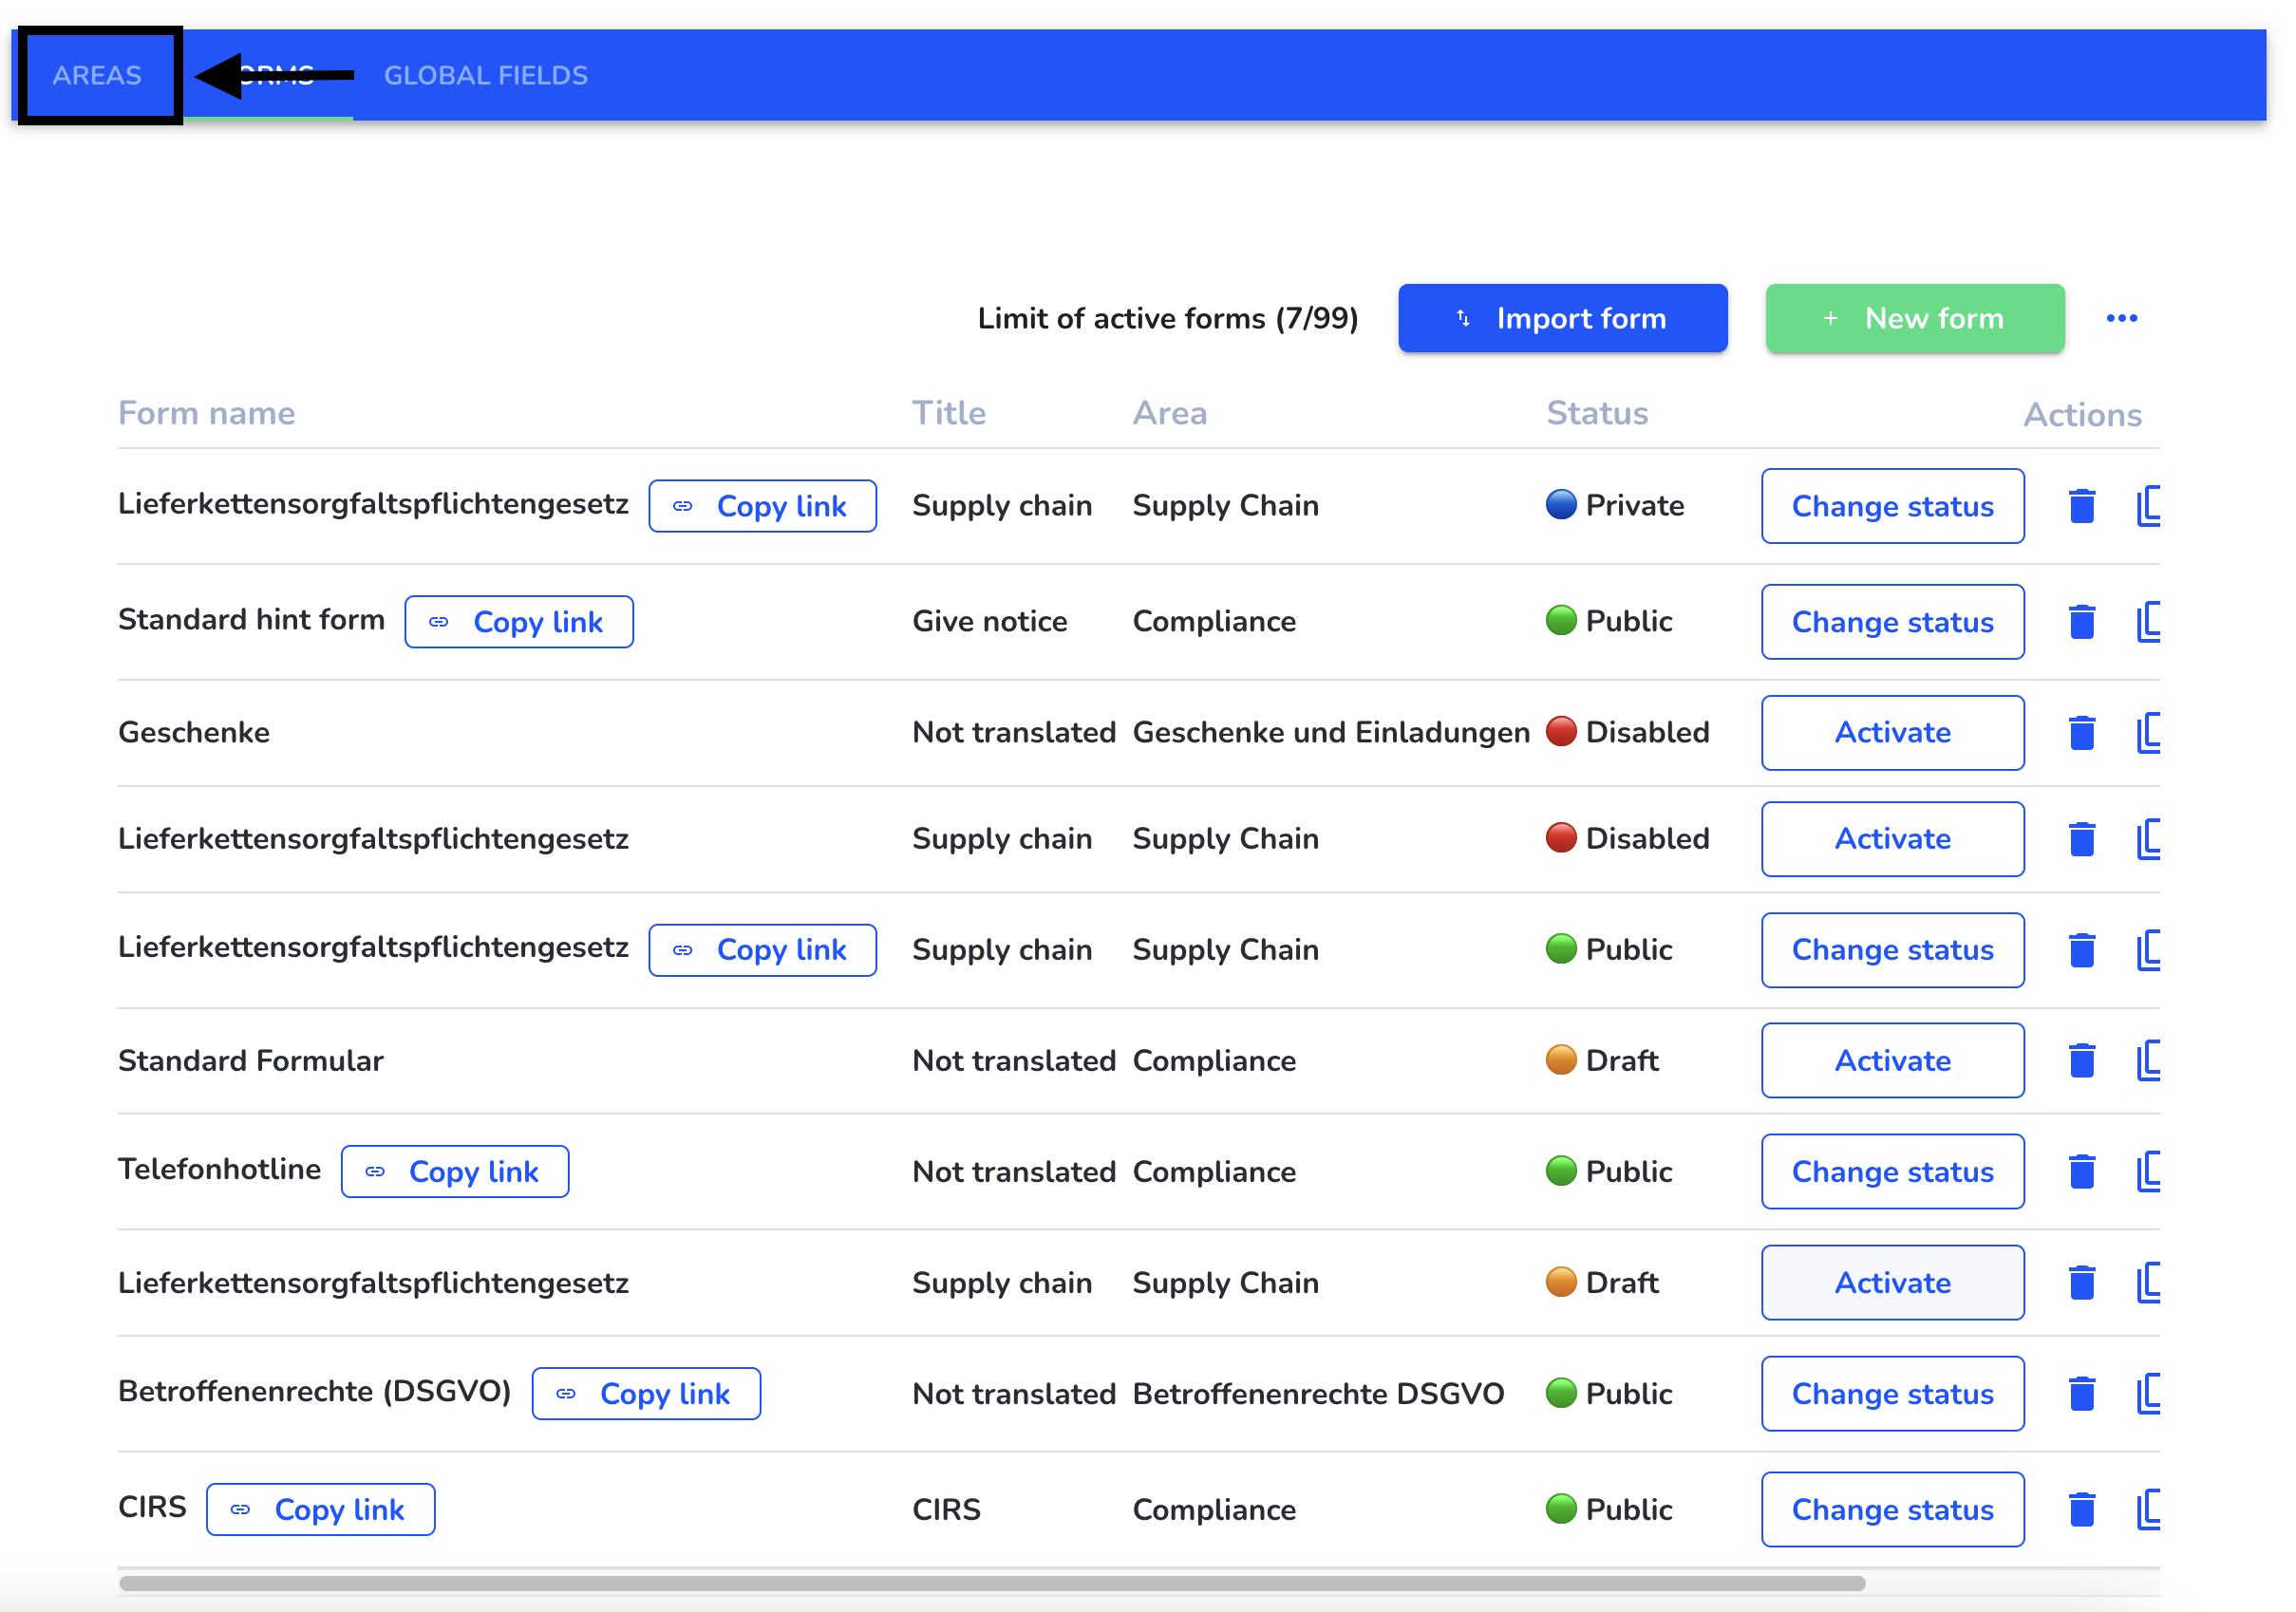
Click on areas there.
An overview of all previously created areas opens. You can create, edit, delete and sort areas.
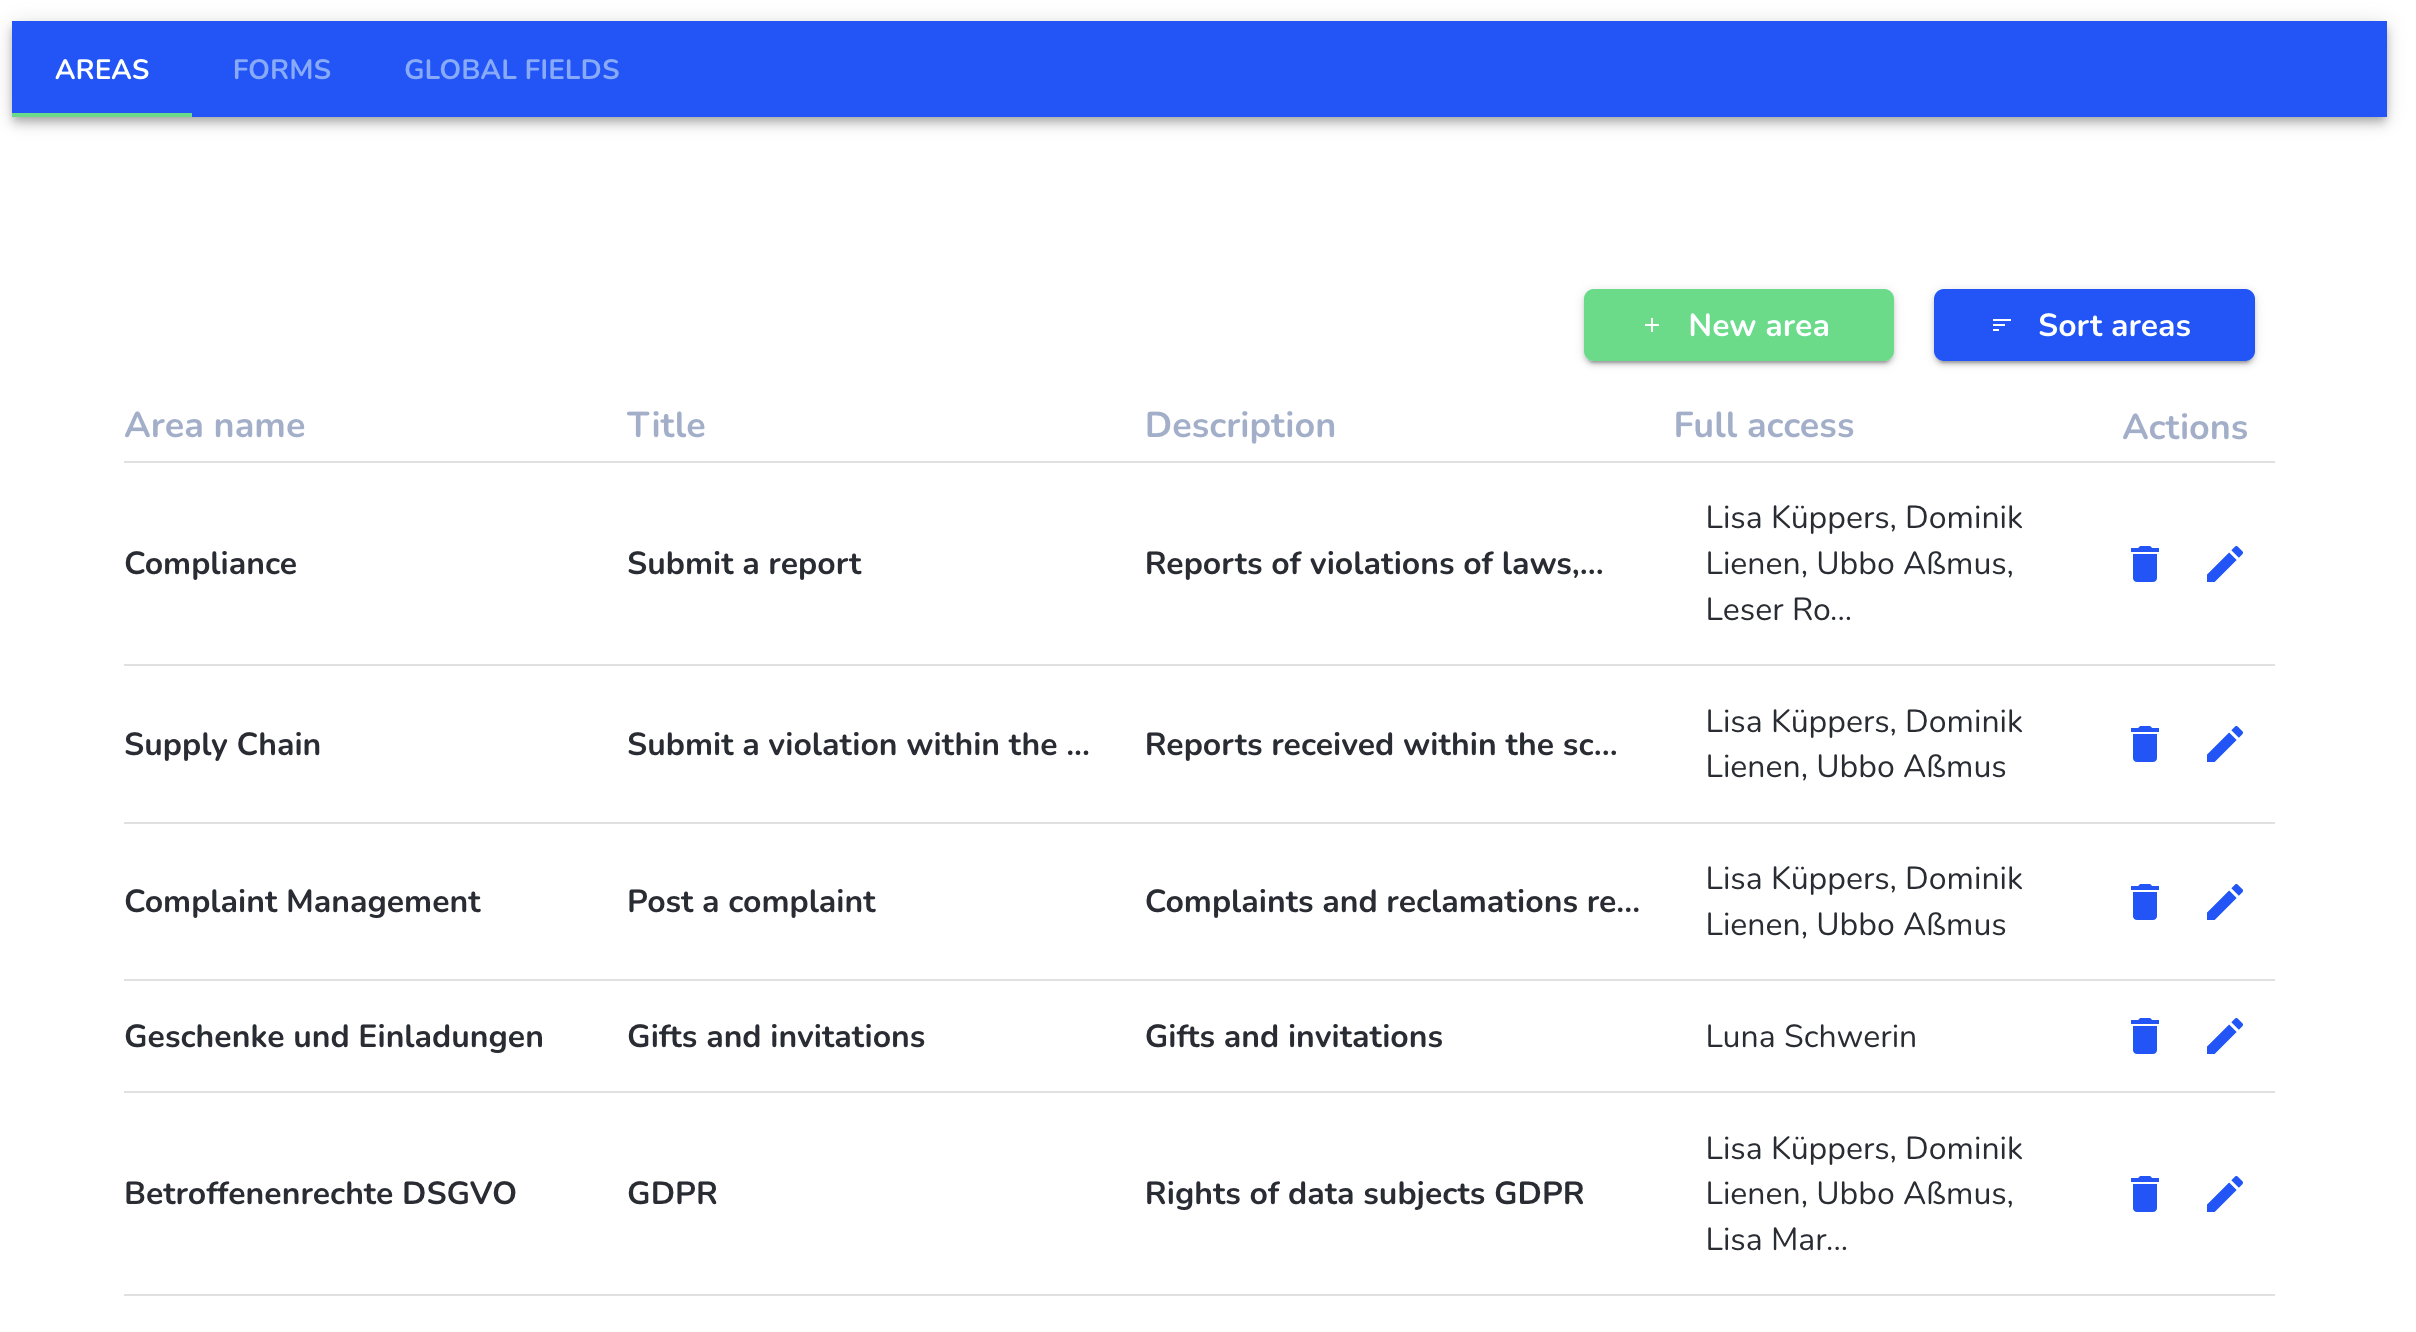
Click on new area.
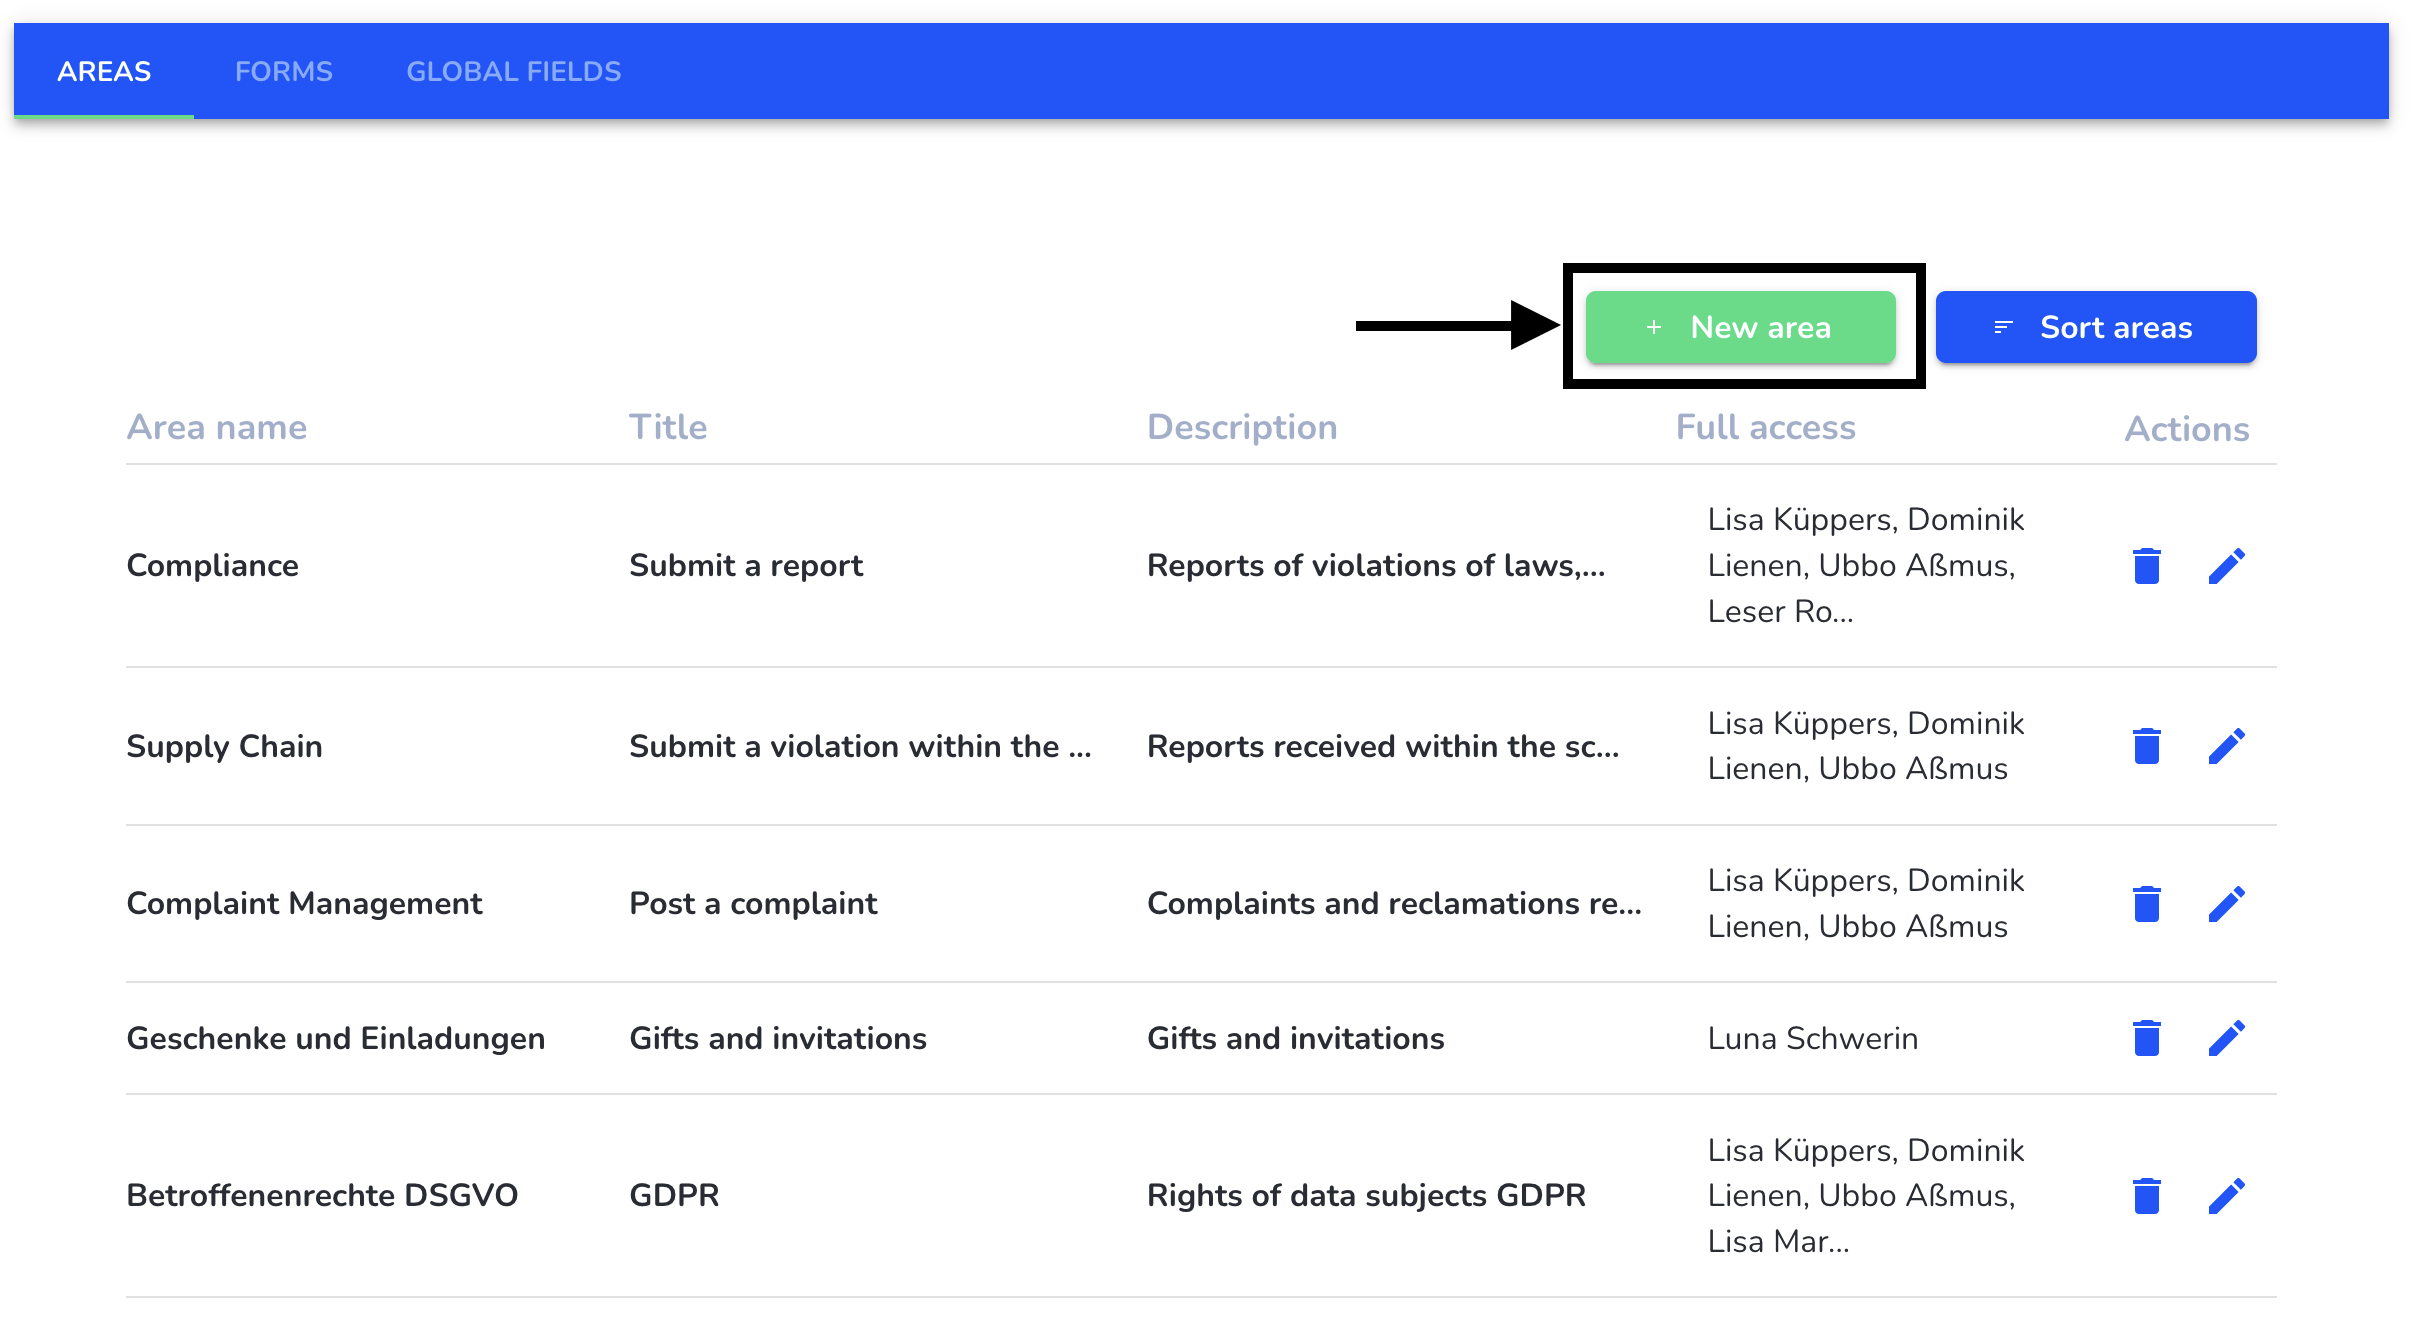
To create an area you need the following information:
Area name: The area name is visible internally and should be understandable for all administrators.
Title: The title labels the button with which the whistleblower is forwarded to the corresponding form on the start page.
Description: The text is optional. The description also appears on the button with which the whistleblower is forwarded to the corresponding form on the start page.
Full access: All users who should have access to reports in the area should be selected for full access.
Area logo: The logo is optional. It also appears on the button that redirects the whistleblower to the corresponding form on the homepage.
Linked clients: Linked clients are used to add clients to an area, which are available for selection in the detailed display of a report. If no clients are linked, all clients are available for selection in the detailed display.
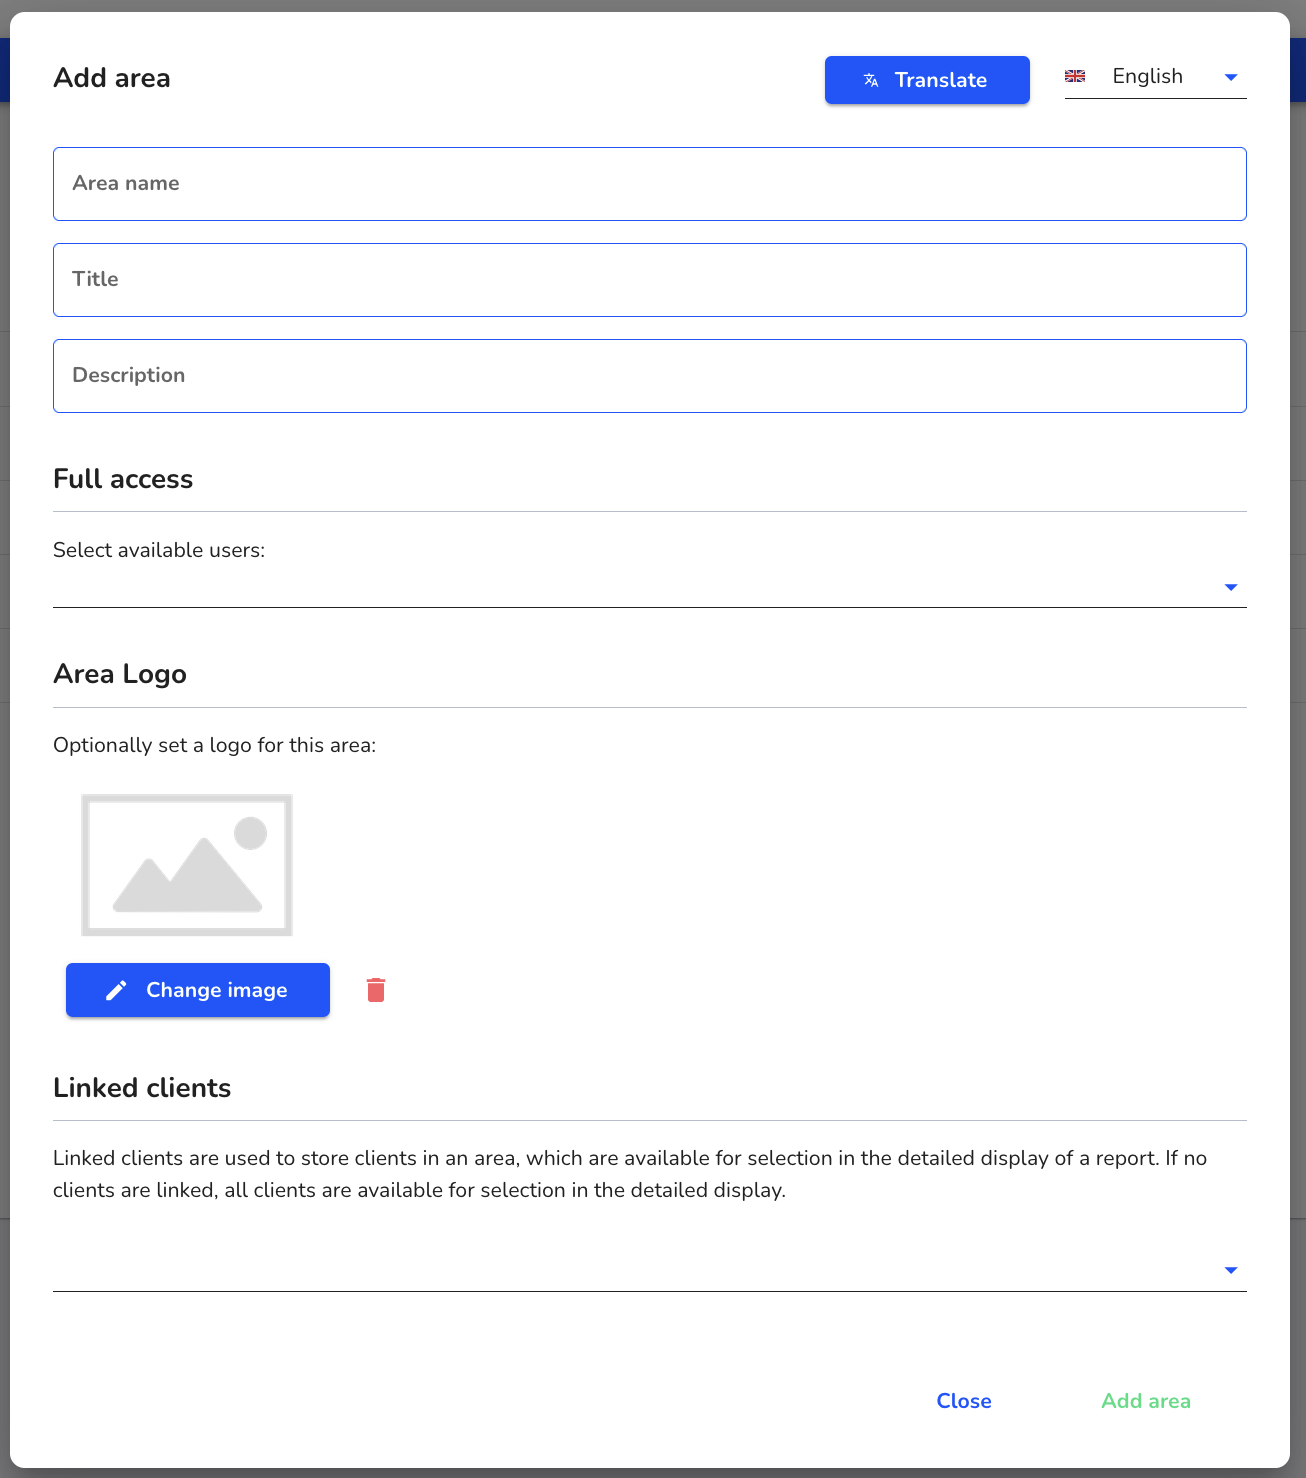
When you have entered all the information, click on Add area.
If you offer more languages in your Hintbox, first click on Translate. How do I translate areas?
Edit area
Areas can be edited. Navigate to the form management.

Click on areas.

Click on the editing pencil.

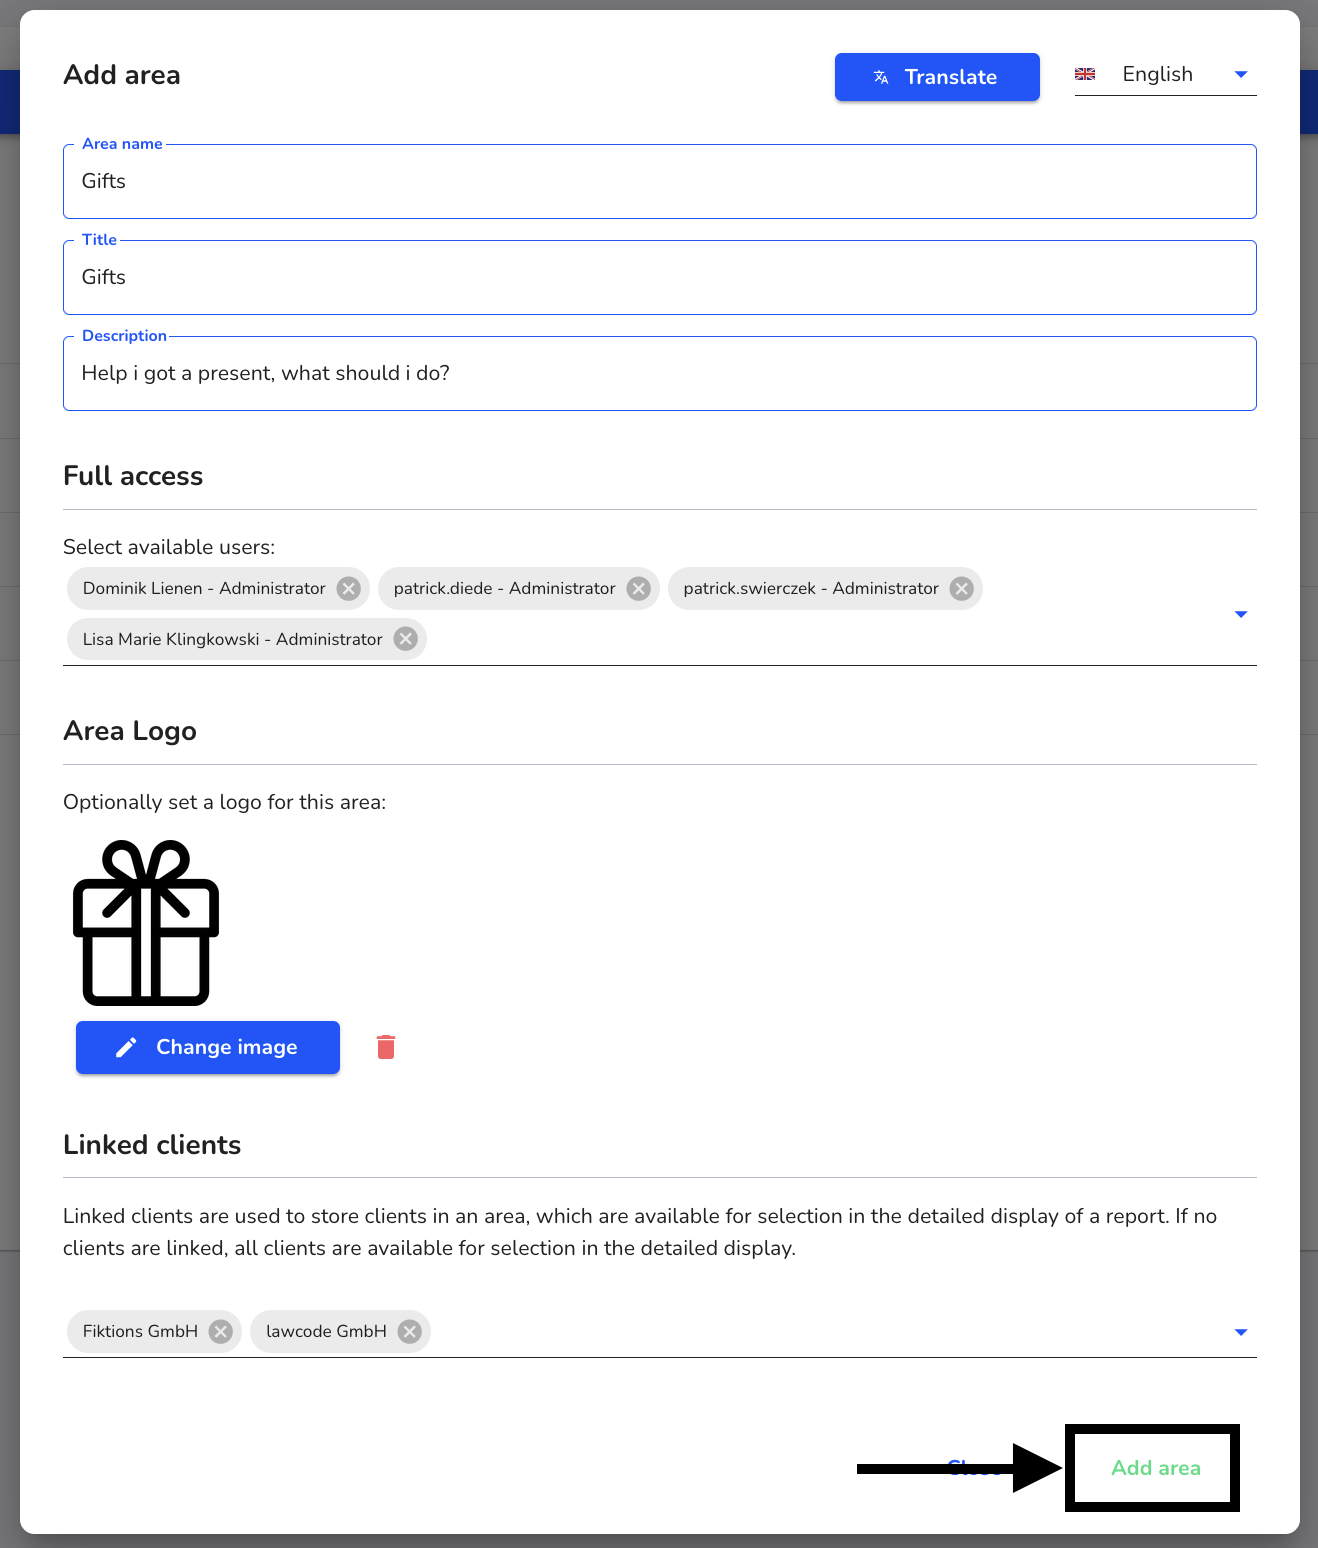
You can make the following changes to an area:
Area name: The area name is visible internally and should be understandable for all administrators.
Title: The title labels the button with which the whistleblower is forwarded to the corresponding form on the start page.
Description: The text is optional. The description also appears on the button with which the whistleblower is forwarded to the corresponding form on the start page.
Full access: All users who should have access to reports in the area should be selected for full access.
Area logo: The logo is optional. It also appears on the button that redirects the whistleblower to the corresponding form on the homepage.
Linked clients: Linked clients are used to add clients to an area, which are available for selection in the detailed display of a report. If no clients are linked, all clients are available for selection in the detailed display.

After changing the desired aspects, click on Change area.
If you offer more languages in your Hintbox, first click on Translate. How do I translate areas?
Translate area
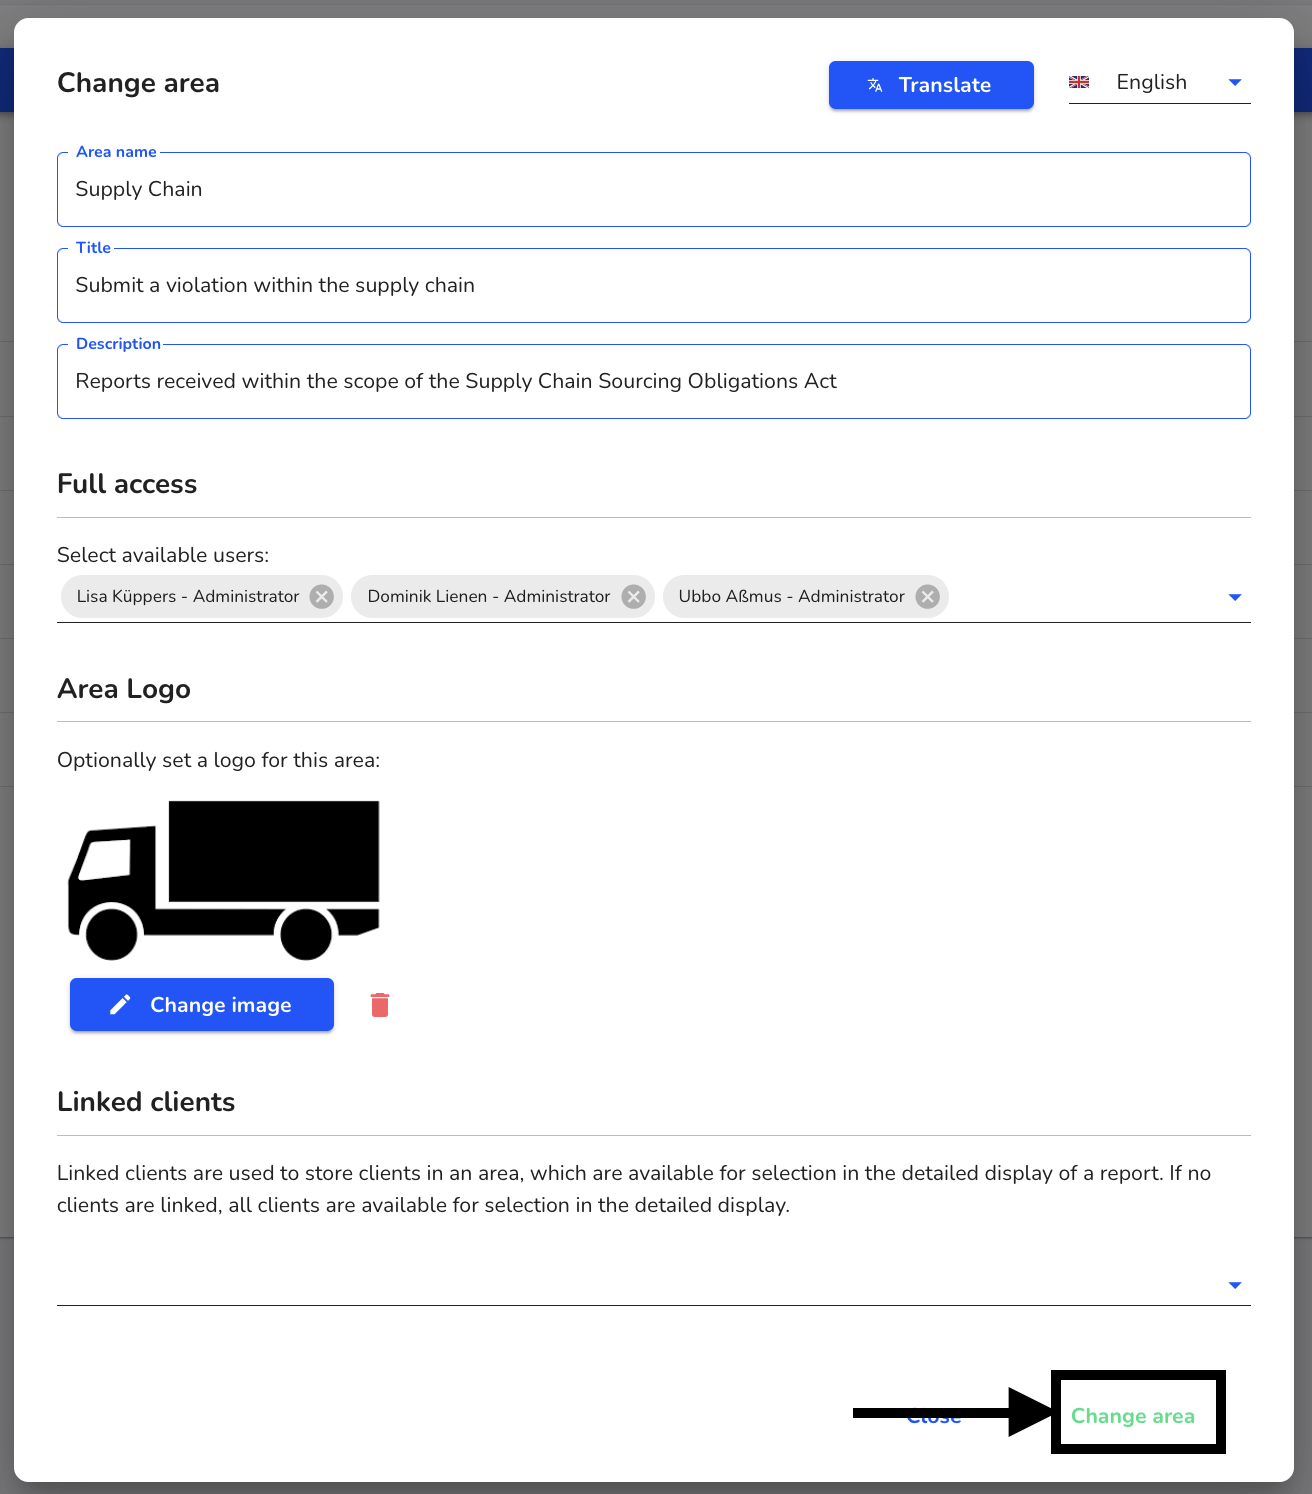
Areas can be translated. To do this, go to the form management.

Navigate to the areas.

Click on the editing pencil.

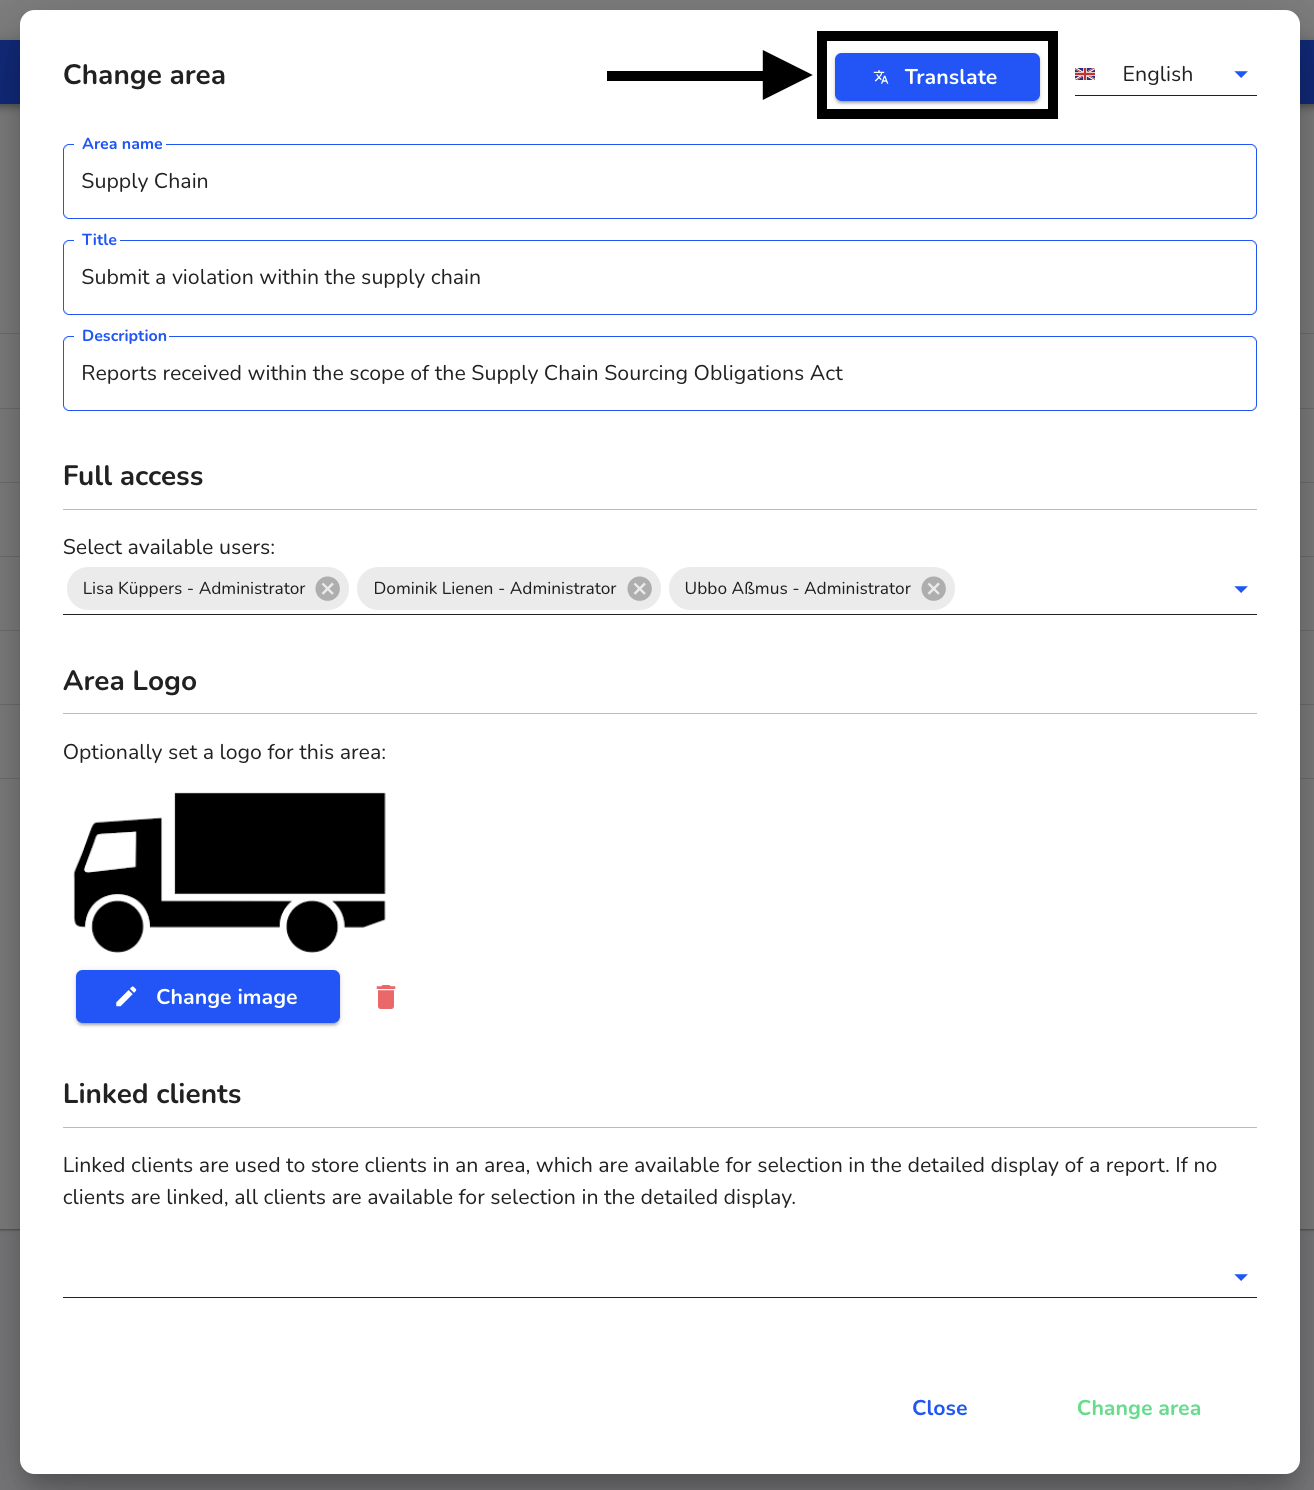
Click on Translate.
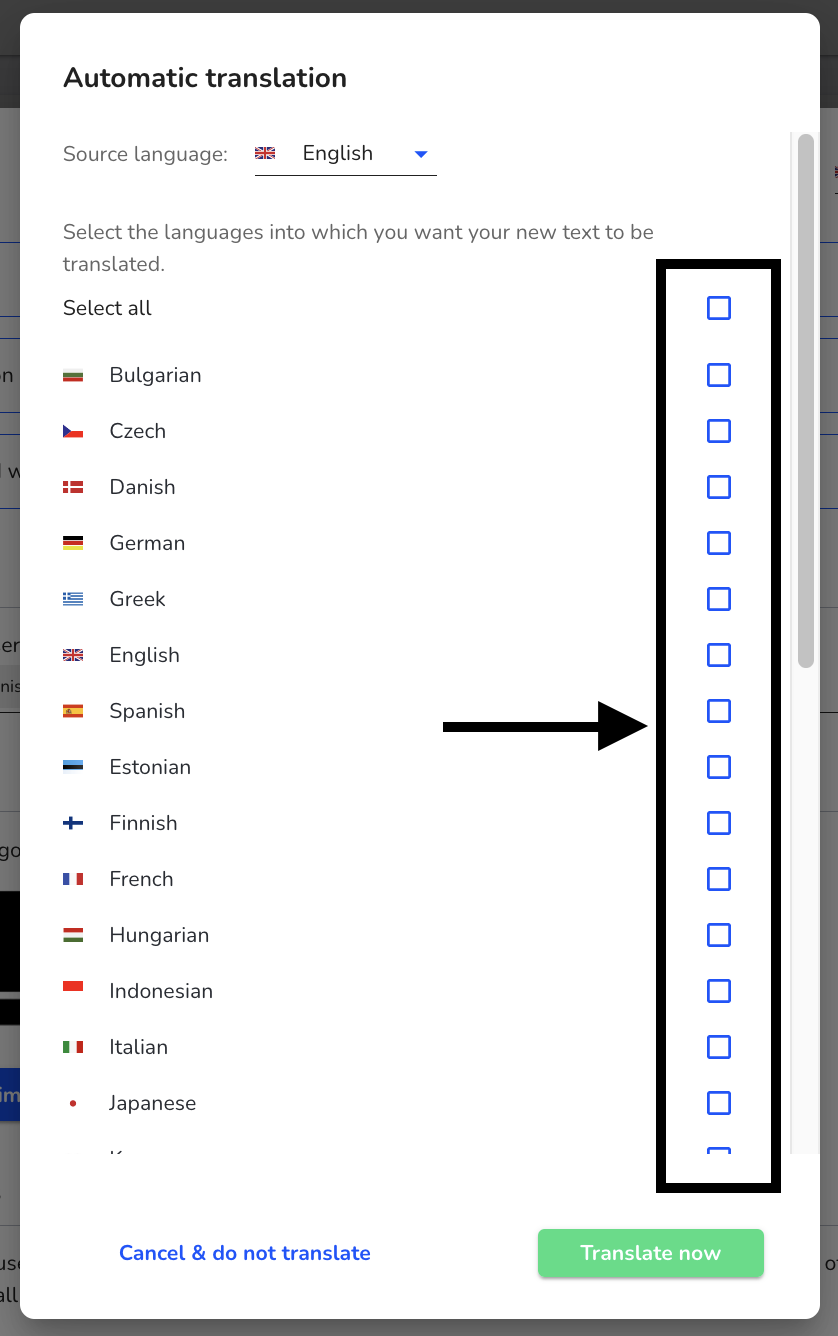
Select the languages you want to translate into.
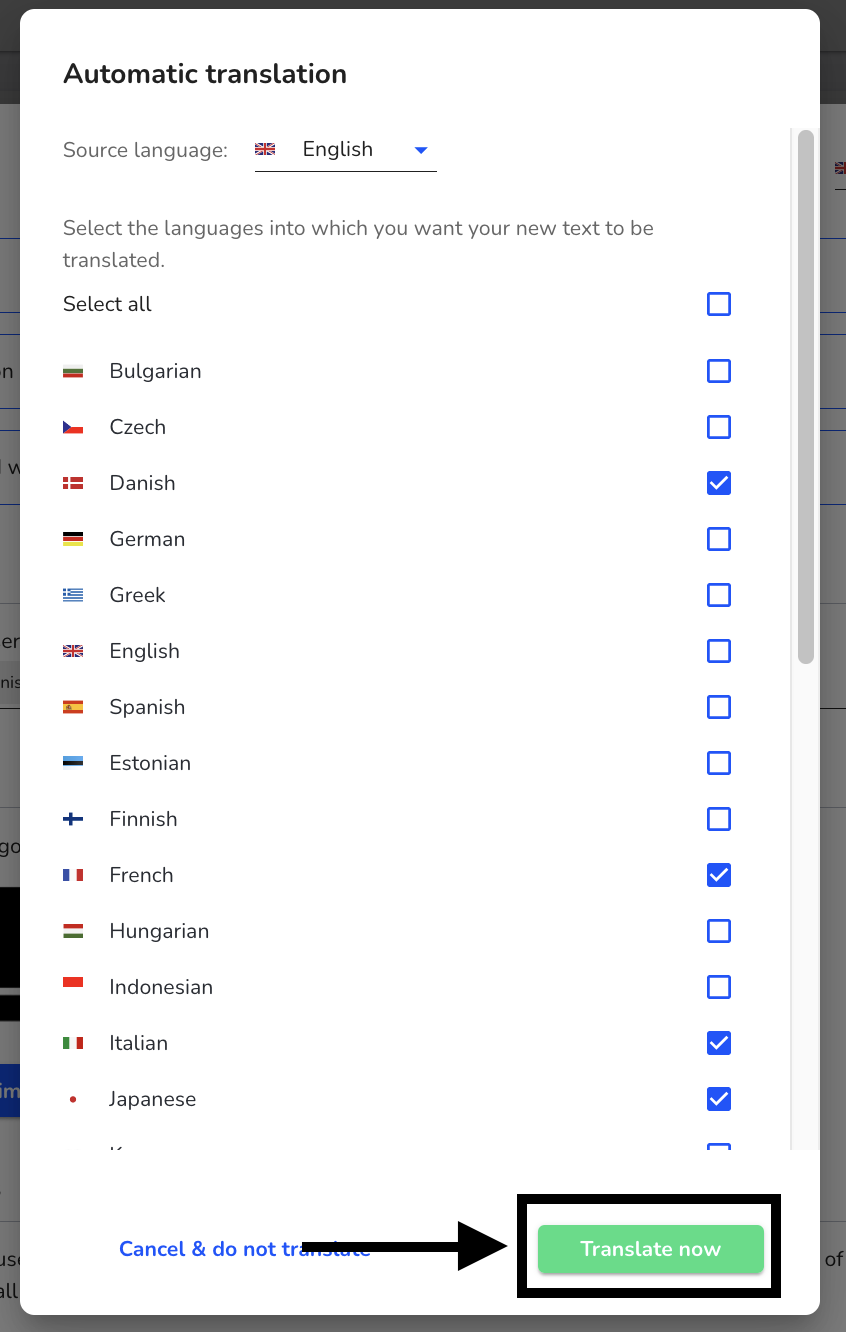
Click on Translate now.
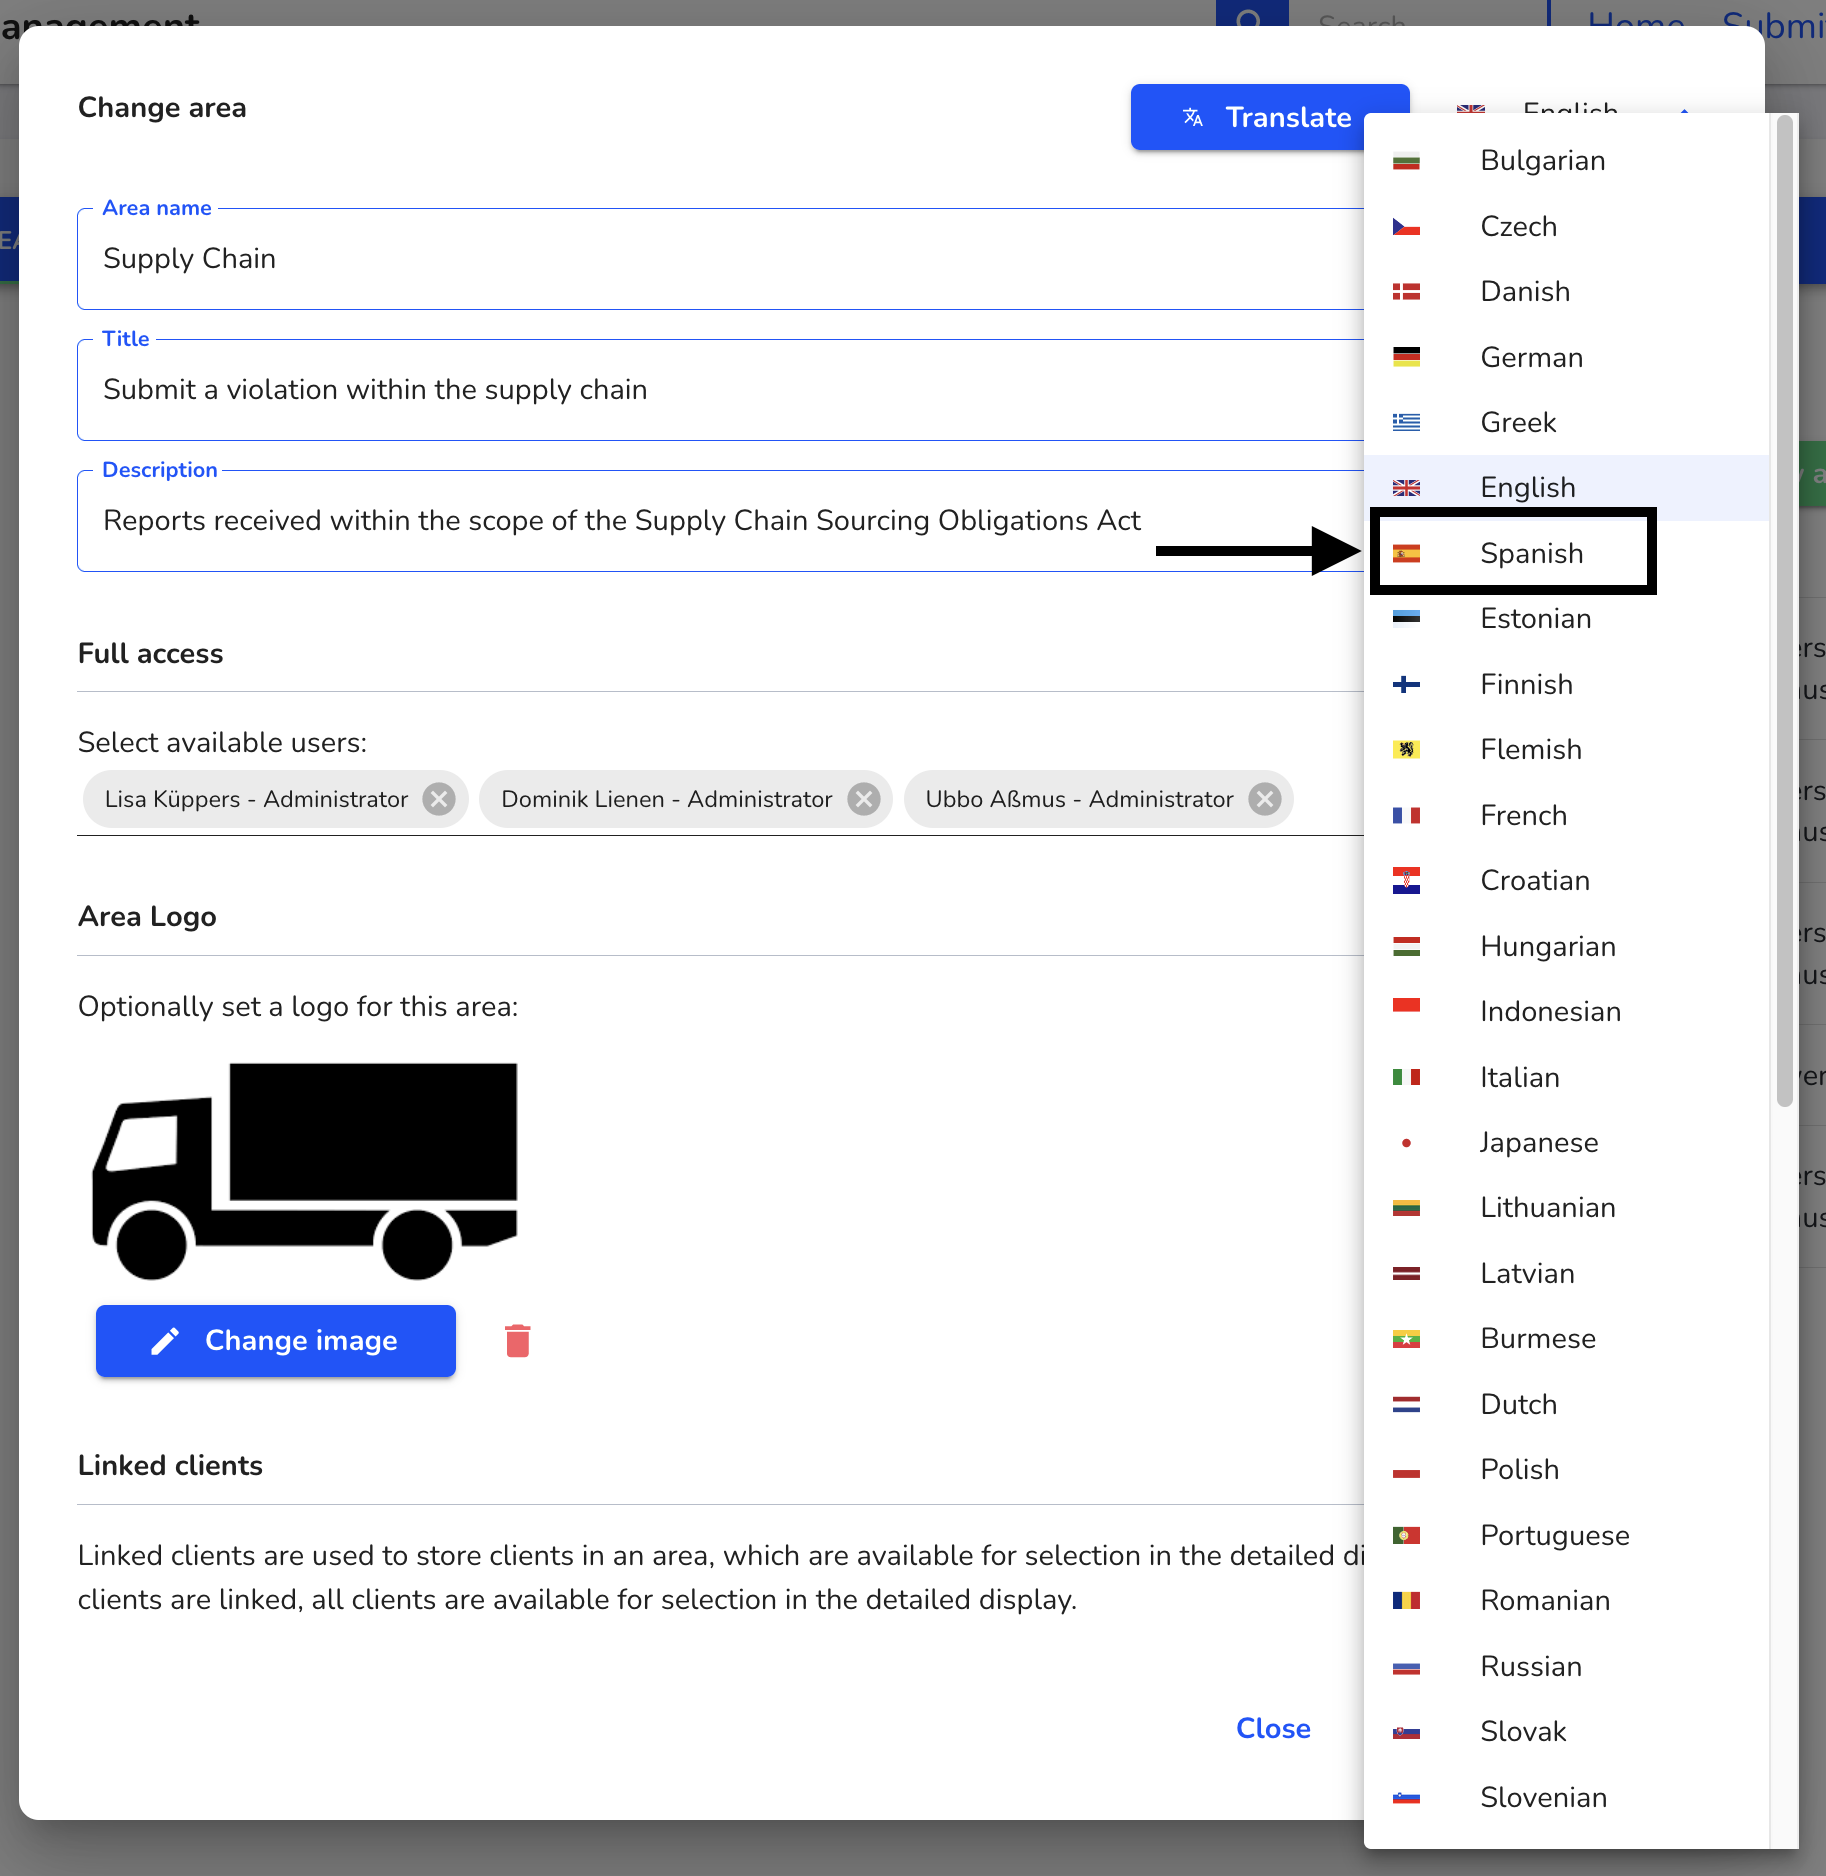
You can check the translation by clicking on the source language.
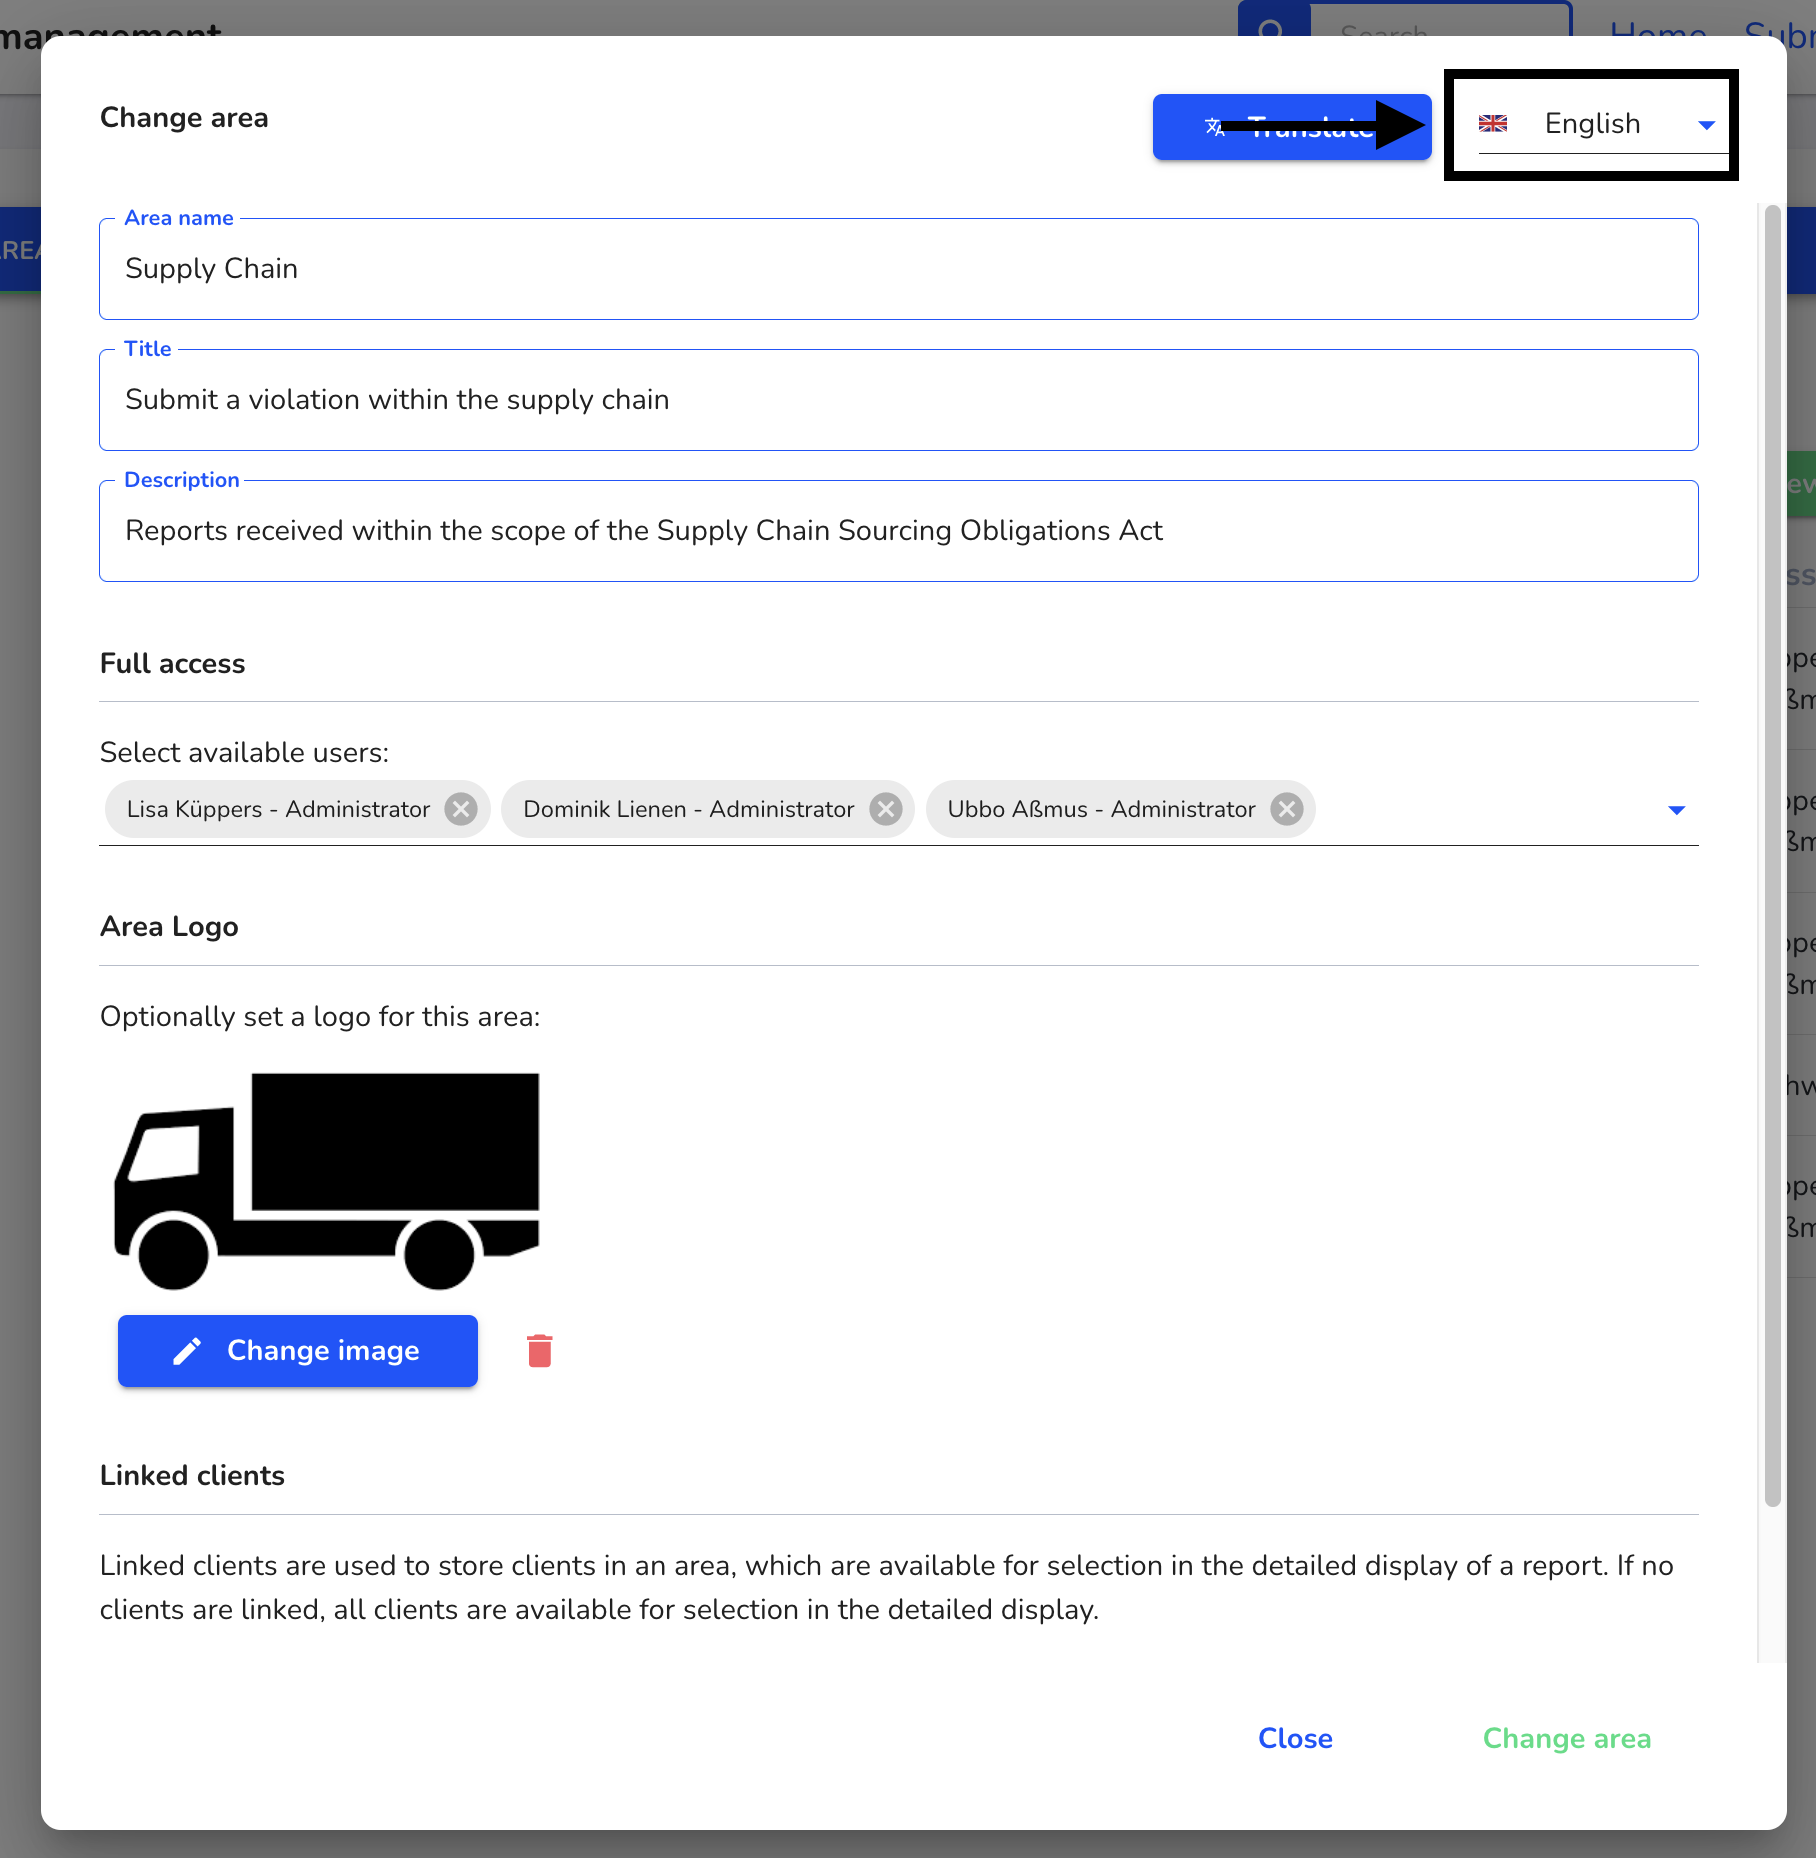
Select the language to be translated.
Check the translation or make manual adjustments.
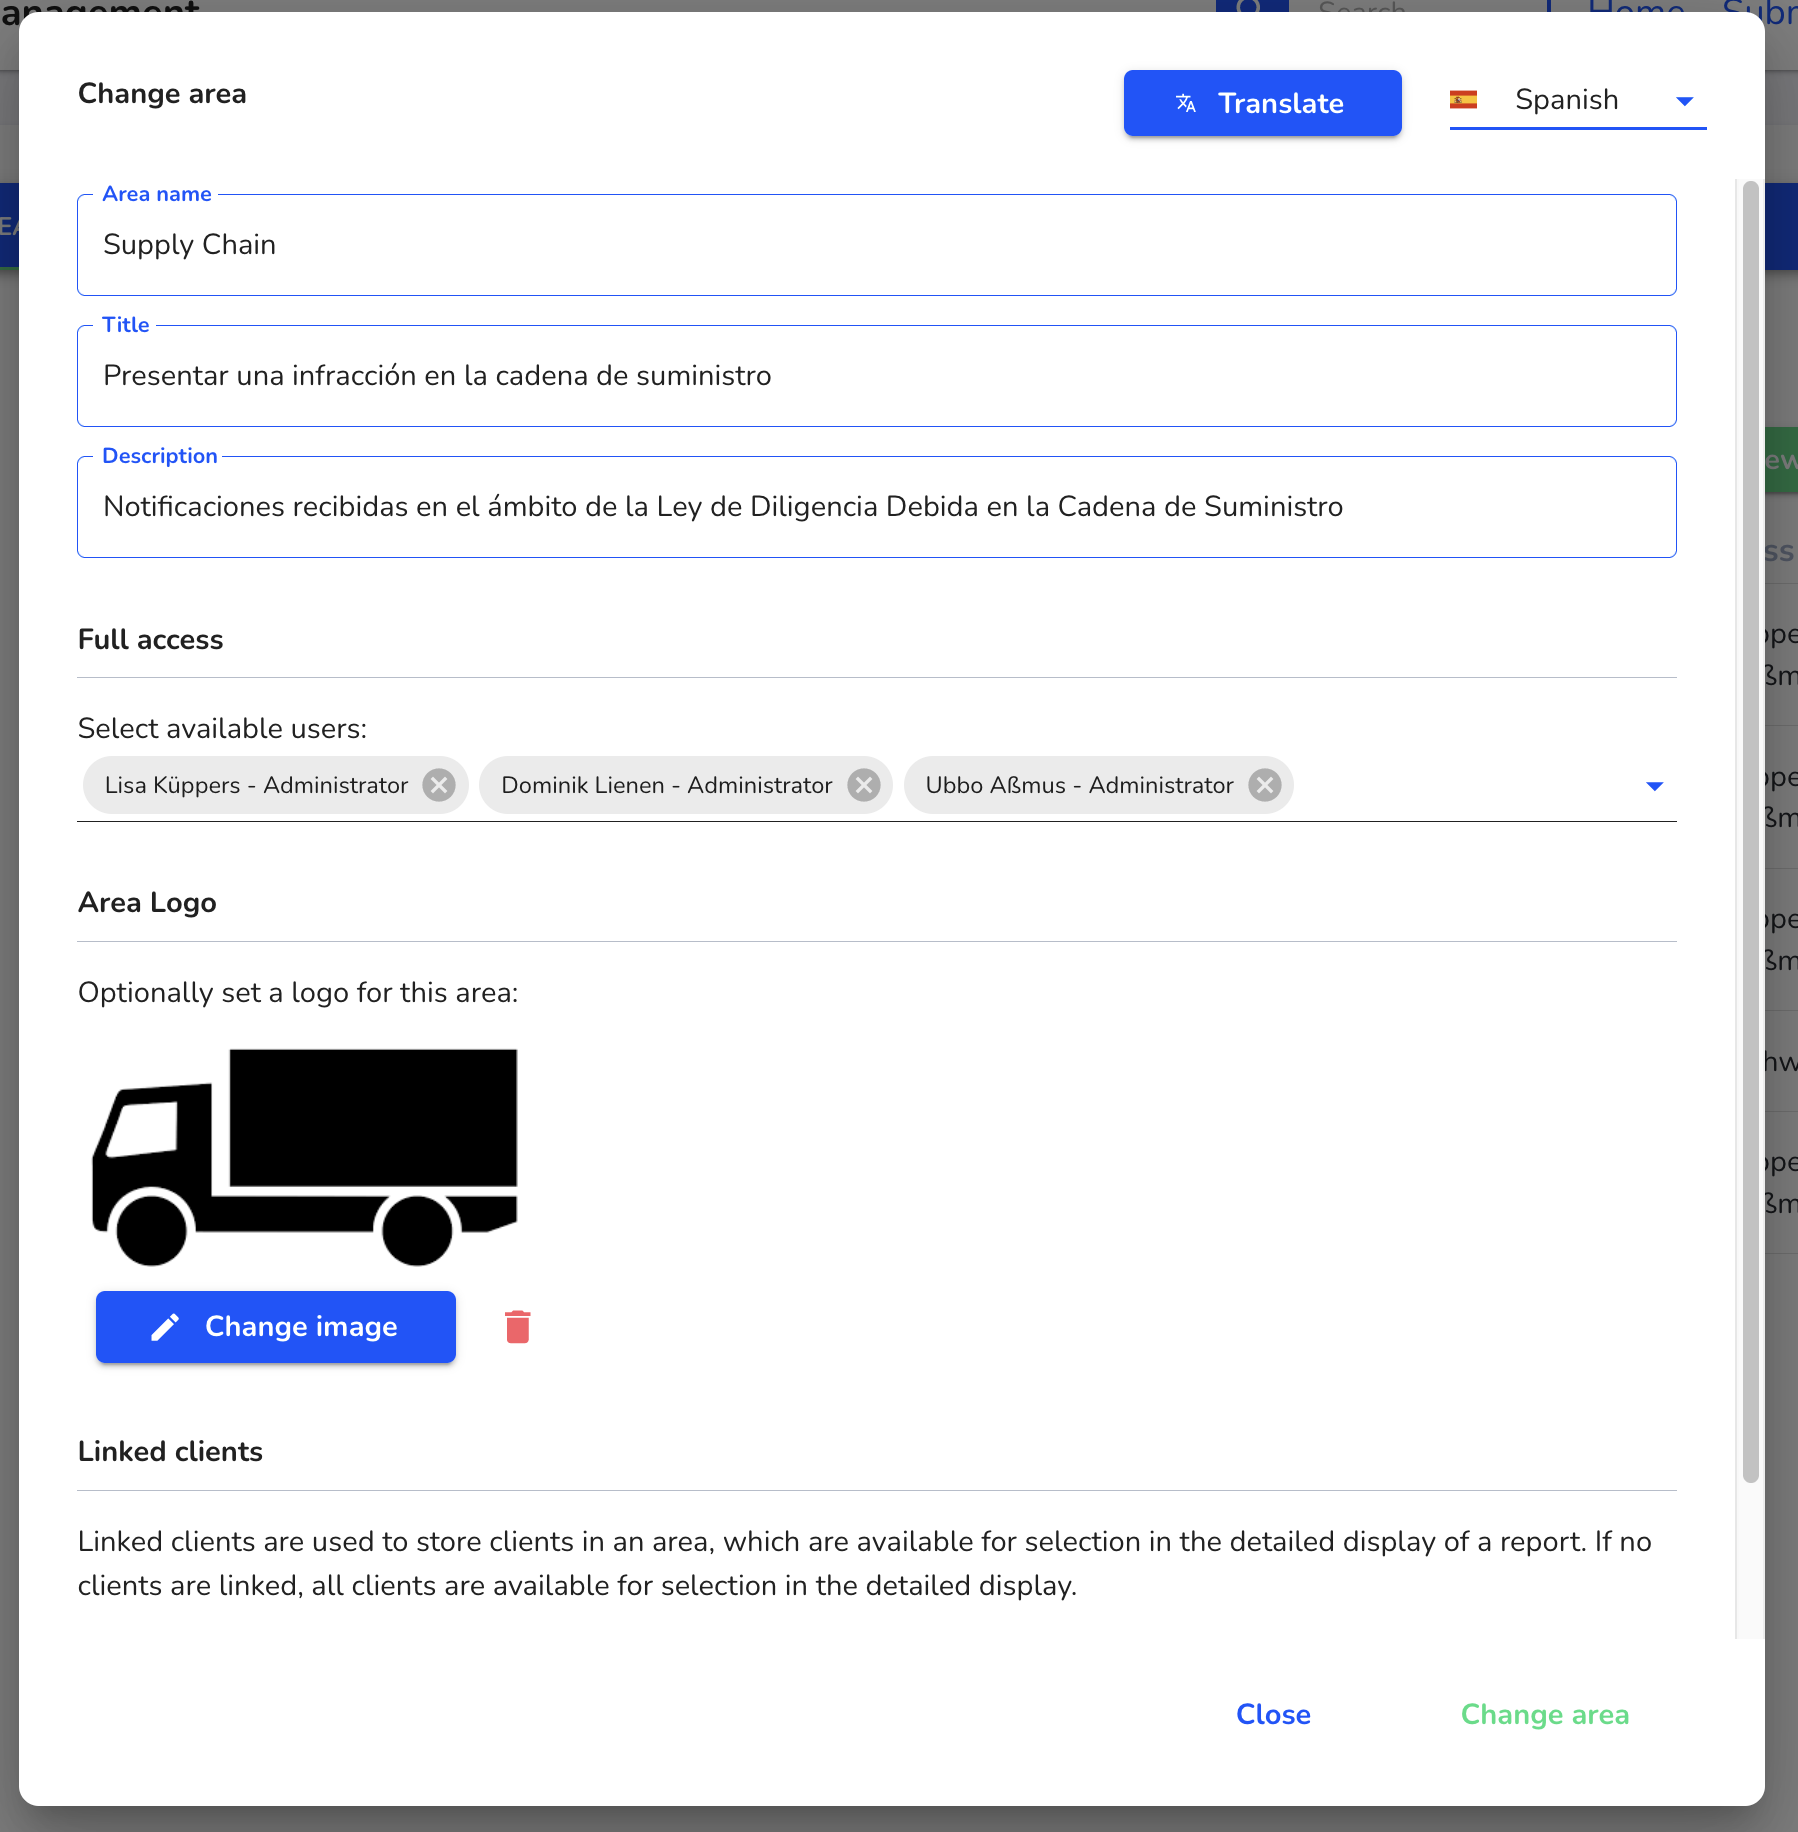
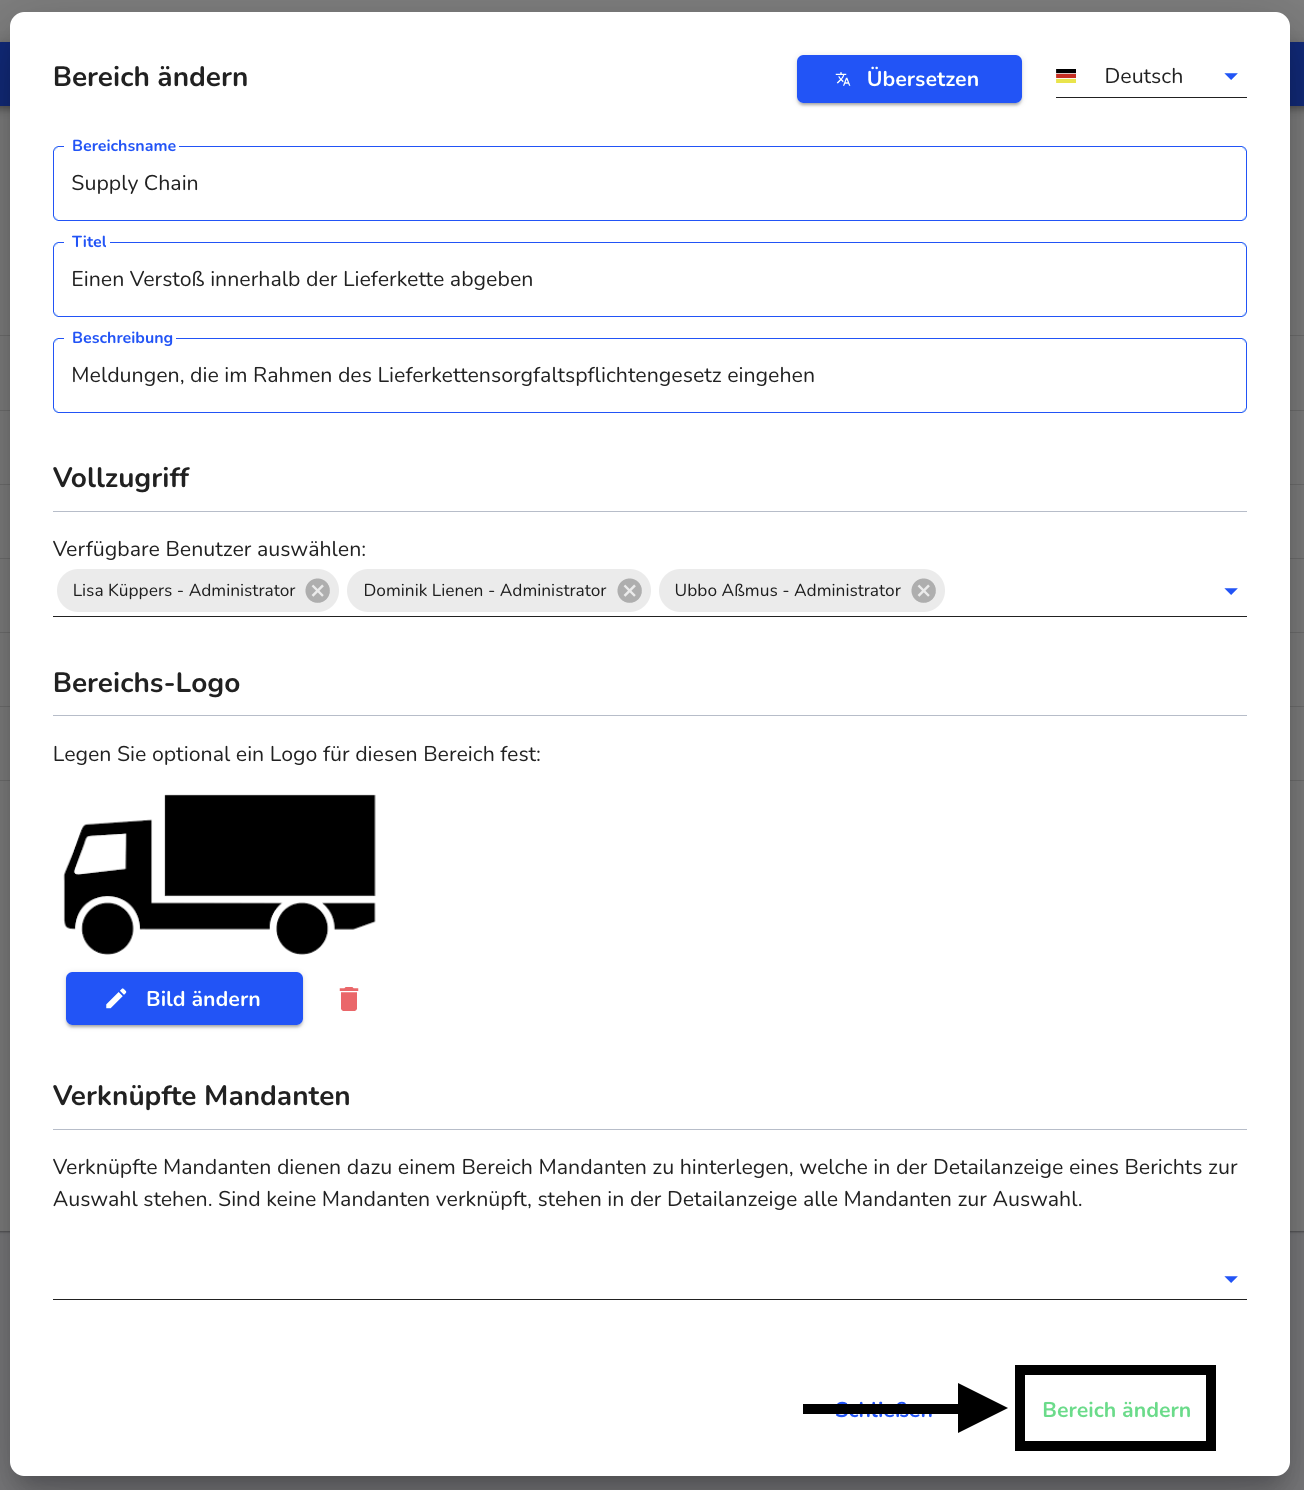
Click on Change area.
Delete area
Areas can be deleted. To do this, navigate to the form management.

Click on areas.

Click on the recycle bin.

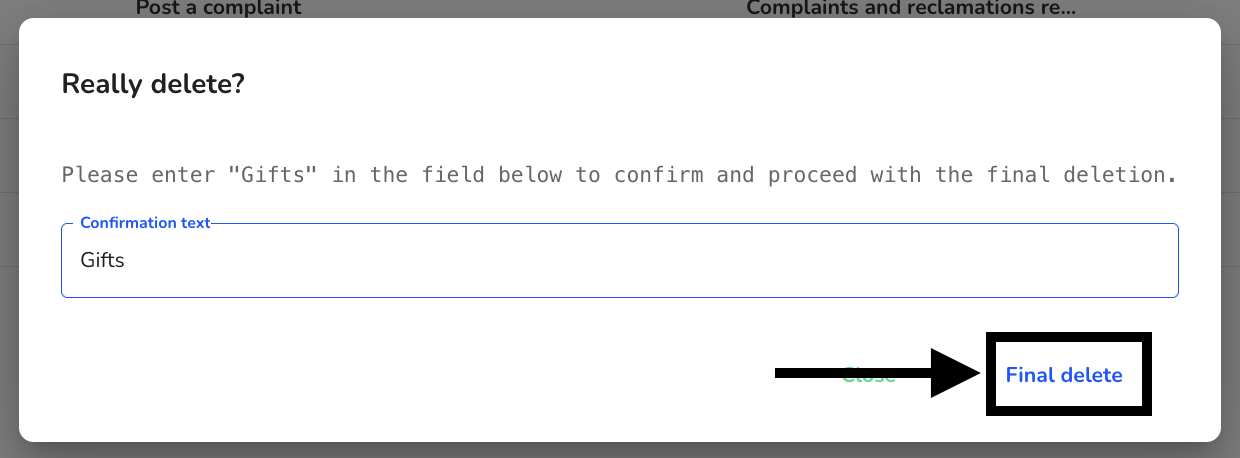
Enter the confirmation text.
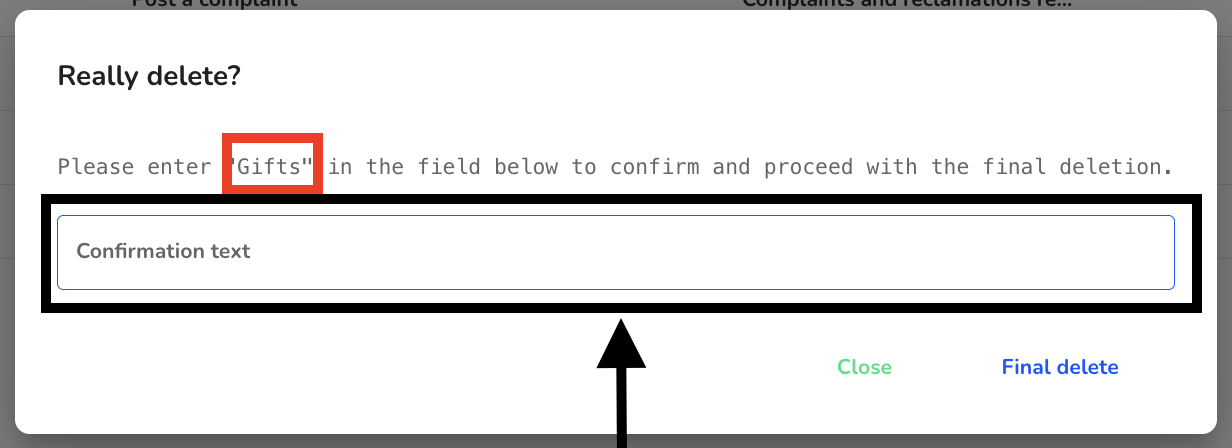
Click on Delete permanently.
Sort areas
The areas can be sorted on the start page. To do this, navigate to the form management.

Click on areas.

Click on Sort areas.

Click on the area you want to sort, hold it down and drag the area to the correct position.

Click on Finish sorting.

