Categories and processes
Categories are used in several places in the system. When submitting a report, the whistleblower can assign his or her request to a category (For more information, see Whistleblowing). When creating a user, you can control access rights based on the categories. (For more information, see User management).
Create category
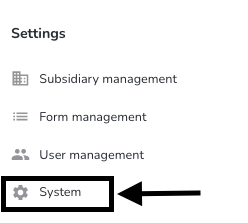
To create a category, click on System under Settings.
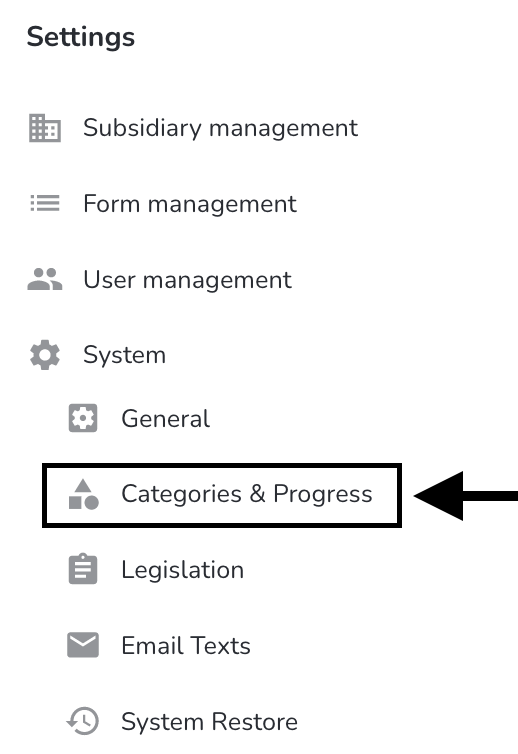
To create a category, click on Categories and Processes under Settings.
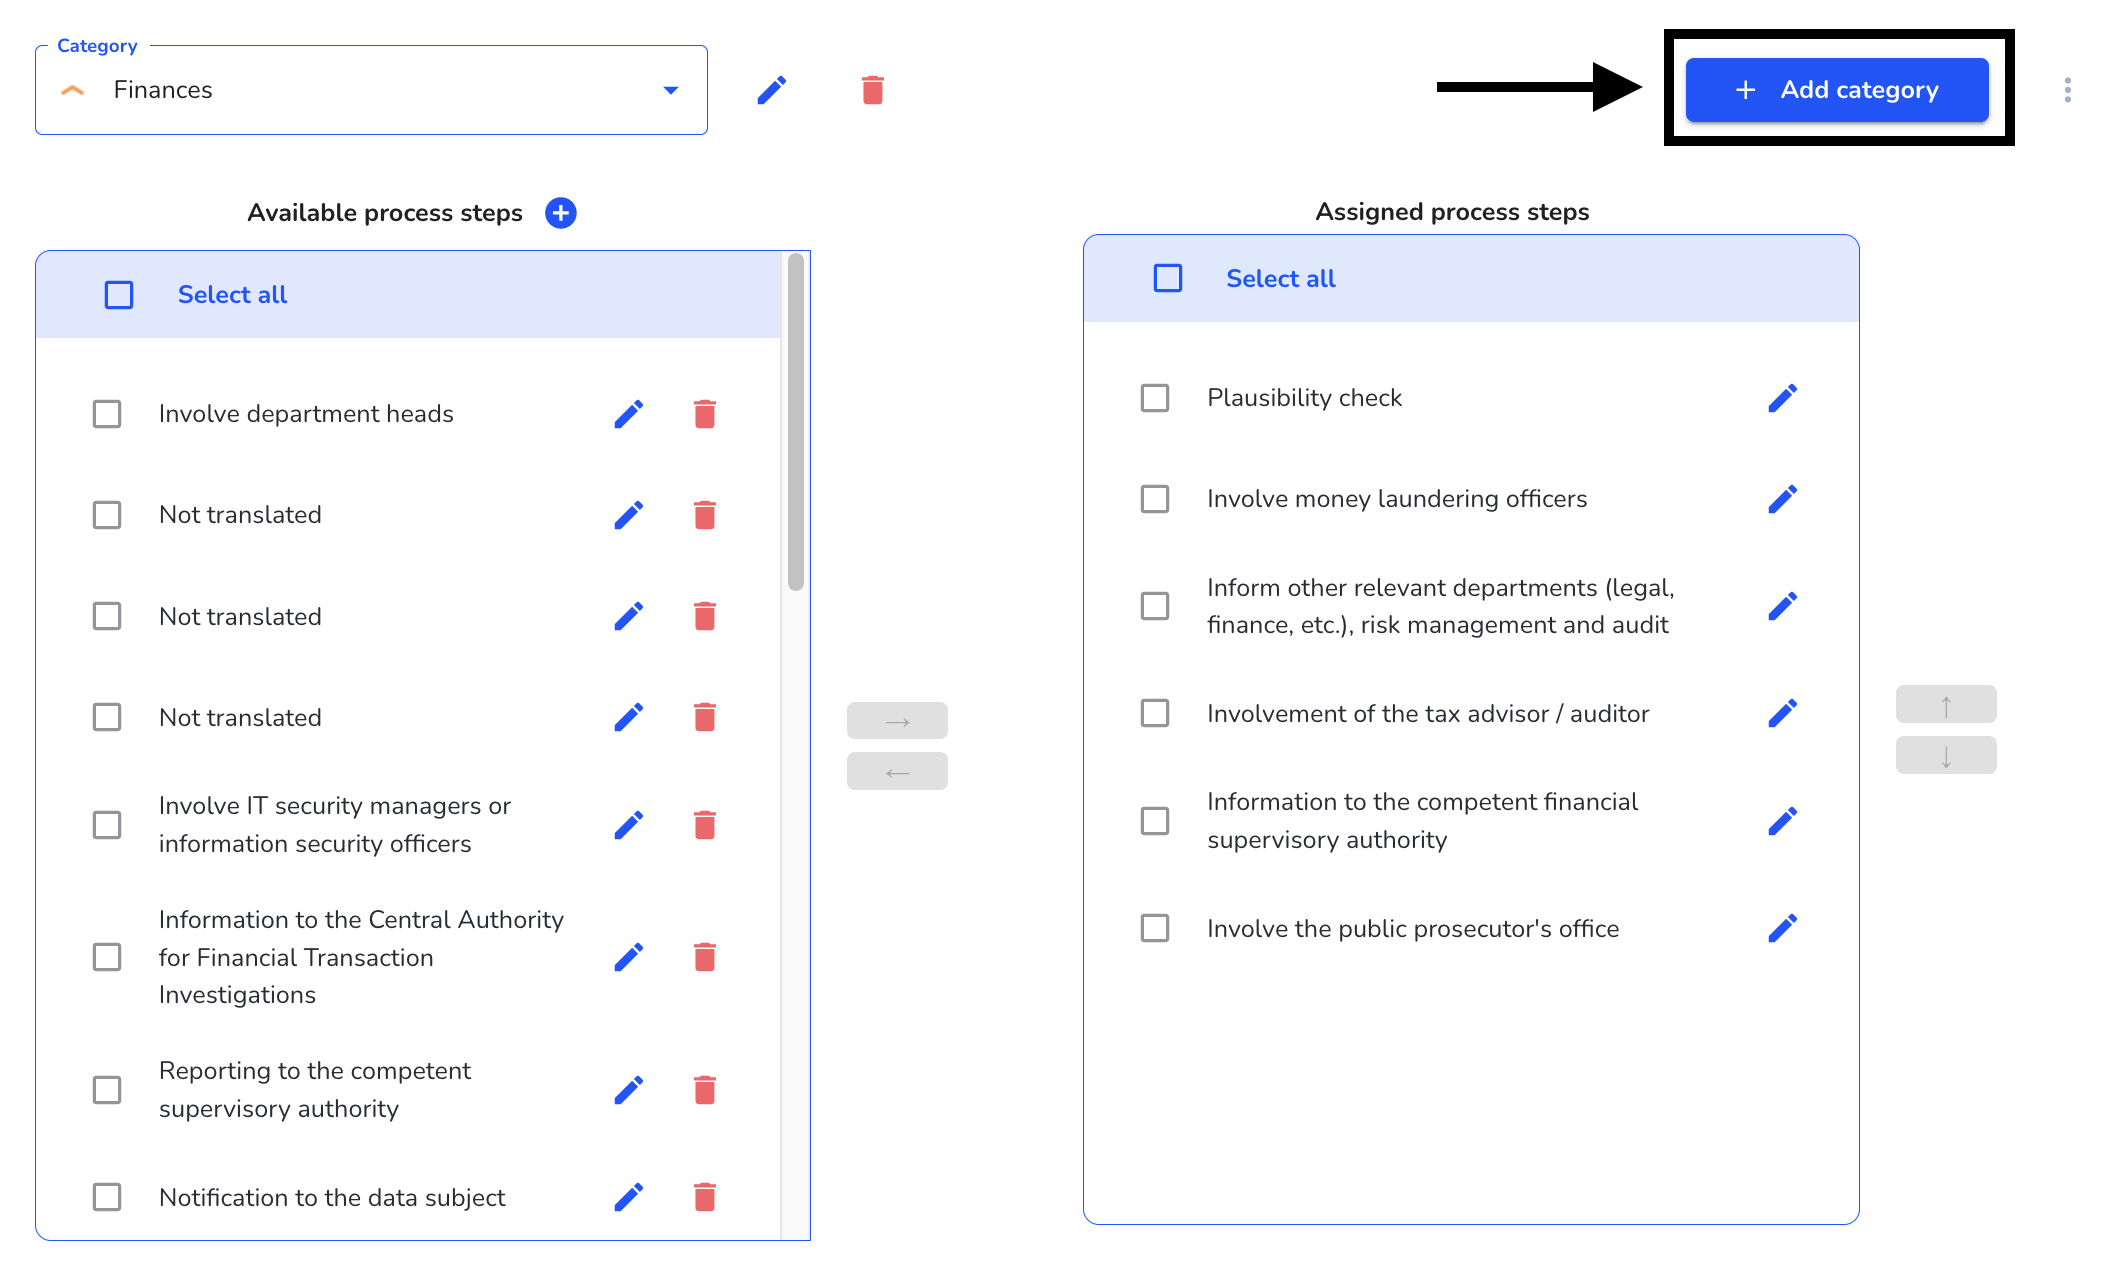
When the following interface opens you need to click Add category.
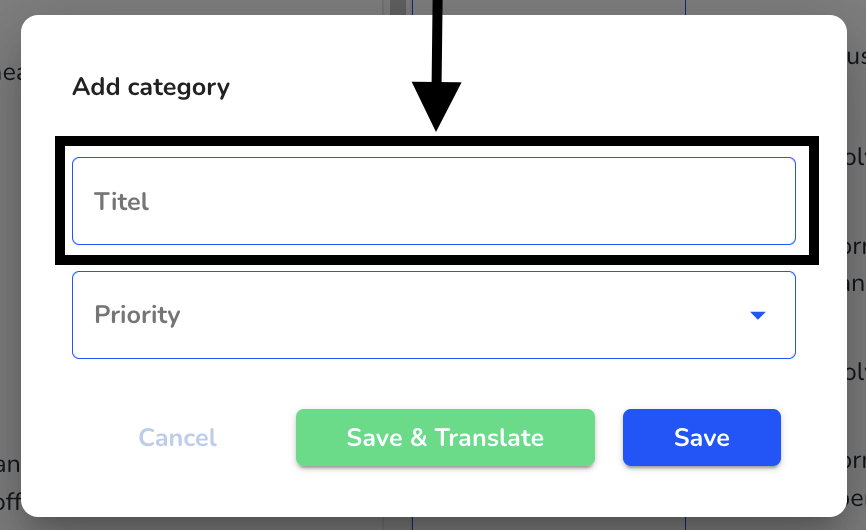
A category must be given a title.
A category must also be assigned a priority.
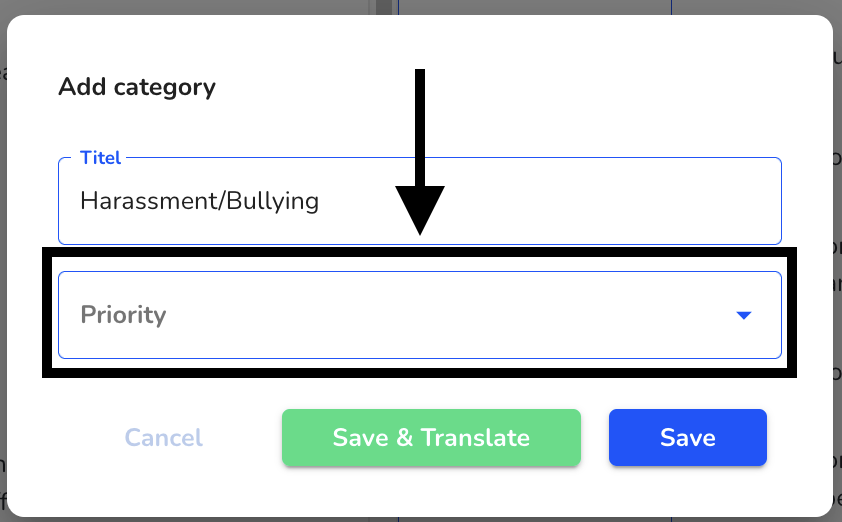
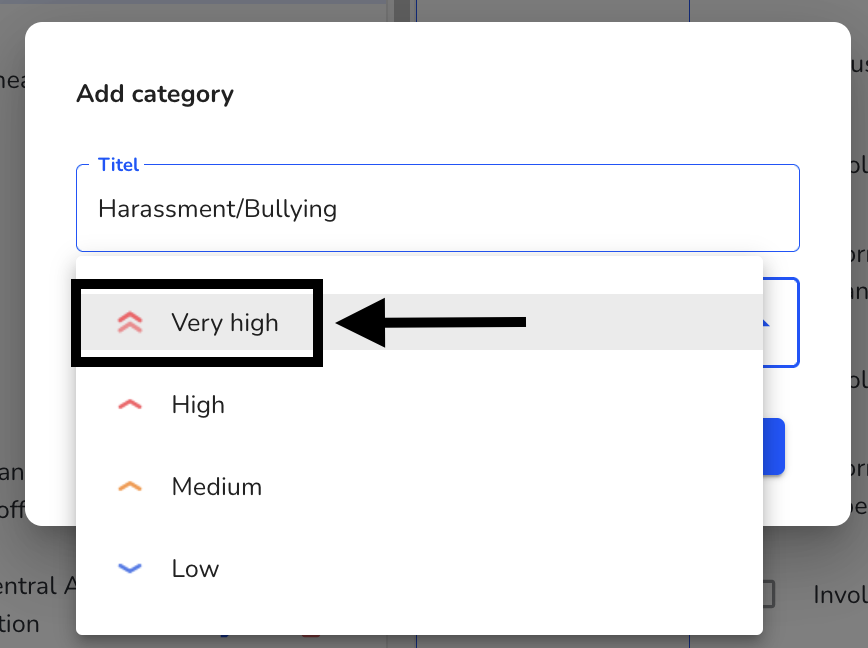
For the priority you can select either Low, Medium, High or Very High. Click on the respective category to select it.
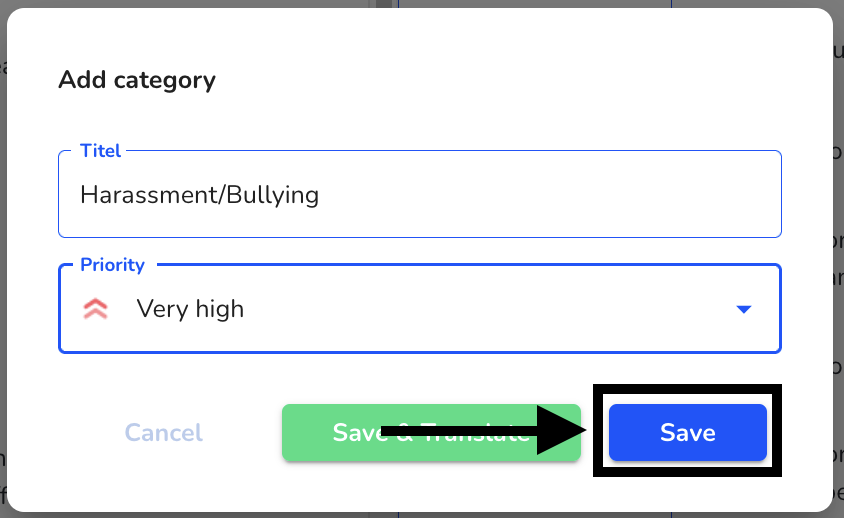
Clicking Save will add the category.
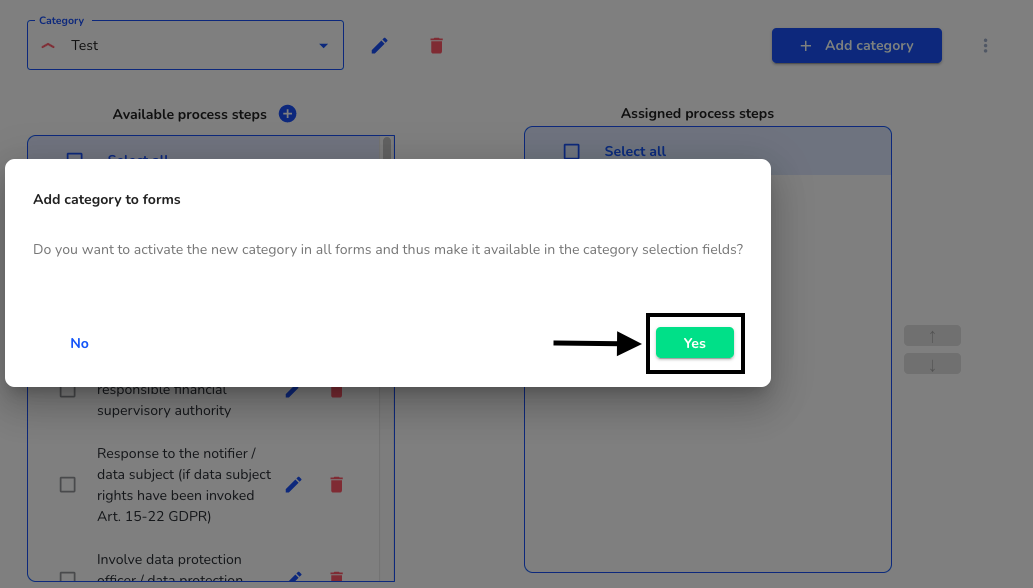
The following dialog opens for clients with a Premium Hintbox. If you click on Yes, this client will not only be created in the system but will be selectable during the hint submission.
You can also check the checkbox at the respective selection field of the forms that use the "Client" or "Category" data source to always automatically activate the new entries of the data source. For instructions, click here.
Edit category
To edit a category you have to click on System under Settings.

To edit a category, click on Categories and Processes under Settings.

By clicking on the category you can select which category should be edited.
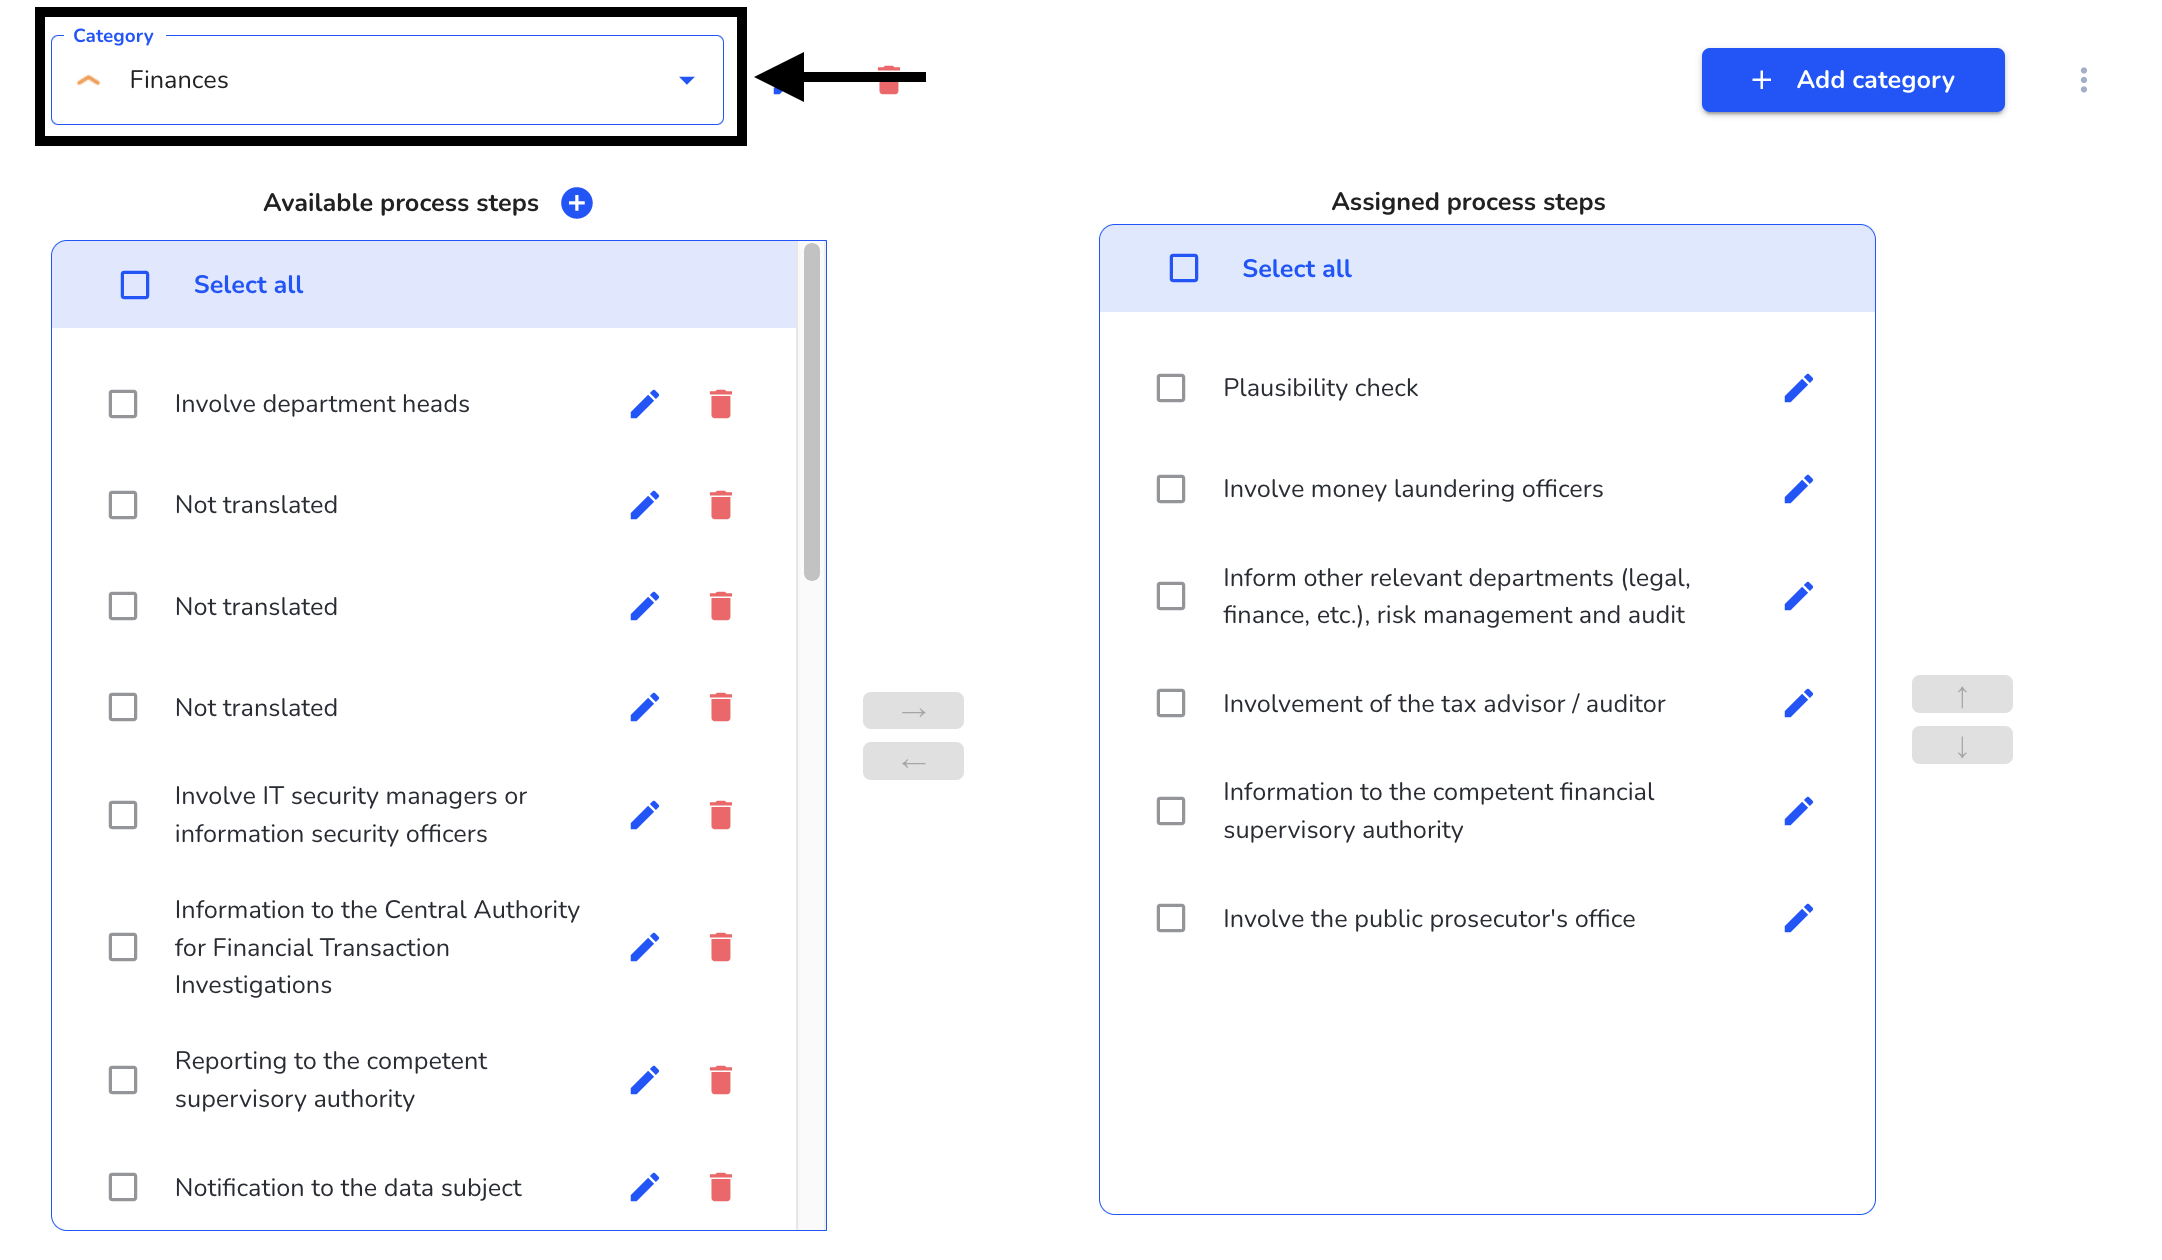
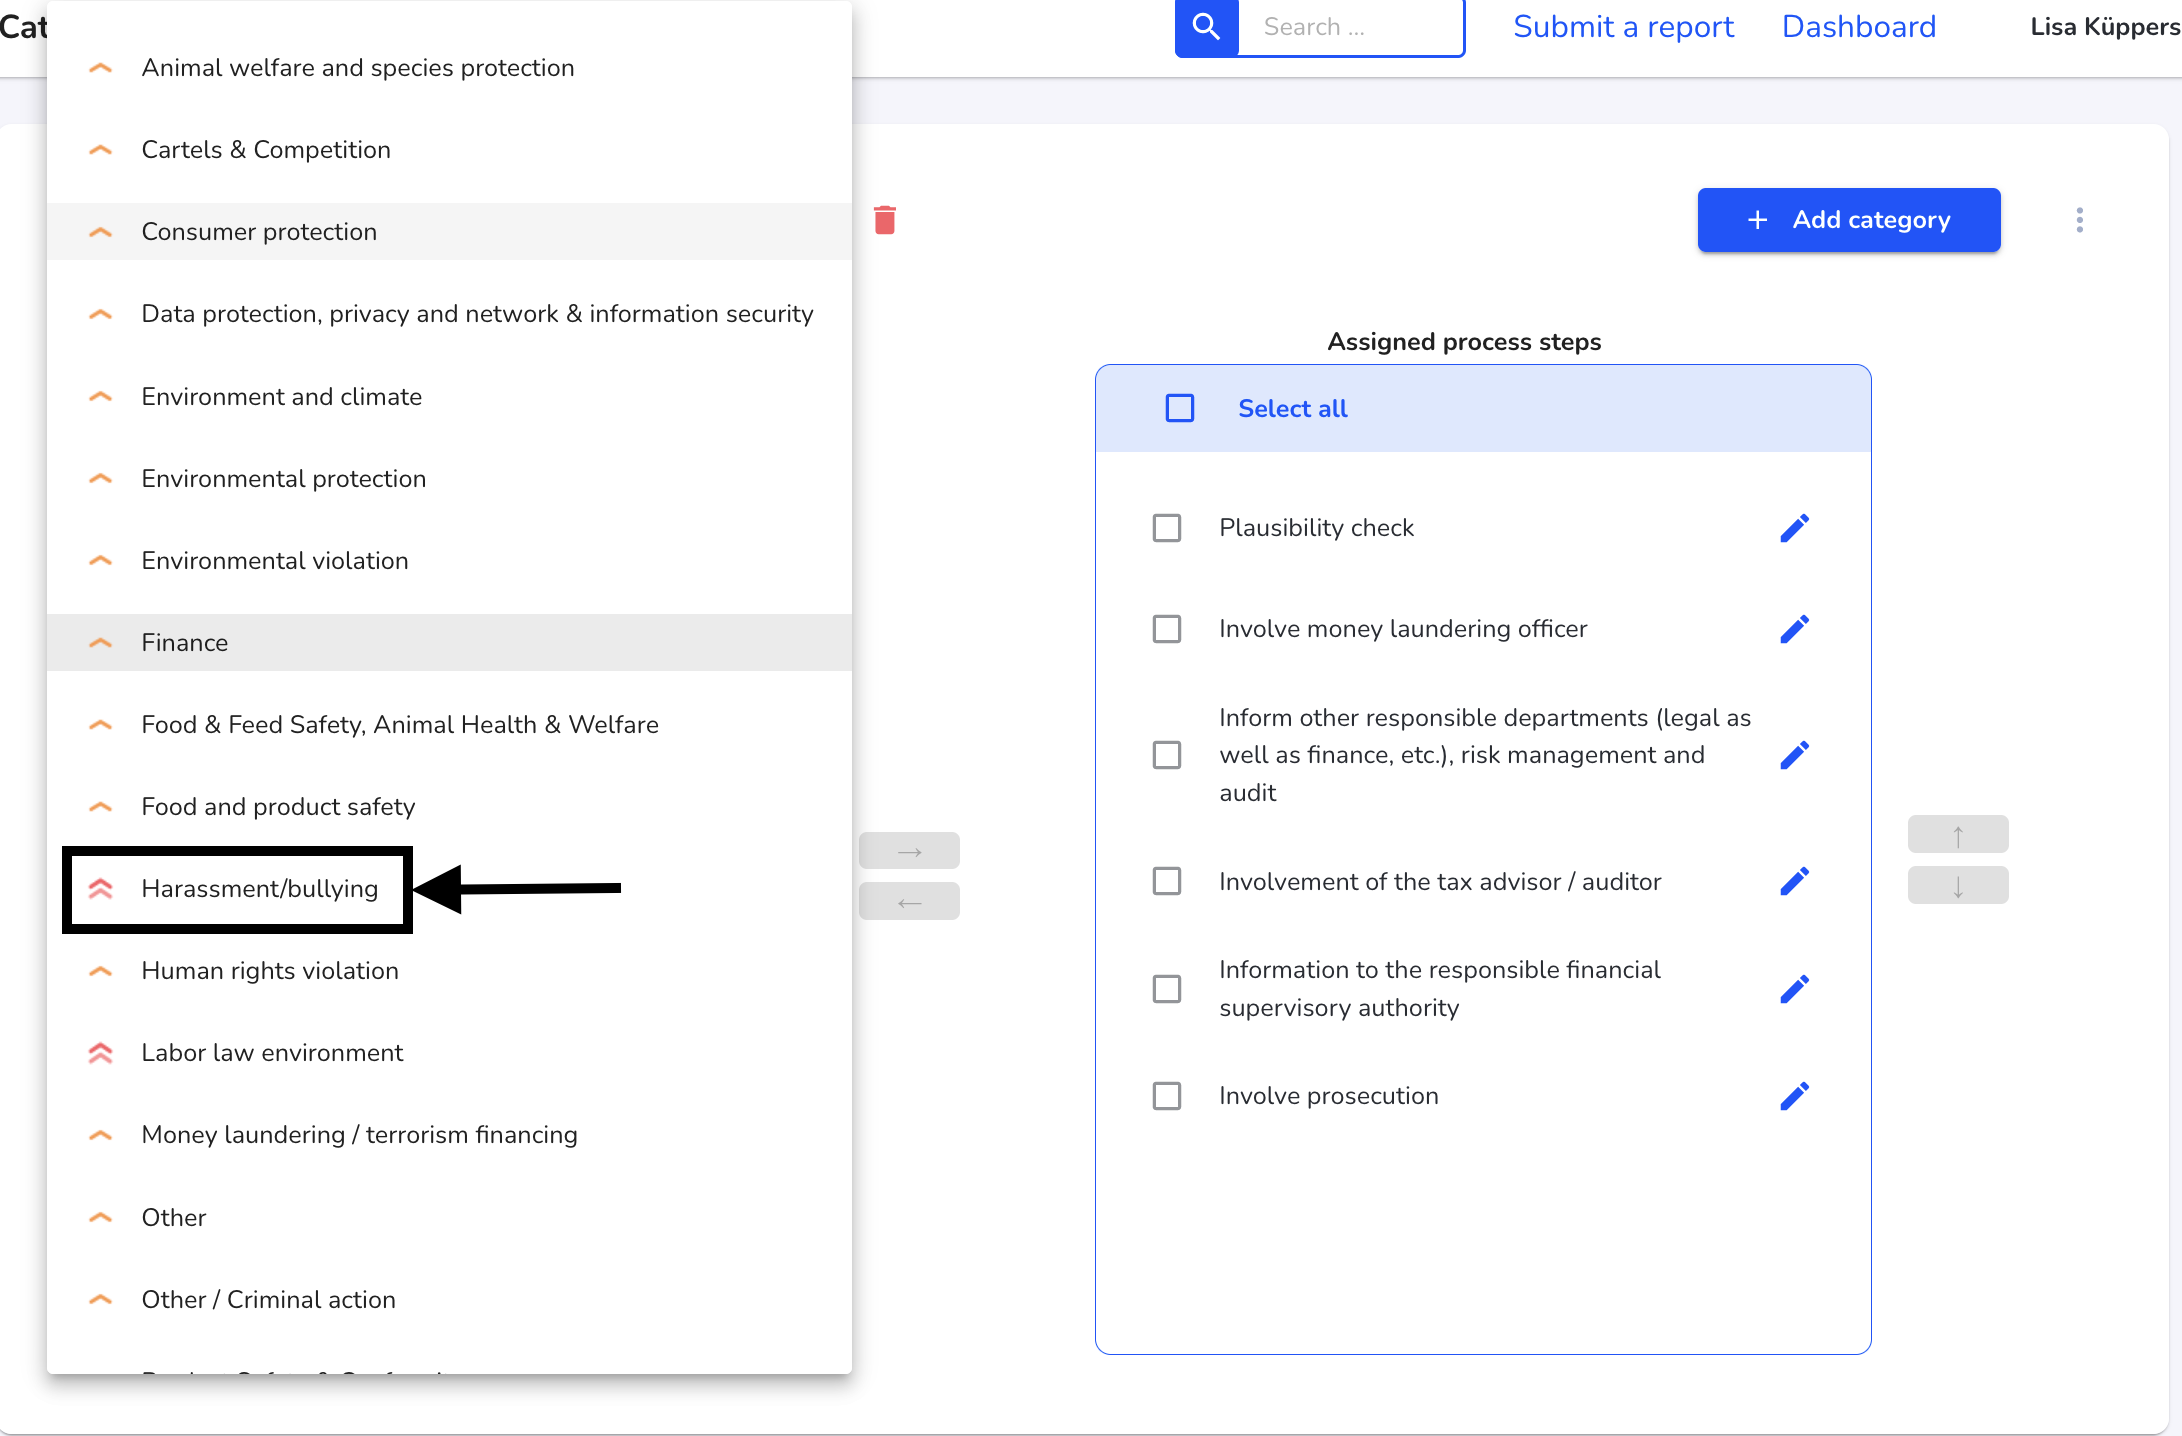
Click on the category you want to edit to select it.
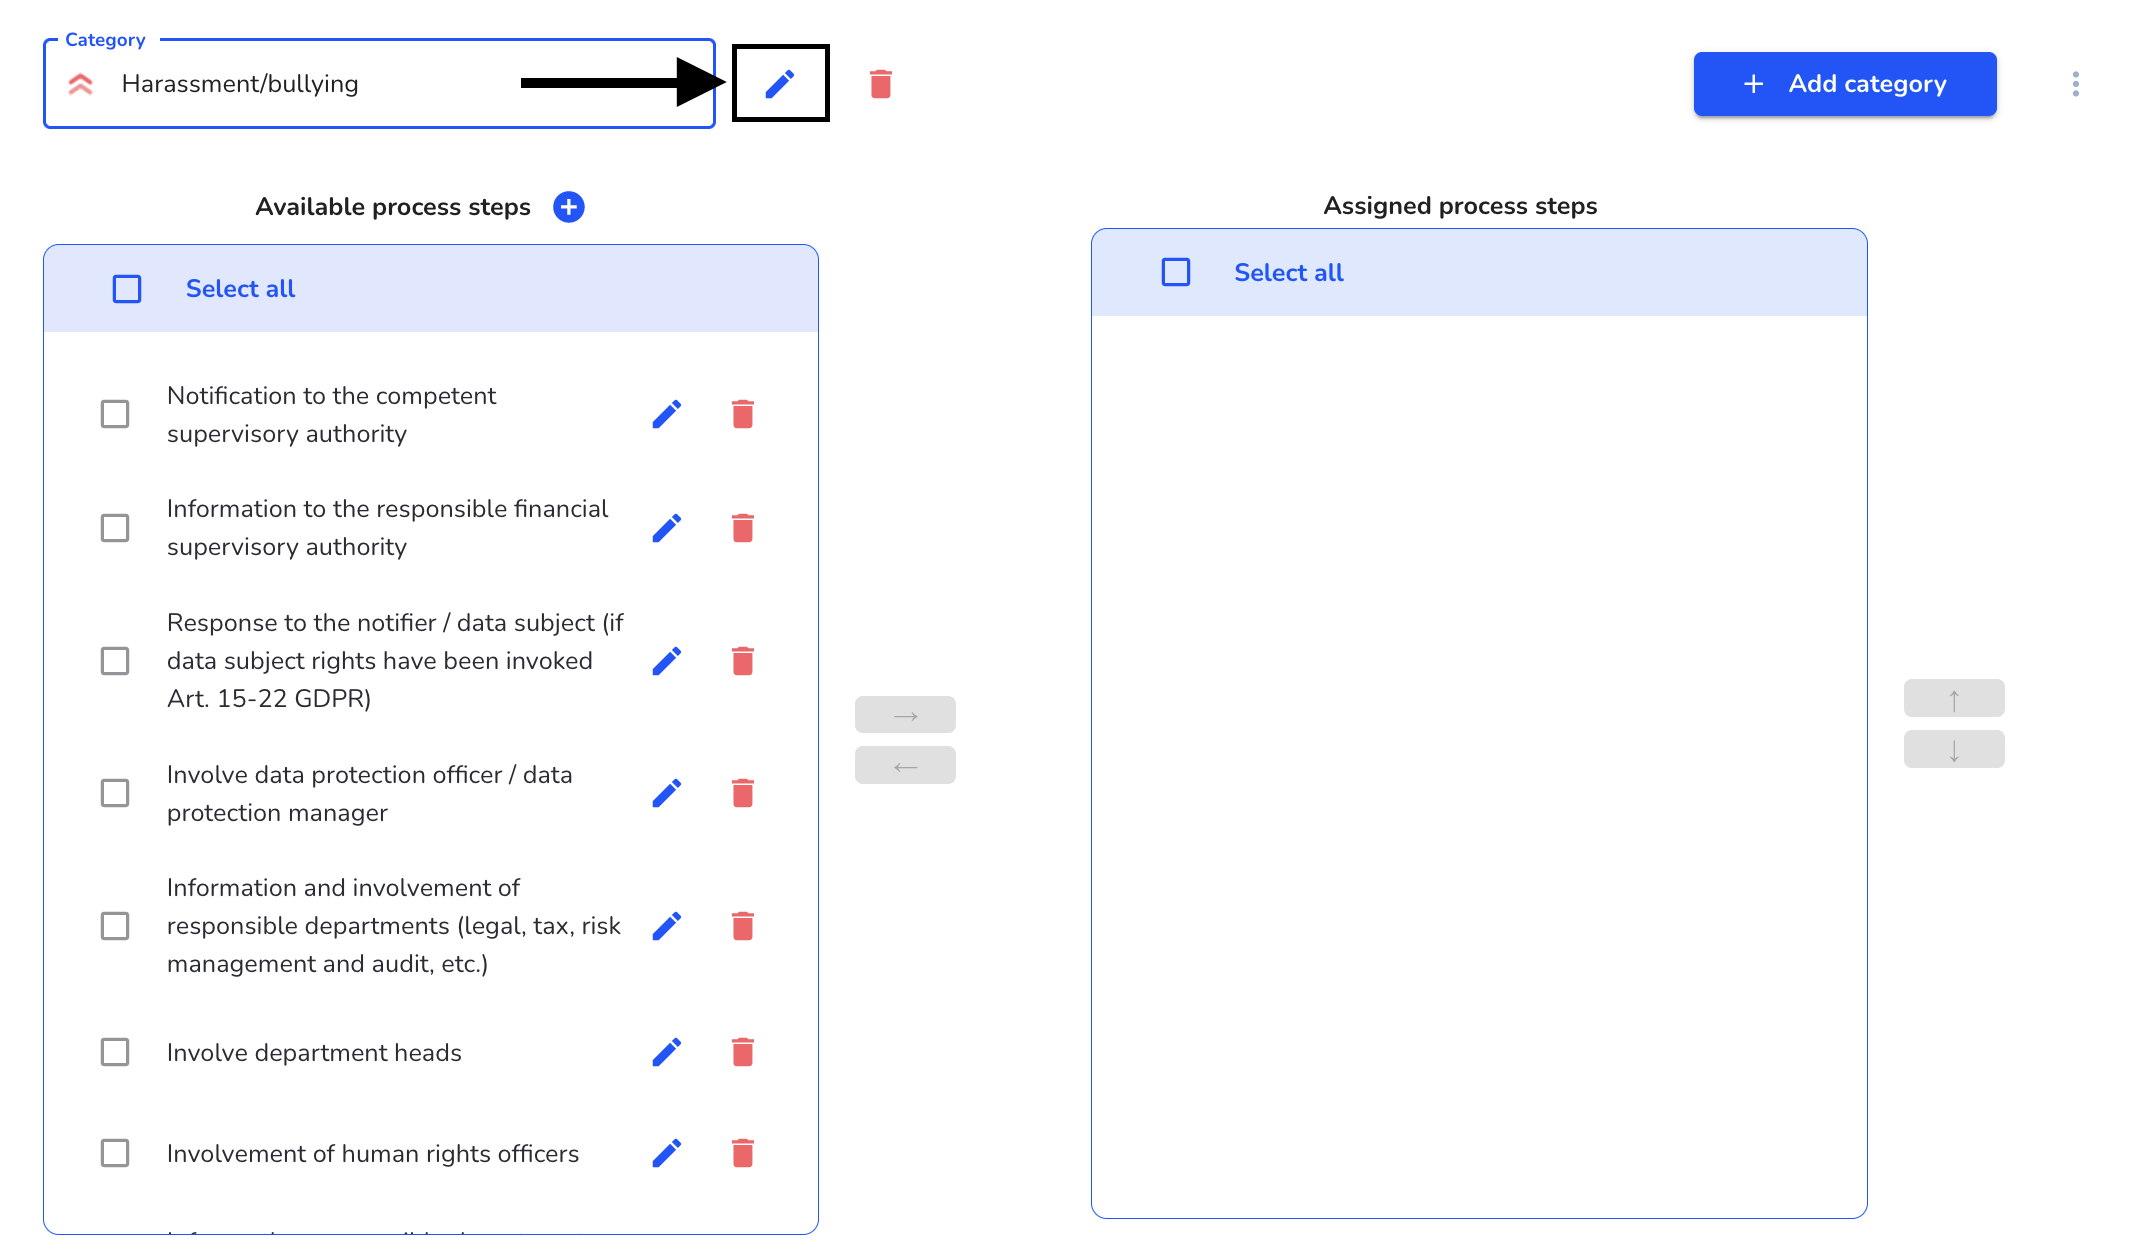
In the selected category, you should click the edit pencil to edit it.
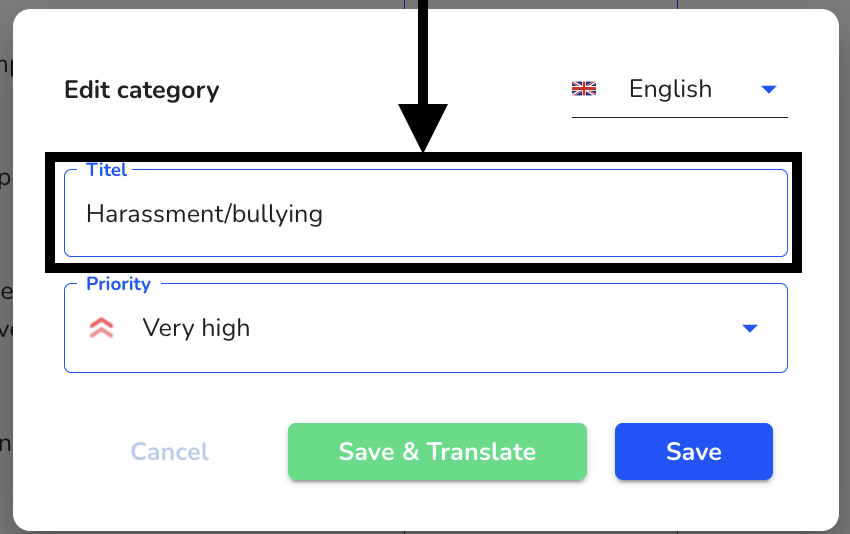
Click on the title to edit it. The Save & Translate button and the language selection are described in the Translate category chapter.
Click on the priority to change it.
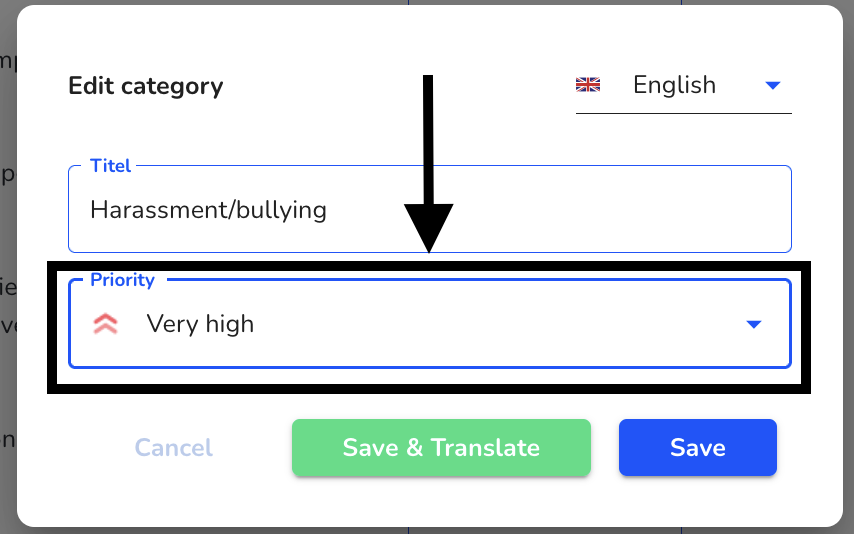
A selection opens in which the desired priority can be selected.

The changes must then be saved by clicking on Save.

Delete category
To delete a category, click on System under Settings.

To delete a category, click on Categories and Processes under Settings.

By clicking on the category you can select which category should be deleted.

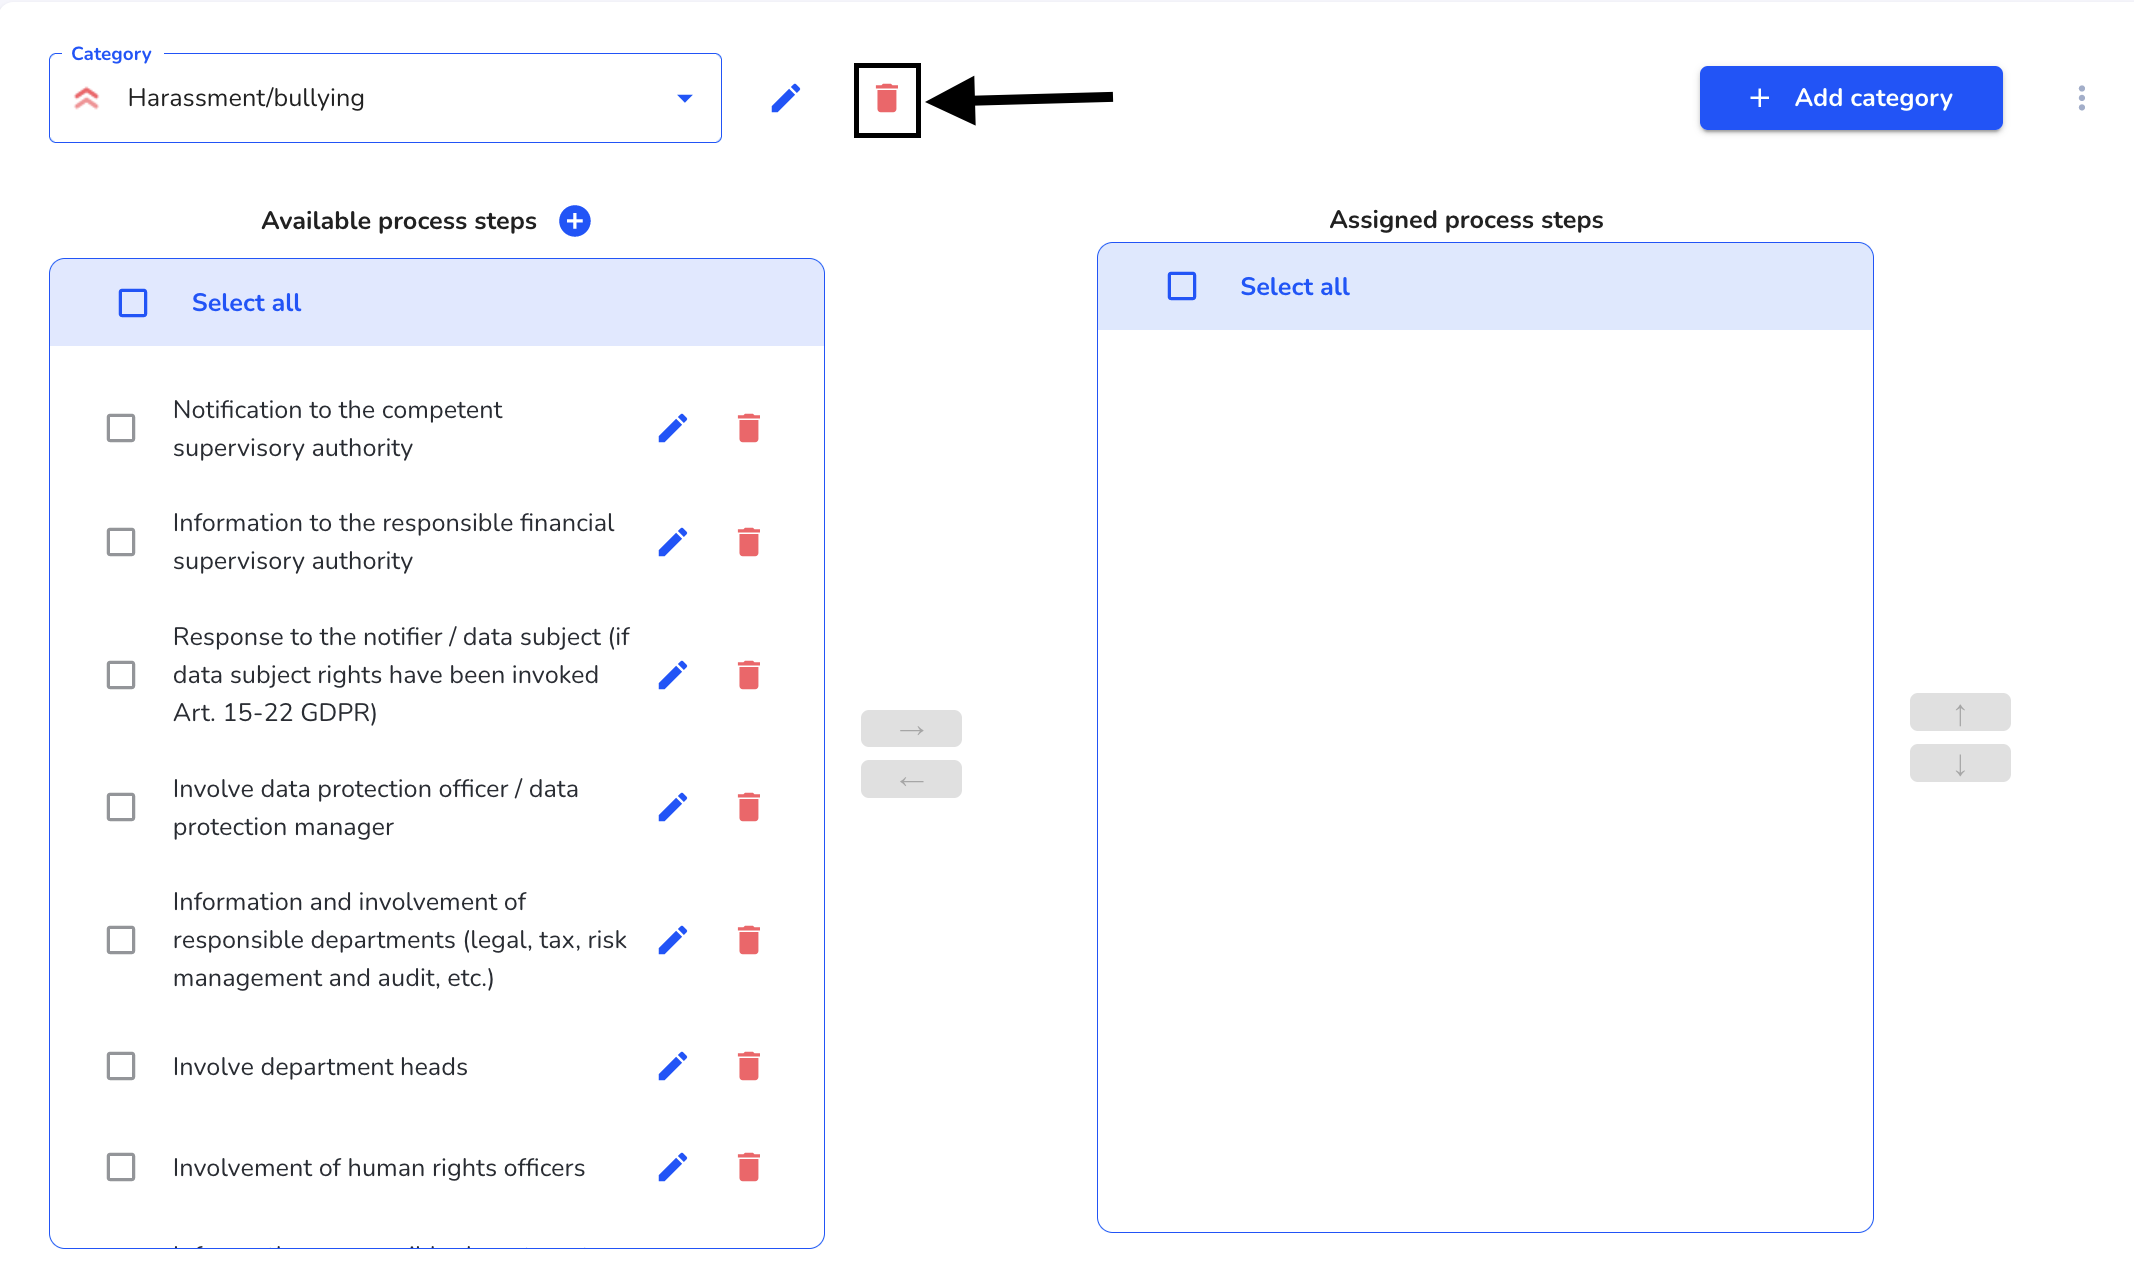
Click on the category you want to delete to select it.

Clicking on the recycle bin deletes the category. A deleted category cannot be restored!
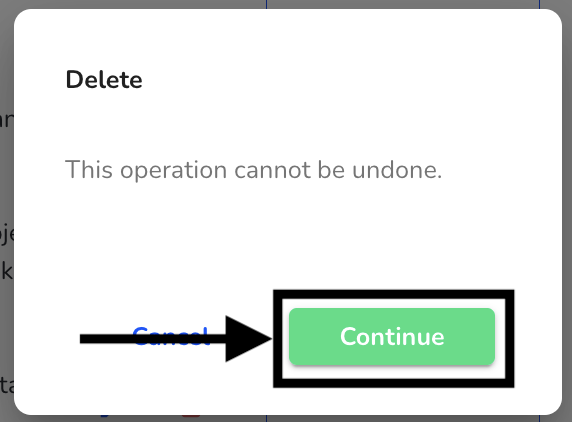
The deletion must be confirmed by clicking Continue.
Translate category
Translate individual categories automatically
To translate a category automatically you have to click on System under Settings.

To translate a category automatically, click on Categories and Processes under Settings.

Click on the category to select which category should be translated automatically.

Click on the category you want to translate automatically to select it.

For the selected category you should click the edit pencil for automatic translation.

Click Save & Translate.
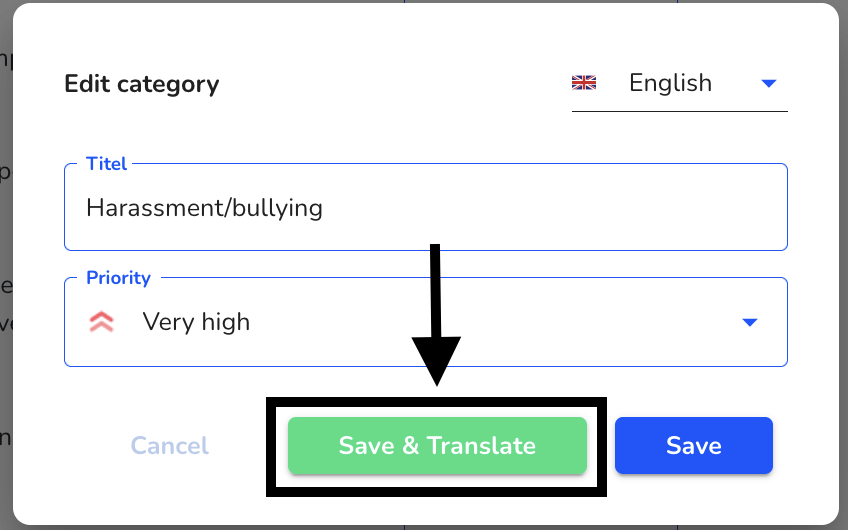
An overview opens in which you can first select the source language. This is automatically the language in whose text field you were before the translation.
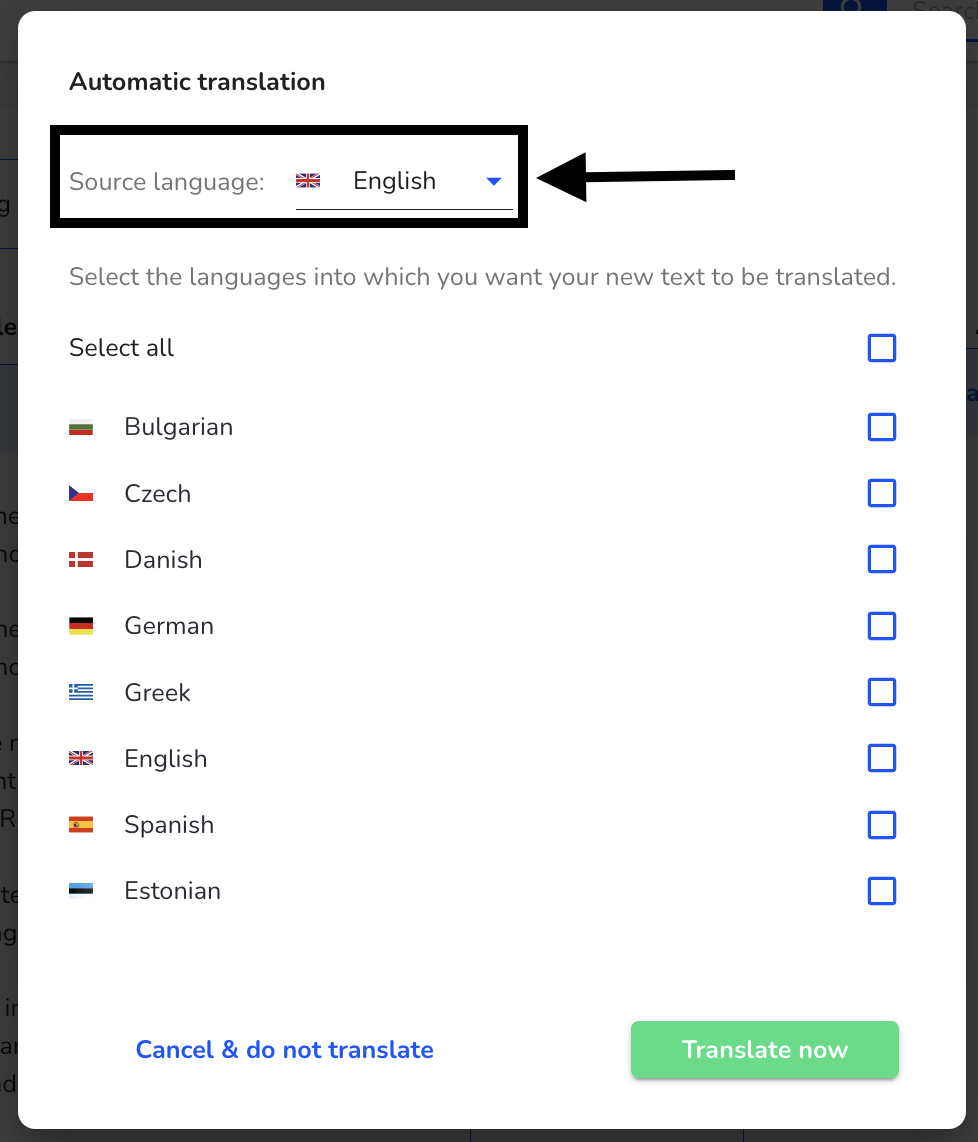
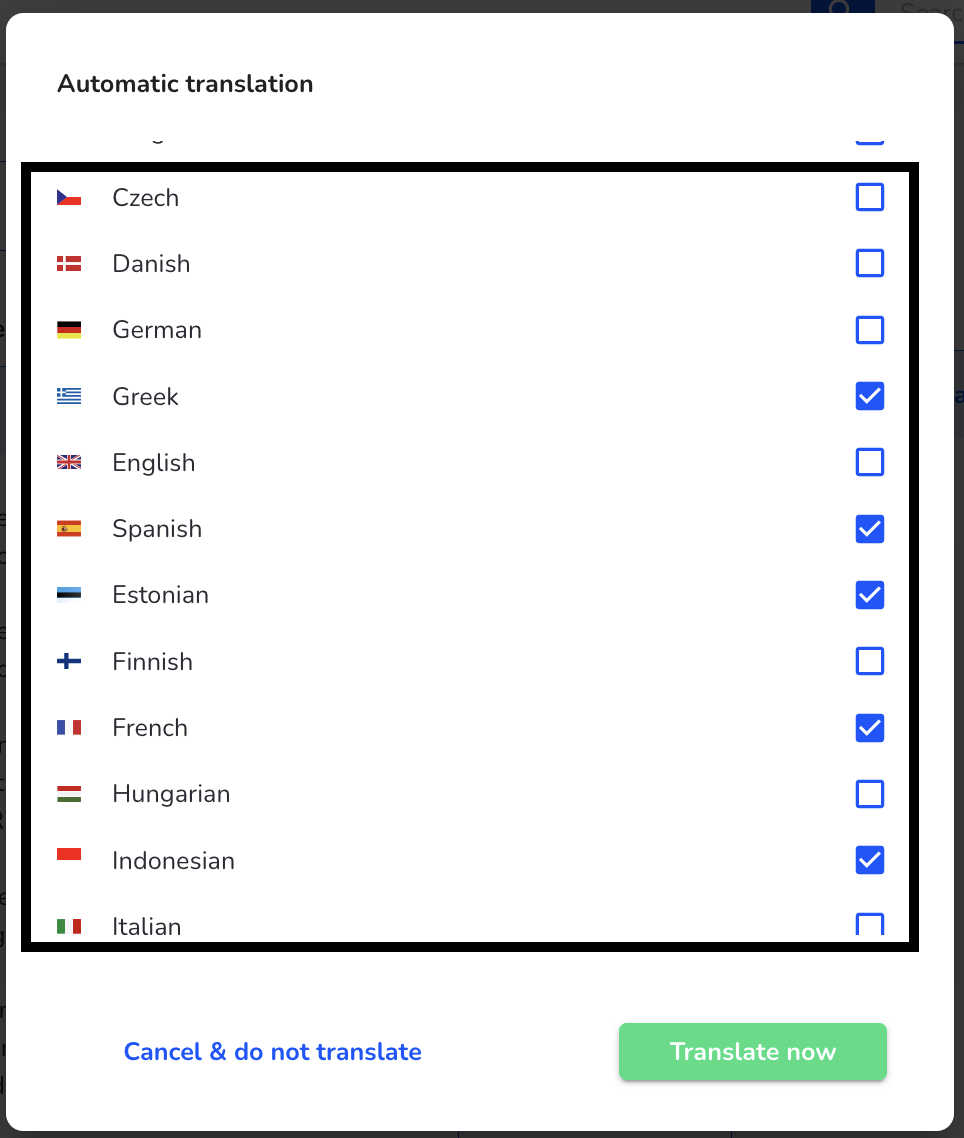
Then you can select the languages into which the category should be translated.
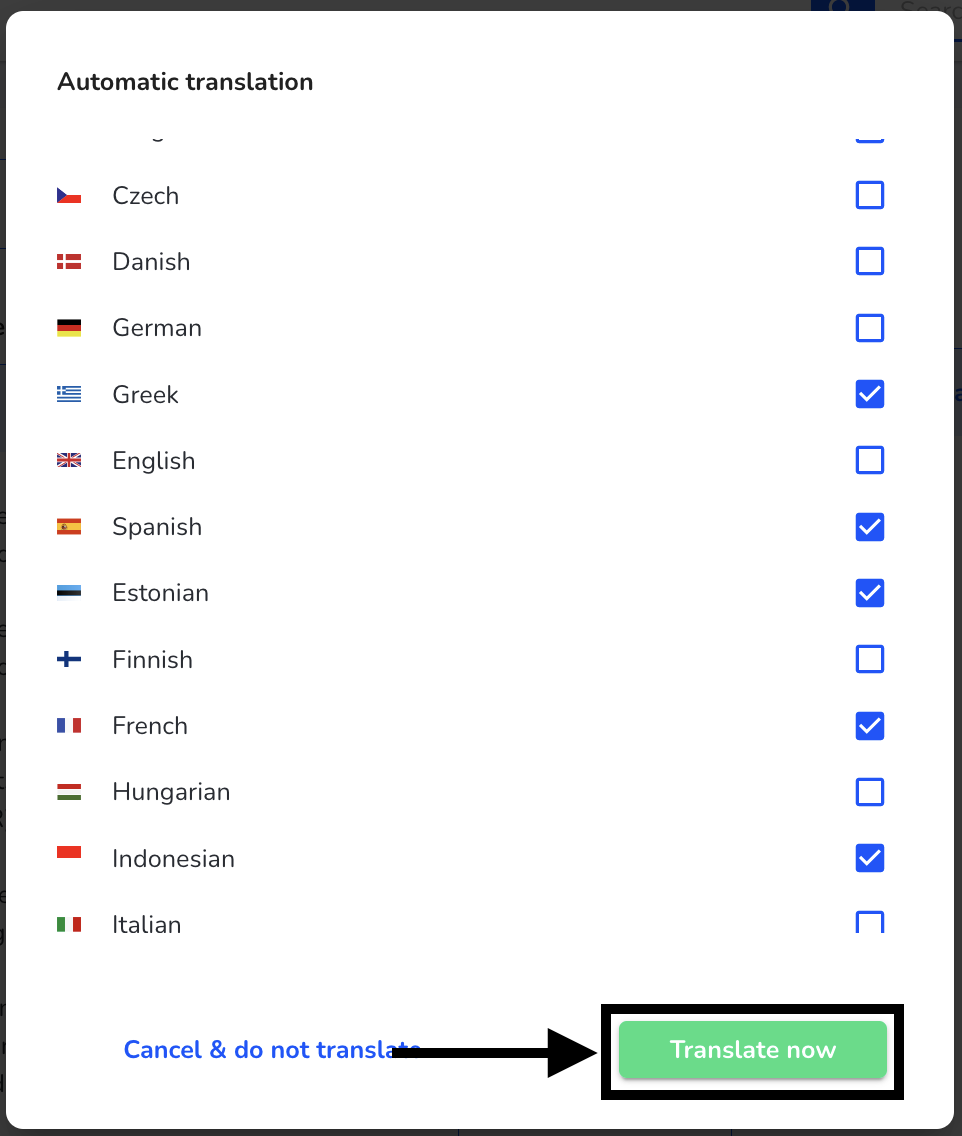
By clicking Translate now, the translation into the selected questions will be performed.
Translate individual categories manually
To translate a category manually, click on System under Settings.

To translate a category manually, click on Categories and Processes under Settings.

Click on the category to select which category should be translated manually.

Click on the category you want to translate manually to select it.

In the selected category, you should click the edit pencil for manual translation.

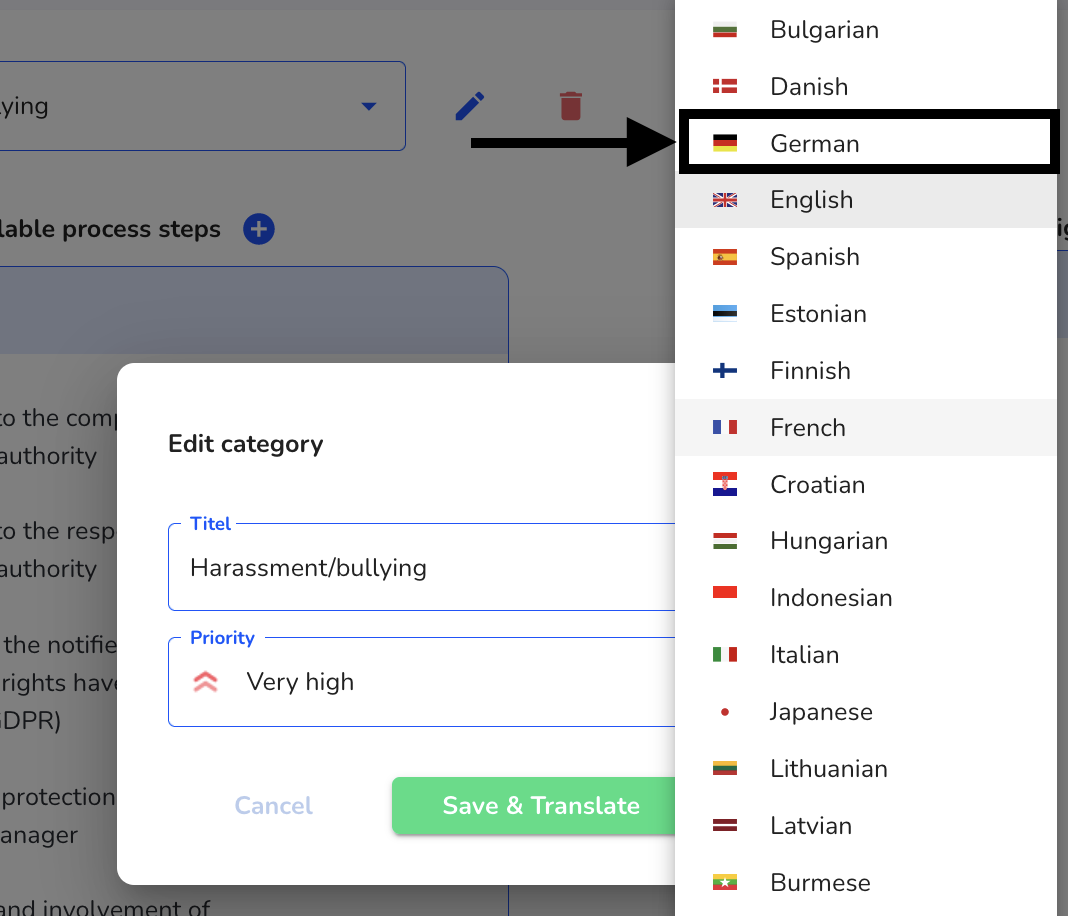
To make a manual translation you need to click on the language.
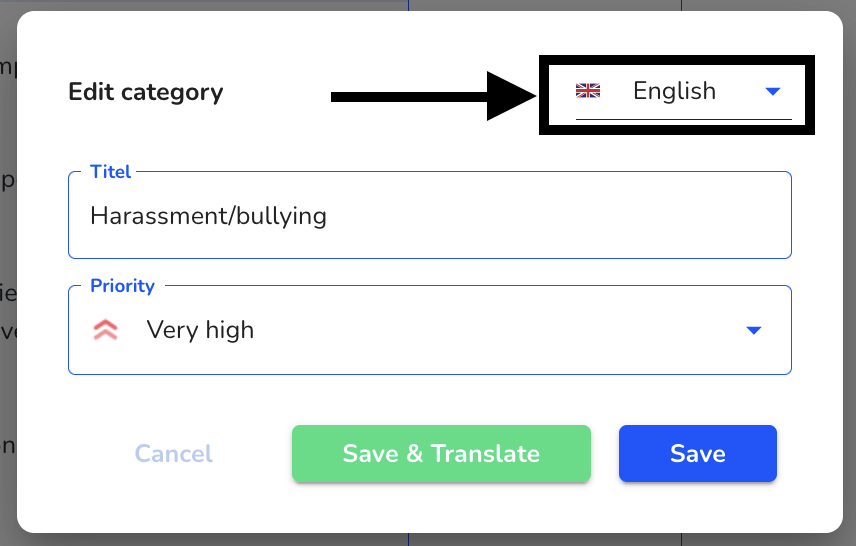
The language to be translated into must then be selected.
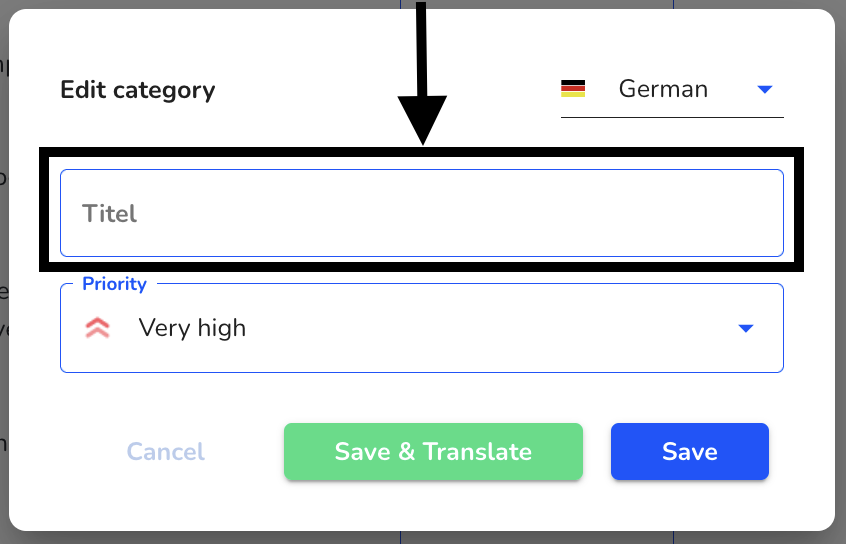
There the title can be translated manually.
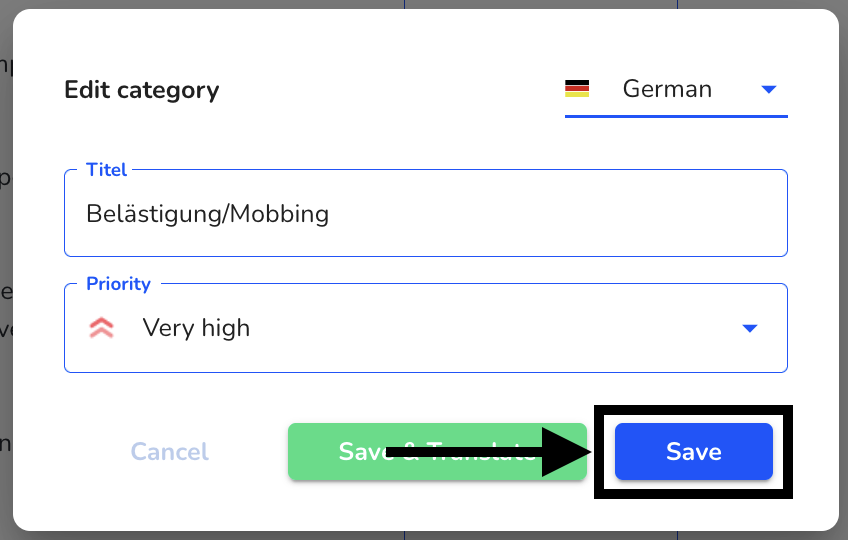
The manual translation must be saved by clicking Save.
Translate all categories automatically
To translate all categories automatically you have to click on System under Settings.

To translate all categories automatically, click on Categories and Processes under Settings.

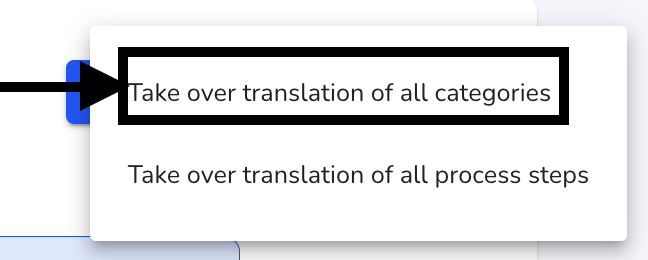
All categories are transferred to other languages by clicking on the three dots.
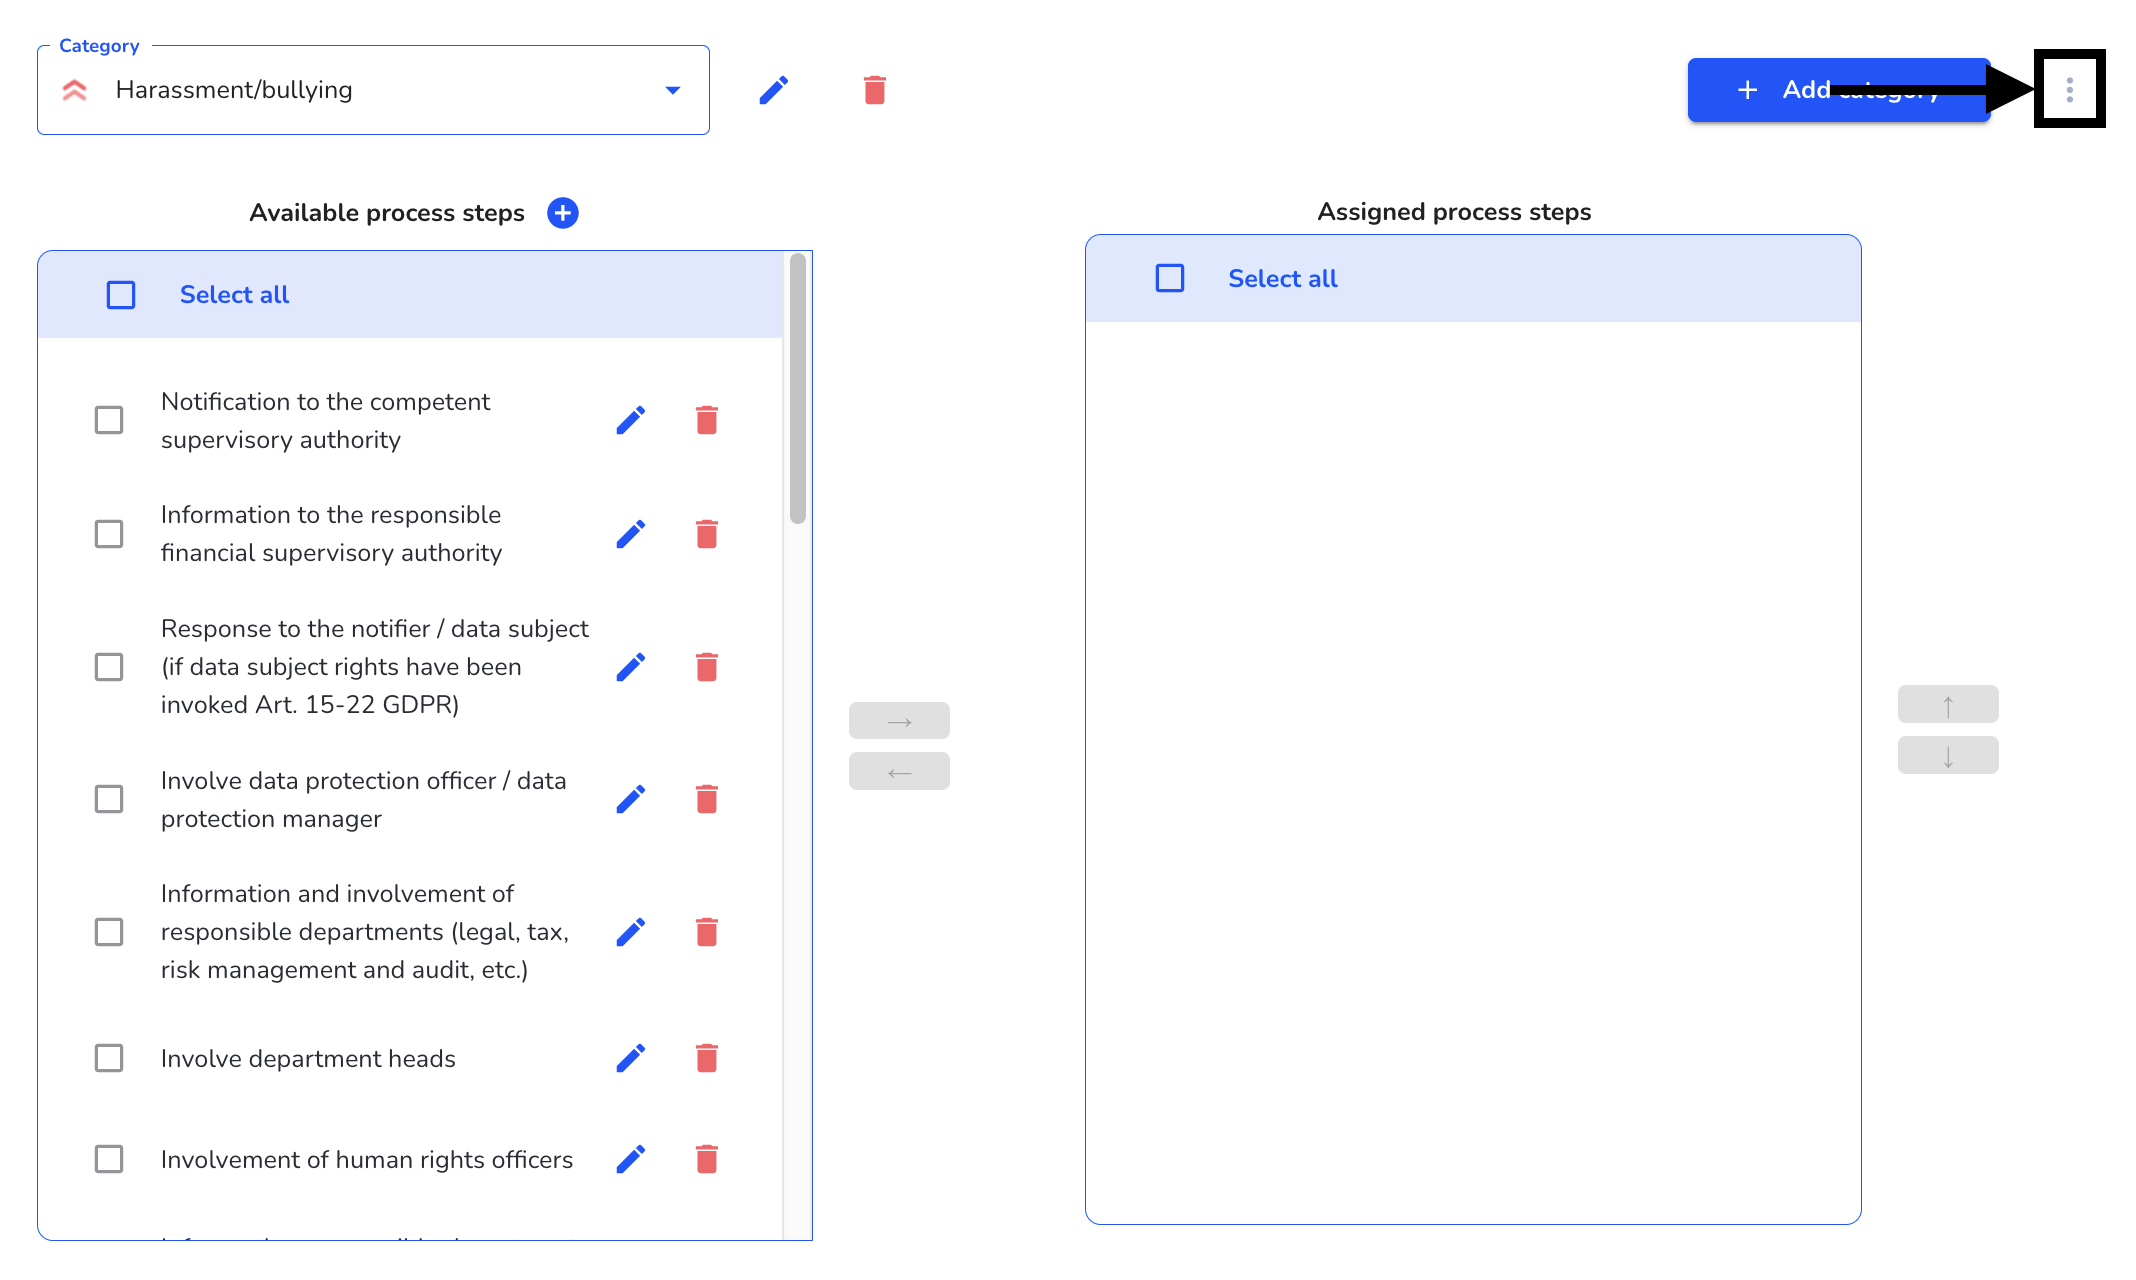
The following options will open. Here you need to click Apply translation from all categories.
Assign a process (no longer) to a category and sort it
Assign a process to a category
To assign one or more process steps to a category, click on System under Settings.

Next, you need to click on Categories and Processes.

In the overview, by clicking on the category, the category can be selected to which a process step is to be assigned.

Click on the category to select it.

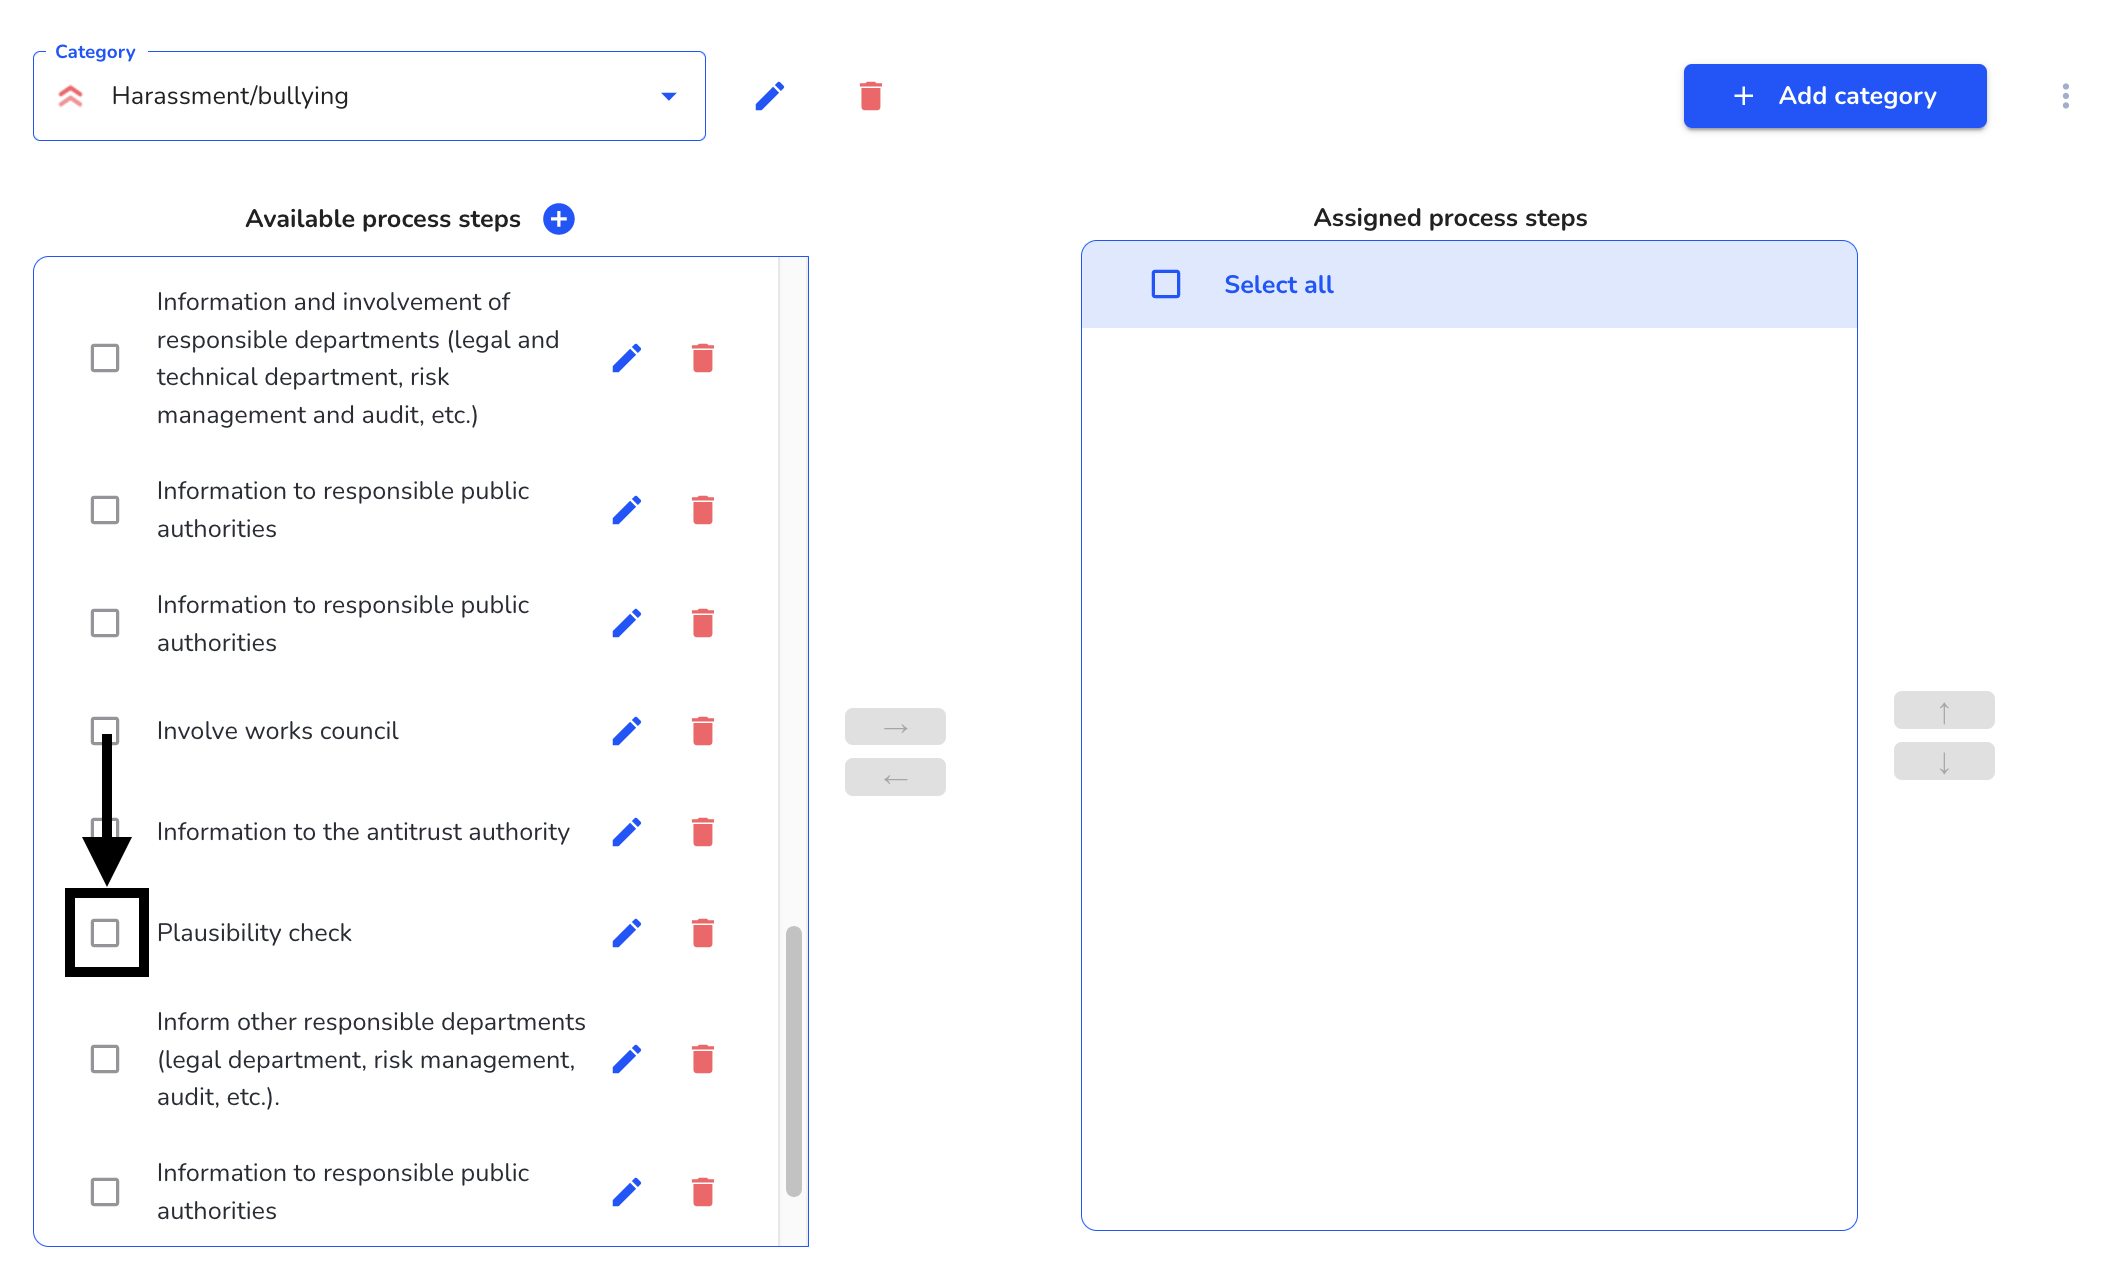
Under available process steps, one or more process steps can be selected by clicking on the checked box.
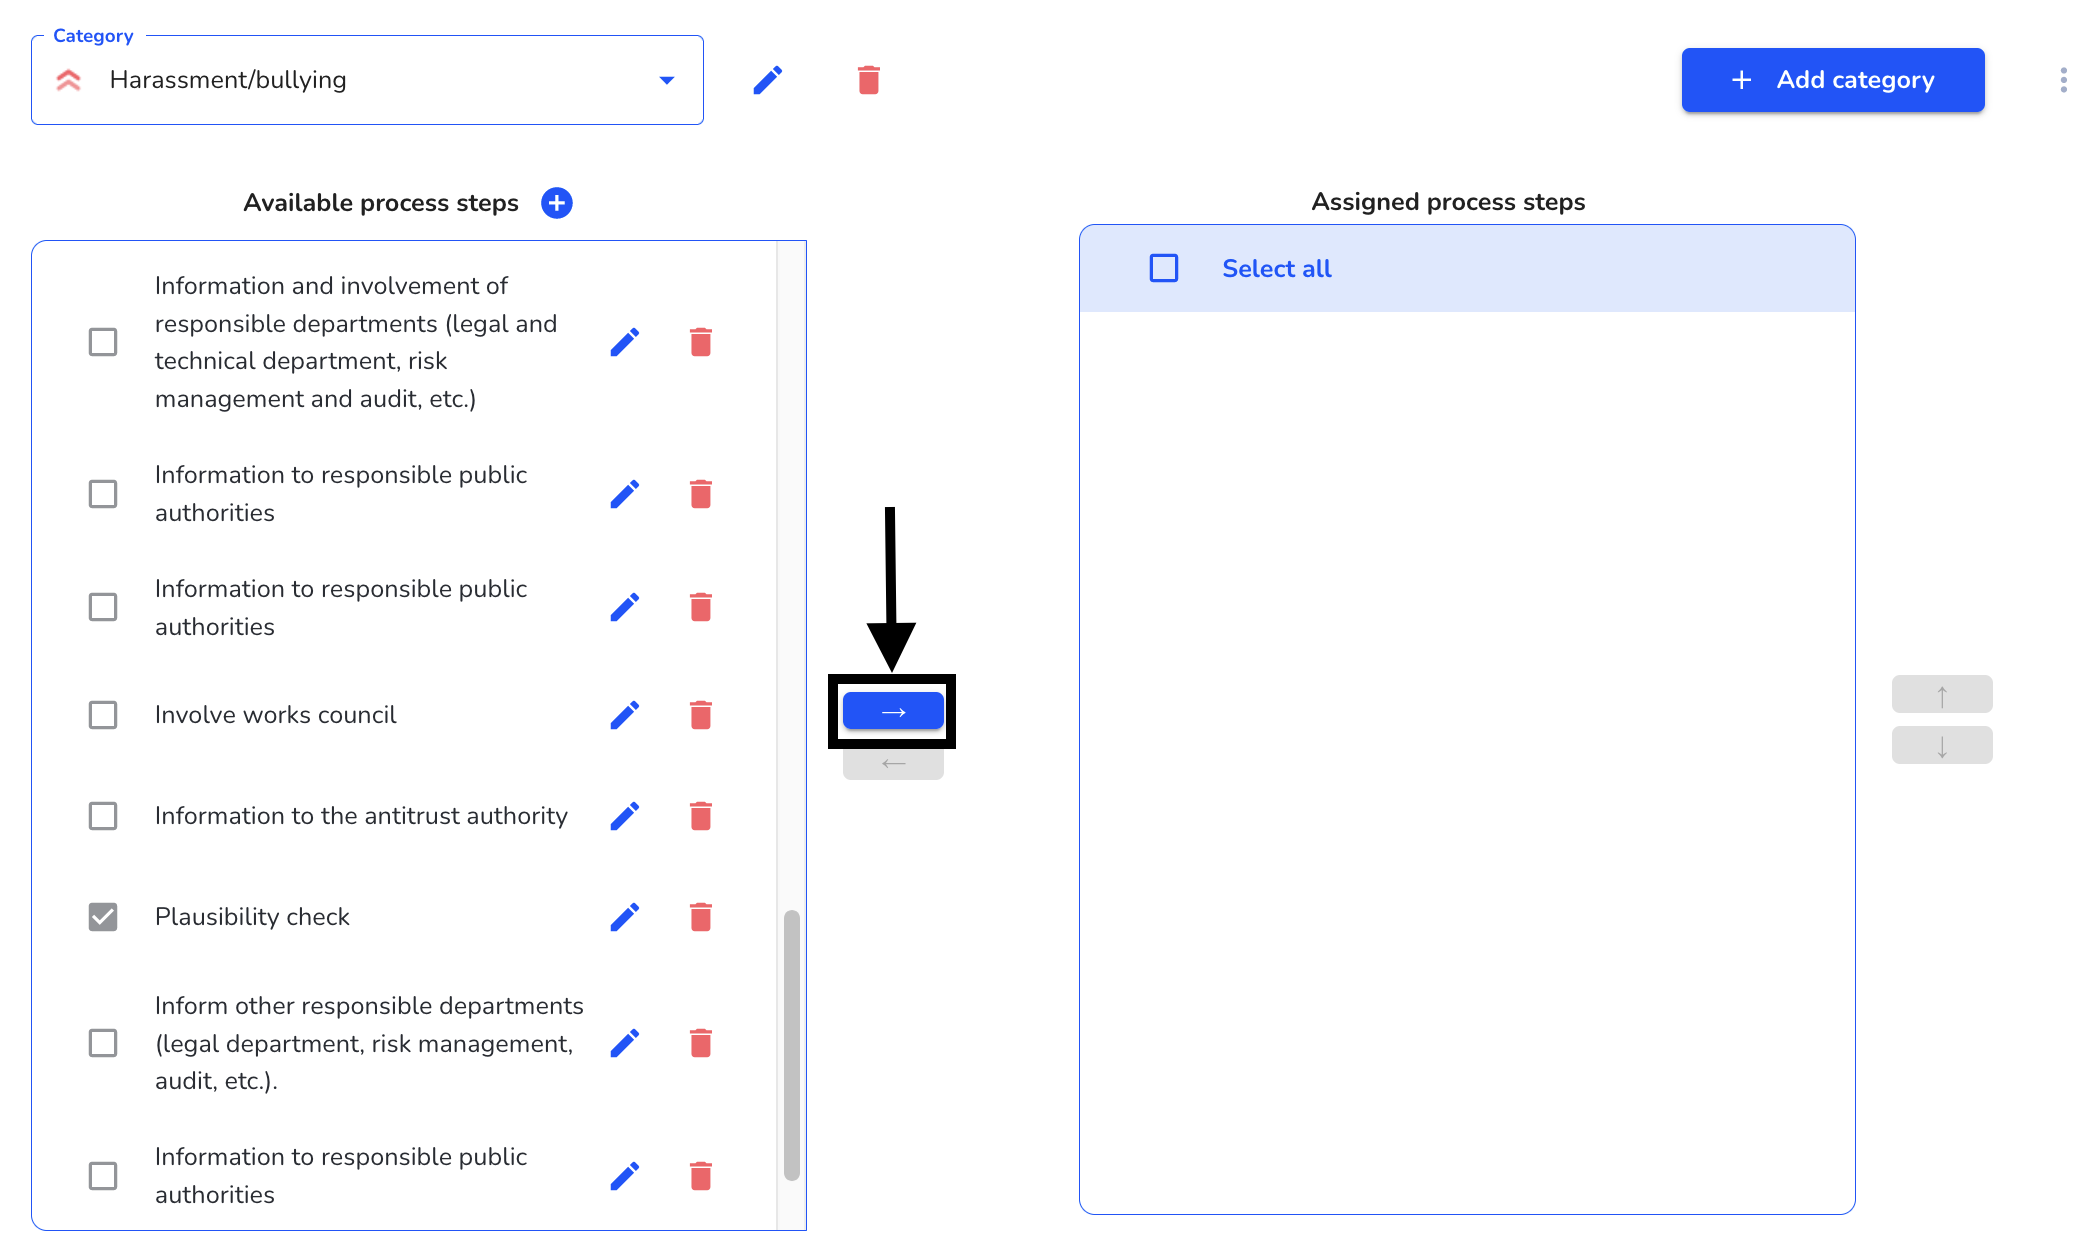
After selecting one or more process steps, it must be assigned to the category by clicking on the blue arrow.
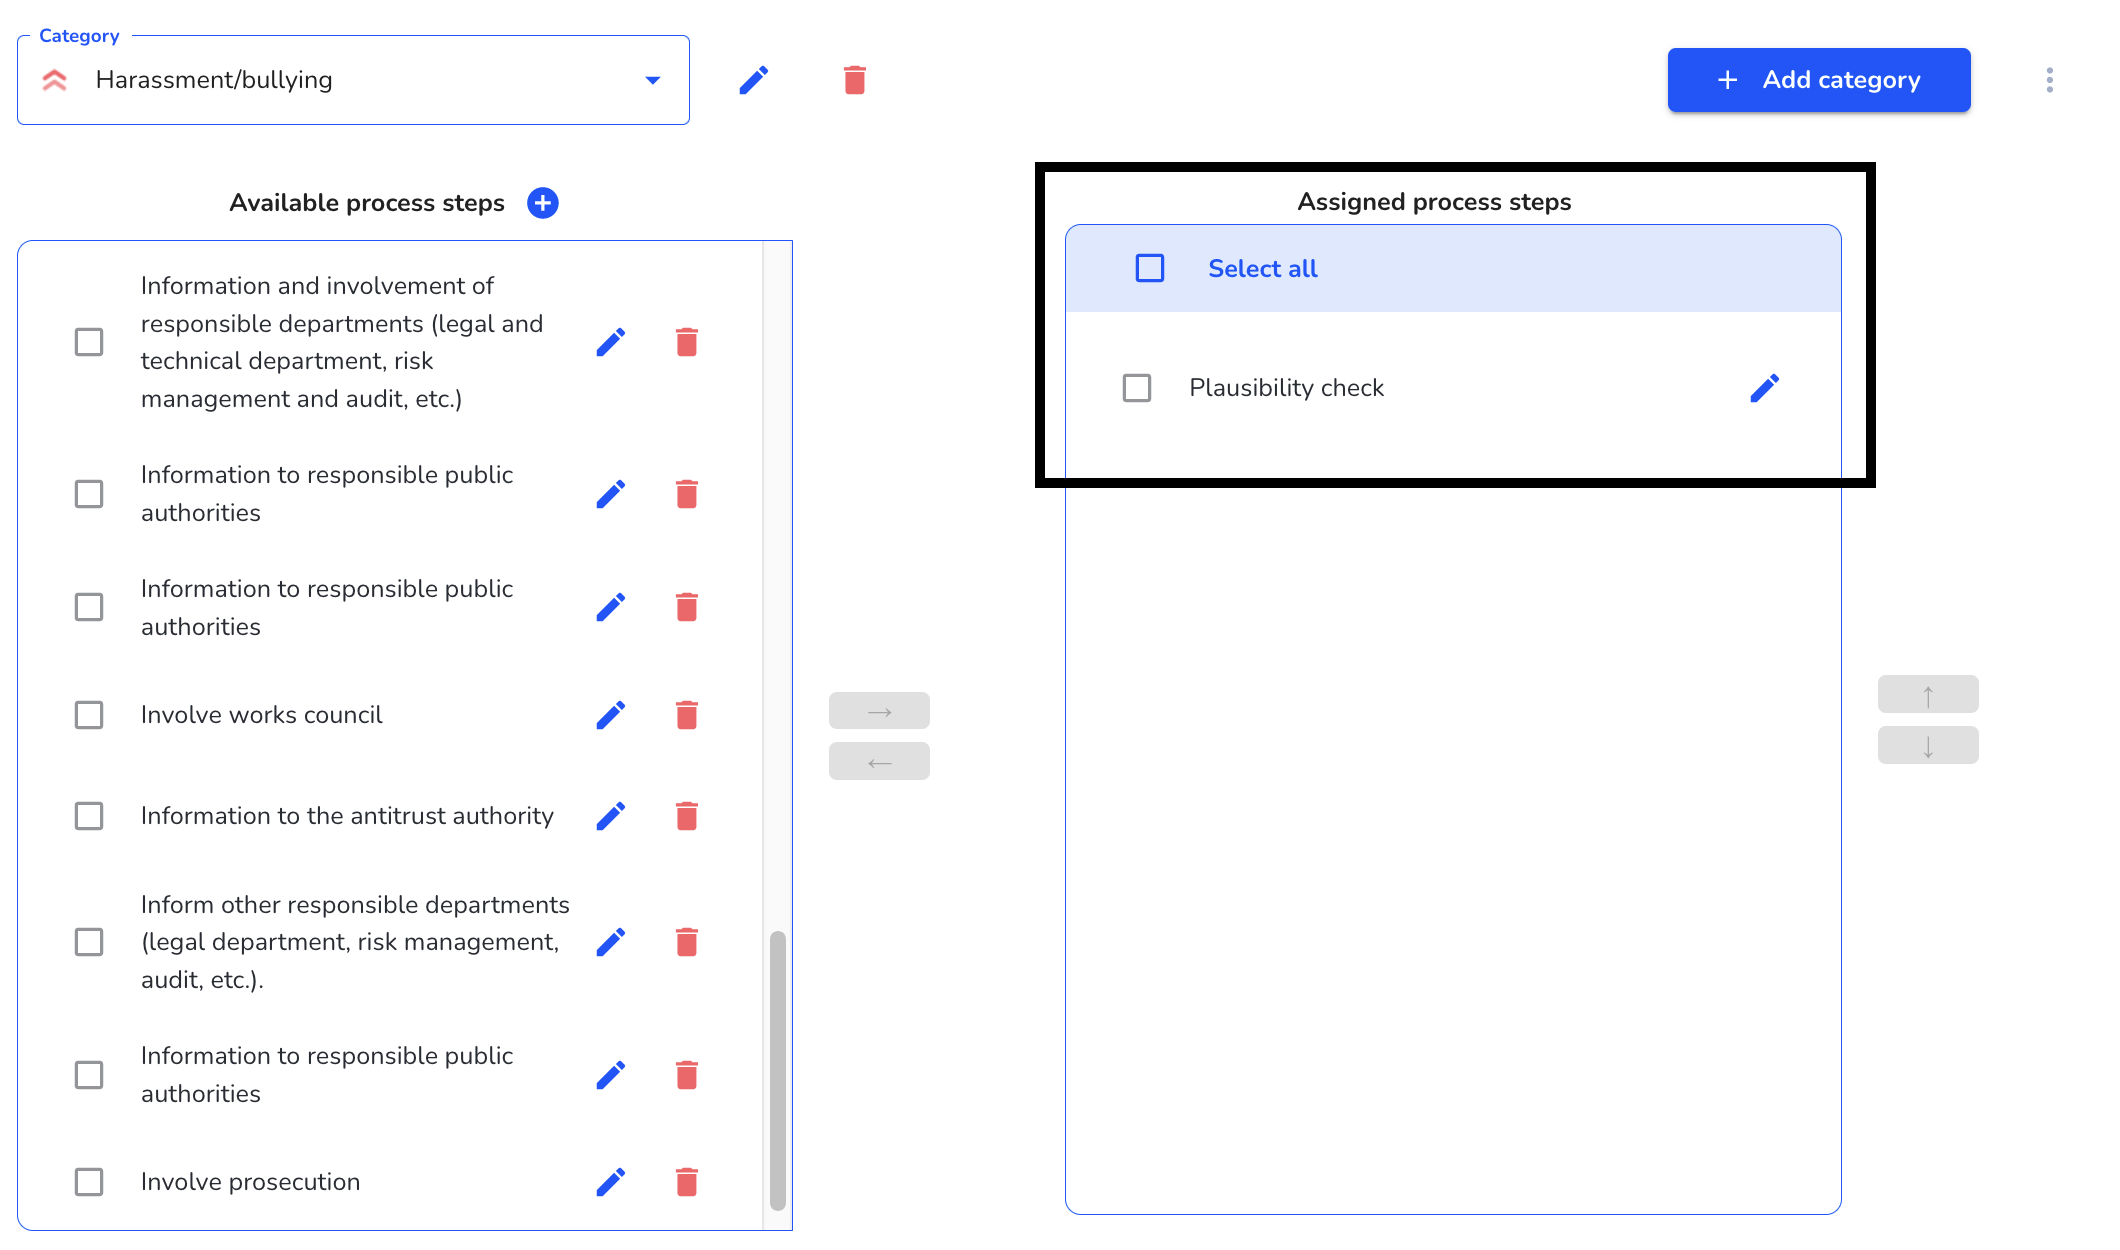
Subsequently, a process step is assigned to the category.
Sort process steps
To assign one or more process steps to a category, click on System under Settings.

Then you have to click on categories and processes.

In the overview, by clicking on the category, the category can be selected to which a process step is to be assigned.

Click on the category to select it.

The process step to be sorted must be selected.
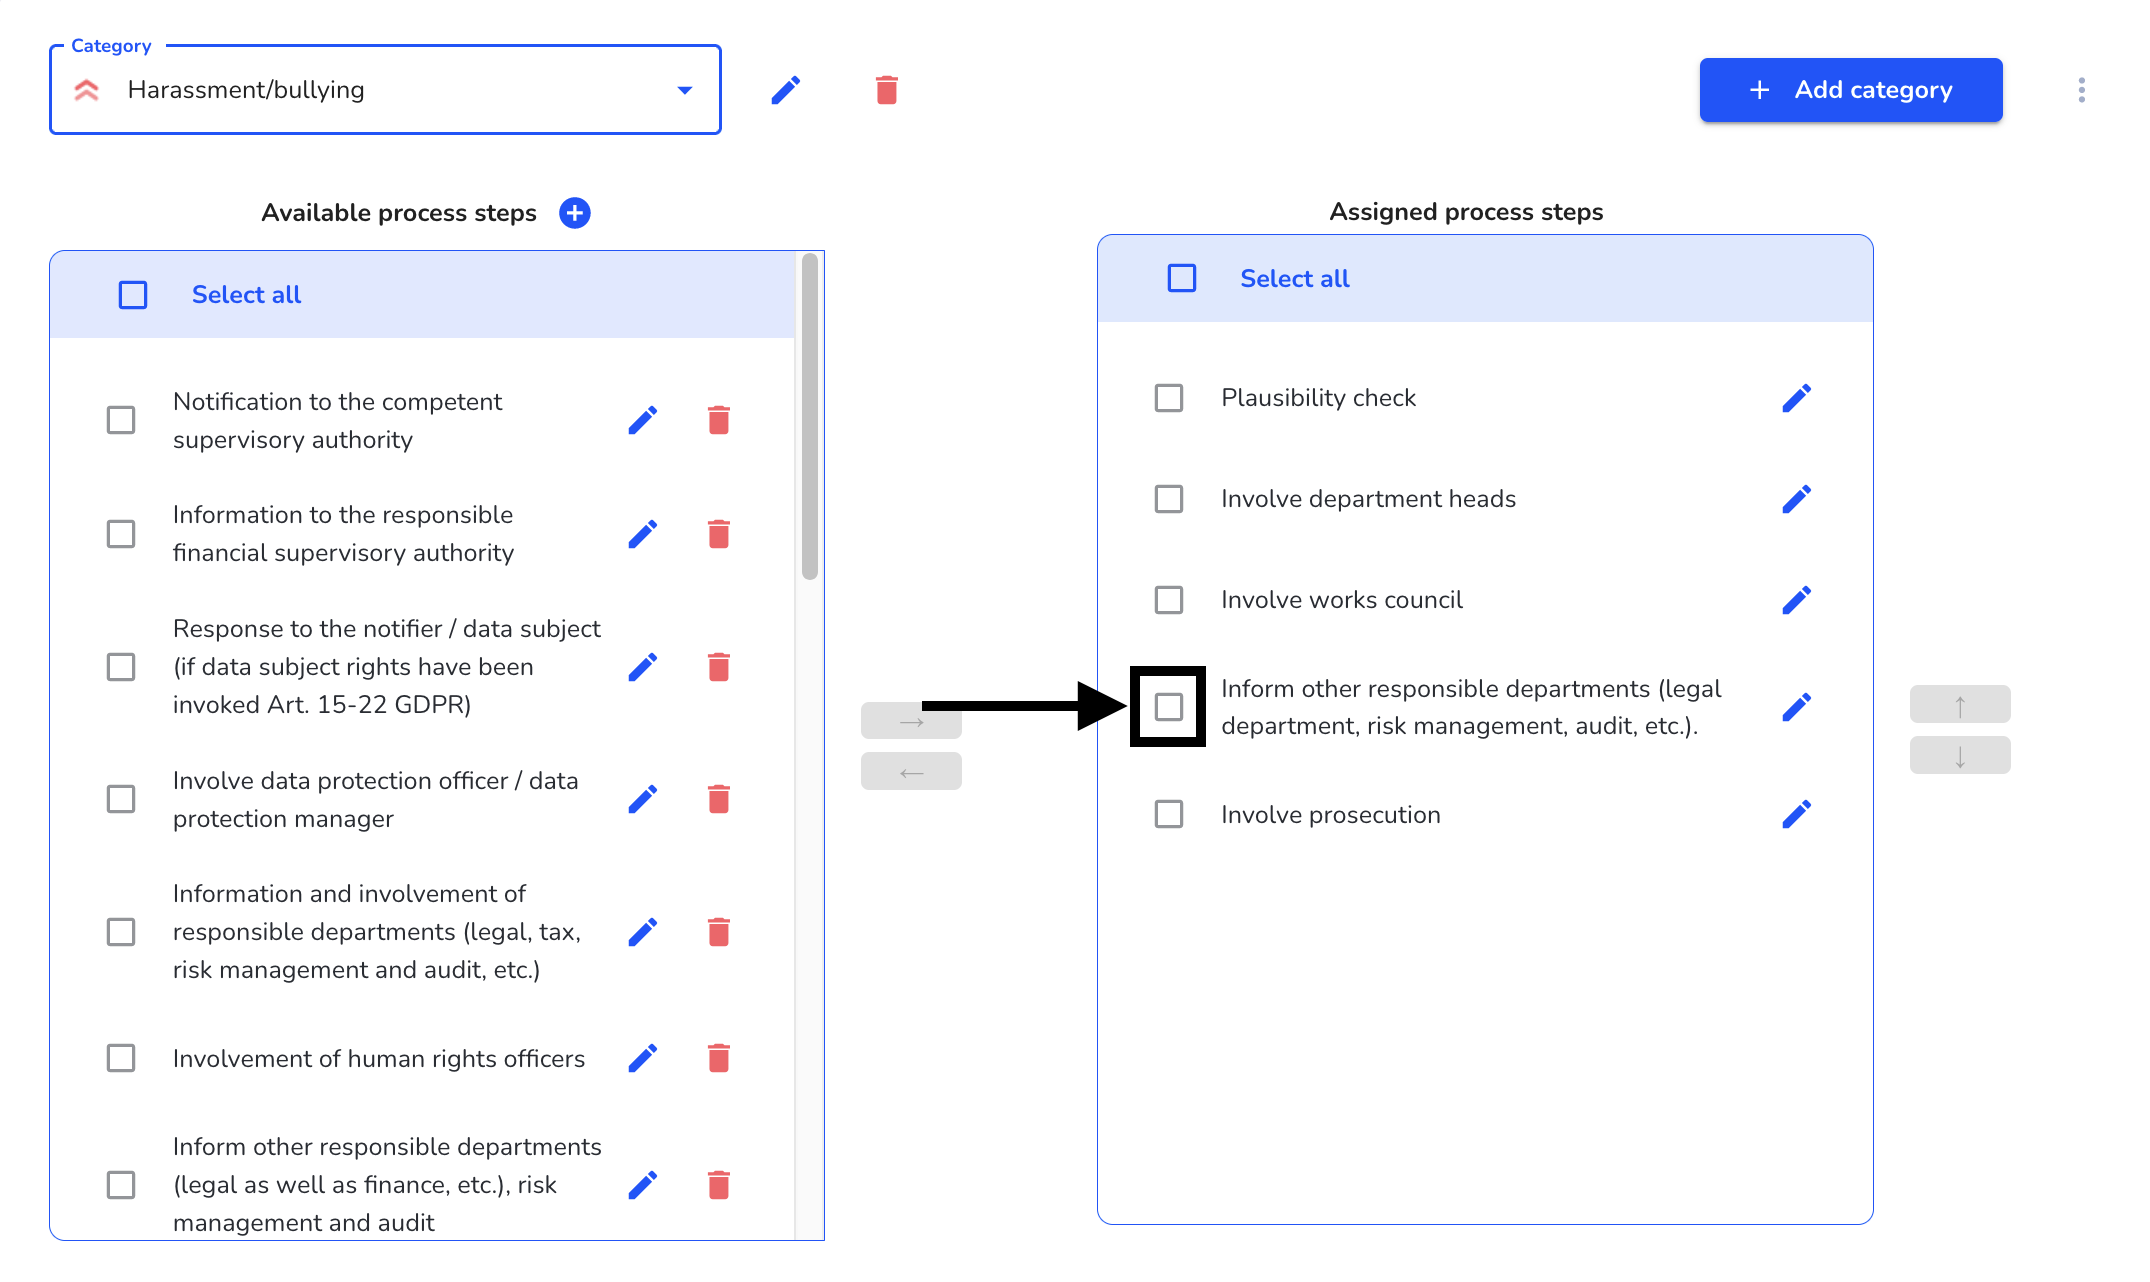
The selected process step can be moved up or down using the up and down arrows.
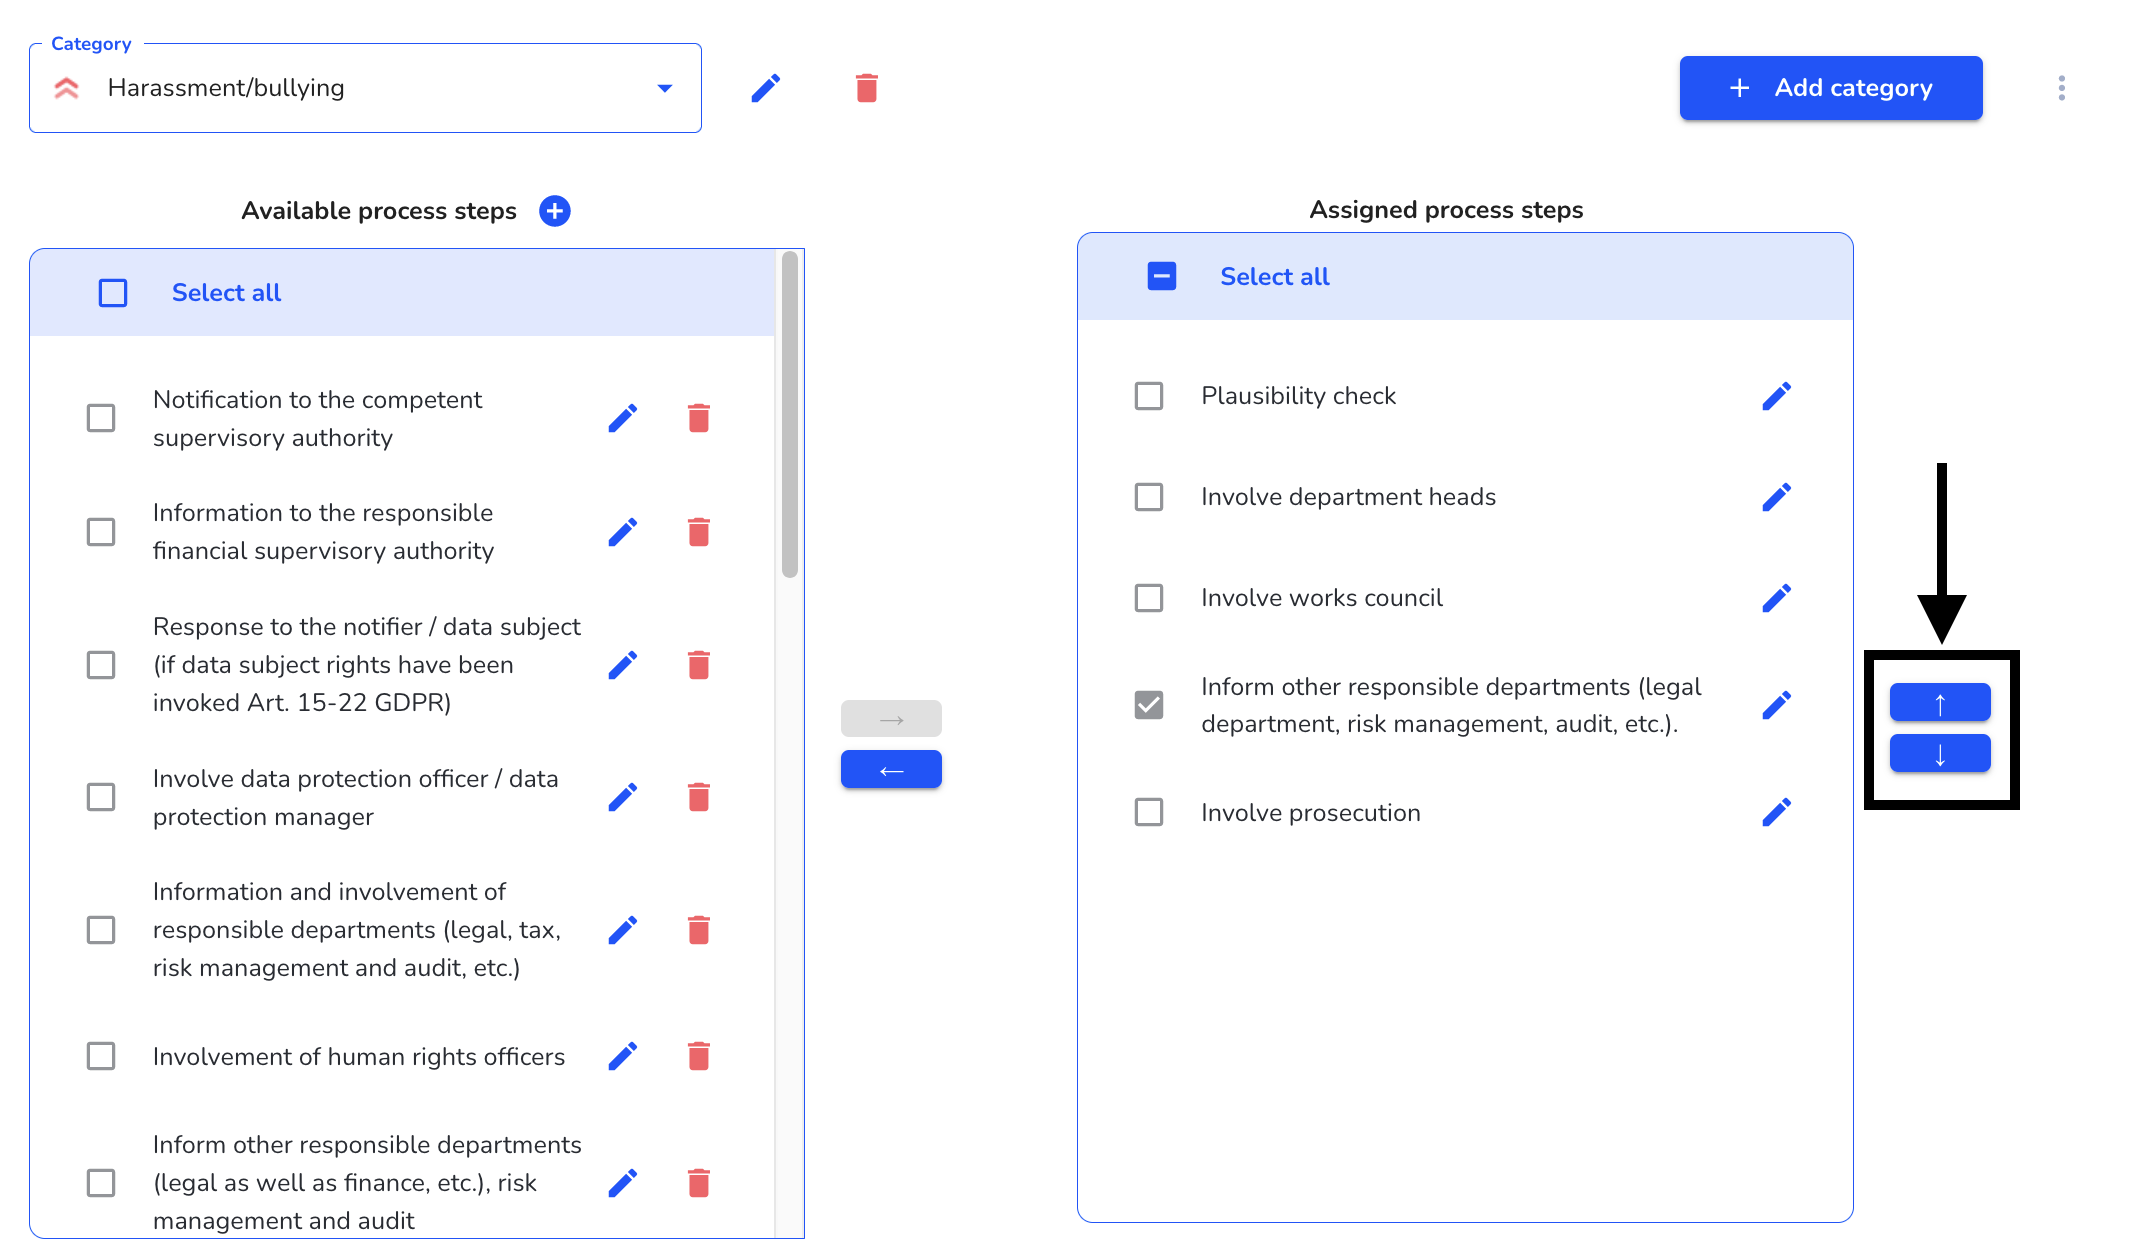
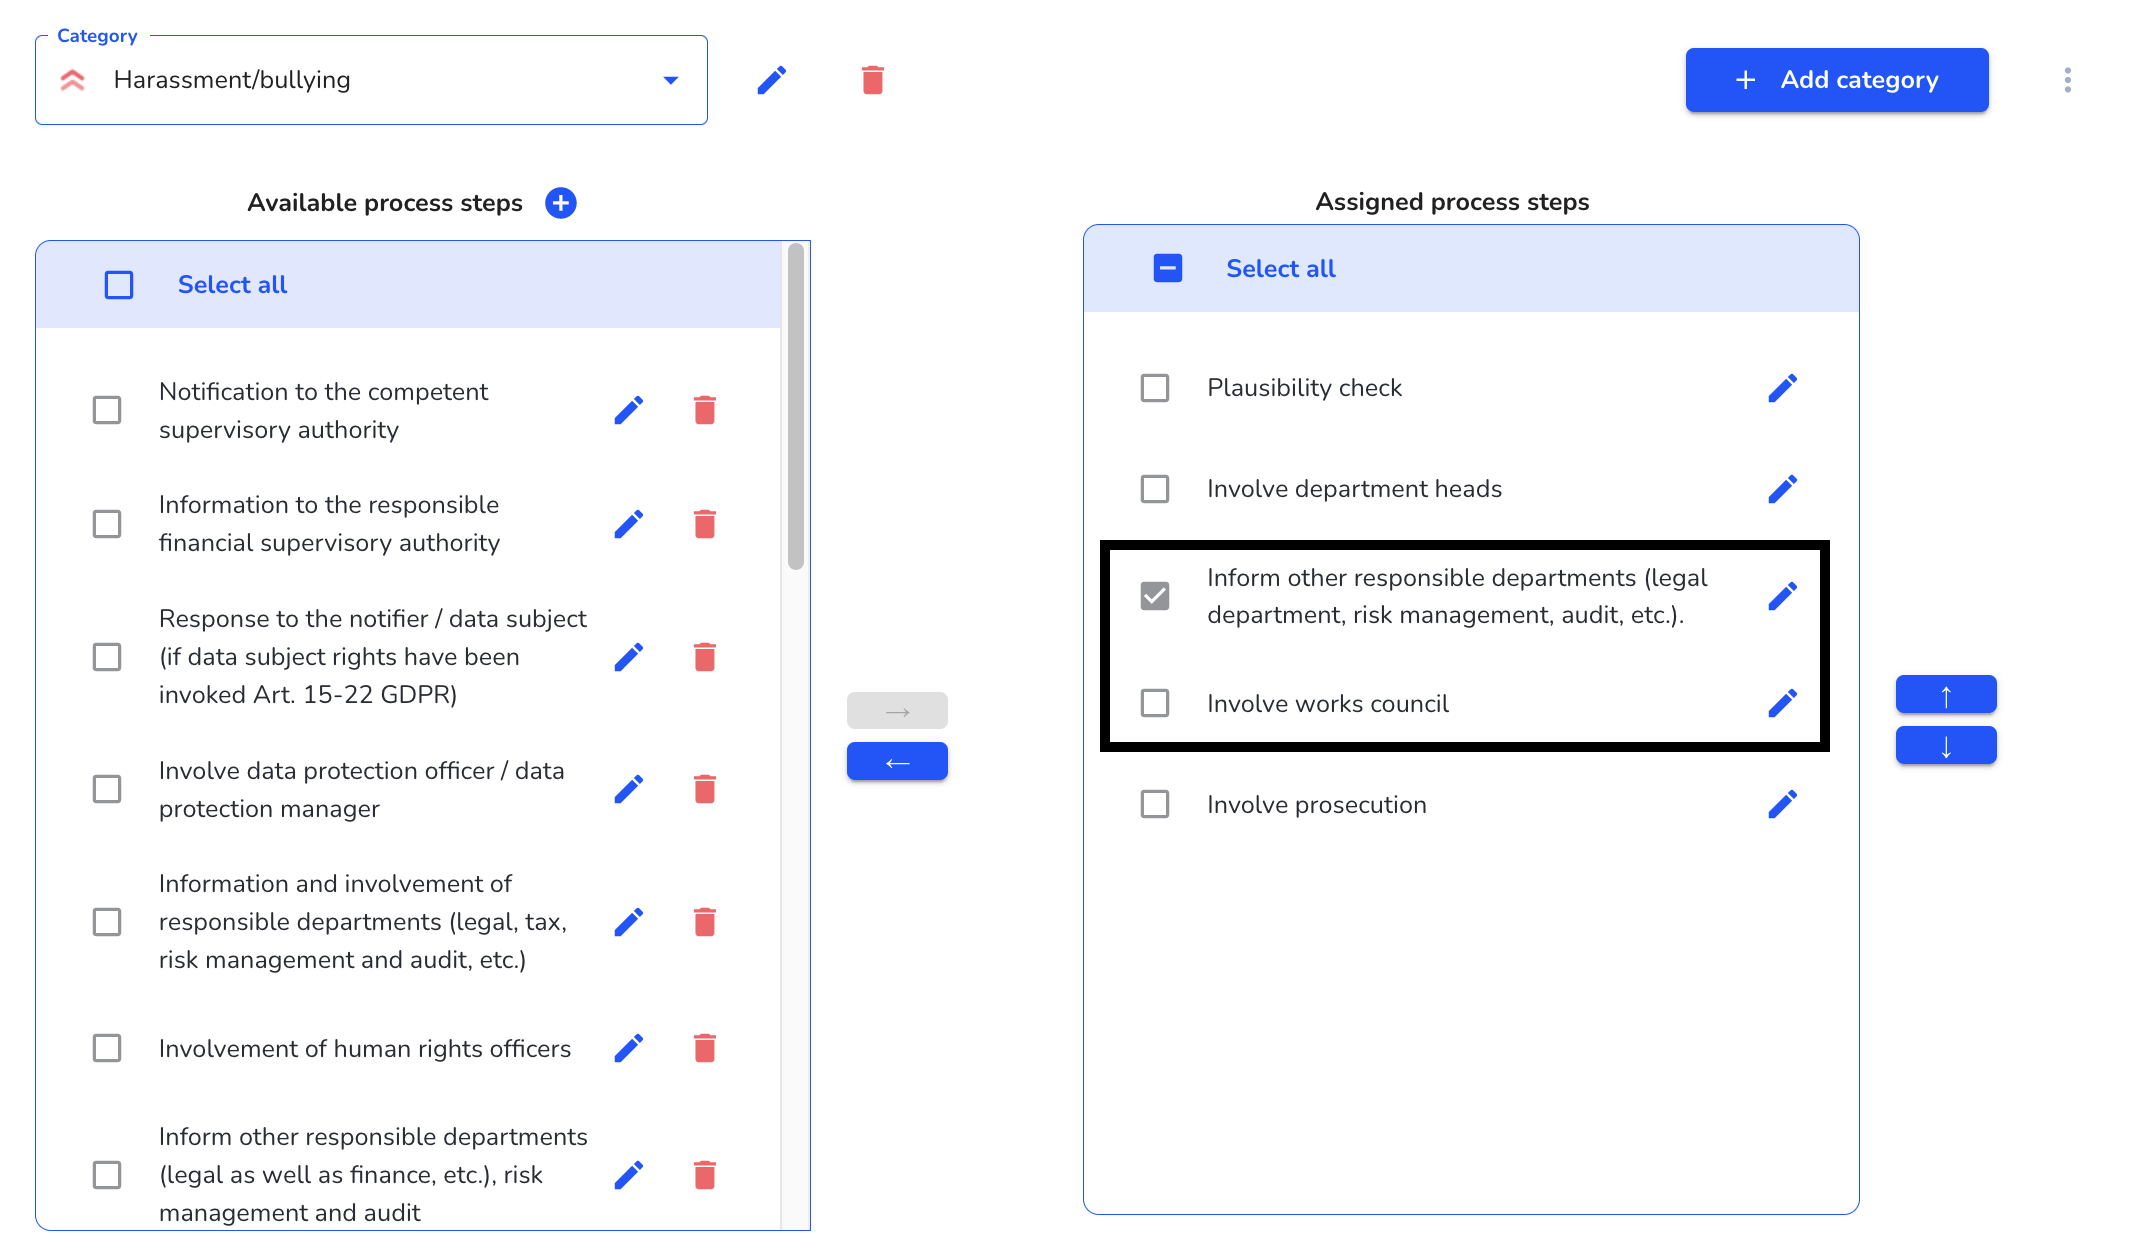
In this example, it has been moved down one position.
No longer assign process steps to a category
In order to no longer assign one or more process steps to a category, click on System under Settings.

Then you have to click on categories and processes.

In the overview, by clicking on the category, the category can be selected to which a process step is to be assigned.

Click on the category to select it.

The process step that should no longer be assigned must be selected.
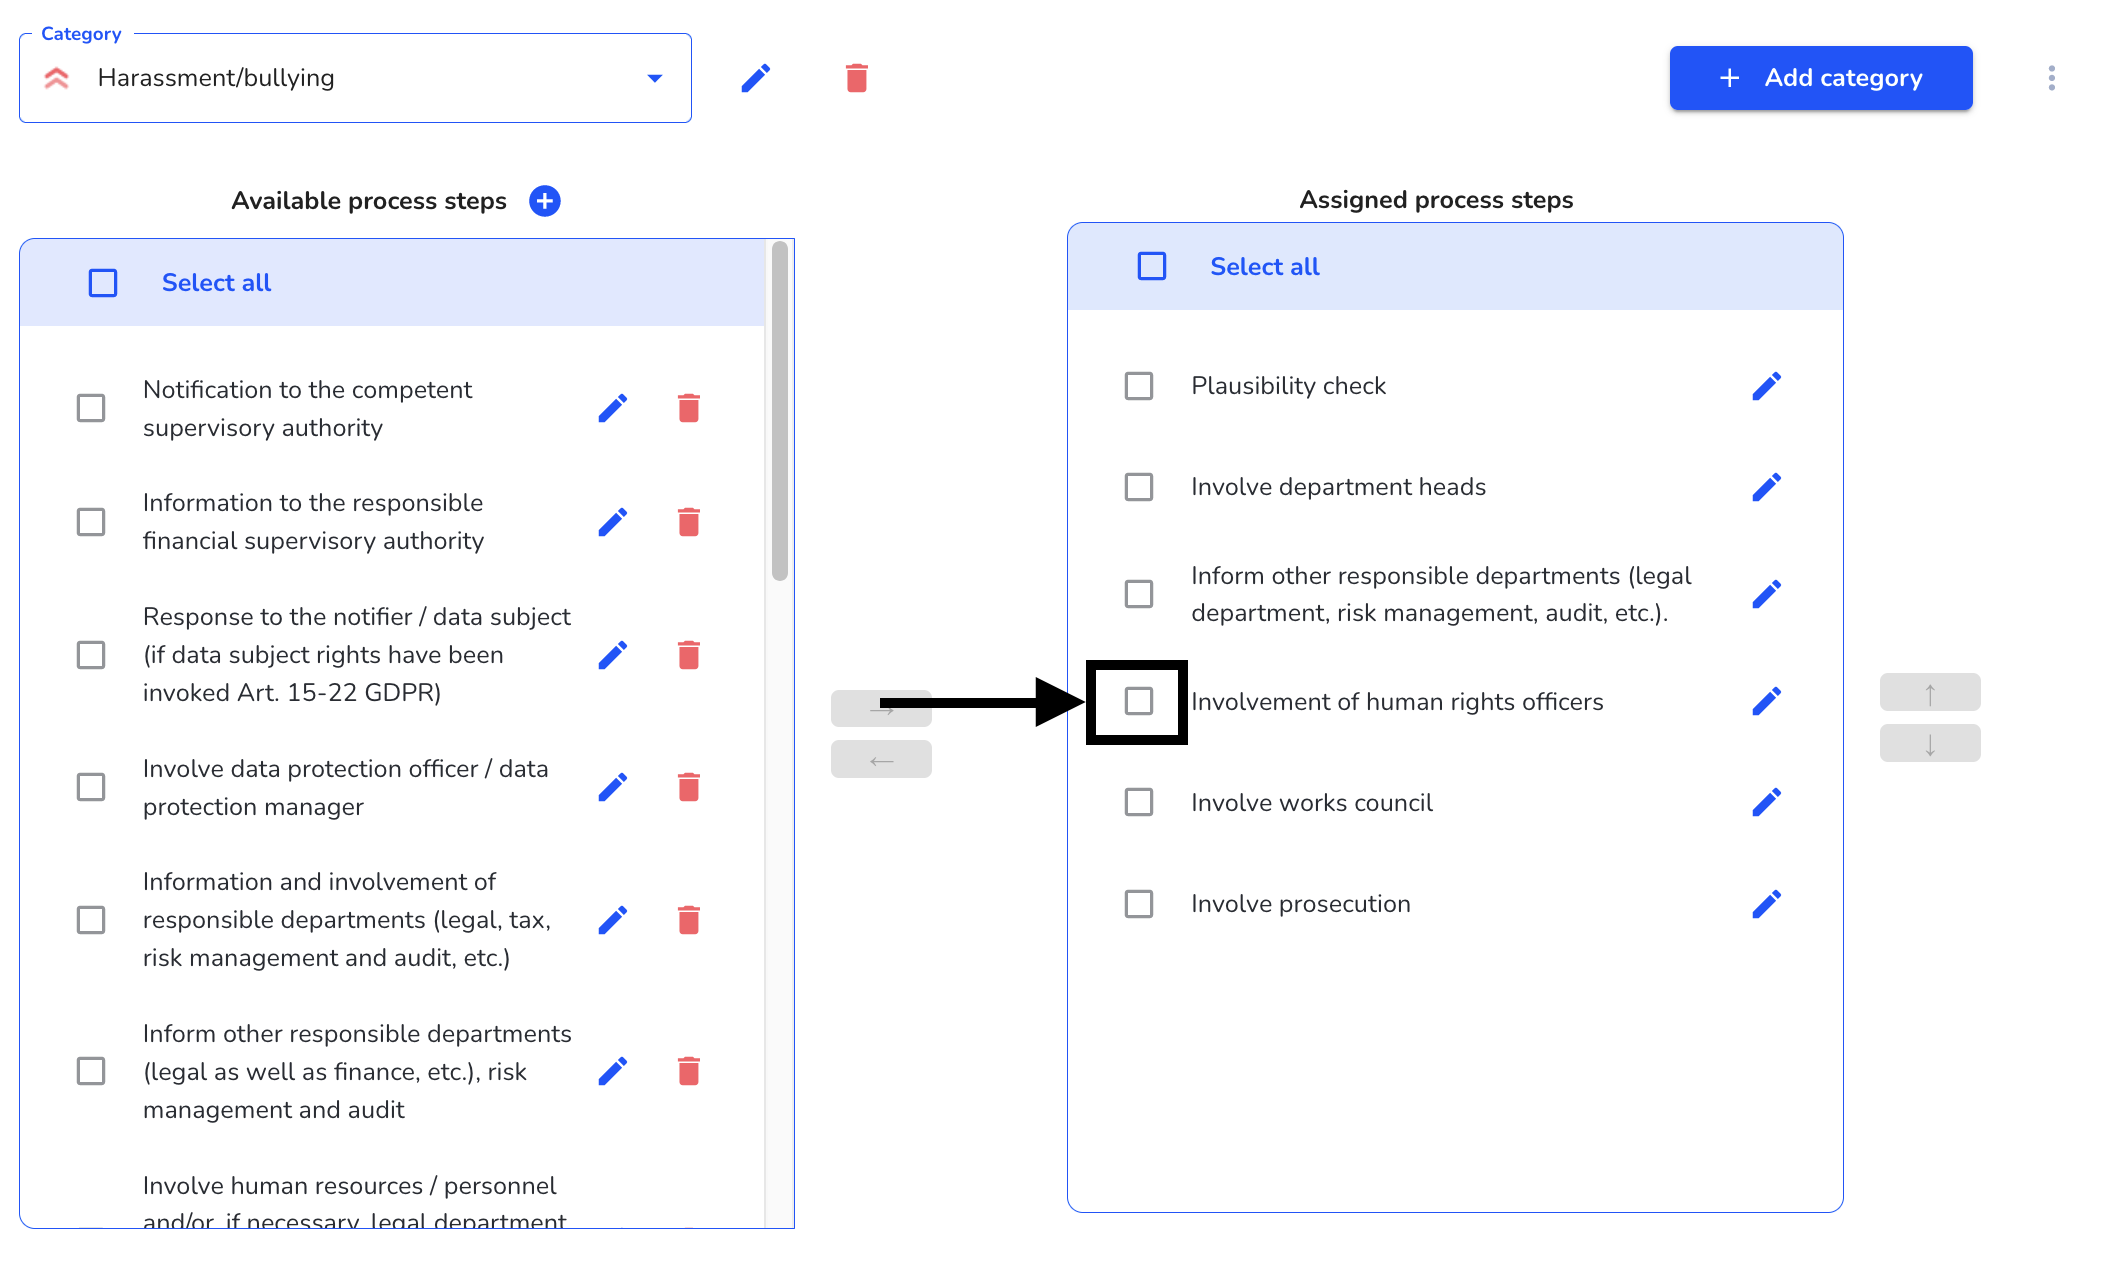
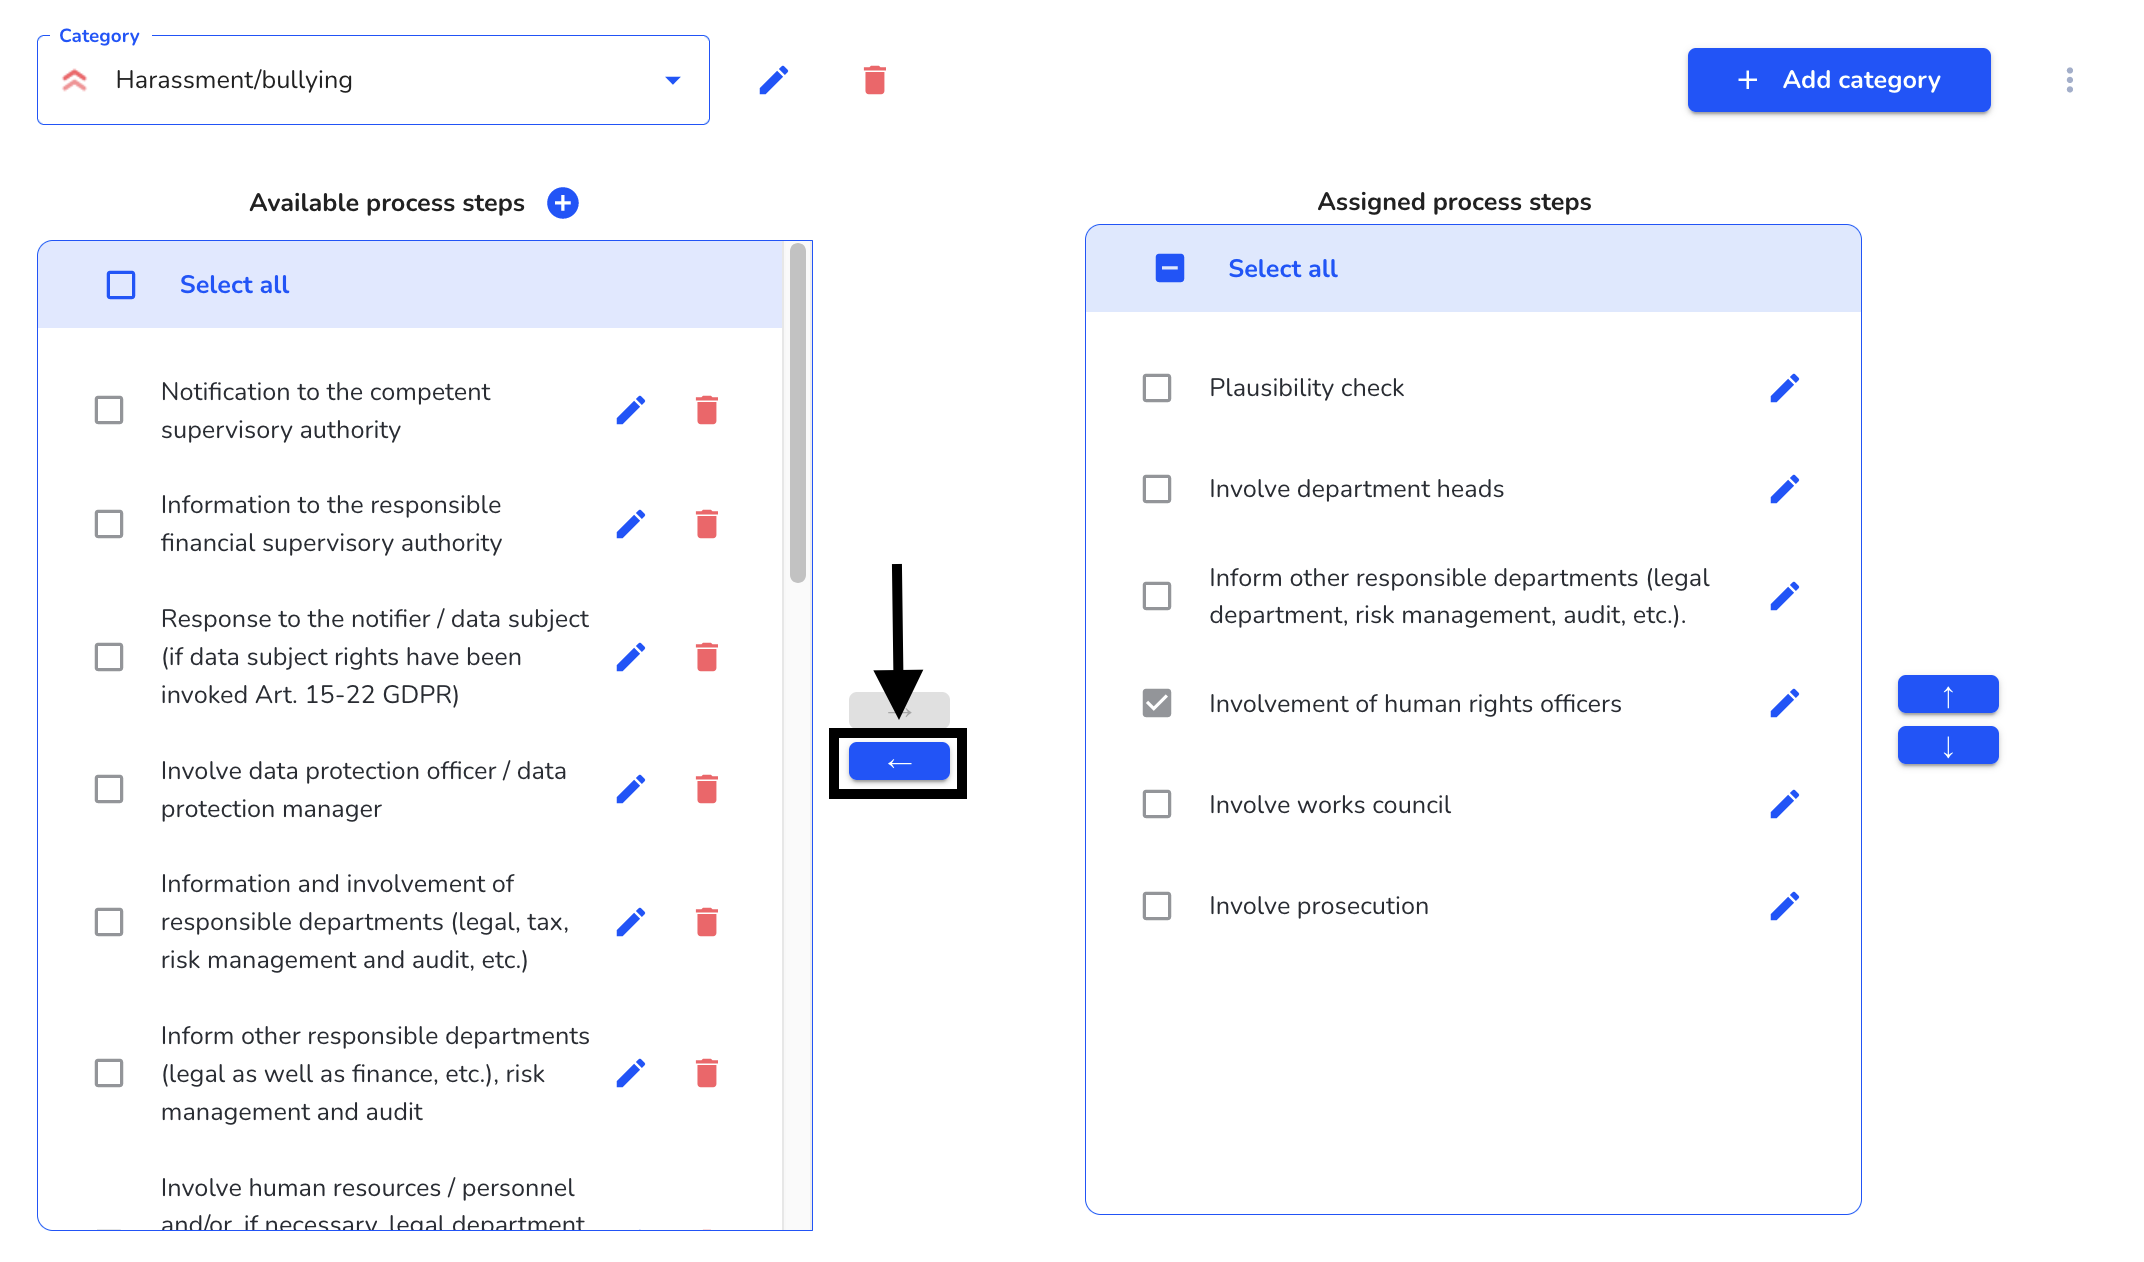
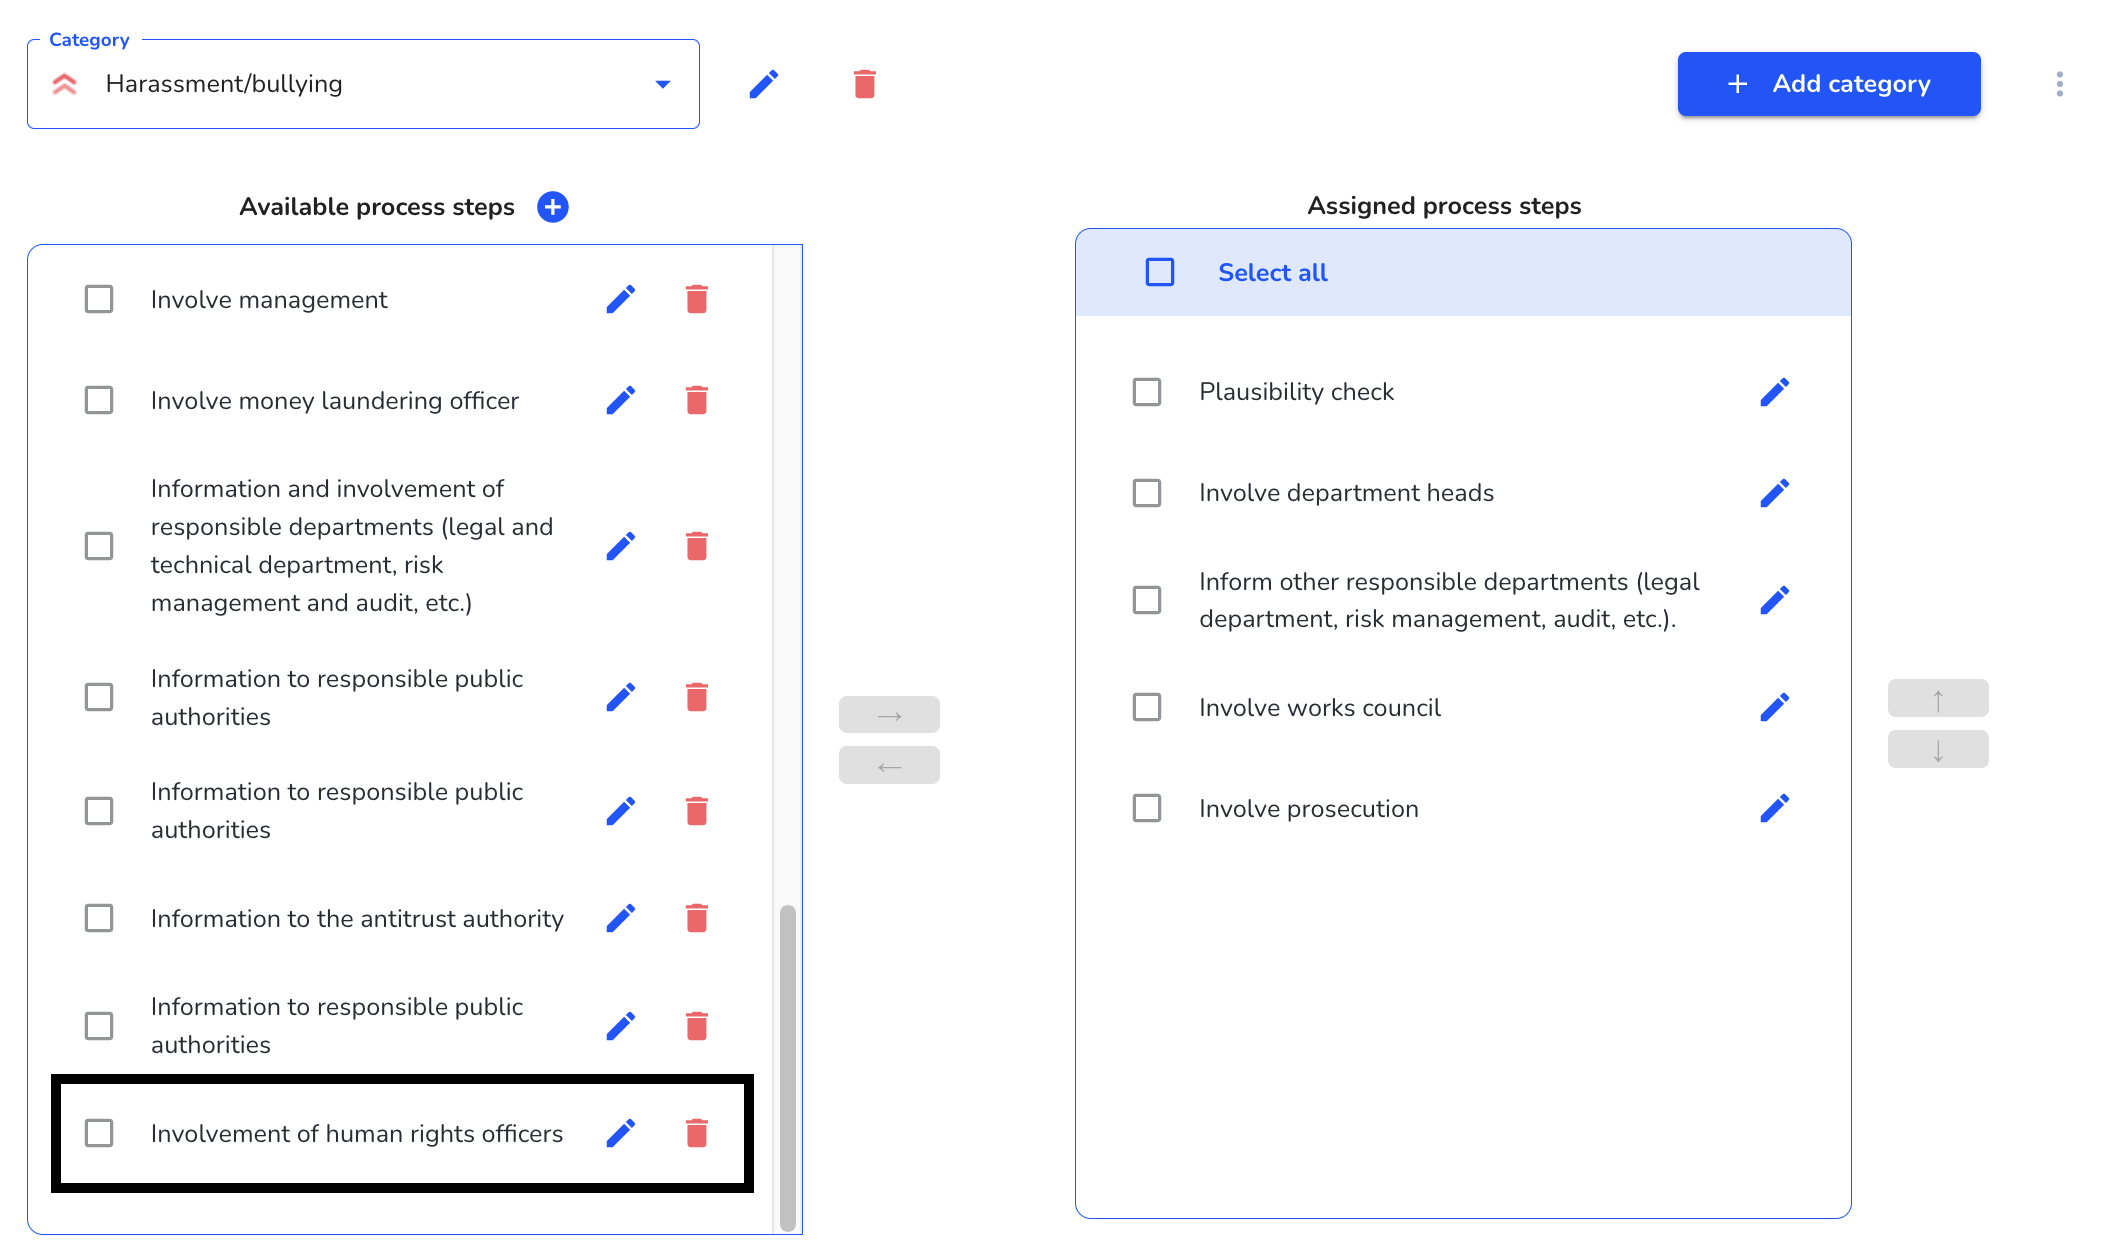
The process step that is no longer assigned is then found again among the available process steps.
Process steps
Processes are used in several places in the system. They are considered as a checklist for the processors of a report. Process steps that have already been done can be checked off (For more information, see Editing Notes). The process steps are also used to automatically generate the e-mail to the whistleblower informing him about the processing progress on his case (More on this under Processing of Notes).
Create processes
To create a process step, click on System under Settings.

Next, you need to click on Categories and Processes.

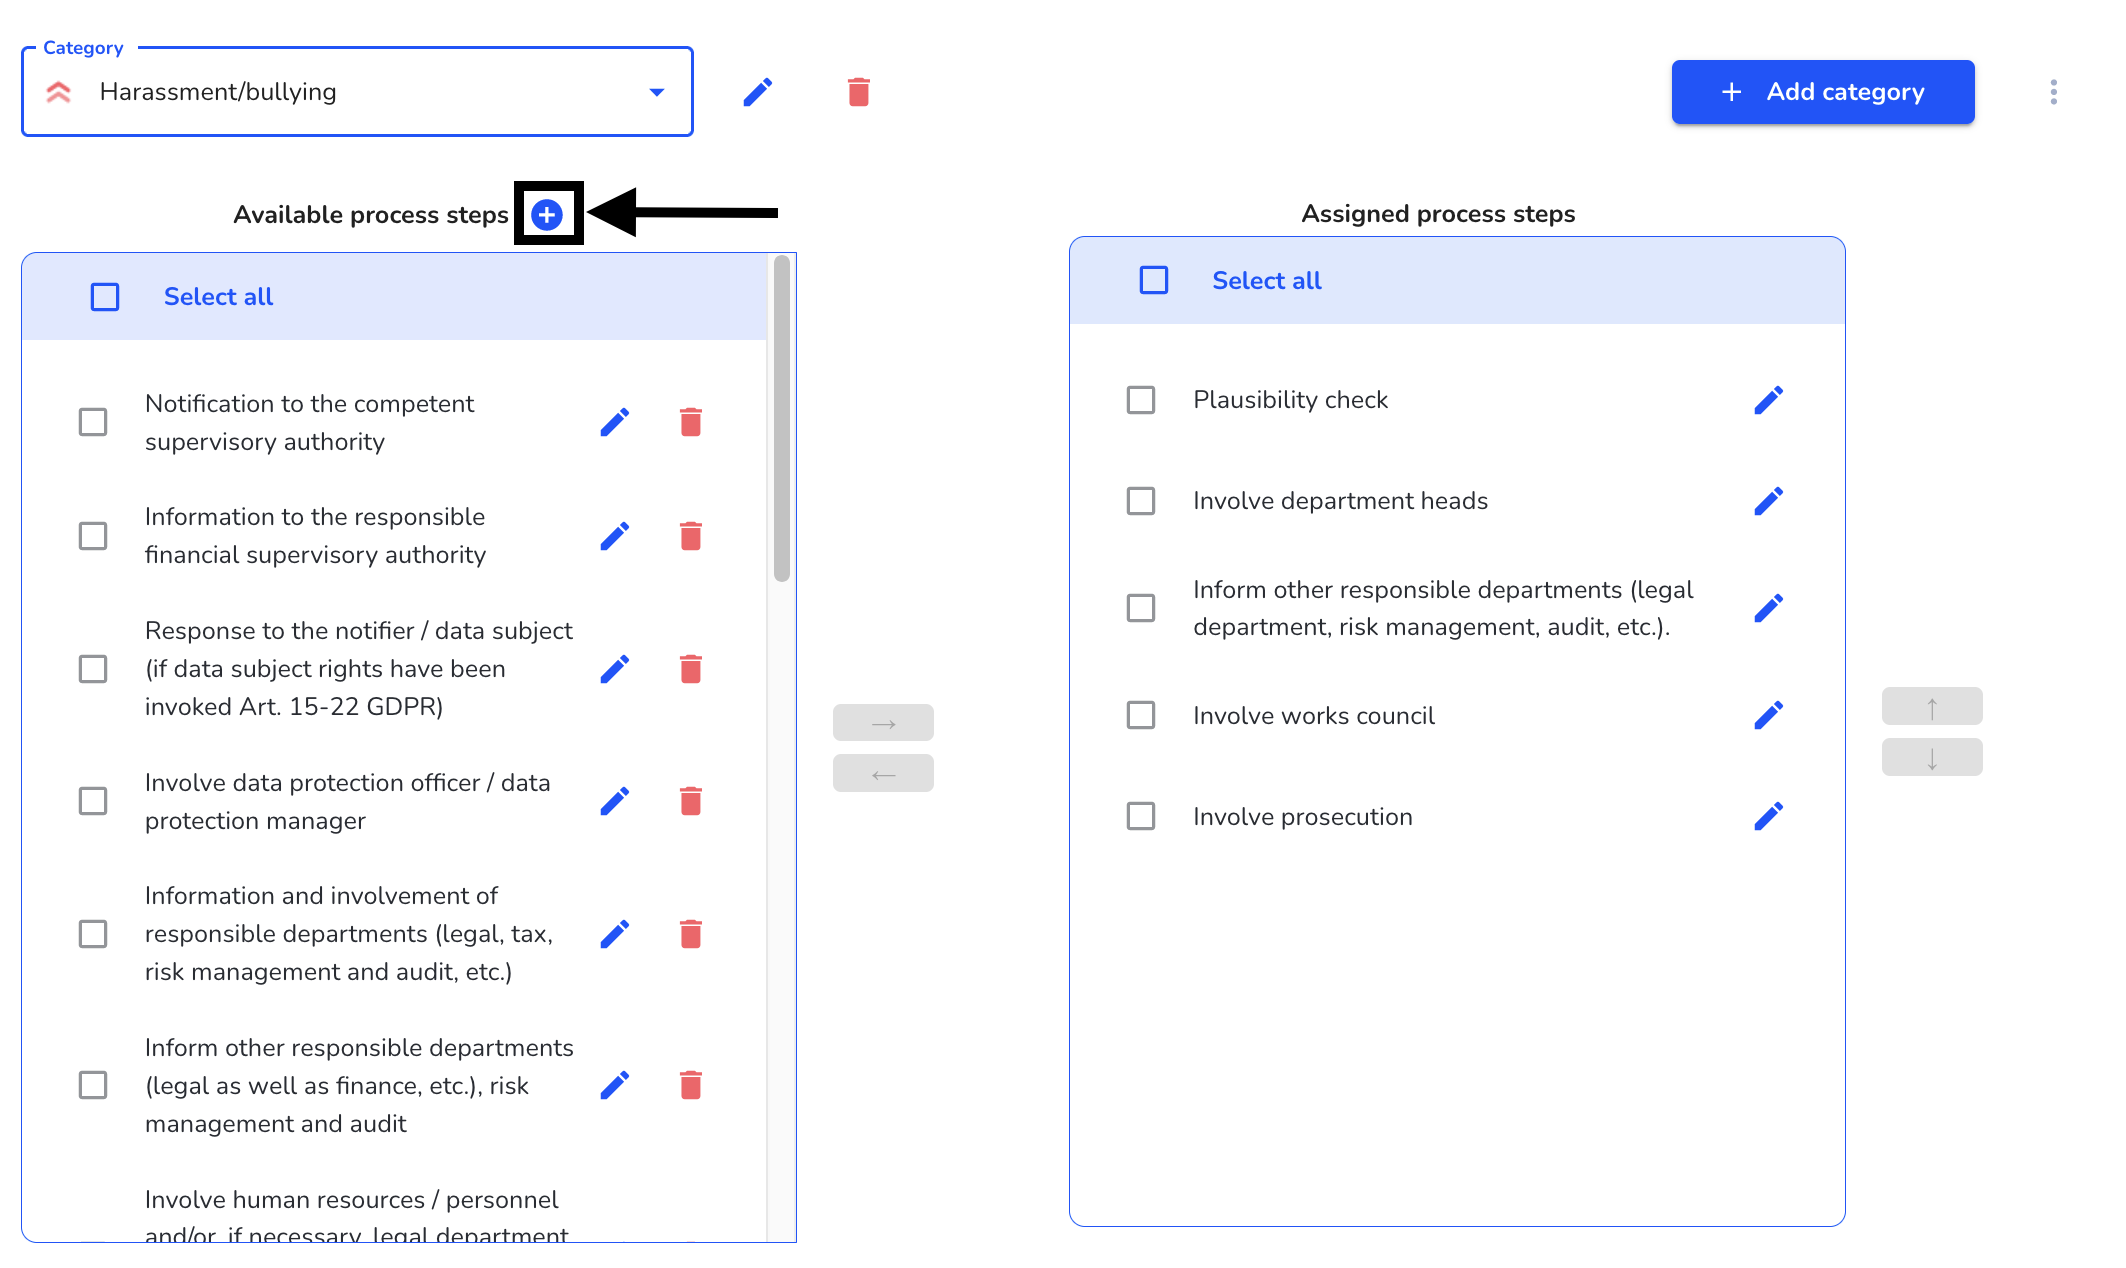
To add a process step, click on the plus sign. IMPORTANT New process steps are unz specific and can be assigned to all categories.
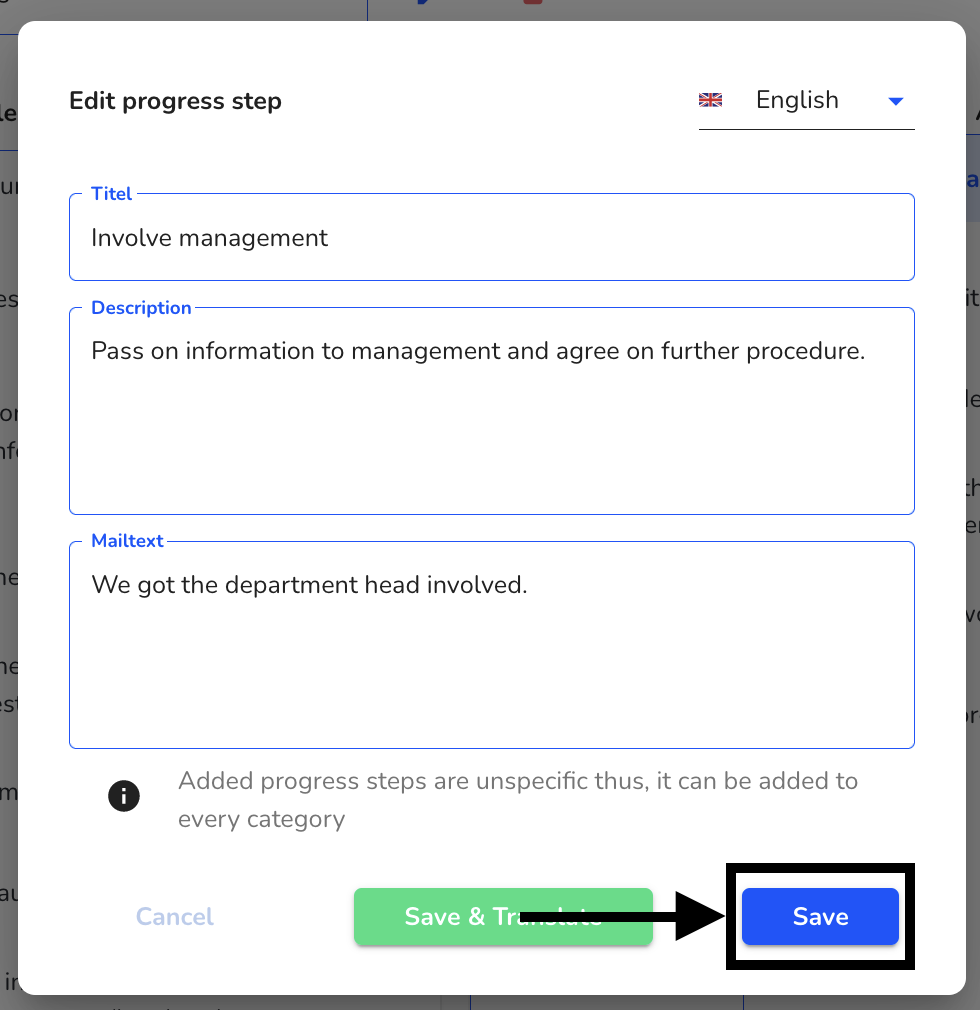
A process step needs a title, a description and a mail text.
Title - The title of a process step is internally visible to the processors of a report (More on this under Editing Notes).
Description - The description of a process step is internally visible for the processors of a report (More on this under Editing Notes).
Mail text - the mail text of a process step is used by the system to generate the e-mail to the whistleblower informing him about the processing progress on his case (for more information, see Processing of Notes).
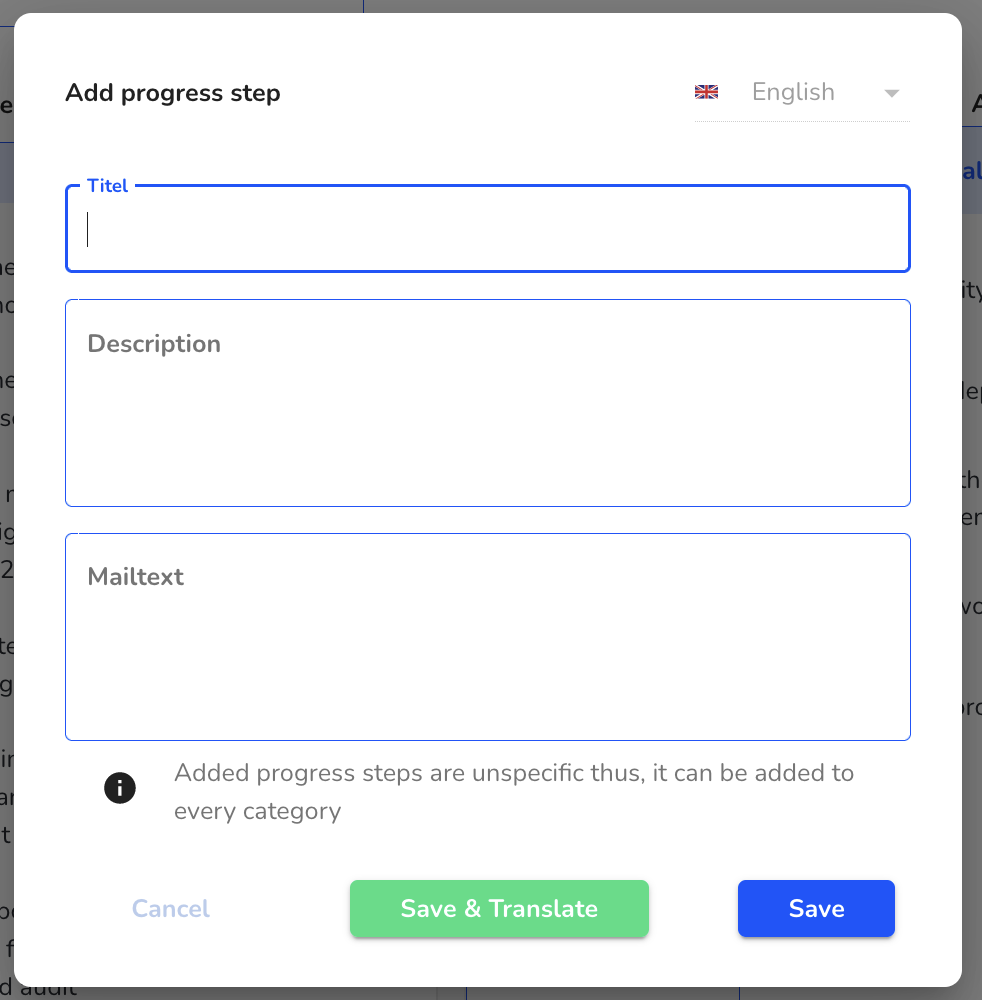
After filling in the three fields, the process step must be saved by clicking on Save.
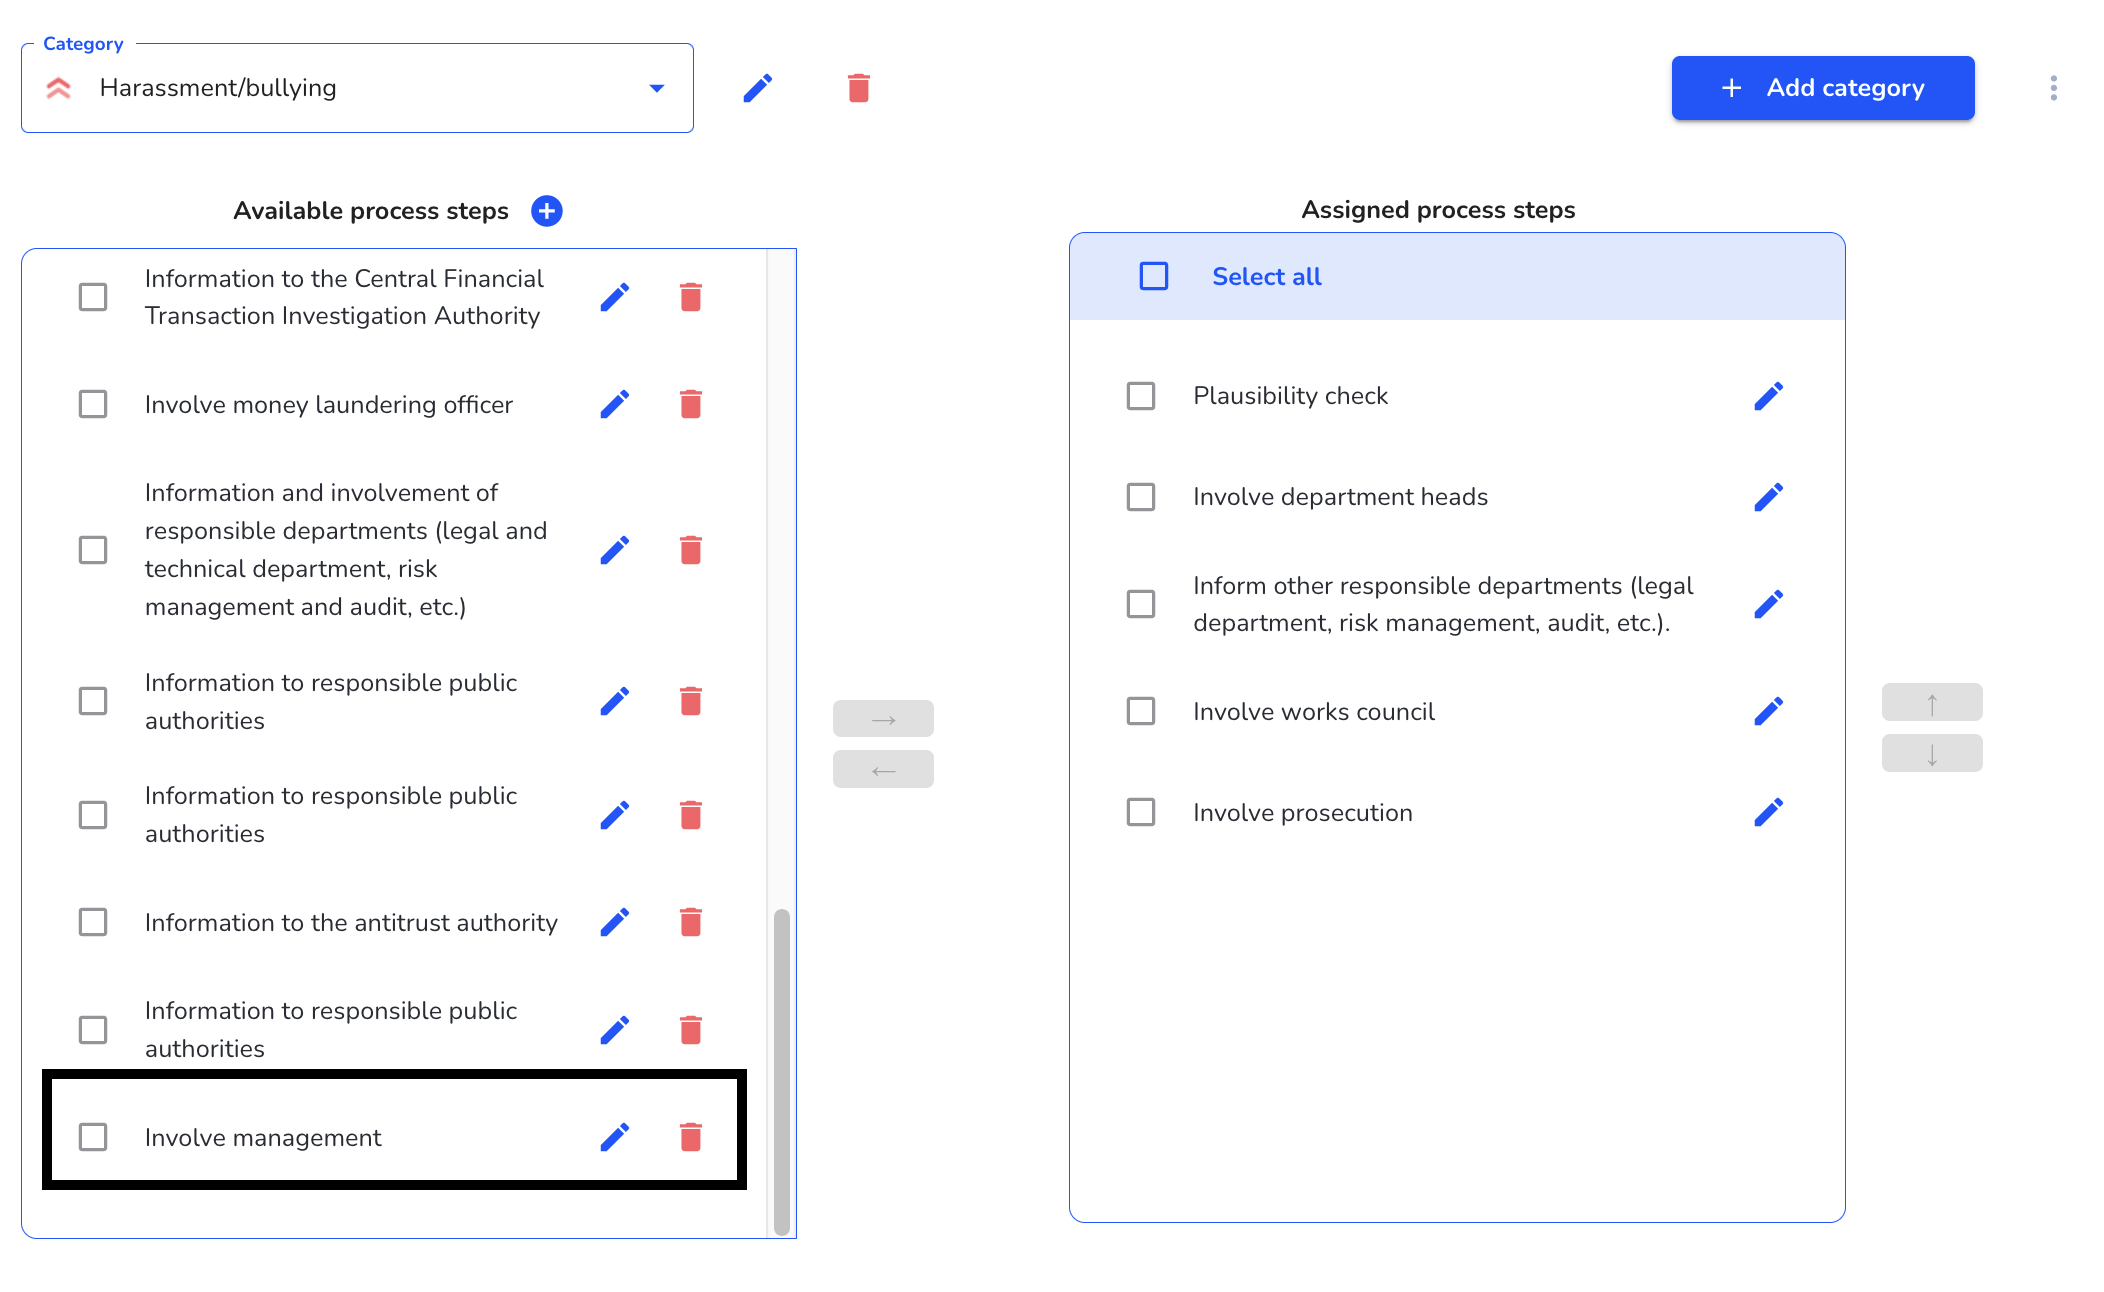
The process step is then selectable for all categories under available process steps.
Edit processes
To edit a process step, click on System under Settings.

Then you have to click on categories and processes.

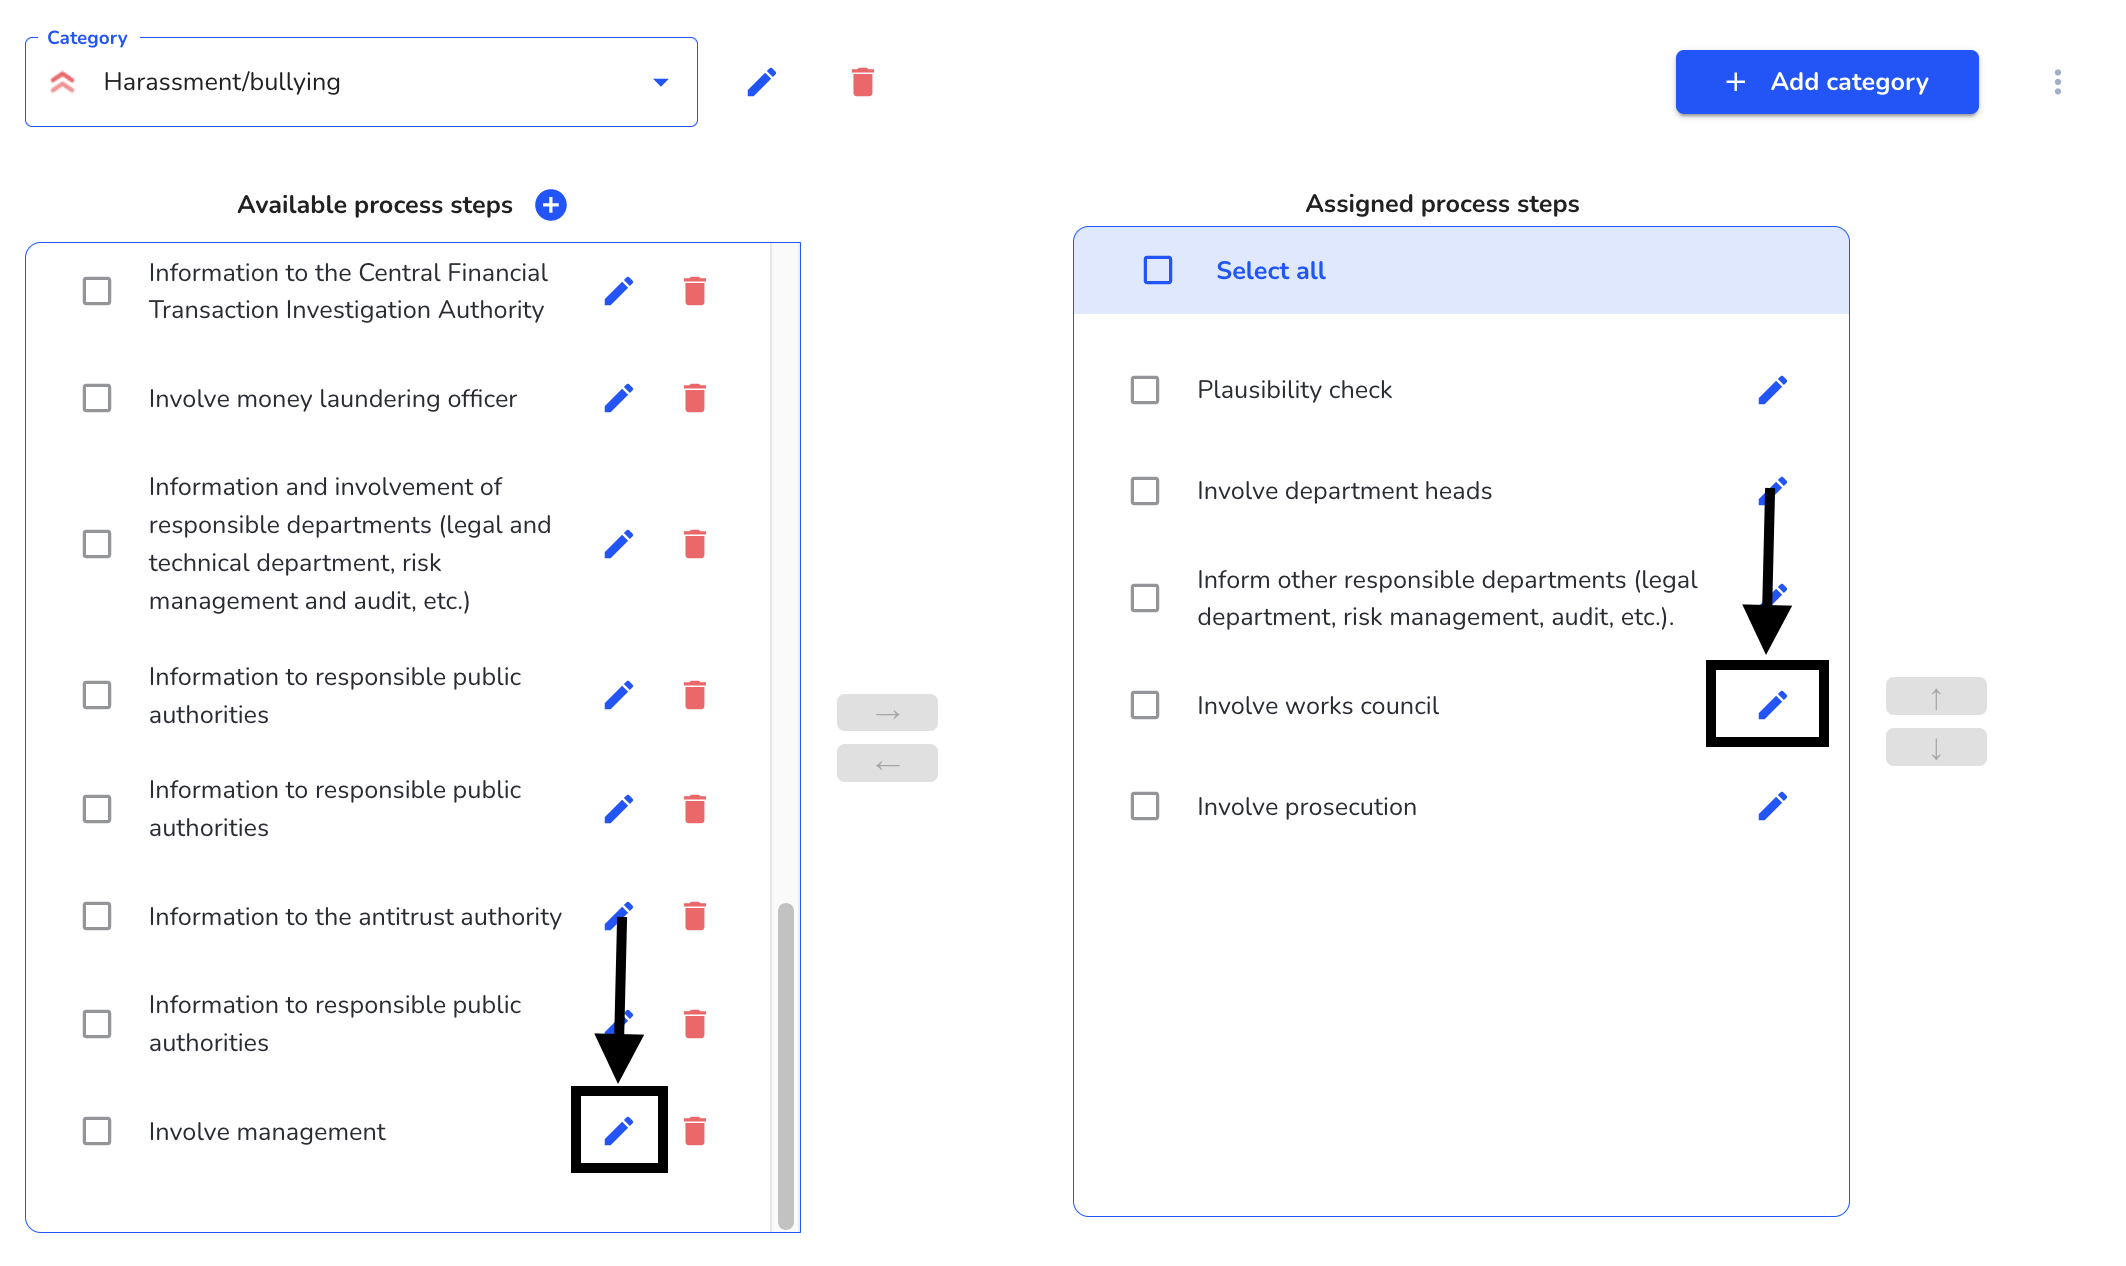
A process step can be edited by clicking on the edit pencil. IMPORTANT Process steps are unz specific and changes to process steps are made in all categories.
Click Save & Translate.
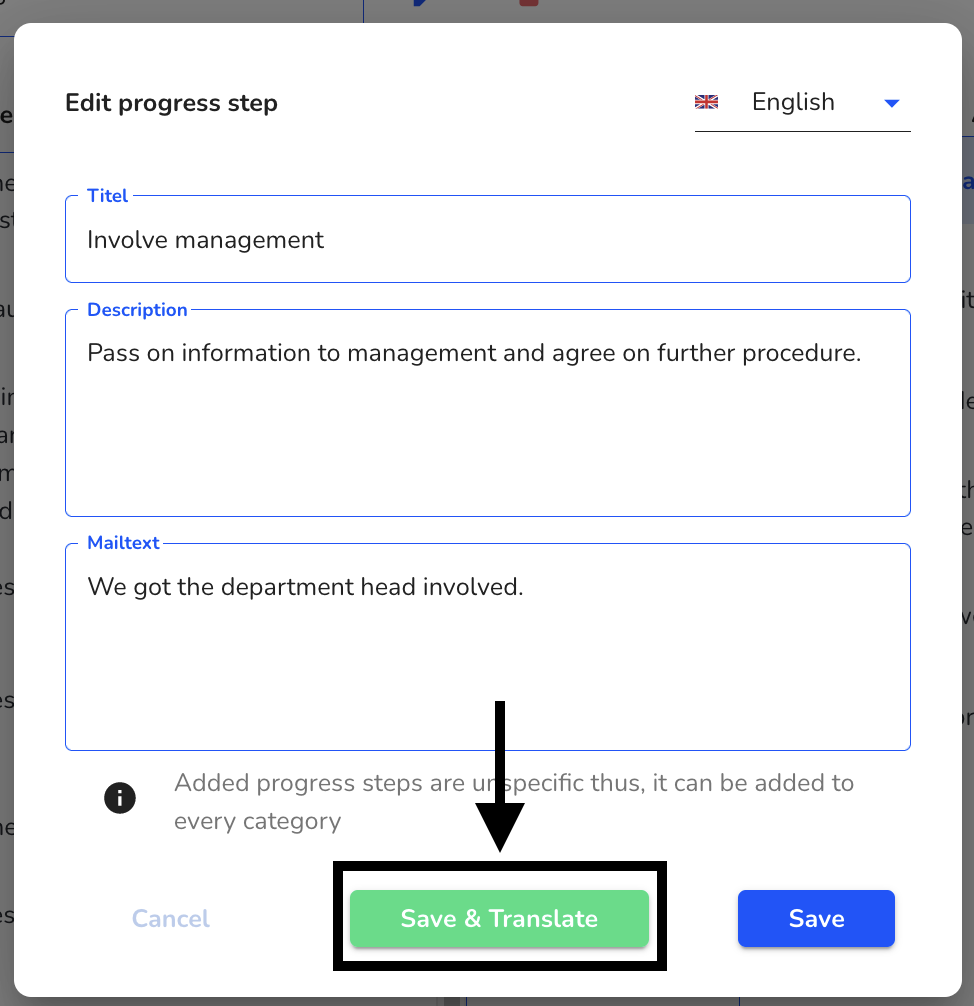
An overview opens in which you can first select the source language. This is automatically the language in whose text field you were before the translation.

Then you can select the languages into which the category should be translated.

By clicking Translate now, the translation into the selected questions will be performed.

